


If you're setting up a new security camera and it’s not showing up in your app or network, the issue may be its IP address. Without knowing this address, you can't configure, access, or integrate the camera properly.
In this article, you'll learn how to discover a new camera address using six practical methods—from checking device settings to scanning your local network. Whether you're a first-time user or setting up a more advanced system, these steps will help you connect your camera quickly and confidently.
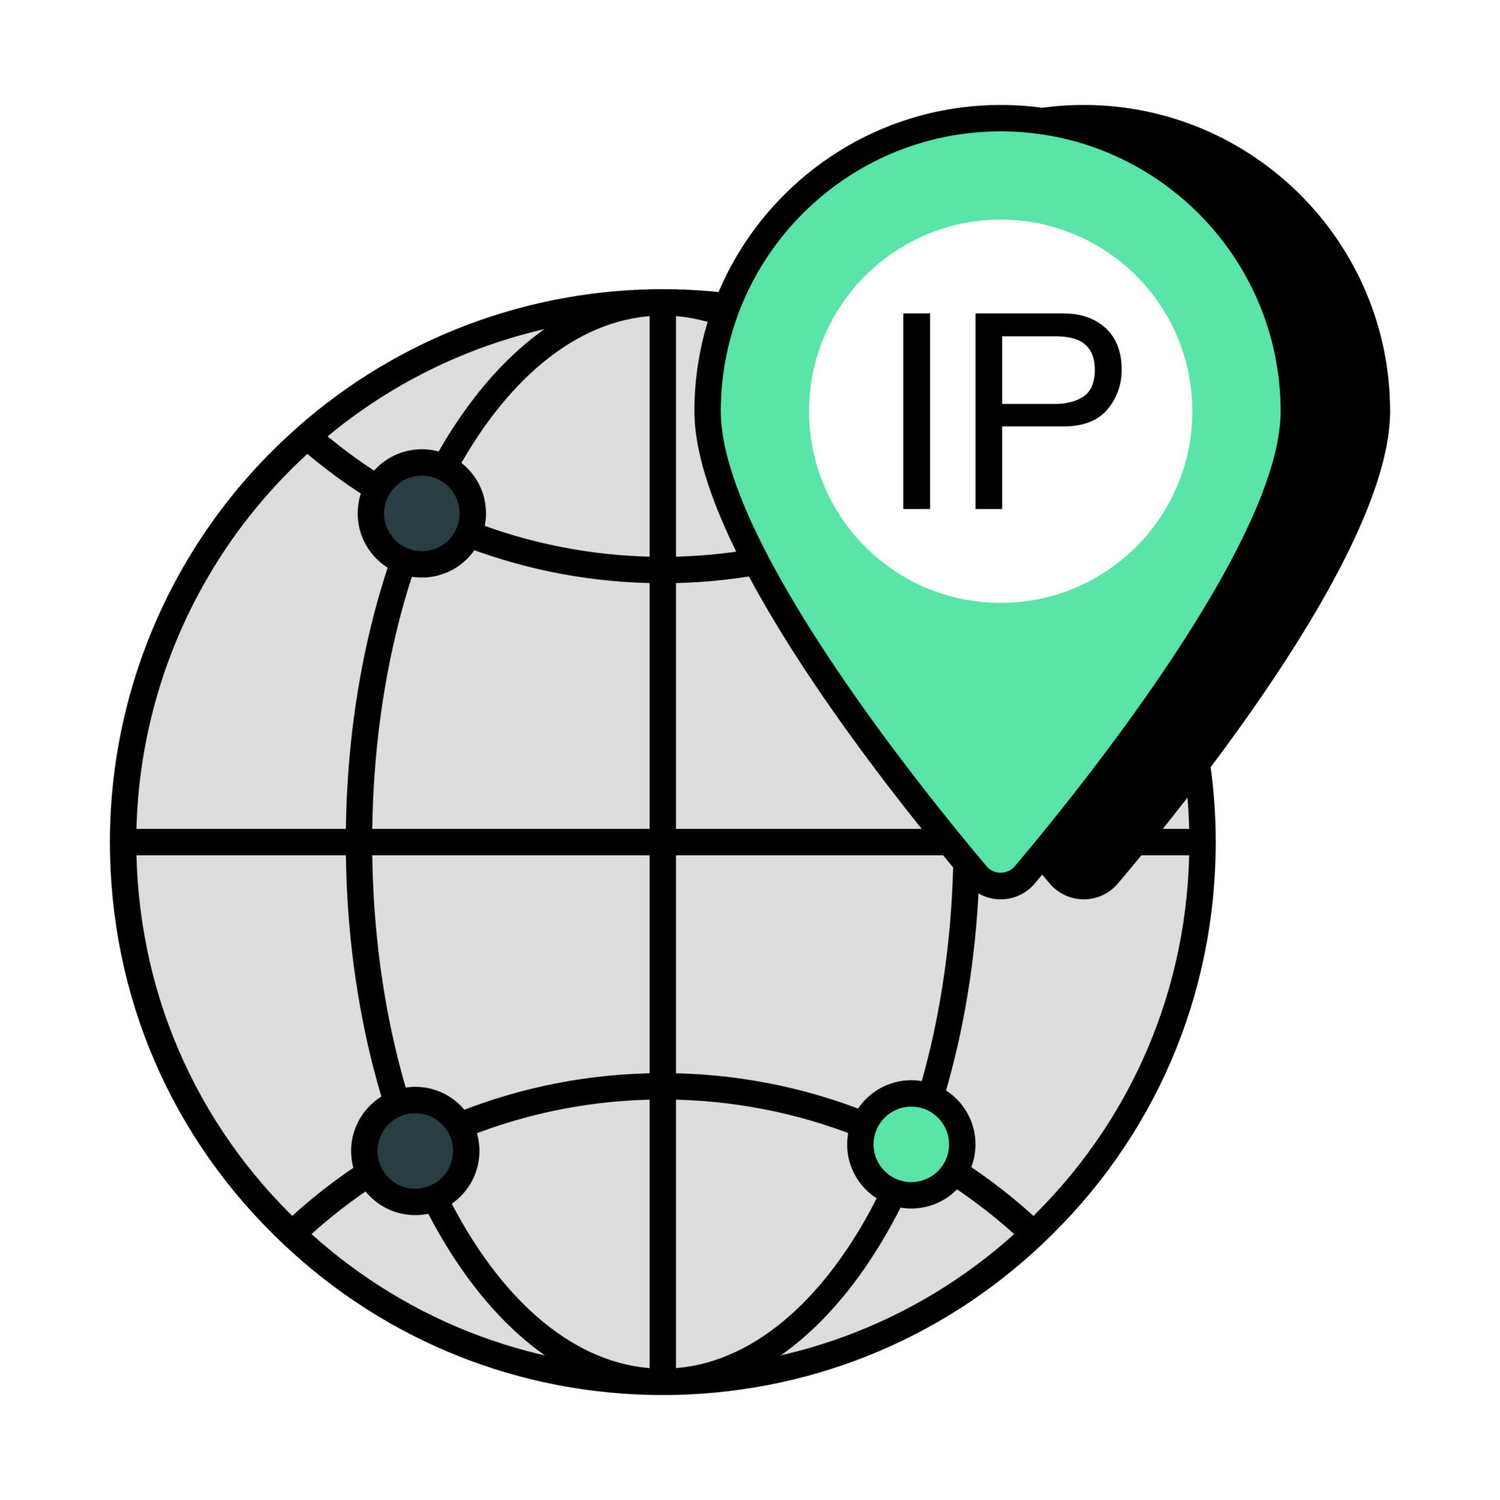
What Is an IP Address and Why Does It Matter
An IP address (Internet Protocol address) is a unique identifier assigned to every device on a network. For a security camera, this is what allows your phone or computer to locate and communicate with it. Without an IP address, your camera is essentially invisible to your home network.
This matters because almost everything you want your camera to do—like streaming live video, sending motion alerts, or storing footage to a cloud or NAS—depends on knowing where it is on the network. If the IP address isn’t discovered, your app can’t find the camera, integrations won’t work, and advanced settings stay out of reach.
That’s why finding your camera’s address isn’t just a technical detail—it’s the first step to unlocking its full functionality.
There’s more than one way to locate your camera’s IP address, and the best method depends on your setup and comfort level with network tools. The following six options cover both beginner-friendly and advanced techniques, and they work with most major camera brands.
6 Proven Ways to Find Your Camera’s IP Address
There’s more than one way to locate your camera’s IP address, and the best method depends on your setup and comfort level with network tools. The following six options cover both beginner-friendly and advanced techniques, and they work with most major camera brands.
1. Check the Camera’s App or Web Interface
Most smart cameras today come with a companion app or web interface. After connecting your camera to Wi-Fi, the app usually shows its network details somewhere in the settings.
To find the IP address, open the camera’s app, select the device, and look for sections like “Device Info” or “Network Settings.” On some models, you might need to tap “Advanced” to see more details. If your camera has a browser-based interface, you can also log in using its local hostname or previous IP to access the same information.
This method is the easiest place to start—no extra tools needed, and everything is in one place.
2. View Your Router’s Connected Devices
Your router keeps a list of all devices currently connected to your network. If the camera is powered on and connected to Wi-Fi, its IP address will appear there.
Open a browser and type your router’s login address—often something like
192.168.1.1 or 192.168.0.1. After logging in, look for a section labeled Device List, Connected Devices, or LAN Status. You should see a list of names, IP addresses, and sometimes MAC addresses.Not sure which one is your camera? Look for something with “IPCam,” “Cam,” or your camera brand in the name. If the list includes MAC addresses, match it with the one printed on your camera or packaging.
3. Use Network Scanning Tools
If the app and router list don’t help, a network scanner can give you a full view of your local devices. These tools search your entire network and display IP addresses, device names, and MAC addresses.
For Windows users, Advanced IP Scanner is a popular free tool. Just install it, click "Scan," and watch the list fill in. For iPhone users, Net Analyzer offers similar functionality. Android has options like Fing or IP Tools.
To identify your camera in the scan results, look for familiar device names or compare MAC addresses. It may help to power cycle the camera right before scanning so it shows up near the top of the list.
4. Try the Manufacturer Utility Tools
Some camera brands offer their own software designed specifically to find devices on a network. These tools are often more accurate because they look for specific device signatures.
For example:
• Hikvision offers the SADP Tool
• Dahua provides ConfigTool
• Other brands may have tools like “Device Manager” or “IP Finder”
These programs usually scan your local network and list all compatible cameras, including their IP addresses, model numbers, and status. If you're using a less common brand, check the manufacturer's support page for a similar utility.
5. Use Command Line Tools (e.g. ARP)
For users comfortable with terminal commands, you can check local devices using a built-in network cache.
On Windows, open Command Prompt, and type:
css
arp -aThis shows a list of IP addresses and their corresponding MAC addresses. If you already know your camera’s MAC address, simply match it with the list to find its IP.
On macOS or Linux, you can use the
arp or ip neigh command in Terminal. This method is fast but requires some familiarity with device identifiers, so it's best for users who have a bit of networking experience.6. Use Default IP or Trial-and-Error
Some cameras come with a default static IP address that doesn’t change unless you reconfigure it. This is especially true for cameras that connect via Ethernet and haven’t been added to a network yet.
Check your camera’s manual or the label on the device for a listed IP address. Common defaults include:
192.168.0.100192.168.1.88192.168.1.10You can try entering these addresses in your browser while your computer is on the same network. If that doesn’t work, try resetting the camera to factory settings and repeating the process. It's not the fastest method, but sometimes it's the only one that works for older or unbranded cameras.
Common Problems and How to Fix Them
Before completing your IP camera setup, it’s important to recognize common issues that might prevent your camera from showing up on your network—and just as important, how to fix them and keep your camera secure.
1.Camera Not Showing Up? Here’s Why
If your camera doesn’t appear in the mobile app, router settings, or network scanning tool, it may not be properly connected. This can happen for several reasons:
• The camera is out of your Wi-Fi range
• It hasn’t completed the initial setup process
• It only supports 2.4 GHz Wi-Fi, but you're trying to connect it to a 5 GHz network
• Your router isn’t assigning it an IP address (a DHCP issue)
Sometimes, firewall or antivirus software on your computer can block network scanners. Try disabling them temporarily or use a different device to scan your network.
2.Fixing Network and IP Detection Issues
Once you’ve identified the problem, here are some practical steps you can take:
• Move the camera closer to your router during setup
• Ensure your phone or computer is on the same Wi-Fi network as the camera
• Restart both the camera and router to refresh network assignments
• Check your router’s admin panel to see if it’s blocking new devices or has DHCP disabled
• Use an Ethernet cable to connect directly if the wireless setup continues to fail
If your camera requires a mobile app for first-time setup, make sure you’ve followed all steps carefully, including scanning the QR code or entering the serial number.
3. Secure Your Camera After Setup
Once your camera is online, securing it is just as important as getting it connected. Many users overlook this step, but it’s critical for protecting your privacy. Here's what you should do:
• Change the default username and password immediately
• Disable UPnP (Universal Plug and Play) on your router unless you know you need it
• Avoid port forwarding unless you understand how to do it securely
• Keep your camera’s firmware up to date using the official app or support portal
These basic measures go a long way in preventing unauthorized access.
4.Avoid Public Exposure Risks
Some cameras are accidentally left open to the internet without proper protection. Tools like Shodan can easily find and list unsecured devices online—including camera feeds.
To prevent this:
• Never enable remote access without a strong, unique password
• Always use encryption protocols if available (like HTTPS or secure streaming)
• Use third-party security tools to check if your camera is publicly exposed
• Disable remote viewing features unless absolutely necessary
Regularly reviewing your camera’s privacy settings helps ensure your video feed stays private.
Recommended Cameras That Simplify Setup
If you're planning to avoid the hassle of complex configuration or IP troubleshooting, choosing the right camera from the start can make a big difference. Below are three well-designed options from aosu that are easy to install, discover, and manage on your home network.
1. IndoorCam P1 Pro
Clear setup, smart controls This camera is designed for seamless indoor use. Once powered on and connected, it appears instantly in the aosu app, where you can access the IP address and full device info with just a few taps. It also features 2K resolution, AI-powered motion detection, and smart tracking, making it ideal for keeping an eye on pets, kids, or indoor entryways—without needing a technical background to configure.
2. SolarCam D1 Classic
Zero wiring, automatic connectivity Perfect for outdoor environments, this camera connects to Wi-Fi automatically once mounted, with no Ethernet or outlet required. It’s powered by solar energy and designed for minimal maintenance. Once online, its IP address is accessible via the aosu app, making it easy to link with other systems or monitor directly. Ideal for backyards, driveways, or anywhere with sunlight and Wi-Fi coverage.
3. 4K SolarCam P1 Max with HomeCortex System
Smart hub management for multiple cameras If you're running several cameras and want unified control, this system includes the HomeCortex hub, which automatically discovers and manages all connected aosu devices on your network. It simplifies IP address lookup and advanced configuration through a centralized interface. Combined with 4K ultra HD video, radar motion detection, and solar power, it's a powerful choice for large homes, villas, or multi-zone setups.
Conclusion
Finding your camera’s IP address is one of the first and most important steps in setting up a secure and functional smart surveillance system. Whether you're using a mobile app, checking your router, or scanning the network, knowing how to locate this address gives you full control over how your camera connects, communicates, and protects.
No matter your technical experience, there's a method that fits—from quick app checks to more advanced tools. Choose the one that works best for you, and don’t forget to secure your network along the way. A properly configured IP camera isn’t just easier to manage—it’s also much safer to use.
FAQs
Do all security cameras have an IP address?
Yes, every network-connected security camera is assigned an IP address. This includes both wired and wireless models. The IP address acts like the camera’s home address on your network, allowing other devices—like your phone, tablet, or NVR—to find and communicate with it. If a camera doesn’t have an IP address, it won’t be visible to your router or apps, and you won’t be able to stream video or change settings remotely.
What if I can’t find my camera on the network?
First, make sure the camera is powered on and within range of your router. Check if it requires an initial setup through its mobile app before it connects to Wi-Fi. If you're using a dual-band router, ensure the camera is on the correct frequency—many models only support 2.4 GHz. If it's still not showing up, use a network scanner like Advanced IP Scanner or Fing to see if the device appears. You can also reboot the camera and your router, which often resolves temporary discovery issues.
Is it risky to leave my camera’s IP address open?
Yes, it can be. If your camera’s IP address is accessible from outside your network, and especially if it's using default login credentials, it becomes a potential security risk. Tools like Shodan can locate unsecured cameras exposed to the internet. To protect your setup, change the default username and password, disable unused remote access features, and consider placing the camera behind a firewall or VPN if you plan to access it remotely.
Can I assign a static IP address to my camera?
Yes, most IP cameras allow you to set a static IP either in their web interface or through the app. This is especially useful if you're integrating the camera with a network video recorder (NVR), home automation system, or any device that requires a consistent IP. When assigning a static IP, choose one outside your router’s DHCP range to avoid IP conflicts, and write it down so you don’t lose access.
Do I need the IP address for daily use?
For most users, no. If you're using a cloud-based camera system, the mobile app handles everything in the background, so you won’t usually need to know the IP address. However, if you're setting up local storage, advanced integrations, or troubleshooting a connection issue, knowing how to find the IP becomes essential. Even if you don’t use it daily, it’s a good idea to know where to find it when needed.

Zostaw komentarz
Ta strona jest chroniona przez hCaptcha i obowiązują na niej Polityka prywatności i Warunki korzystania z usługi serwisu hCaptcha.