
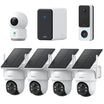


Welcome to our comprehensive guide on home security camera installation. In this post, we'll delve into various options ranging from stylish wireless video doorbells to flexible outdoor cameras, encompassing both solar-powered and wired models. Additionally, we'll discuss the strategic positioning of indoor cameras. Each type of camera is tailored to boost your security and offer tranquility, making sure every area of your home is thoroughly watched. Also check out our hot sellers from the last 30 days: Backyard & Garden Cameras
Table of Contents
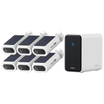
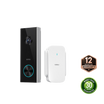
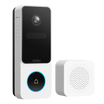
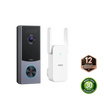
1. Installing aosu Wireless Video Doorbell
Enhance your home security with the easy installation of aosu wireless video doorbell. This device comes equipped with a built-in rechargeable battery, simplifying setup and maintenance. Here’s a comprehensive guide to installing your new aosu video doorbell.
What's in the Box of aosu Video Doorbell?
Inside your aosu video doorbell package, you'll find:
- The wireless video doorbell camera with a built-in battery
- Mounting bracket and hardware (screws and wall anchors)
- USB charging cable for battery recharging
- User manual and installation guide

Step-by-Step Installation Instructions
1. Initial Setup
Start by charging the doorbell using the included USB cable until the battery is fully charged. This ensures the doorbell operates effectively during the setup and initial use.
2. Choose the Right Spot
Install the doorbell at about 48 inches above the ground. This height is generally perfect for capturing clear facial images of visitors.
3. Installing the Mounting Bracket
Use the provided screws and a drill to securely attach the bracket to your chosen spot. Make sure the bracket is level to maintain a straight camera angle.
4. Mount the Doorbell
Once the bracket is firmly attached, slide the doorbell onto the bracket until it clicks into place and is securely locked.
5. Connect and Test
Follow the instructions to connect the doorbell to your home Wi-Fi network. Test the connection and video quality by using the aosu app to view the camera feed and trying out the doorbell function.
Tips for Optimal Camera Positioning
- Avoid Glare: To prevent glare in your video footage, avoid installing the doorbell facing direct sunlight.
- Clear View: Ensure there are no obstructions in front of the camera. Keep it clear of any objects that could block the view, like decorations or overly bushy plants.
- Adjust the Angle: If necessary, use any included angle adapters to adjust the doorbell’s viewing angle. This adjustment ensures comprehensive coverage of your entryway.
By meticulously following these steps, your aosu wireless video doorbell will be optimally set up to provide a clear, reliable view of your front door area, significantly boosting your home security.
2. Setting Up Outdoor Cameras
Outdoor cameras significantly enhance the security of your home's perimeter. This guide will explore how to install aosu's solar-powered cameras and provide general guidance on installing traditional wired outdoor cameras in the market, ensuring you have a comprehensive understanding regardless of the system you choose.

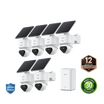
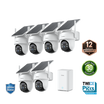
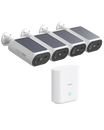
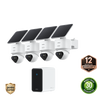
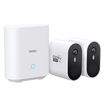
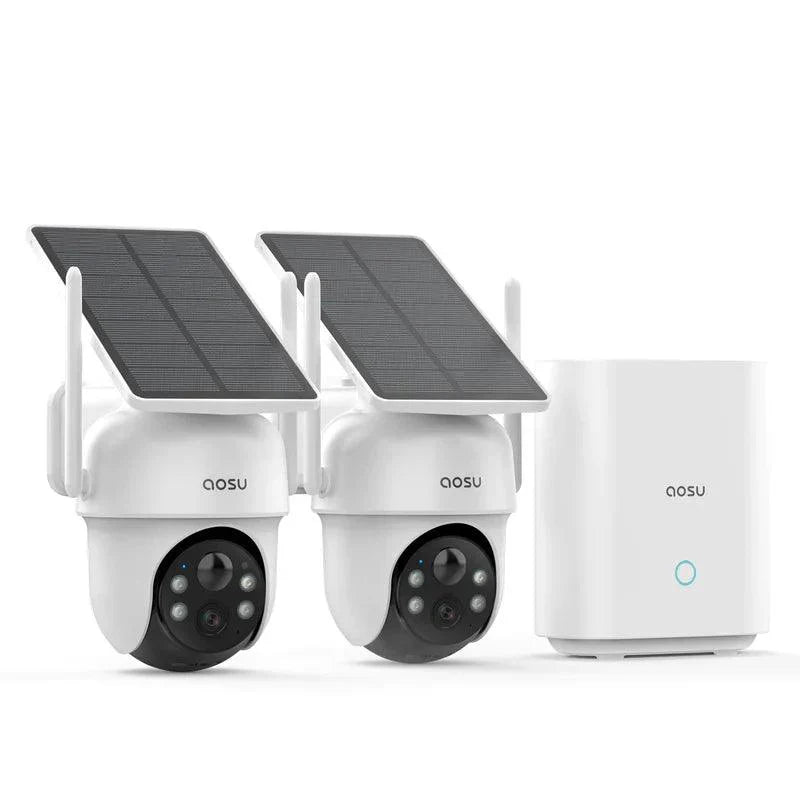
Type 1: aosu Solar Cameras
aosu's solar-powered cameras harness sunlight to continuously charge, eliminating the need for wiring and frequent maintenance. This eco-friendly solution offers enhanced security with minimal environmental impact, providing a convenient and sustainable choice for home surveillance.
Best Placement for Solar Cameras
- Sunlight Exposure: Position the camera so that the solar panel receives unobstructed sunlight throughout the day. Avoid locations under heavy foliage or shadowed by buildings.
- Installation Angle: Orient the solar panel to face true south in the Northern Hemisphere to maximize solar gain.
Steps to Securely Install Solar Cameras
1. Select the Location
Find a spot that maximizes sunlight exposure and covers your surveillance needs.
2. Mount the Camera
Secure the camera using the provided mounting hardware. Position it at a height that balances surveillance coverage and security against tampering.
3. Adjust for Best Coverage
Fine-tune the camera and solar panel angles to ensure optimal performance for both security coverage and solar charging.
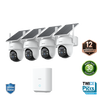
Type 2: Wired Outdoor Cameras
Wired cameras require a power source and a connection to your recording or monitoring equipment, making installation a bit more complex than solar-powered units. Here is a detailed instruction of wired home security camera installation and tips on hiding the wire.
Mounting and Wiring
1. Select the Installation Site
Opt for strategic locations that cover essential areas such as entry points and wide perimeters.
2. Install the Mounting Bracket
Attach the bracket at a suitable height (usually at least 9 feet) to deter tampering. Use wall plugs for brick or concrete surfaces.
3. Route and Connect the Wires
Run the power and video cables from the camera to your DVR/NVR system. Ensure wires are protected from the elements and potential damage.
Strategies for Hiding Wires
- Cable Concealers: Use them to neatly cover exposed wires, matching the color to your home’s exterior for less visibility.
- Through-the-Wall Routing: Consider routing cables through walls for the most secure and visually appealing setup, exiting near your monitoring equipment.
Camera Placement Tips
- Coverage: Avoid blind spots by placing cameras so they provide overlapping coverage of key areas.
- Height and Angle: Position cameras out of easy reach and angle them to maximize the view of critical areas without obstructions like branches or decor.
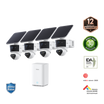
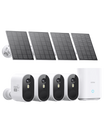
Easy Installation of aosu Solar Cameras
In comparing the installation of aosu's solar cameras with wired systems, the convenience of aosu's solution stands out. The straightforward, wire-free installation and maintenance-free operation, thanks to the solar panels, make aosu solar cameras an exceptionally user-friendly option. They are ideal for those looking for an effective security solution with minimal setup complexity and ongoing upkeep.
By covering both aosu's solar cameras and general wired camera installations, this guide aims to provide a well-rounded approach to setting up outdoor home security cameras, catering to various needs and preferences.

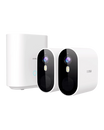
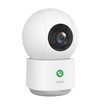
3. Optimizing aosu Indoor Cameras
Indoor cameras are essential components of a comprehensive home security system, allowing for real-time monitoring of interior spaces. Here's how to optimize the placement and setup of aosu indoor cameras to enhance their effectiveness while addressing privacy and legal considerations.

Best Placement for Indoor Cameras
- Common Areas: Install cameras in living rooms, kitchens, or any area where family members frequently gather. These locations often provide the best overview of household activity.
- Hallways: Position cameras to cover hallways leading to main entry points or connecting different areas of the house. This ensures that anyone moving between rooms is captured.
- Near Entry Points: Cameras near front or back doors, garage entries, and other access points can help capture footage of entries and exits, which is crucial in the event of a break-in.
Camera Angles and Heights
- Optimal Height: Mount cameras at a height of about 6 to 8 feet. This elevation typically allows for a clear view while keeping the camera out of easy reach, reducing the risk of tampering.
- Angle for Coverage: Aim the camera to cover as much of the room as possible. Avoid angles that create blind spots or excessive back-lighting from windows, which can obscure faces and details.
Privacy Concerns and Legal Considerations
- Visibility: Ensure that cameras are visible to people in your home. Hidden cameras can lead to legal issues, particularly in areas where guests expect privacy, such as bathrooms or guest bedrooms.
- Notification: Ensure that both household members and guests are aware of the cameras' presence. Transparency in this regard helps set clear expectations and complies with privacy laws.
- Area Coverage: Avoid placing cameras in private areas where individuals have a reasonable expectation of privacy, such as bedrooms and bathrooms, unless safety concerns necessitate their use.
Additional Tips
- Wi-Fi Connectivity: Position cameras within a good range of your Wi-Fi router to ensure a stable connection. Avoid placing devices too far from the router or in areas with thick walls that might block the signal.
- Power Sources: Consider the proximity of power outlets when placing cameras, unless using battery-powered models. Ensure cords are neatly tucked away or secured to prevent tripping hazards or tampering.
By following these guidelines, you can effectively enhance the functionality of your aosu indoor cameras while respecting privacy and legal standards. Properly placed and configured cameras not only deter potential intruders but also provide valuable documentation of events within your home, contributing to overall security and peace of mind.
Wrapping Up
In this guide, we've walked through the home security camera installation from the convenient wireless video doorbell and solar-powered outdoor cameras to the dependable indoor security cameras. Remember to follow the manufacturer's guidelines closely during installation and consider hiring a professional installer if you're unsure about any steps, especially those involving electrical work. Regular maintenance and timely firmware updates are crucial to ensure your cameras continue to function effectively and securely. By adhering to these practices, you'll enhance your home security and enjoy greater peace of mind.
FAQs
How to Install Outdoor Home Security Cameras Like a Pro?
To install outdoor cameras, choose elevated, sheltered locations covering entry points. Mount cameras near power sources, connect to Wi-Fi, and test angles with live feeds. Secure cables and confirm all zones are visible for complete property coverage.
What Is the Best Way to Set Up a Smart Camera System?
Set up your smart camera system by connecting through the app, syncing with your Wi-Fi, and calibrating motion zones. Include smart assistants for voice commands. Ensure each camera has a stable connection for full home visibility.
How Do You Properly Install Wireless Security Cameras?
Start by pairing cameras with your network, positioning them within signal range. Use mounts for stable placement, test coverage areas, and align with your monitoring app. Wireless systems offer flexibility without drilling or complex wiring.
How Does AI Improve Home Security Monitoring?
AI technology enhances home monitoring through real-time motion analysis and object detection. It learns patterns, reducing false alarms and focusing on genuine threats. Smart alerts provide instant updates via your connected devices.
Can You Install a DIY Home Security Camera System?
Yes, you can. Begin with a plan outlining key monitoring areas. Use basic tools to mount cameras, connect them to Wi-Fi, and configure the mobile app. Test views to ensure thorough coverage before finalizing installation.
How to Optimize Night Vision on Home Security Cameras?
For clearer night vision, place cameras away from direct light sources, enable infrared mode, and keep lenses clean. Adjust brightness and camera angle for optimal visibility in the dark. Proper setup ensures 24/7 security.
Why Should You Use Cloud Storage for Home Security?
Cloud storage keeps your footage safe, accessible, and secure. It enables quick evidence retrieval and remote viewing from anywhere. With automatic backups and encryption, you’ll never lose critical security recordings again.
Where to Find the Best Professional Camera Installation Services?
Seek certified installers with proven experience in home camera systems. Verify credentials, read customer reviews, and compare package details. Opt for brands like aosu to ensure accuracy, reliability, and seamless integration.

Zostaw komentarz
Ta strona jest chroniona przez hCaptcha i obowiązują na niej Polityka prywatności i Warunki korzystania z usługi serwisu hCaptcha.