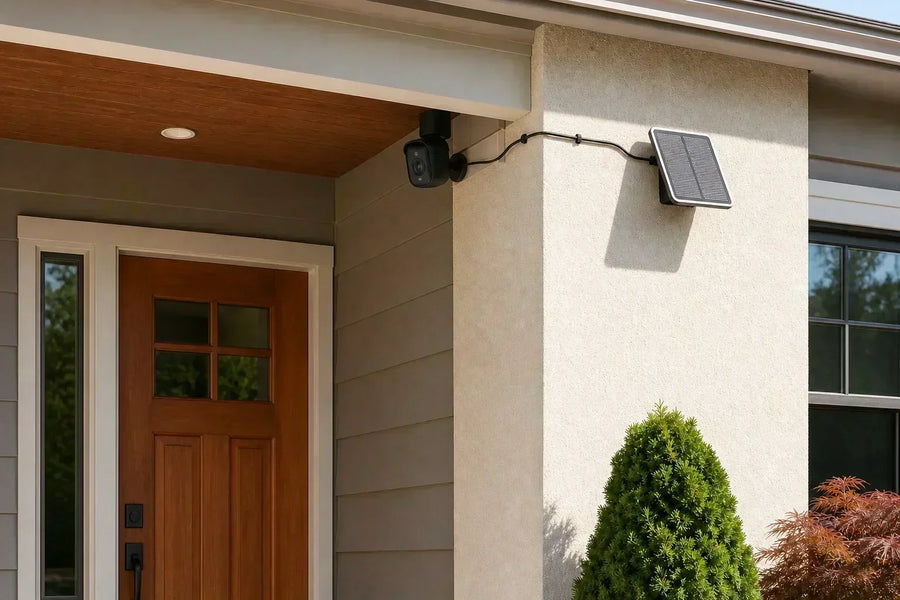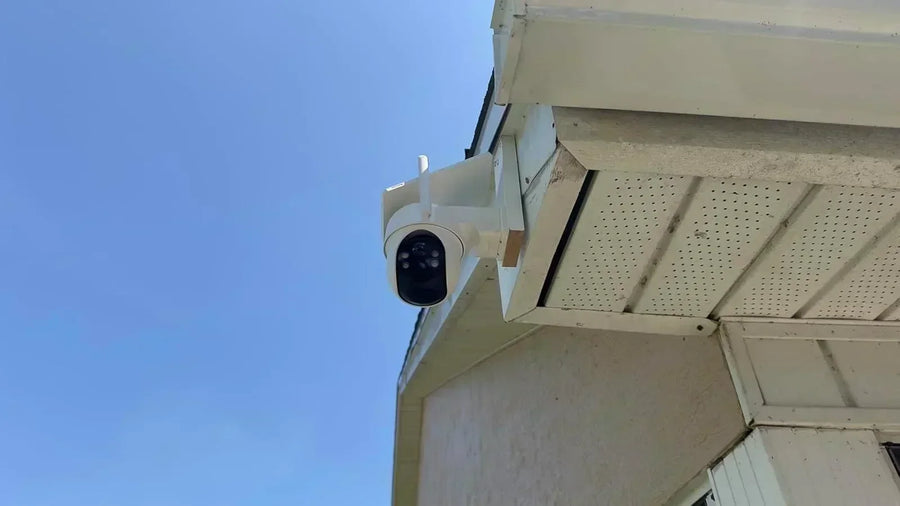



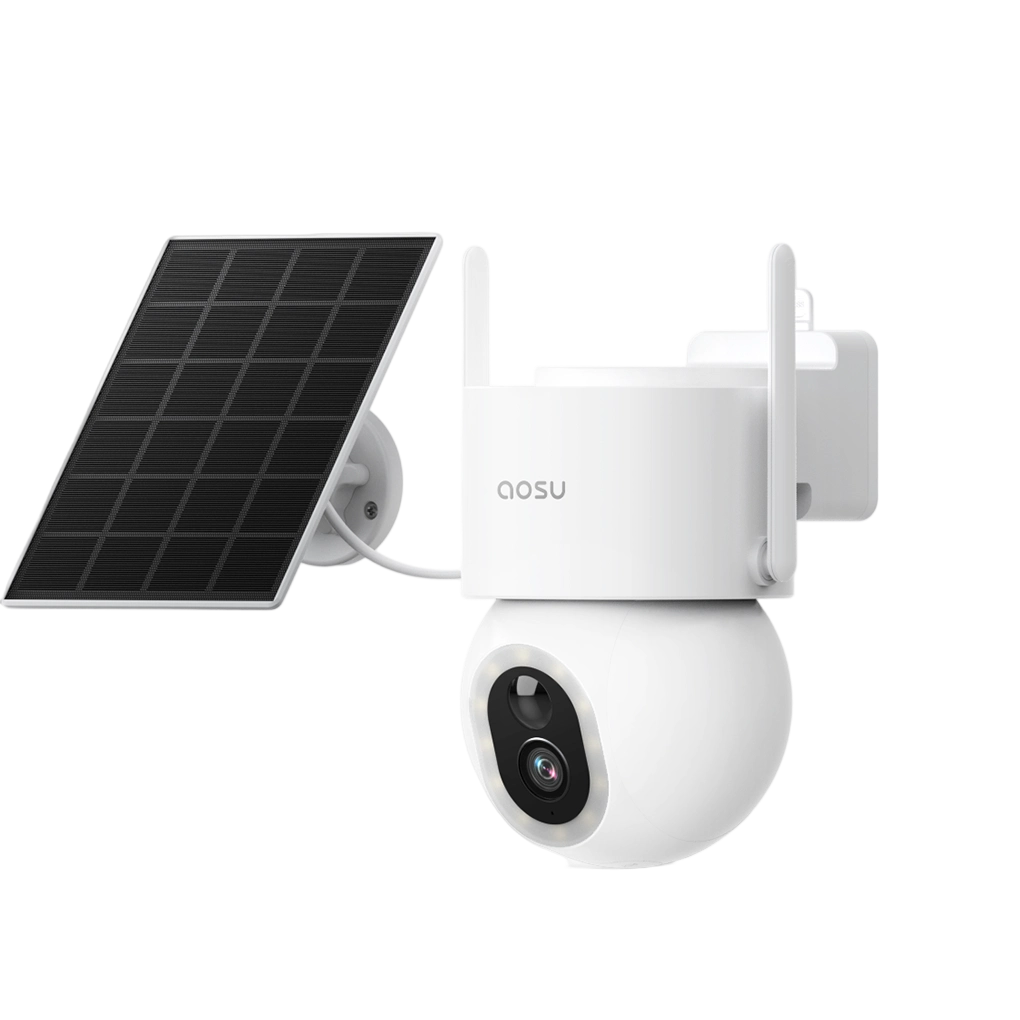
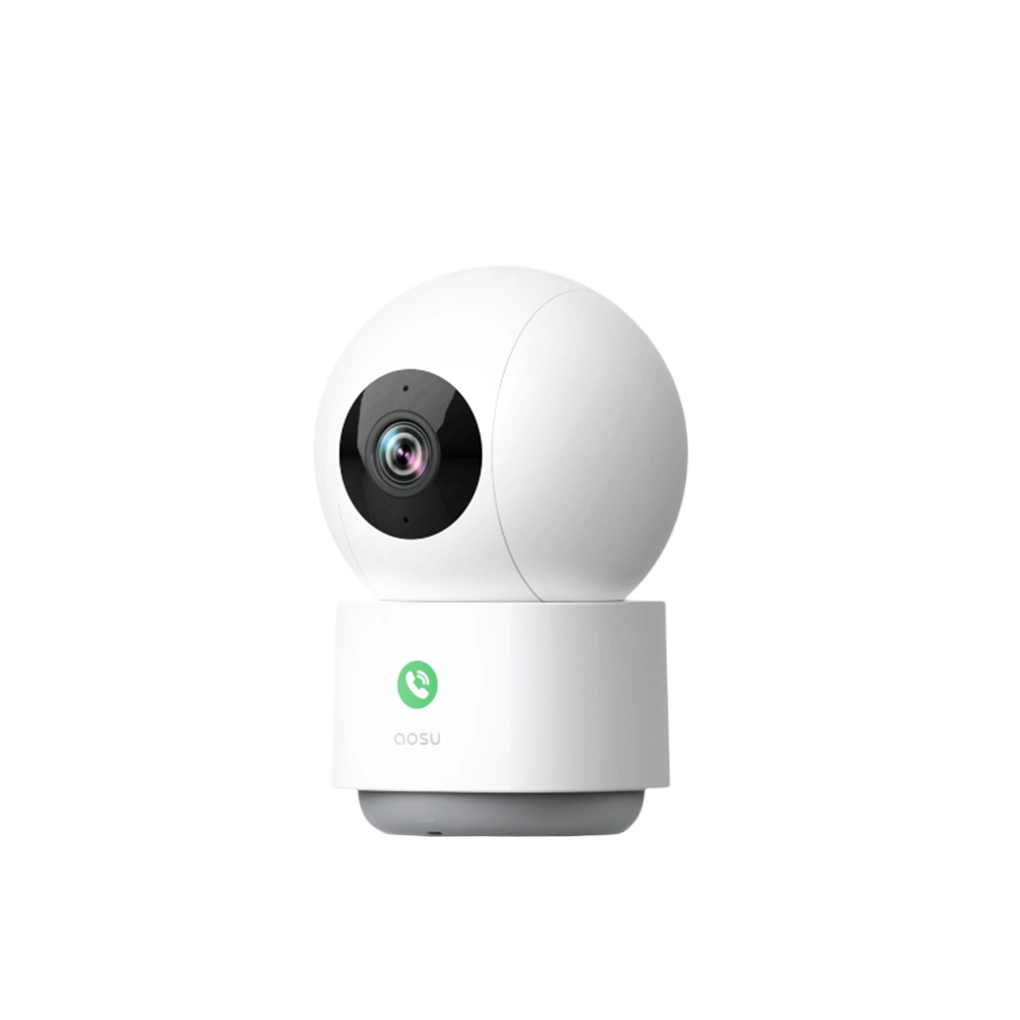

To clean and maintain a solar security camera, remove loose grit before wiping, clean the lens and solar panel with non-abrasive tools, inspect the housing, seals, cable and mount, then confirm the view and charging trend in the app. The safest cleaning method is always the one allowed by your exact camera and panel manuals.
A short, repeatable check protects both sides of the system. A clean lens helps the camera show useful detail, while a clear panel has a better chance of replacing the energy the camera uses each day.
When Does a Solar Security Camera Need Maintenance?
Use the camera's condition and performance to set the timing. Dust, pollen, salt spray, insects, bird droppings and nearby construction can make one location need attention sooner than another. Rain may remove some loose material, but it doesn't guarantee that the lens or panel is clean.
Add a quick inspection after strong wind, a storm, exterior building work, heavy pollen or a change in nearby plants. Check sooner if the picture looks hazy, night footage develops new glare, the mount shifts, or the battery stops recovering as it normally does on clear days.
| What you notice | First maintenance check | Escalate when |
|---|---|---|
| Hazy daytime image or soft detail | Inspect the lens cover for dust, fingerprints, dried water marks or fine grit. | The outside is clean but haze remains inside the housing or the lens cover is scratched or cracked. |
| New halos, glare or bright fog at night | Look for dust, webs, insects or moisture around the lens, infrared lights and nearby reflective surfaces. | Glare remains after the exterior is clean, or condensation is inside the camera. |
| Battery recovers more slowly in clear weather | Inspect the panel surface, new shade, the solar cable and the charging connection. | The clean panel gets usable sun but the battery keeps falling, or a cable or port is damaged. |
| Camera or panel angle has changed | Check accessible mount screws, wall anchors, brackets and cable strain without leaning beyond safe reach. | The mount, wall surface or anchor is cracked, loose or corroded. |
| Camera goes offline after rain | Check external port covers and visible seals without opening the housing. | There is moisture, corrosion or damage inside a port or enclosure. |
Prepare Before You Touch the Camera or Panel
Open the app first. Save a daytime view, check the battery percentage and note whether the camera is reporting solar charging. These give you a before-and-after comparison instead of relying on memory.
Read the model's cleaning, power and weather-sealing instructions. If the manual tells you to turn the camera off, disable automated pan-and-tilt movement or disconnect a panel before service, follow that sequence. Do not open a sealed housing or remove a built-in battery for routine cleaning.
Choose a cool, dry time when the panel is not hot from direct sun. Work from the ground or a stable platform whenever possible. If a ladder is necessary, inspect it, keep three points of contact while climbing and do not carry cleaning supplies in your hands.
1. Gather gentle cleaning tools: Use a clean bulb blower or very soft brush for loose dust, clean microfiber cloths, clean water, and a soft non-abrasive sponge for the panel. Use lens-cleaning fluid or mild detergent only when the product instructions allow it, and apply liquid to the cloth or sponge rather than spraying the device.
2. Keep damaging tools away: Do not use abrasive pads, dry scraping, household solvents, metal tools, a pressure washer or canned compressed air. Paper towels can trap grit and are a poor choice for coated optical surfaces.
How to Clean a Solar Security Camera Step by Step
1. Remove loose debris first: Use the bulb blower or a soft brush to lift dust, sand, cobwebs and insects from the camera body, lens area and panel edges. Start at the top so debris falls away. Removing grit before wiping reduces the chance of dragging hard particles across the lens cover or panel.
2. Clean the lens and night-vision area: Wipe the outside lens cover with a clean microfiber cloth using light pressure. If a dry cloth does not remove the mark, use only a lens-safe cleaner approved by the camera instructions and dampen the cloth—not the camera. Clean around the infrared lights or spotlight without pushing debris into a seam.
3. Clean the solar panel surface: Brush or rinse away loose material, then wipe the cool panel with clean water and a soft cloth or sponge. Soften stuck bird droppings before lifting them; do not scrape them off dry. If the panel maker permits mild soap, use the smallest amount needed and rinse away the residue. Keep water away from open connectors and damaged seals.
4. Wipe the housing without flooding it: Use a slightly damp cloth on the camera housing and dry it afterward. Weather resistance does not make a camera safe to submerge or pressure-wash. Do not spray liquid into the speaker, microphone, charging port, card slot, buttons or seams.
5. Inspect covers, seals and connections: Make sure accessible port covers sit flat and any external solar plug is clean, dry and fully seated as the manual directs. Look for cracks, pinched gaskets, corrosion or debris. Stop using a damaged connection instead of repeatedly unplugging and reconnecting it.
6. Check the mount, panel and cable: Confirm that the camera and panel do not move under gentle hand pressure. Look for loose fasteners, cracked anchors, rust, frayed cable, sharp bends and strain at the connector. Trim vegetation that brushes the equipment or creates new shade, but leave a full placement redesign to the separate placement and sunlight guides.
7. Restore power and run a complete test: Reconnect or power up the equipment in the order specified by the manual. Check the live view in daylight, trigger one walking test through the monitored area and review a nighttime clip after dark. Confirm that motion, audio and the final camera angle still work, then compare the battery level after a suitable period of clear daylight.
Use This Solar Camera Maintenance Checklist
The checklist keeps routine care focused. Record a date and the result only when something changes; a long log is unnecessary for a camera that stays clean, secure and charged.
| Part | Check | Good result |
|---|---|---|
| Lens and infrared area | No dust film, dried marks, insects or webs | Day and night footage are clear without new haze or glare |
| Solar panel | No shade-producing debris, pollen film or stuck droppings | Panel surface is clear and the battery follows its normal recovery pattern |
| Housing and port covers | No cracks, gaps, loose covers, moisture or corrosion | Covers sit correctly and the exterior remains dry |
| Mount and anchors | No movement, cracks, loose fasteners or corrosion | Camera and panel hold their intended angles |
| Cable and connector | No cuts, crushing, sharp bends or strain | Cable is supported and the approved connector is clean, dry and seated |
| App and recording | Battery, live view, detection and playback checked | A test walk records the area you intended to cover |

Check the parts that affect visibility, charging, weather protection and camera position.
Common Solar Camera Cleaning Mistakes to Avoid
Do not wipe a dusty lens or panel before removing loose grit. Dry particles can scratch coated or clear surfaces.
Do not spray cleaner directly at the camera. Liquid can run into a microphone, speaker, port or seam before you can wipe it away.
Do not treat an outdoor rating as permission to use a pressure washer, soak a connector or open the housing. Use the cleaning method stated for the exact product.
Do not lean sideways from a ladder to reach one more corner. Move the ladder or arrange professional help for equipment that cannot be reached safely.
Do not finish after the camera looks clean. A moved camera can show a tidy wall instead of the gate, driveway or package area you meant to monitor.
Do not assume cleaning fixes every charging problem. A clean panel cannot correct persistent shade, incompatible hardware, a damaged cable or a battery problem.
Know When Cleaning Is Not Enough
Contact support if you find internal condensation, a cracked lens cover, a loose or corroded charging port, damaged cable, water inside the enclosure, or a mount you cannot secure. Do not open a sealed camera to clean the inside.
Stop using and charging a camera that becomes unusually hot, swells, leaks, smells unusual or makes hissing or cracking sounds. Do not open or repair it. Contact the manufacturer for the next step, and leave the area and call emergency services if it begins to smoke.
If the panel is clean, the cable is intact and the battery still does not recover, move to a structured charging diagnosis. Save the battery readings, a photo of the panel position and the result of your test walk so support can see what you already checked.
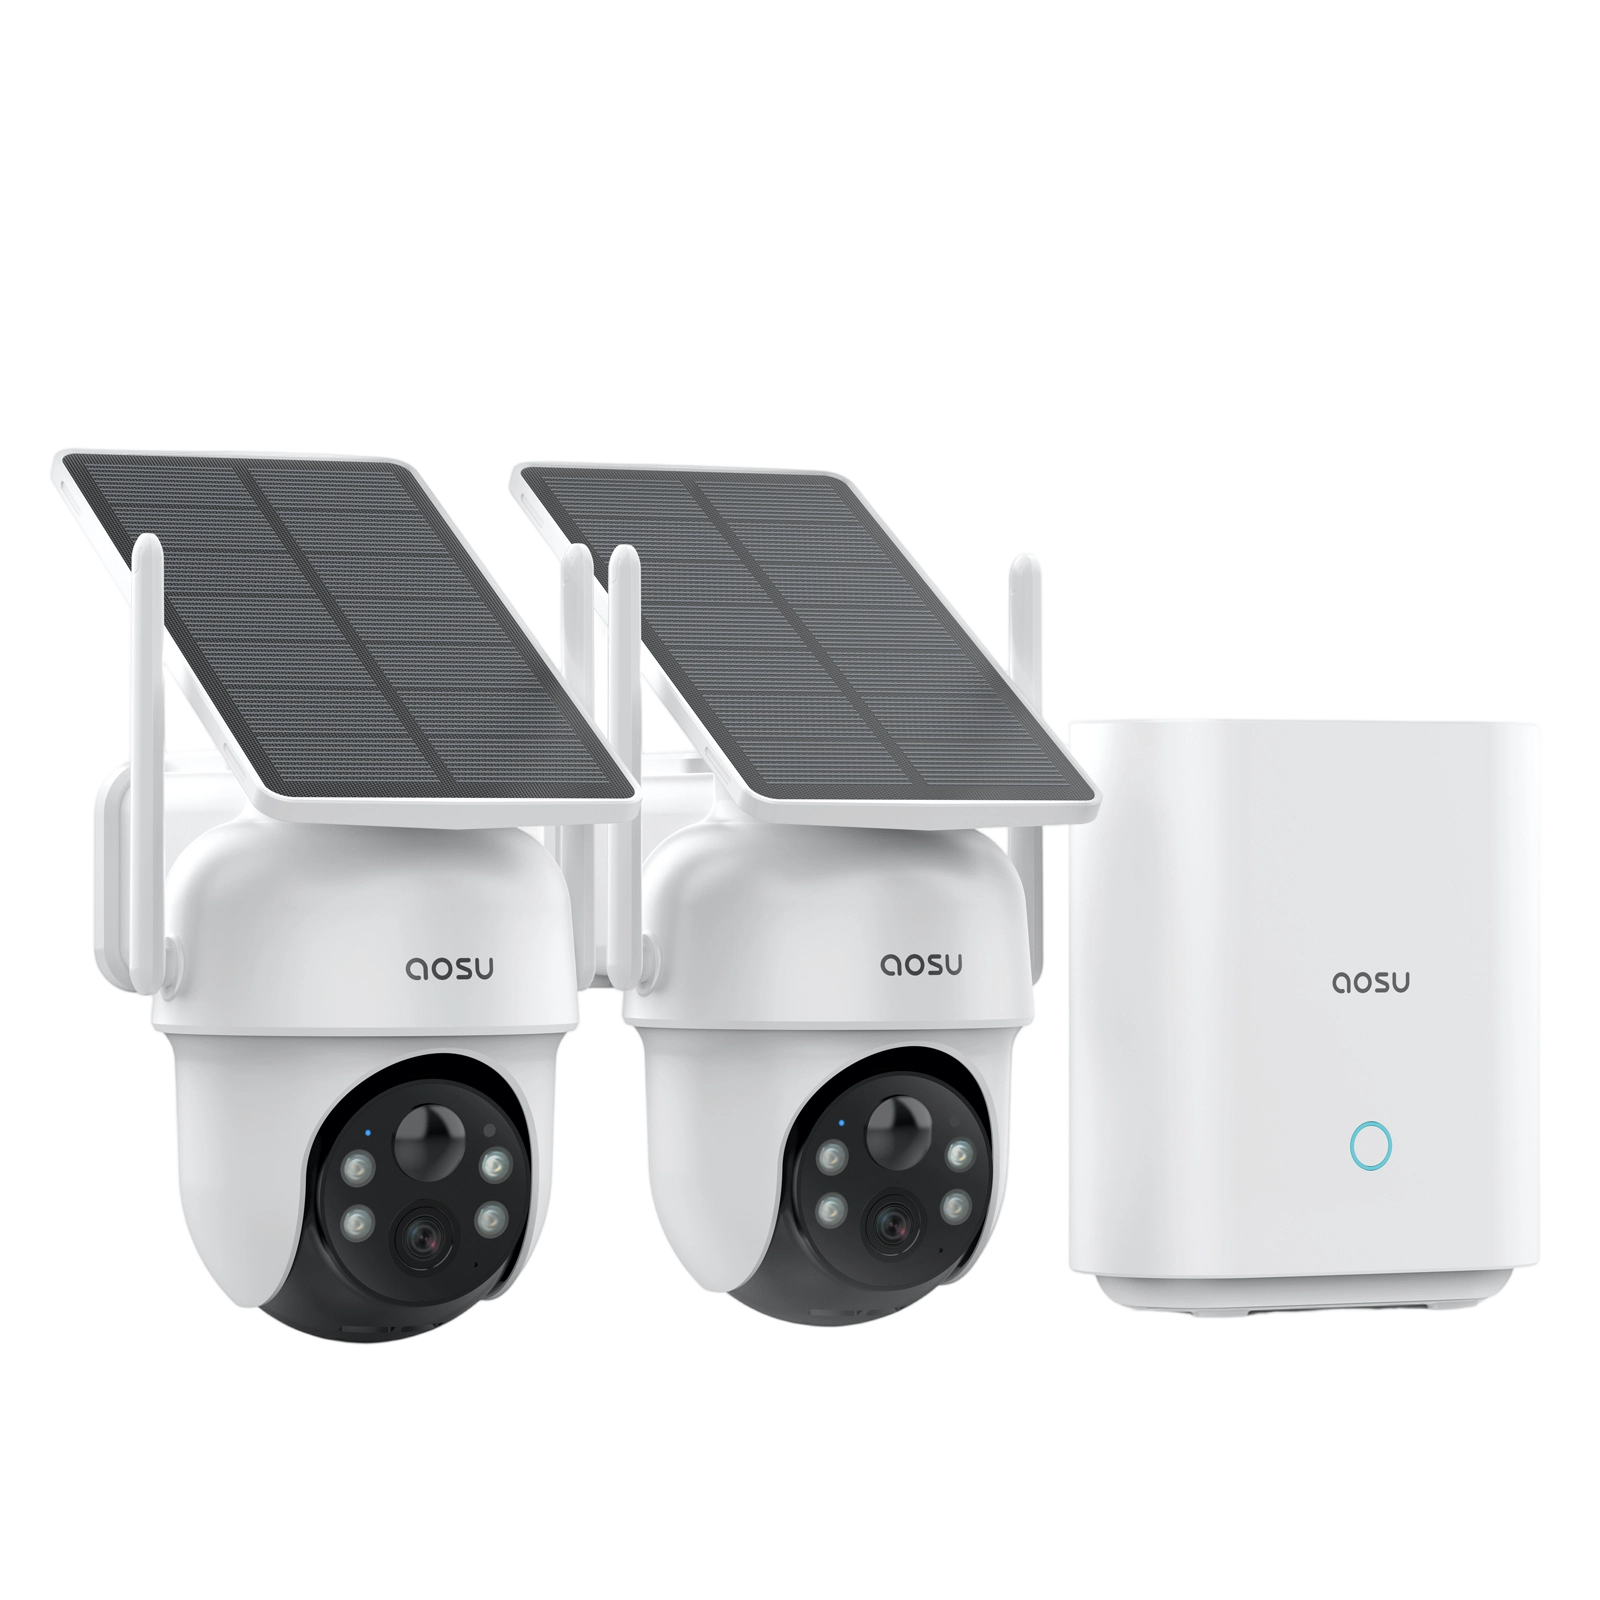
For a broader explanation of panel placement, battery use and solar-camera expectations, read the aosu solar security camera guide.
Related links:
· Related guide: solar security camera basics
To Wrap Up
Good solar camera maintenance is gentle and complete: remove grit, clean the lens and panel, inspect the weather protection and mount, then test an actual recording. The final test matters as much as the cleaning because it confirms that the camera still sees the right area and the panel is supporting the battery as expected.
Keep the routine tied to conditions at your home. A camera beside a dusty road, flowering tree or salty coast will need attention sooner than one in a sheltered, low-debris yard.
FAQs
How often should I clean a solar security camera?
Clean it when dust, pollen, webs, bird droppings or image changes show that it needs attention. Add an inspection after severe weather, exterior construction or a major seasonal change. The exact interval depends on the location and the model's instructions.
Can rain clean a security camera solar panel?
Rain can remove some loose dust, but pollen, oily residue and bird droppings can remain. Inspect the panel instead of assuming rain restored it, especially if the battery is recovering more slowly.
Can I use glass cleaner or alcohol on the camera lens?
Use only a cleaner allowed by the camera instructions. Household glass cleaners and solvents can damage coatings or seals. When an approved lens cleaner is needed, put it on a clean microfiber cloth rather than spraying the camera.
Should I turn off a solar security camera before cleaning it?
Follow the power-down and panel-disconnection sequence in the model's manual. Turning off movement, lights or recording can prevent the camera from moving or activating while your hands are near it, but controls and connector steps vary by model.