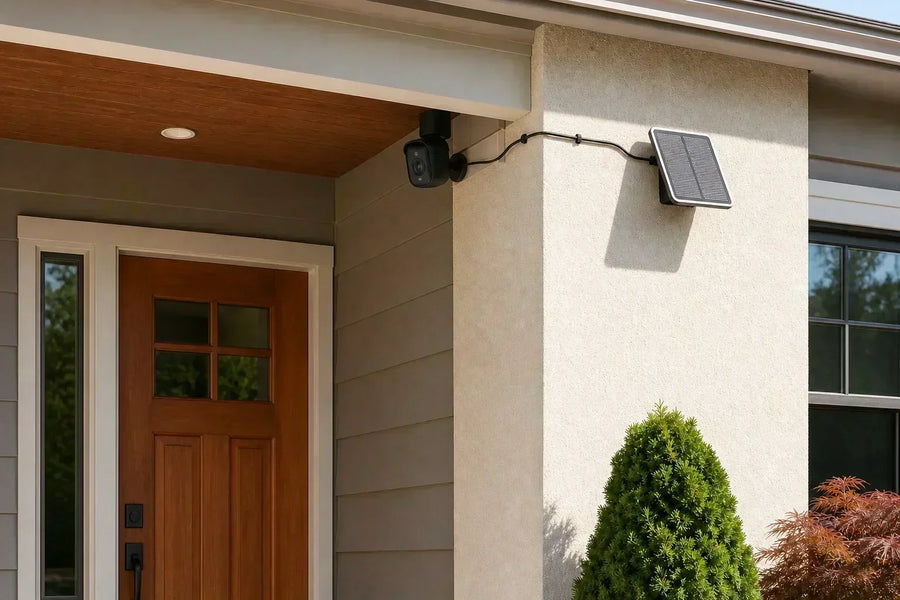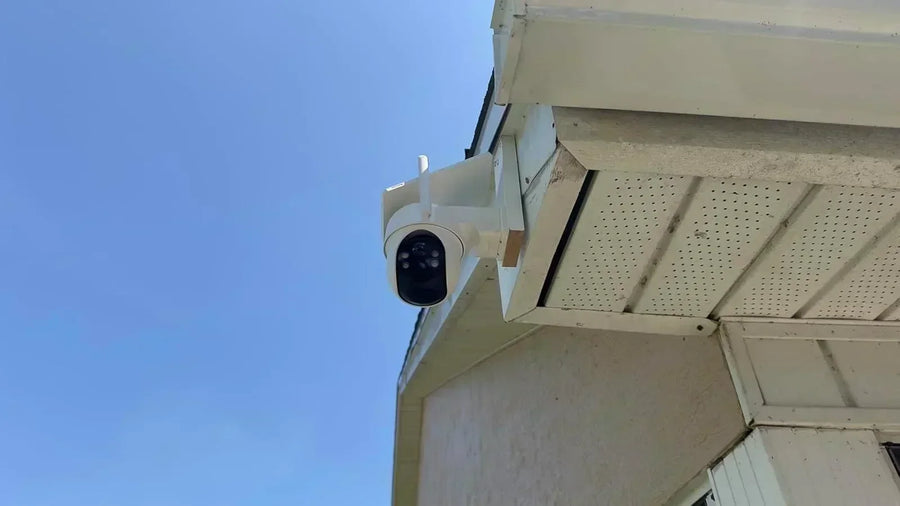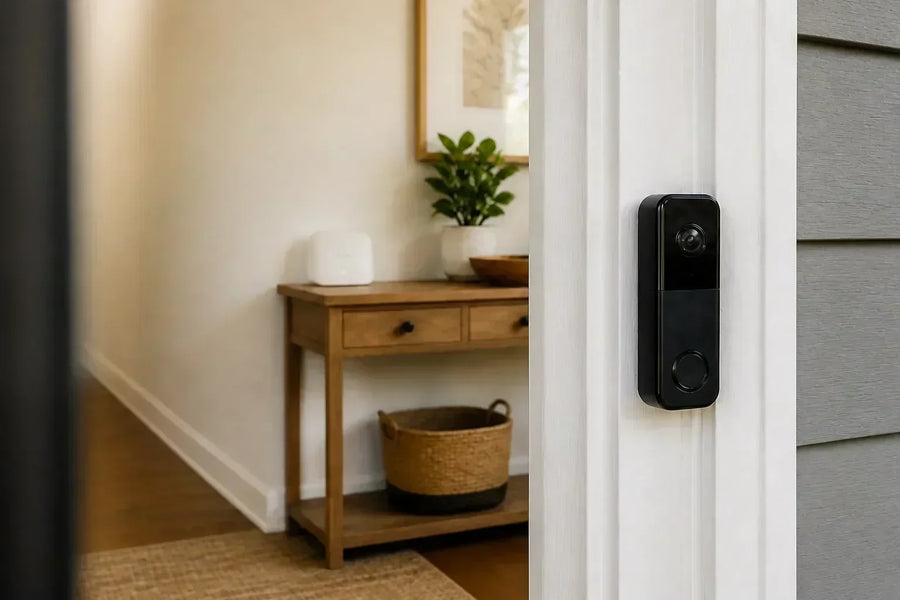



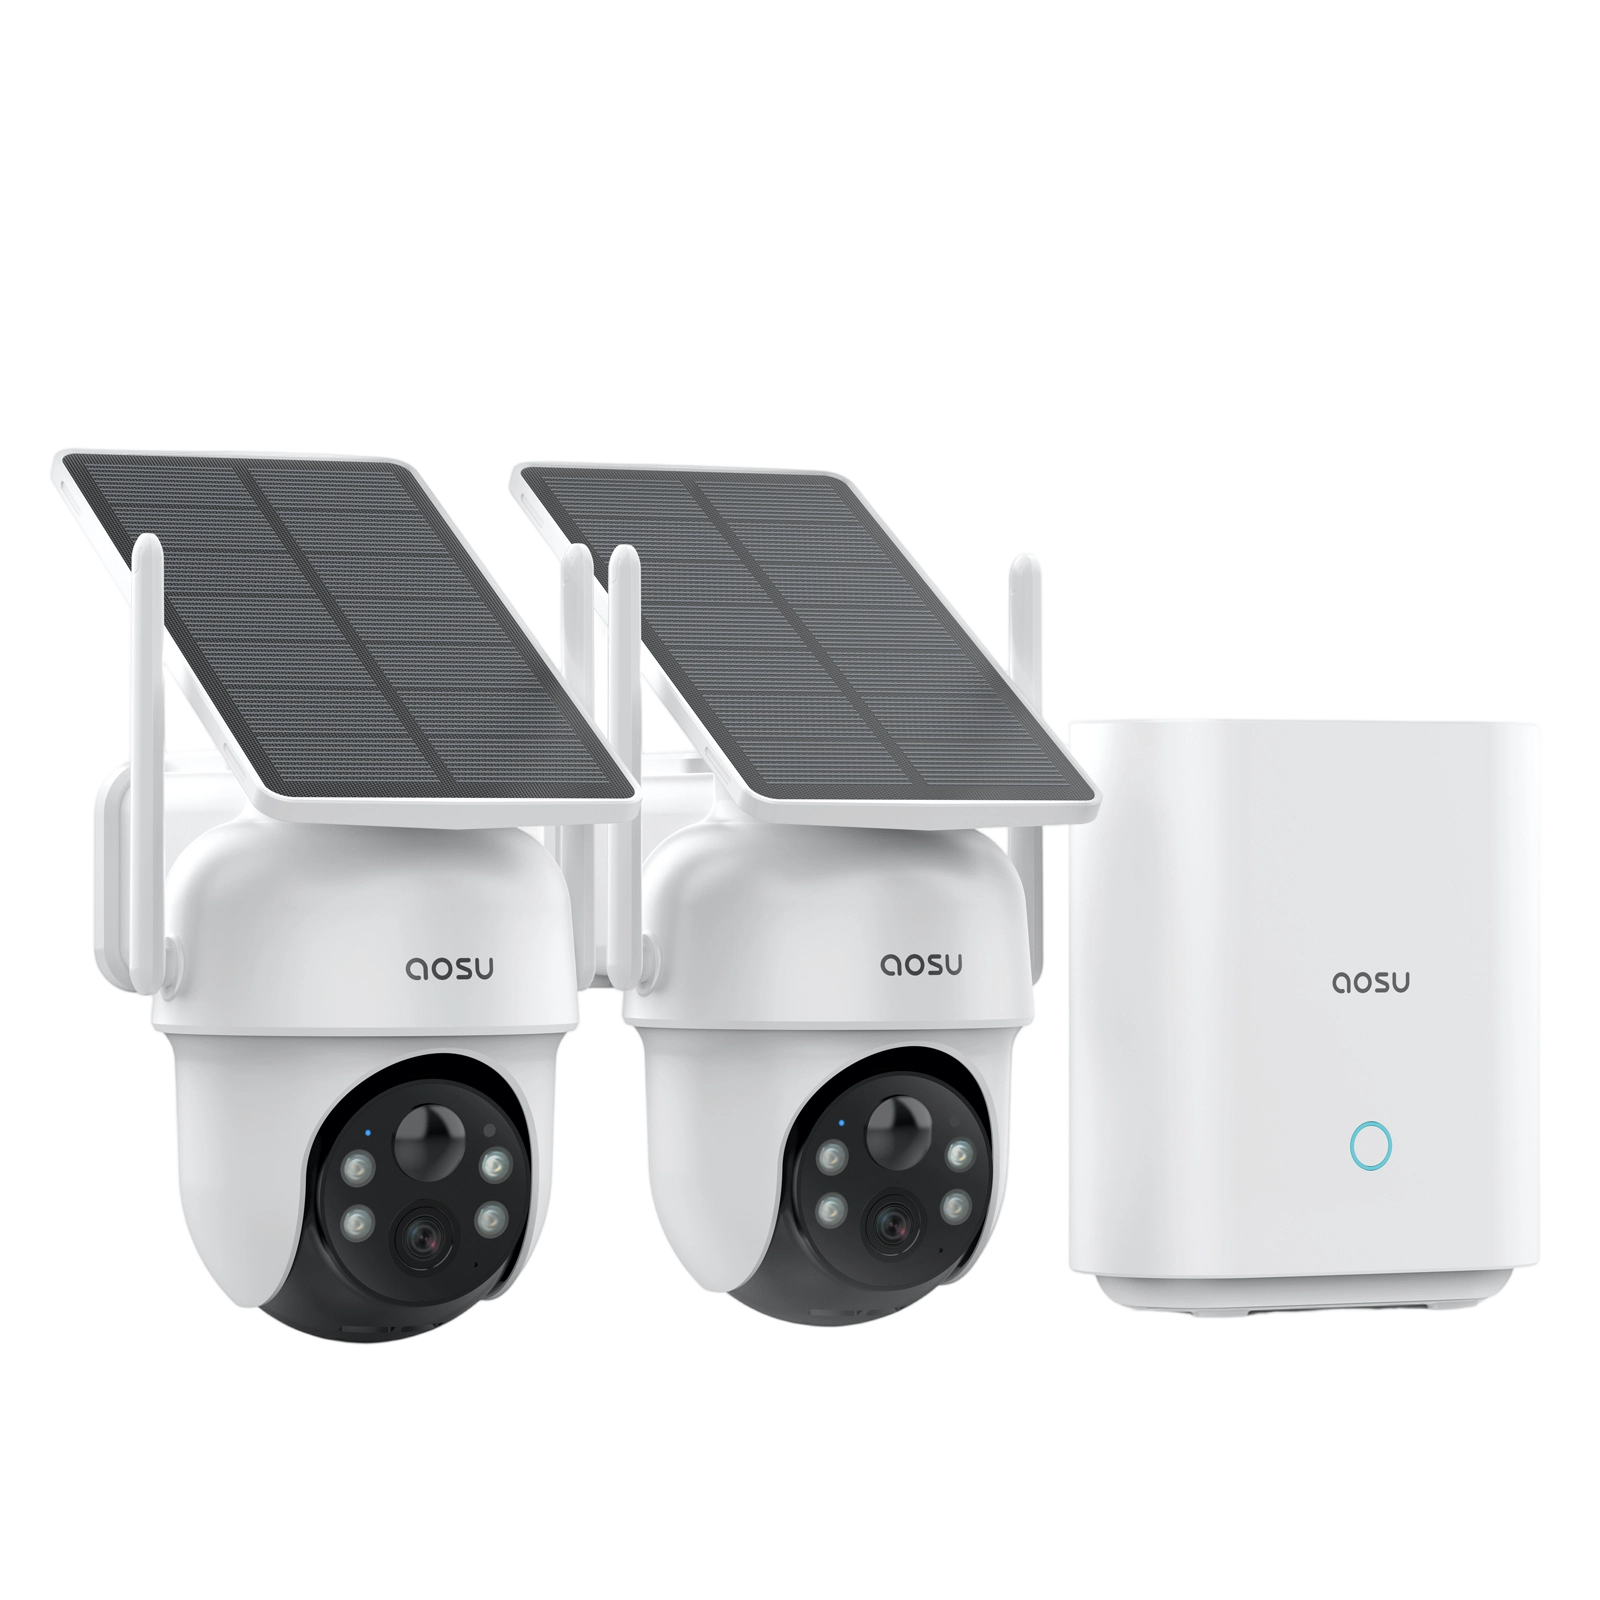
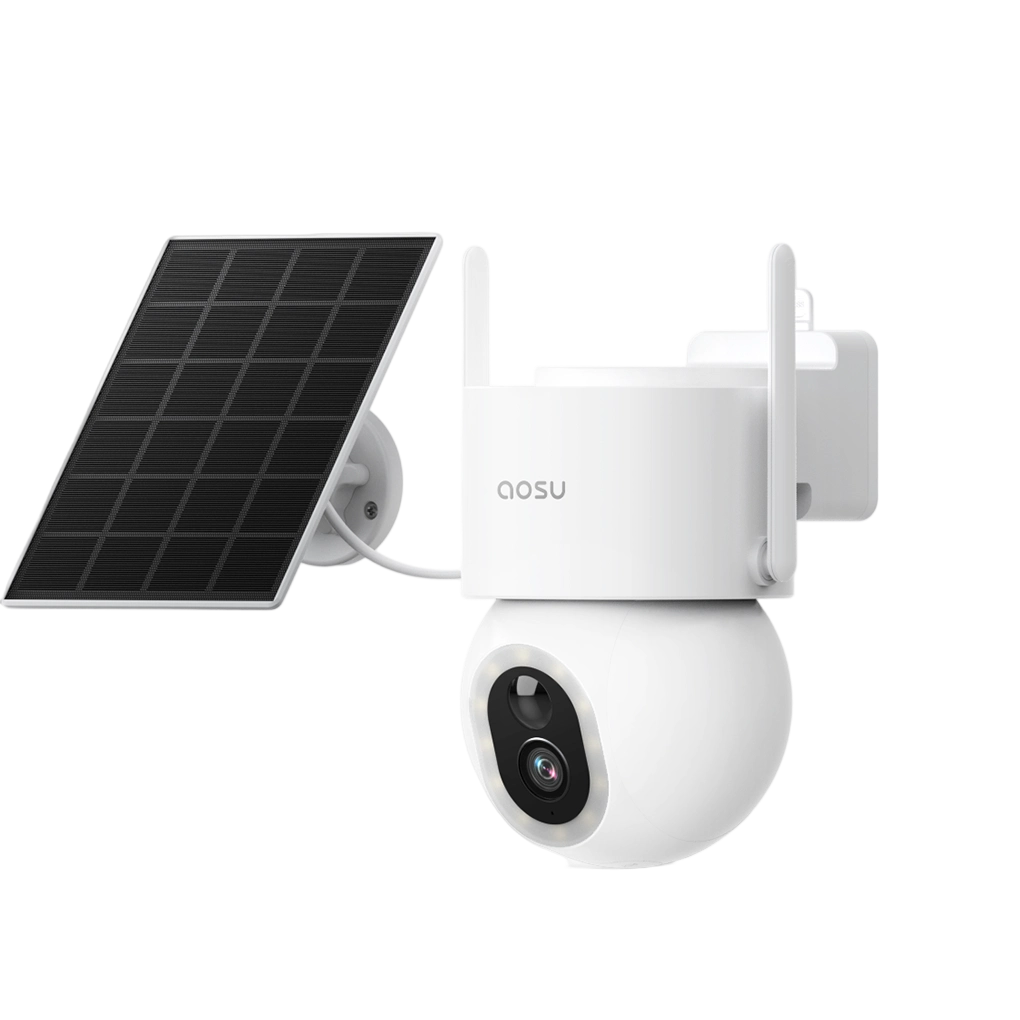
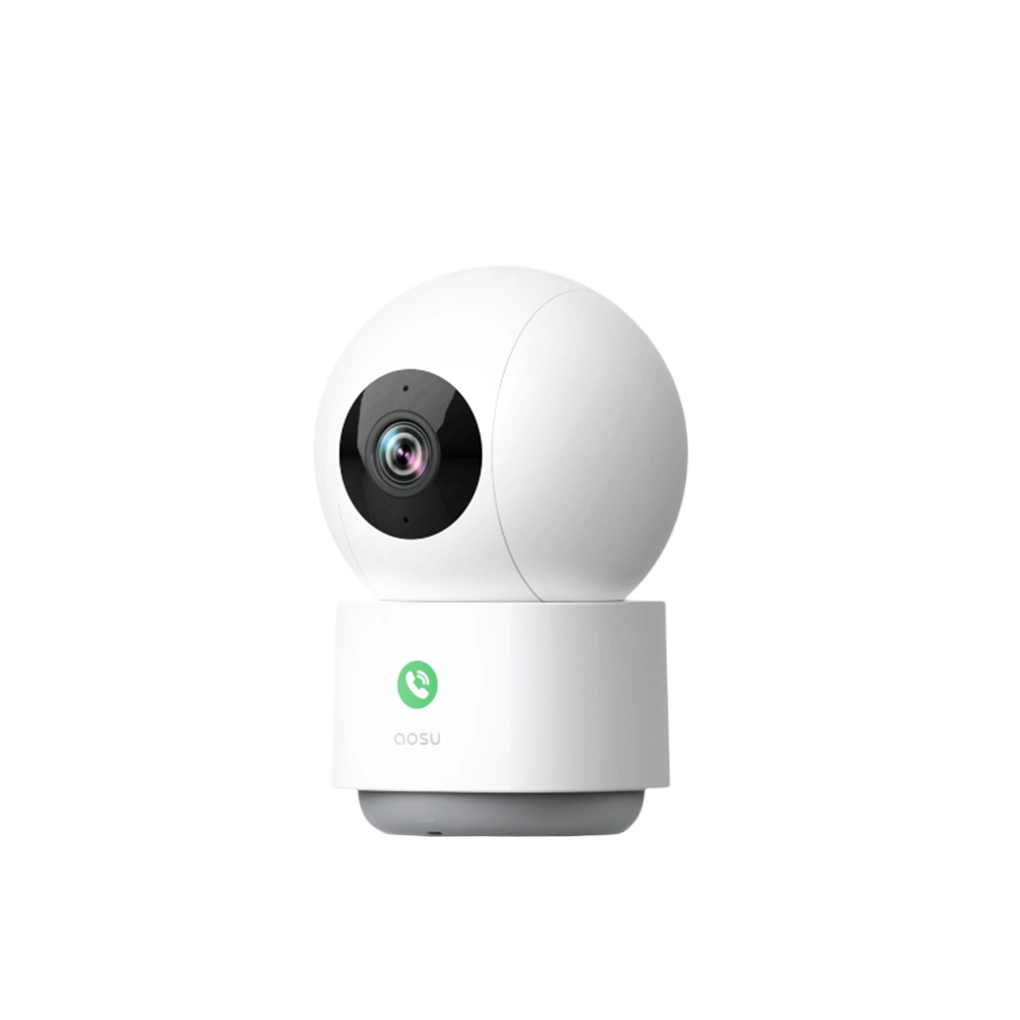




In this guide, a night vision camera app means the companion app for a home security camera—not a phone-camera filter or a third-party app that claims to add night vision to existing footage. In the camera’s own app, most controls labeled Night Vision change the next recording. They tell supported camera hardware when to use infrared light, when to turn on a white spotlight, whether to record in color or black and white, or how to handle the available light.
Controls for live-view quality, phone screen brightness, and digital zoom may change only what you see on the phone. After you download a clip, editing brightness, shadows, contrast, noise, or sharpness can sometimes reveal detail that is already present but difficult for the human eye to distinguish. Those edits change a copy of the video, not what the camera originally recorded.
Most Night Vision Settings Change the Recording
In a security camera’s own app, the Night Vision menu usually controls the camera rather than the phone display. A change made there applies when the camera captures a new live view or saved event. The aosu app’s night vision choices work in this camera-side category: they select how a compatible camera records the scene.
The exact labels depend on the camera. A model can only use modes and controls supported by its lights, sensor, lens, processor, and firmware.
| App setting | What the camera changes | Effect on the saved recording |
|---|---|---|
| Infrared or black-and-white night vision | Uses infrared illumination and an infrared-sensitive imaging path | Records a monochrome night image without adding visible white light to the scene |
| Natural Light | Leaves the camera’s support lights off and relies on ambient light | Records the scene using the light already present |
| Color Night Vision | Uses supported visible light, often from the camera’s white spotlight | Records color when the scene and camera provide enough visible light |
| Auto mode, sensitivity, or schedule | Changes when the camera switches its night mode or activates a light | Changes which capture mode is used for recordings made under those conditions |
| Exposure, brightness, image, or recording-quality controls | Adjusts the camera’s capture or encoding pipeline when the model exposes those controls | Can change brightness, noise, motion rendering, detail, or compression in new clips |
 Native app settings change what the camera does before it saves a recording. Editing a downloaded copy can make existing detail easier to see, but the original capture stays the same.
Related links:
· Compare security camera night-vision modes
What These Settings Change in a Saved Clip
Camera-side settings change the source material available later. Adding infrared light can expose shapes that a visible-light-only recording would leave dark. A white spotlight can preserve color information. Exposure and image controls can shift the balance between brightness, noise, highlight detail, and the clarity of movement.
A brighter setting is not automatically the better setting. Strong gain can make shadows noisy. Heavy noise reduction can smooth away fine texture. A longer exposure can brighten a still driveway while making a walking person less distinct. The useful result is the recording that preserves the detail you need in your actual scene.
Night Mode Changes the Light and Color Available to the Camera
Infrared and spotlight modes do more than recolor the same image. They use different illumination, so they can change which surfaces, colors, and background areas the camera captures. Existing-light modes depend more heavily on porch lights, streetlights, and other ambient sources.
Recording Quality Changes What the File Keeps
Some companion apps separate saved-recording quality from live-view quality. A higher recording setting can retain more visible detail, while a lower setting can reduce storage and bandwidth. Confirm the result with a downloaded clip; a live-view screenshot does not show exactly what the camera stored.
Related links:
Read about night vision options on SolarCam T2
Which App Controls May Change Only Live View
Not every control in a security camera app changes the saved file. Streaming and display controls can make video easier to watch on your phone while leaving the recording untouched.
| Control | What it changes | How to check |
|---|---|---|
| Live-view resolution or data-saving mode | The stream sent to the phone | Download the saved clip and compare it with the live preview |
| Phone screen brightness or display contrast | How dark tones appear on that screen | View the same file on another display at a normal brightness |
| Pinch-to-zoom or playback zoom | The size of the existing pixels on screen | Return to the original scale and inspect the source resolution |
| Playback quality | The version loaded for remote review | Open or download the original recording before judging capture quality |
What You Can Improve After Downloading the Clip
A downloaded night clip may contain dark tonal differences that are difficult to see at first. Editing a copy can make those differences more visible to the human eye. Keep the original file unchanged, especially when the video documents theft, damage, or another event you may need to share.
Post-processing is useful for inspection, not recapture. It can reveal an existing jacket edge, vehicle outline, or path of movement. It cannot supply the true face, plate number, color, or texture when that information was never recorded.
| Edit | What it can help you see | What it cannot do |
|---|---|---|
| Brightness, shadows, and contrast | Subtle differences already recorded in dark areas | Recover an area saved as featureless black or clipped white |
| Noise reduction | Larger shapes hidden by distracting grain | Preserve every fine texture when used heavily |
| Sharpening | The position of an edge that already exists | Reverse severe defocus or motion smear |
| Crop and digital enlargement | A relevant person, vehicle, package, or doorway | Create additional captured pixels |
| Frame-by-frame playback | The clearest recorded moment in an event | Produce a clear frame when every frame lacks the detail |
Treat Generative Enhancement as an Interpretation
An AI tool may produce a cleaner, more definite image by generating plausible texture. That result can be useful for exploration, but generated detail is not proof of what the camera captured. Keep the original and label the enhanced copy.
When the App Cannot Improve the Recording
A camera app can command supported hardware and process recorded information. It cannot add hardware or source detail that the system never captured.
1. The camera lacks the required light or sensor capability: Software cannot add an infrared illuminator, a white spotlight, a more sensitive image sensor, or a thermal sensor. A third-party phone app that adds a green tint or brightens a video is not adding infrared or thermal data.
2. The subject is too small, outside the frame, or hidden: Digital enlargement can make a few captured pixels larger, but it cannot replace a closer camera position, a tighter optical view, or a clear line of sight.
3. The recording contains clipped, compressed, or blurred detail: Editing can change the appearance of featureless black, blown highlights, compression blocks, or smeared motion. It cannot recover the missing original information with certainty.
4. A physical obstruction or reflection is causing the problem: Clean the lens, remove a spider web, move a branch, or reposition a camera whose infrared light reflects from a nearby wall or window. Then make a new test recording.
Test One Setting With a Saved Recording
Use a short, repeatable test to confirm whether a control changes capture or only viewing. Compare saved files rather than judging the result from memory.
1. Save a baseline clip: Download a recording before changing anything. Note the night mode, time, camera position, and nearby lighting.
2. Change one camera-side setting: Choose one night mode, light behavior, exposure control, or recording-quality setting. Leave the camera angle and scene lighting unchanged.
3. Repeat the same scene: Have someone walk the same path or place the same object at the same distance. Use the same porch, driveway, or street lighting.
4. Download and compare both files: View them at the same scale and display brightness. Check the detail that matters: a clothing edge, package area, vehicle shape, or the boundary of a face.
5. Keep the better capture setting: Record which setting produced the more useful saved clip. If editing helps with an older clip, retain the original beside the edited copy.
Change the Recording First, Then Inspect the File
Use the security camera’s own night vision settings to improve future recordings. Those controls can change illumination, color, exposure behavior, and the amount of detail saved when the camera supports them.
For an existing clip, download the original before judging it. Live-view settings may have hidden the quality of the saved file, and careful editing can make recorded dark detail easier to see. Once the source information runs out, a different app cannot put it back.
FAQs
Do night vision settings in a security camera app change the saved recording?
Usually, yes. Controls inside the camera’s Night Vision menu commonly tell supported camera hardware when to use infrared light, a white spotlight, color capture, black-and-white capture, or existing light. A newly saved clip is the clearest way to confirm the effect on your model.
Can editing a downloaded night video reveal more detail?
Sometimes. Adjusting brightness, shadows, contrast, noise, or sharpness can make recorded tonal differences and edges easier for the human eye to see. It cannot restore detail that was outside the frame, clipped, heavily blurred, or never captured.
Does changing phone screen brightness or live-view quality change the recording?
No. Screen brightness changes the display, while live-view quality changes the stream sent to the phone. Download the original saved clip before deciding that the camera recorded the same result.