


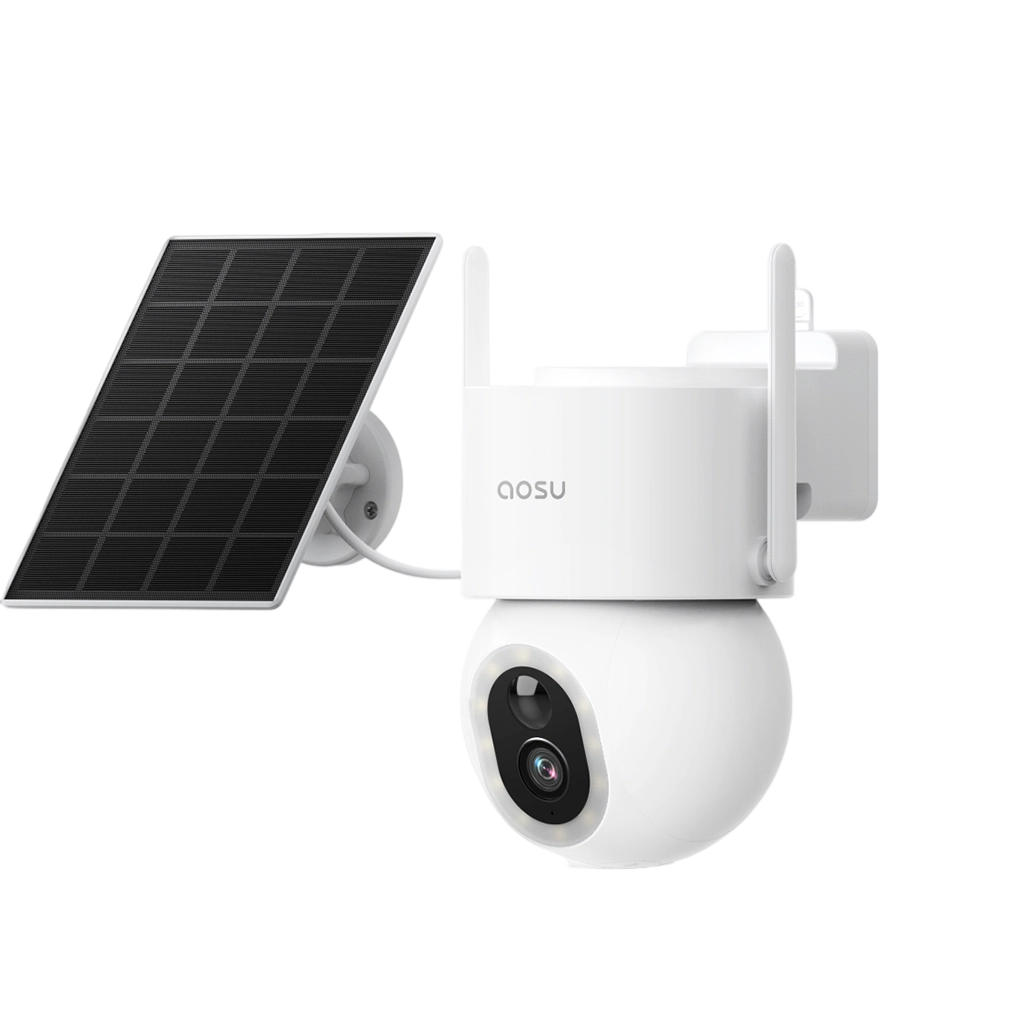
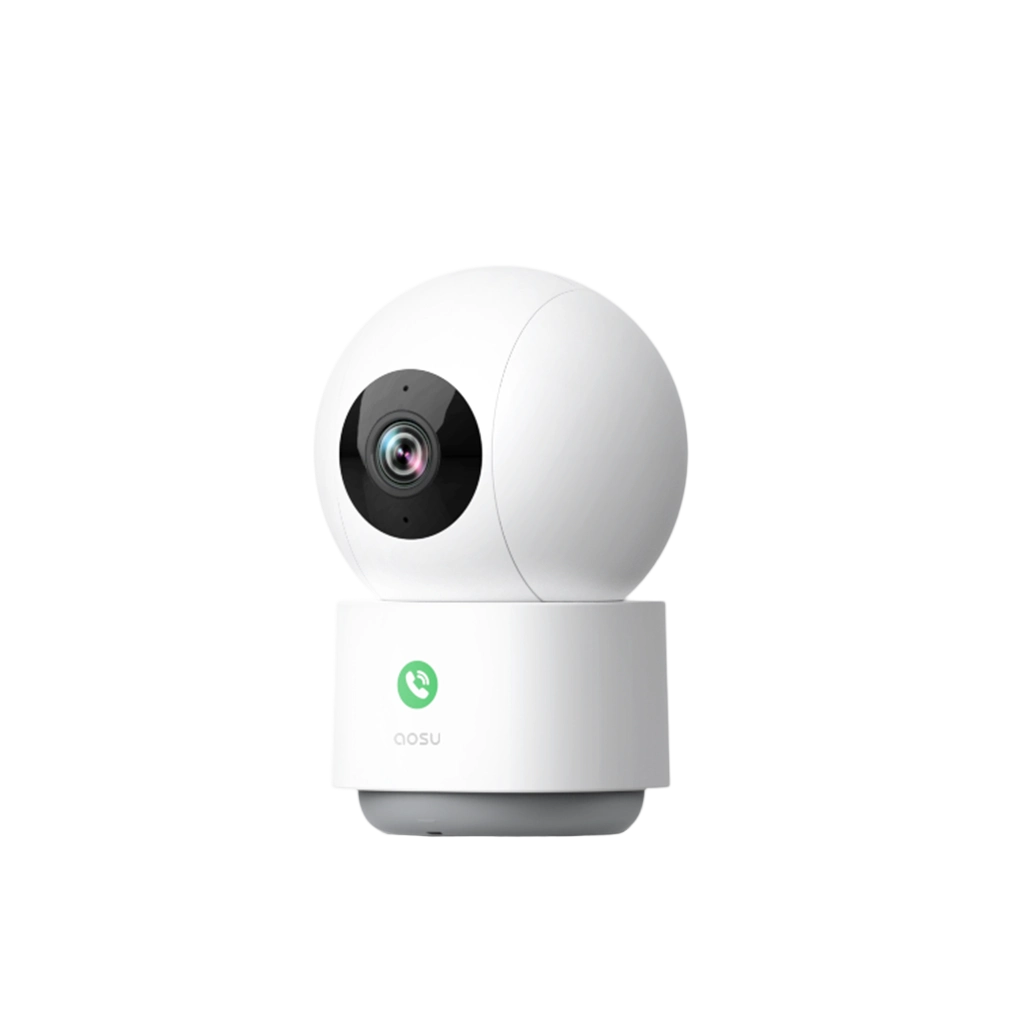

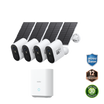
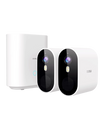
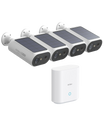
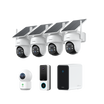



Night vision is one of those security camera features that sounds simple until you try to choose a setting. Some cameras show black-and-white footage with infrared. Some use a spotlight for color. Some retain color using available ambient light. Check the selected model’s settings rather than assuming a brand mode name means its lights stay off.
Not every camera view automatically needs the brightest mode. A driveway may benefit from color and visible lighting, while a side yard may need discreet monitoring. A porch may already have enough visible light, while a dark backyard may need additional illumination.
This guide breaks down the main security camera night vision options and shows when each one makes sense.
The Short Answer
Choose infrared black-and-white when color is not essential and you do not want visible white lighting.
Choose spotlight-assisted color when visible light is acceptable and the saved footage benefits from it.
Try ambient-light color when the scene already has enough visible light. Check moving footage before deciding that the image is usable.
Brand mode names are not universal technical categories. Check what each setting actually changes: visible lighting, infrared illumination, exposure behavior or image processing.
Start With the Night Vision Job
Before comparing mode names, ask what the camera needs to do at night. Most confusion comes from treating night vision as one feature, when it is really a set of tradeoffs.
A camera watching a package area may need color detail. A camera watching a side gate may need discretion. A camera over a driveway may need visible lighting. A battery camera in a quiet area may need to avoid unnecessary light use.
| Option | How it works |
|---|---|
| Infrared black-and-white | Uses infrared illumination and records in black and white. |
| Spotlight-assisted color | Adds visible white light so the camera can record color. |
| Low-light color | Uses available visible light to record color in dim conditions. Confirm whether the selected model’s setting also uses camera lighting. |
| External lighting | Porch lights, streetlights, or floodlights provide visible light that the camera can use for color recording. |
The right night vision mode depends on whether you care more about color detail, discretion, visible lighting, or using existing light.
Security Camera Night Vision Modes Compared
| Night vision mode | When it fits and what to consider |
|---|---|
| Infrared black-and-white |
|
| Spotlight-assisted color |
|
| Ambient-light / low-light color |
|
| Bright spotlight color |
|
| Existing light or floodlight |
|
Infrared Black-and-White: A Starting Point for Discreet Night Coverage
Infrared night vision is the classic security camera look: black-and-white video in the dark. The camera uses infrared light rather than illuminating the scene with a bright white spotlight, then records the scene in grayscale.
Consider it for side yards, alleys, gates, sheds, and darker spaces where you do not want white lighting to switch on every time motion is detected. Verify useful detail in saved footage at the required distance.
The tradeoff is detail type. Infrared can show movement, shapes and objects, but it will not preserve color. If knowing whether a car was red or silver matters, infrared alone may not be enough.
About these examples: The images illustrate different nighttime appearances. Lighting, subject distance and exposure settings are not fully documented here, so they should not be used to rank the cameras against one another. A still frame also does not establish moving-subject performance.
 Infrared example attributed to SolarCam D1 Max. Full capture conditions are not documented.
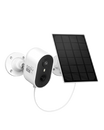
The above image is attributed to the aosu SolarCam D1 Max.

Spotlight-Assisted Color: Check the Light and the Recording
A camera can use visible white light to support color footage after dark. The useful question is how much light reaches the subject and whether the saved recording captures the detail you need without excessive glare.
TrueColor is an aosu brand name rather than a general category shared by all camera manufacturers. The T2 Ultra product page distinguishes TrueColor Covert from TrueColor with Spotlight.
Compare the actual settings on the selected model. Do not assume that “soft,” “covert” or similar names establish a measured brightness level or the same lighting behavior across cameras.
Ambient-Light Color: Verify What “Covert” Means
Low-light color uses available visible light to retain color information. Results depend on the camera, scene and recording settings; a bright-looking background does not establish clear moving detail.
Check the exact model’s mode description. The current T2 Ultra night-vision explanation describes TrueColor Covert as using very dim camera lighting with sufficient ambient light. It should not automatically be described as a zero-light-output setting.
If avoiding visible illumination matters, inspect the camera during operation and confirm the setting in its current instructions.

Color example attributed to T2 Ultra. Confirm the original lighting setting before describing it as having no camera illumination.
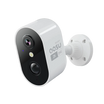
The above image is attributed to aosu T2 Ultra footage.
A clear background does not always mean a moving person will be clear. In dim conditions, a camera may use a longer exposure to collect more light, allowing movement to blur during each frame. Added illumination can support a shorter exposure and sharper moving detail. Walk through the area at night and review the saved recording while you are moving. Check your face, clothing edges, and anything you are carrying, rather than judging only the stationary background.
 Concept illustration, not measured footage or a camera ranking. More light can support a shorter exposure, but the result depends on the camera and settings.
How TrueColor Covert and Spotlight compare on T2 Ultra
Why people can look blurry in nighttime footage
Capture Details Needed for Each Example
| Information | What to record |
|---|---|
| Model, firmware and app version | Identify the device actually used for capture. |
| Lighting | Record ambient-light sources; if a meter is available, record illuminance and the measurement position. |
| Distance and installation | Record subject-to-camera distance, mounting height and angle. |
| Image settings | Record night-vision mode and camera-light state. Explicitly note when exposure or other controls are unavailable. |
| Original material | Keep original saved video files and disclose cropping, brightening or speed changes. |
These capture details have not been completed for the examples above. Do not label them as a same-condition comparison.
Bright Spotlight Color: When Visible Lighting Is Welcome
A bright spotlight supplies visible light so the camera can record color at night. Depending on the camera and its settings, the light may activate when motion is detected, follow a schedule, or remain on.
This can be useful for driveways, detached garages, tool sheds, and places where visible lighting is part of the planned setup. Lighting alone does not establish a deterrence outcome.
However, brighter is not always better. A strong light can disturb neighbors, shine into windows, affect battery use, or create blown-out faces if the camera is too close to the subject. Test the saved footage.
Natural Light and Floodlights: Best When Lighting Is Part of the Setup
Sometimes the best night vision setting is not a camera mode at all. If your porch light, path light, streetlight, or landscape lighting already gives the camera enough light, you may be able to use a color or low-light mode more effectively.
An always-on floodlight can also make sense in high-priority areas where visibility matters more than subtlety. This is different from a motion spotlight because the scene stays consistently lit.
The tradeoff is comfort and control. Permanent lighting should be aimed carefully so it improves the camera view without creating glare, hard shadows, or light spill into neighboring spaces.
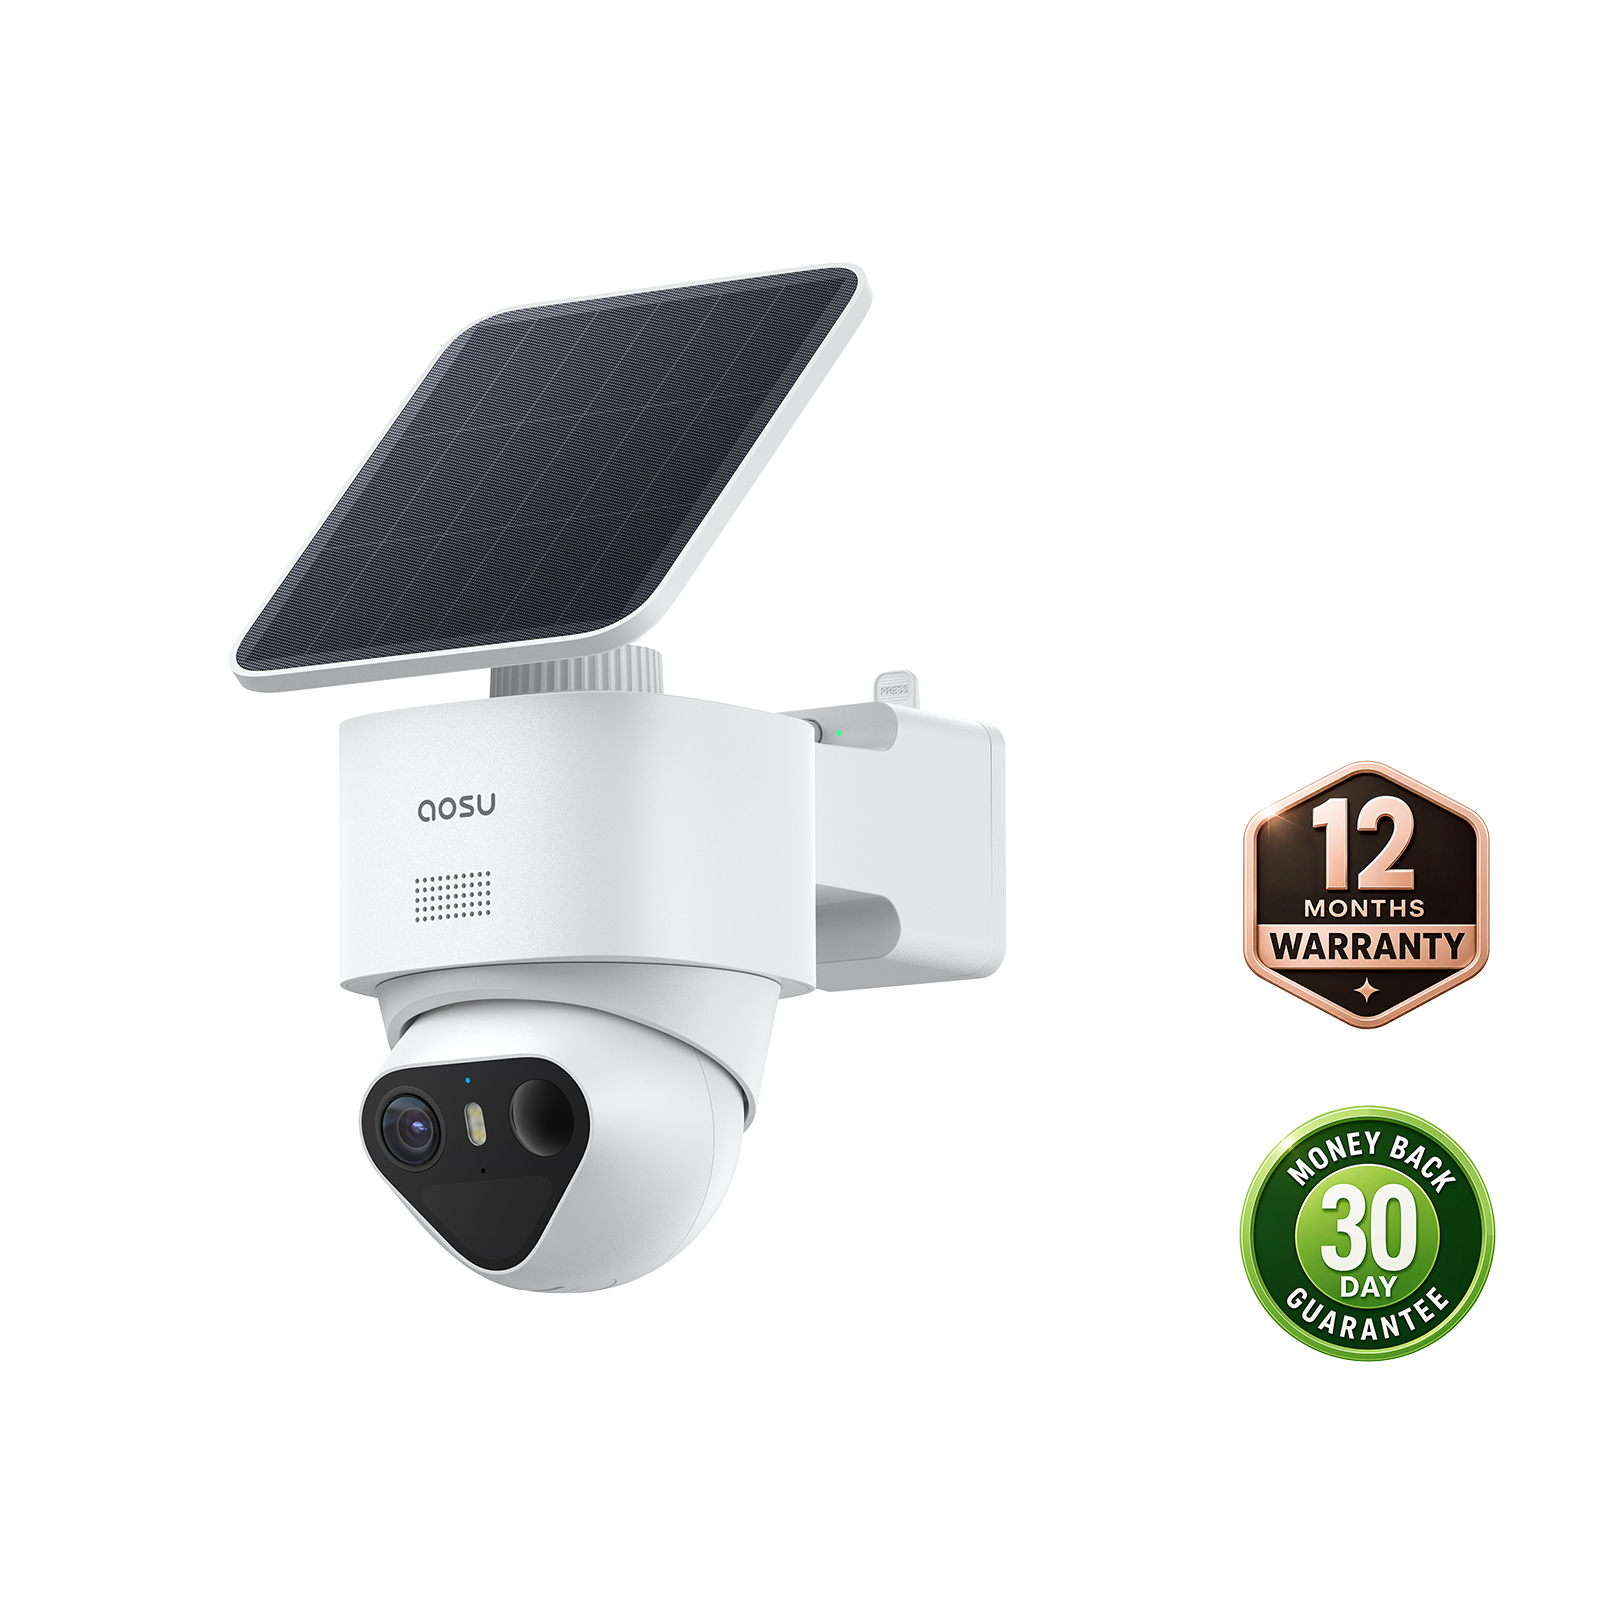
 Floodlight-camera example. Light output, subject distance and exposure conditions are not documented.
Above image is attributed to the aosu Floodlight Cam Pro.
Which Night Vision Mode Fits Each Area?
-
Front porch or package area
Try spotlight-assisted color or existing porch light when package details and clothing color matter. Consider infrared when color is not essential. Check saved detail and glare.
-
Driveway
Try spotlight-assisted color if visible lighting is acceptable. If the driveway already has sufficient ambient light, test low-light color. Confirm the selected model’s lighting behavior rather than relying on a “Covert” name.
-
Side yard or gate
Consider infrared when avoiding visible white light matters. Try ambient-light color only where saved footage is useful, and confirm any camera illumination. Aim lighting away from neighboring windows and private areas.
-
Backyard
Consider infrared for discreet monitoring, spotlight-assisted color for color detail, or external lighting where consistent illumination is appropriate. Check the required subject distance in saved recordings.
-
Detached garage or shed
Consider spotlight-assisted color where visible lighting is welcome, or infrared where low-profile black-and-white recording fits the task.
Do Night Vision Modes Affect Battery and Footage?
Lighting, processing and recording activity all contribute to power use. The effect of a night-vision setting depends on the model and workload; do not assume one mode always uses less battery.
Storage use depends on how much video is saved and how it is encoded. Compare recording duration, event frequency and quality settings rather than treating spotlight activations alone as a measure of storage consumption.
After changing modes, review battery trends and saved recordings under comparable conditions.
Learn how security cameras store footage
Compare cloud storage vs local storage
Test Moving Footage Before Choosing a Mode
A stationary scene can look clear while a walking person appears blurred. Motion, exposure and available light affect whether useful detail survives in the recording.
Compare the modes your camera supports from the same mounting position:
- Keep the route, distance and walking pace consistent.
- Record a person approaching and crossing the view.
- Note the night-vision mode, ambient lights and camera-light setting.
- Review saved clips for moving detail, glare and event start—not only background brightness.
- Export the original clips and check them on the same screen.
Capture the relevant settings screen for each clip. If exposure controls are unavailable, record that limitation rather than inventing values. Choose the mode that provides the required footage with acceptable lighting at that location.
Common Mistakes to Avoid
-
Assuming color night vision is always better
Color is helpful, but infrared may be better if color is not essential and you need viewing without visible white lighting. Verify saved detail rather than assuming either mode is always clearer.
-
Using a bright spotlight in the wrong place
A spotlight can make activity more visible, but it can also disturb people if it faces windows, sidewalks, or neighboring property.
-
Ignoring ambient light
Streetlights, porch lights, landscape lights, and moonlight can change which mode works best. Test at night instead of choosing from daytime assumptions.
-
Forgetting to adjust motion zones
If lights turn on constantly for cars, branches, or sidewalk traffic, adjust detection zones and sensitivity where supported before blaming the night vision mode.
To Wrap Up
Choose infrared black-and-white when color is not essential and visible white lighting is unwanted. Consider spotlight-assisted color when light is acceptable, or ambient-light color where existing illumination supports useful saved footage. TrueColor is an aosu brand name, not a universal technical category; confirm the exact model’s illumination behavior, including settings called “Covert.”
The best setup may use different modes in different places. Compare saved moving footage along the same route at your porch, driveway, side yard and backyard. Choose the mode that captures the required detail with acceptable glare, light spill and power use, rather than the brightest-looking background.
FAQs About Security Camera Night Vision Modes
What is the best night vision mode for a security camera?
There is no single best mode for every home. Start with whether you need color, whether visible white light is acceptable and how much ambient light reaches the subject. Compare the supported modes using saved moving footage. Brand mode names alone do not establish lighting behavior or recording quality.
Is color night vision better than infrared?
Color can preserve useful clothing or vehicle color, but a color background does not establish clear moving detail. Infrared provides black-and-white viewing without visible white lighting. Test the required subject and route before choosing.
Can a security camera see in color without a spotlight?
Some cameras can retain color using sufficient ambient visible light. That does not mean every low-light or “Covert” setting has zero camera-light output. Confirm the exact model’s instructions and inspect its lighting during operation. In very dark conditions, compare supported infrared and illuminated color modes using saved footage.
Should I leave a floodlight on all night for my security camera?
An always-on floodlight may help where consistent illumination is appropriate, but it should be aimed carefully. It may not be necessary if infrared, ambient-light color or motion-triggered lighting already provides the required saved footage. Check glare, moving detail and light spill before deciding.