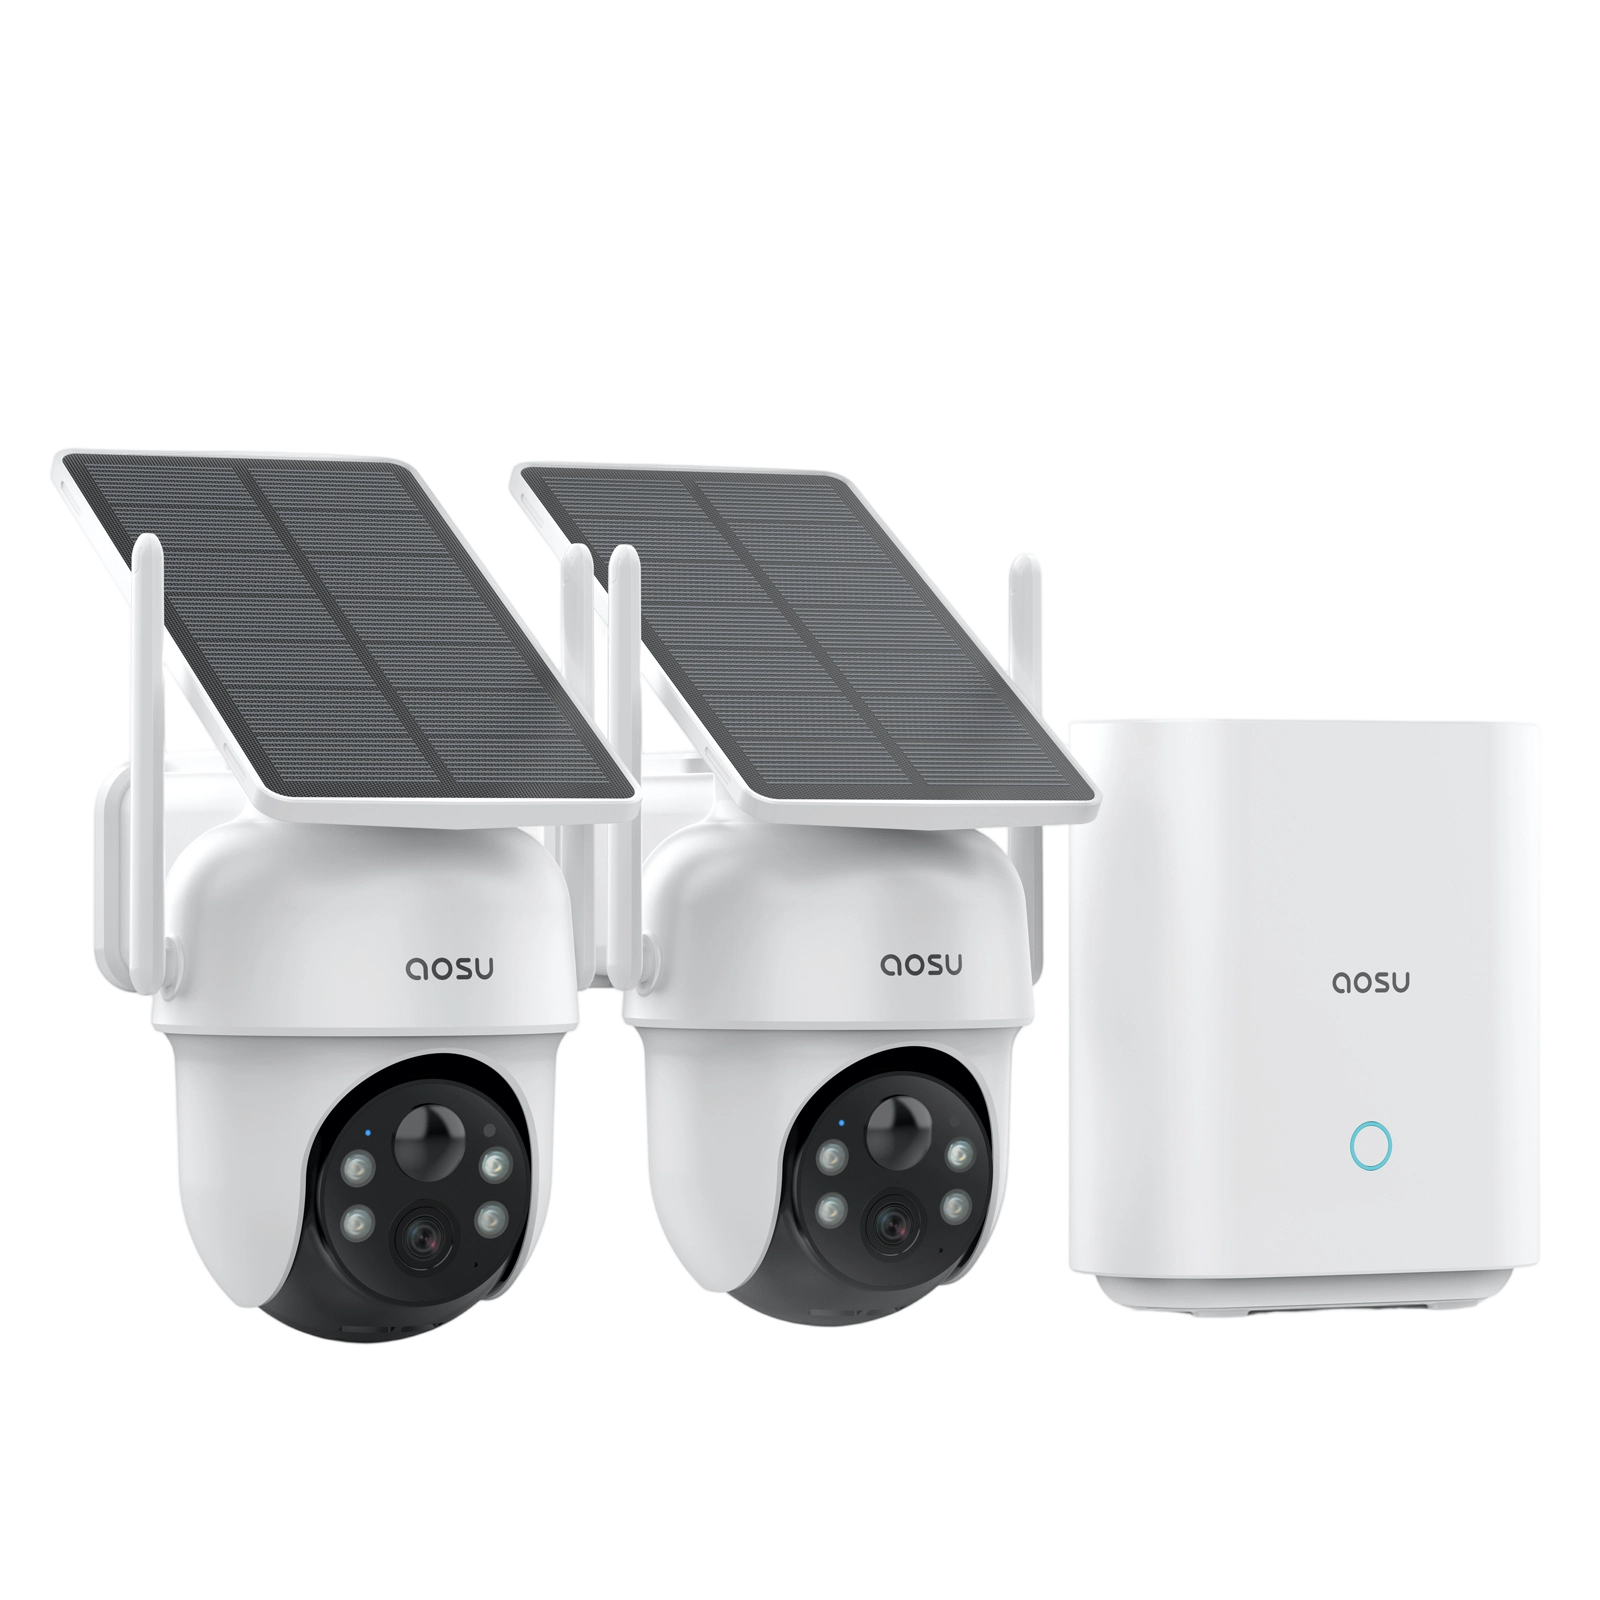
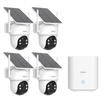
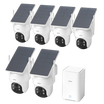
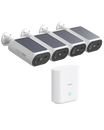
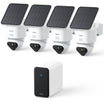
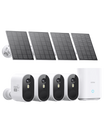
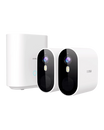
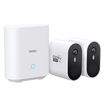
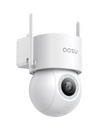
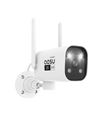
The costs of installing security cameras is a common question that many homeowners and business owners find themselves asking. With so many options and price points out there, it's easy to feel a bit overwhelmed. But don’t fret! Understanding the price range and what factors influence these costs can help you make a smart choice without losing sleep. Whether you opt for professional installation or decide to roll up your sleeves for a DIY project, knowing the details will ensure you get the best value for your investment. So, grab a cup of coffee, sit back, and let's dive into the world of security camera installation costs together! Also check out our hot sellers from the last 30 days: Easy Install Security Cameras
How Much Does Security Camera Installation Cost?
On average, the cost to install a single security camera can range from $200 to $400. This price includes the camera itself, any necessary accessories, and the installation labor. But these figures can vary quite a bit depending on several factors, including the camera type and the complexity of the installation. For example, basic models, like simple bullet or dome cameras, tend to be on the lower end of the price spectrum. On the other hand, advanced models, such as PTZ (Pan-Tilt-Zoom) cameras, come with a heftier price tag due to their enhanced features and capabilities.
Beside, how complex the installation is also affects the overall cost. If your setup involves intricate wiring, placing cameras in hard-to-reach spots, or integrating them with an existing security system, expect to pay more. If your setup involves intricate wiring, placing cameras in hard-to-reach spots, or integrating them with an existing security system, expect to pay more.
What Influences Security Camera Installation Costs?
Now, let's dive deeper into the specific factors that can influence the cost of installing security cameras. Understanding these details will help you make an informed choice and ensure you get the best value for your money. Let's move on to explore what exactly can drive these costs up or down.
1. Type of Cameras
The type of security cameras you choose is perhaps the most significant factor affecting installation costs. Basic cameras like bullet and dome models are generally cheaper, costing between $100 and $250 each. These are great for straightforward surveillance needs. On the other hand, advanced models such as PTZ (Pan-Tilt-Zoom) cameras, which offer more functionality like rotating views and zooming capabilities, can range from $400 to $2,000 per camera. Wireless cameras might seem more economical due to easier installation, but don’t forget potential costs for additional accessories or subscription fees for cloud storage.
2. Installation Complexity
The complexity of the installation process is another critical factor. If your installation involves simple setups, like placing cameras in easy-to-reach locations with minimal wiring, costs will be lower. However, if you need to run cables through walls, ceilings, or other hard-to-reach areas, the labor cost will increase. Additionally, installing cameras at significant heights or in challenging locations requires specialized equipment and expertise, further driving up costs. Integrating new cameras with an existing security system can also be more complex and time-consuming, leading to higher expenses.
3. Number of Cameras
The more cameras you need, the higher the overall cost will be. This seems obvious, but it’s worth considering how many cameras you actually need. Each additional camera not only adds to the equipment cost but also to the installation time and labor. For instance, a basic system with 2-4 cameras might cost between $500 to $1,500, whereas a more comprehensive setup with 5-8 cameras can range from $1,500 to $3,000. Assess your property’s layout to determine the necessary number of cameras to cover all areas effectively without overdoing it.
4. Professional vs. DIY Installation
Choosing between professional installation and a DIY approach can significantly impact your costs. DIY installation saves on labor fees and can be quite economical if you're handy with tools and comfortable following technical instructions. However, not all cameras are DIY-friendly, and incorrect installation can lead to functionality issues, security vulnerabilities, or even damage to the cameras. Professional installers bring expertise, ensuring that your system is set up correctly and efficiently. They also often offer warranties on their work, providing peace of mind, though this service comes at a higher price.
5. Geographic Location
Your location can also influence the cost of installing security cameras. Labor rates vary widely across different regions, meaning the same installation job might cost more in a big city compared to a rural area. Additionally, the availability of skilled installers can affect prices; in areas where there are fewer professionals, you might find higher costs due to increased demand. Local regulations and permit requirements can also add to the overall expense.
DIY-Friendly Security Cameras of aosu
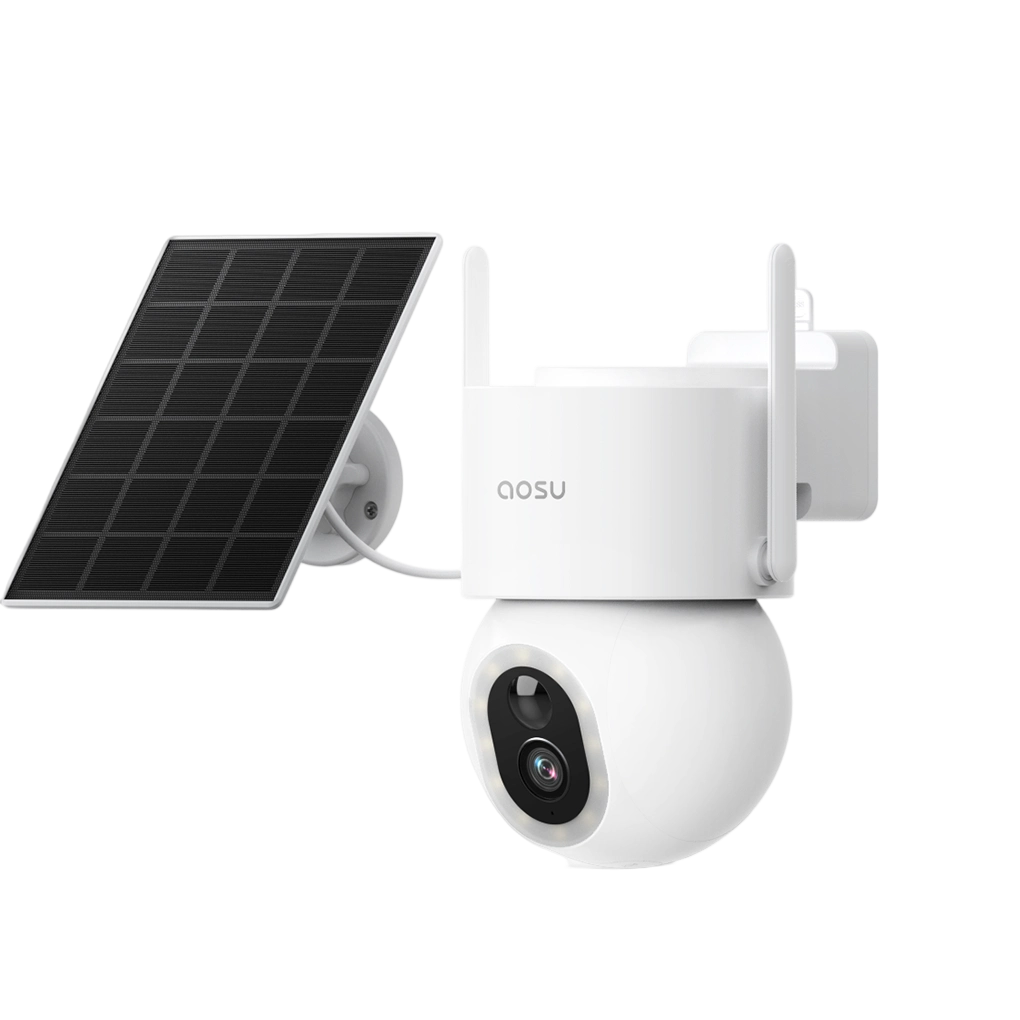
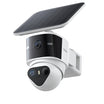
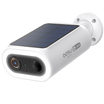
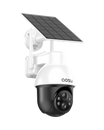
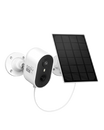
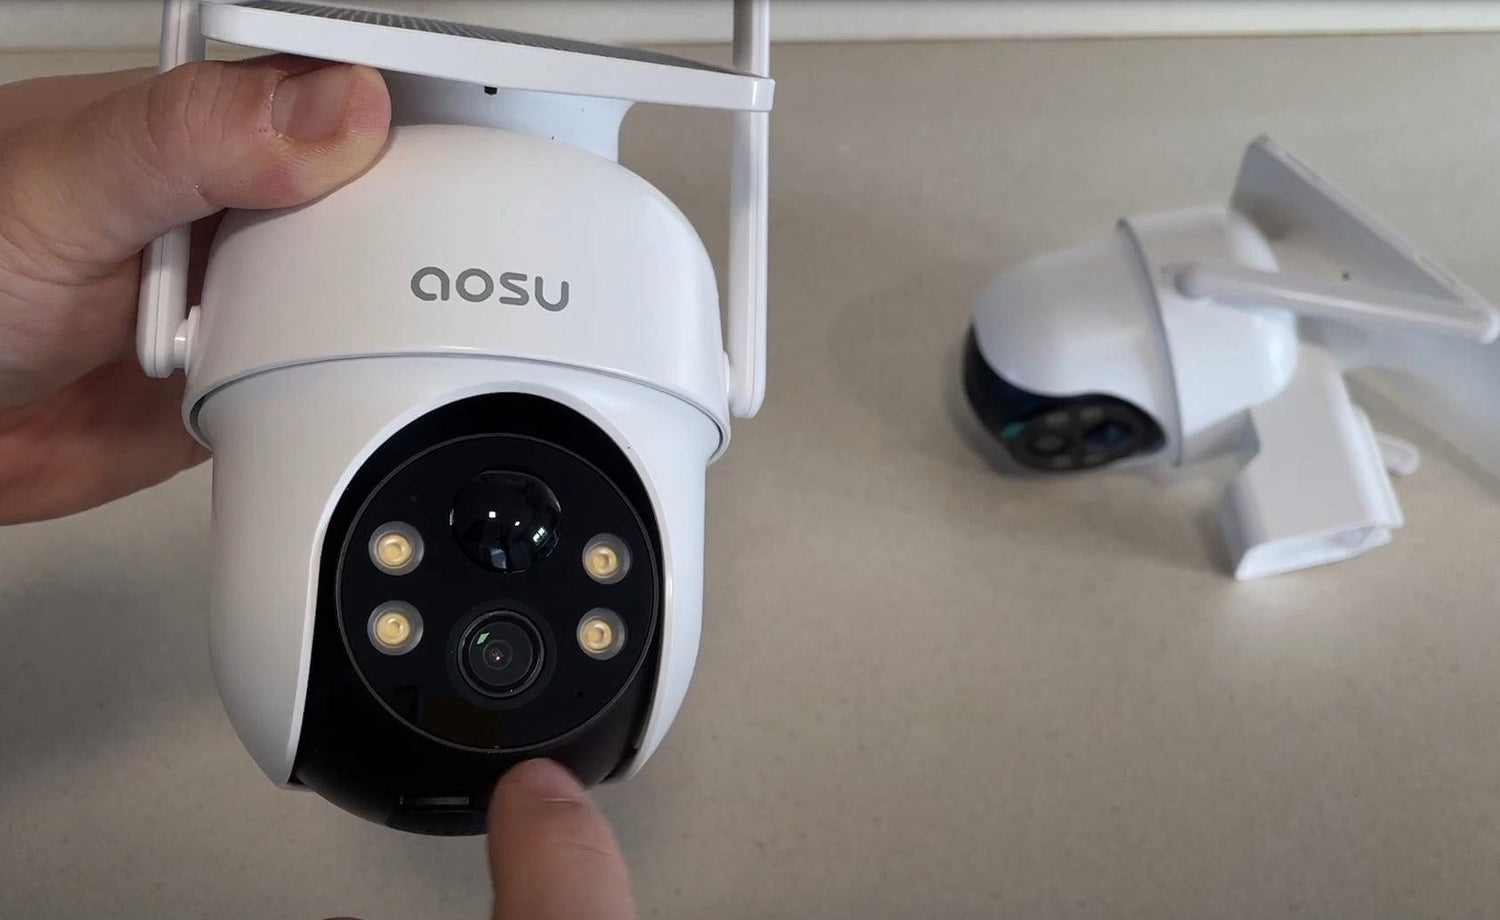
If you can find a DIY-friendly security camera that is reliable and high-quality, you can actually save a ton of money while ensuring the performance and safety. We recommend aosu SolarCam D1 Classic, a wireless solar-powered security camera with the penal integrated with the camera. This design eliminates the need for additional installation space and also enable users to set up the camera themselves.
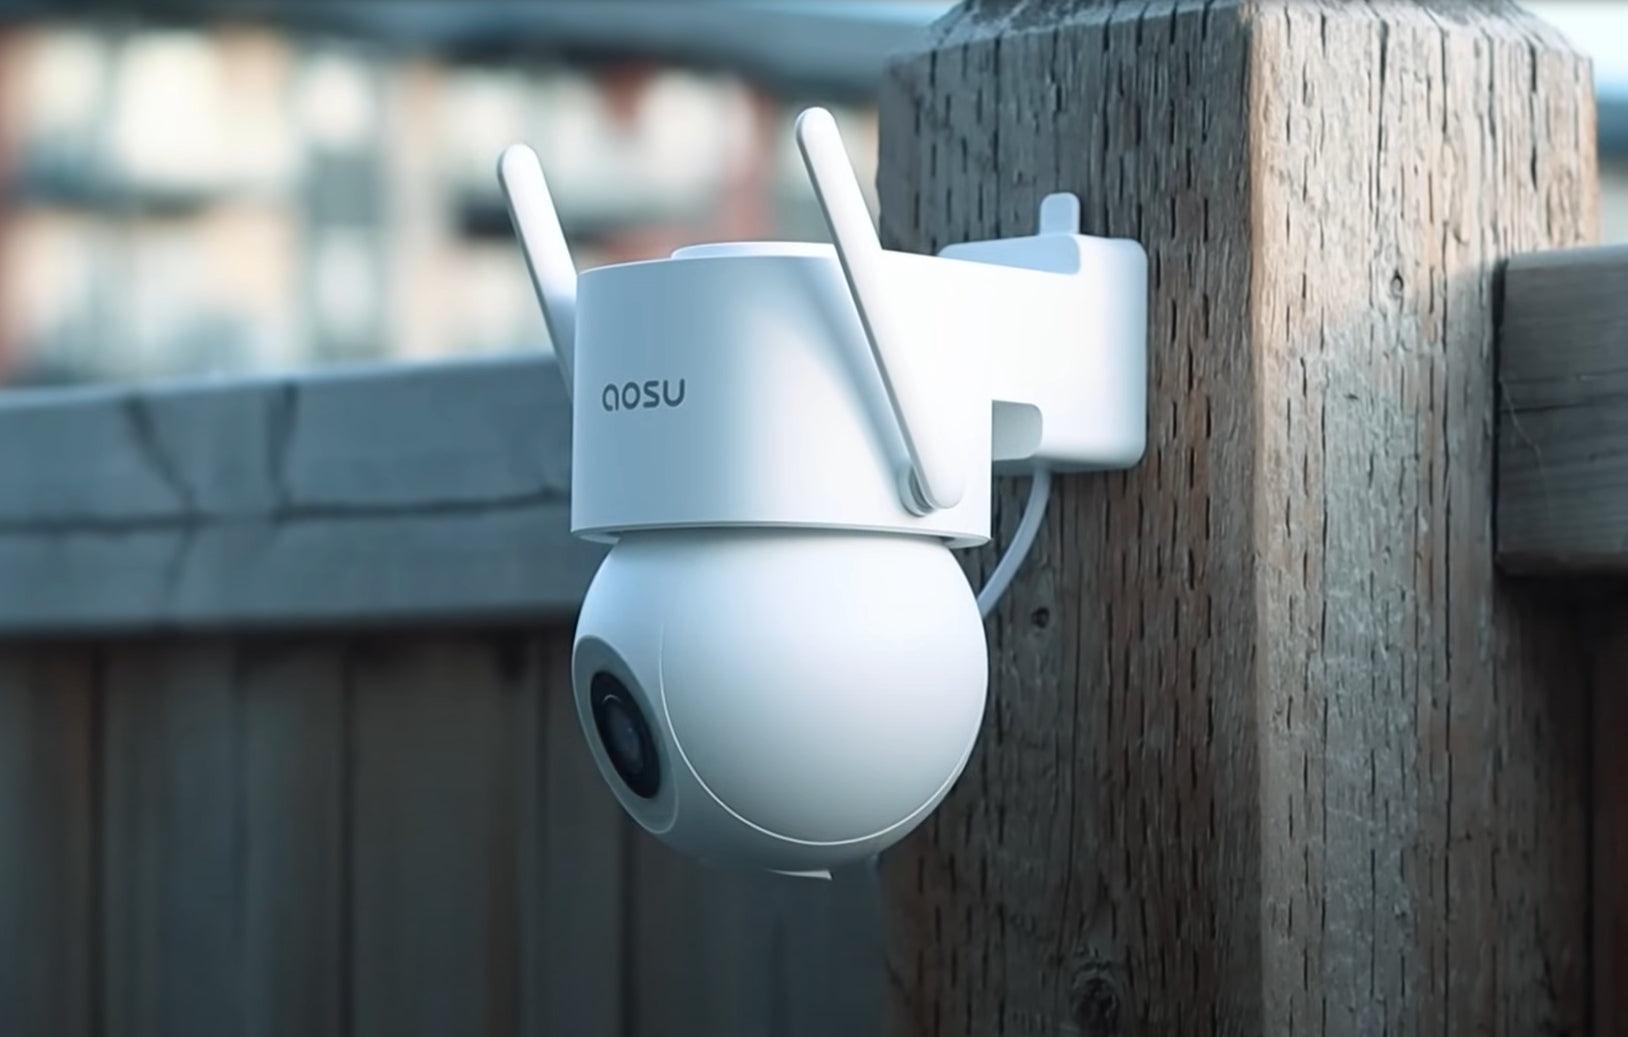
- Wireless Convenience: Since it’s a wireless camera, you don’t have to deal with the hassle of running cables through walls or ceilings. This simplifies the installation process significantly.
- Solar-Powered Efficiency: The integrated solar panel means you won’t have to worry about wiring it to your home’s power supply. It continuously charges during the day, ensuring the camera stays powered without frequent manual recharging.
- Straightforward Setup: The aosu SolarCam D1 Classic comes with clear, easy-to-follow instructions that guide you through the installation process step-by-step. Whether you’re mounting it on a wall or setting it up on a surface, the instructions make it easy.
- Comprehensive Installation Kit: It includes all necessary mounting hardware and tools, so you won’t need to make extra trips to the hardware store. Everything you need is in the box.
- User-Friendly App: The accompanying app is designed to be intuitive and easy to navigate. It helps you connect your camera to your Wi-Fi network, adjust settings, and monitor your camera feeds all from your smartphone.
- Minimal Maintenance: With its robust, weatherproof design and solar power, the aosu SolarCam D1 Classic requires minimal maintenance once installed. This makes it a hassle-free option for long-term use.
Why Choose the aosu SolarCam D1 Classic?
Opting for the aosu SolarCam D1 Classic means you get a top-tier security solution without the need for professional installation. Here’s a quick rundown of its benefits:
- Cost Savings: Save on installation fees by doing it yourself.
- Easy Installation: With its solar panel and wireless design, setup is a breeze.
- Advanced Features: Despite being DIY-friendly, it offers advanced surveillance capabilities.
- Smart Integration: Enhances your smart home setup with voice control.
Choosing DIY-friendly security cameras like the aosu SolarCam D1 Classic can provide a cost-effective and flexible way to enhance your home or business security. With its user-friendly design and comprehensive features, you can easily set up a reliable surveillance system without needing professional assistance.
Conclusion
Installing security cameras can vary in cost based on the type of camera, installation complexity, number of cameras, professional versus DIY installation, and geographic location. By understanding these factors and considering DIY-friendly options like the aosu SolarCam D1 Classic, you can save money and ensure your property is well-protected. Investing in the right security system is essential for peace of mind and safety.
FAQs
What is the home security camera installation cost?
The home security camera installation cost varies from $150 to $1,500 depending on camera type, number of units, and professional labor. DIY options reduce expenses, while high-end smart systems increase costs. Choosing reliable brands like aosu ensures quality and long-term protection for your home.
How much does business security camera installation cost?
Business security camera installation cost depends on property size, camera type, and installation complexity. Small offices may start around $500, while large commercial spaces can exceed $5,000. Professional setups ensure coverage and reduce security risks, providing a strong return on investment.
What is the DIY security camera setup cost?
A DIY security camera setup cost ranges from $100 to $500 for basic indoor or outdoor cameras. Factors include camera quality, mounting hardware, and optional smart features. DIY installation saves money while providing flexible, reliable home or small business monitoring.
How much does smart security camera installation cost for modern homes?
The smart security camera installation cost ranges from $300 to $2,000 depending on system complexity, number of devices, and app integration. Smart cameras allow real-time monitoring and notifications. Premium solutions from trusted providers like aosu offer seamless installation and AI-powered home protection.
What is the outdoor security camera installation pricing?
Outdoor security camera installation pricing varies based on camera type, coverage area, and mounting requirements. Typical costs range from $200 to $1,200. Factors like night vision, weatherproofing, and professional installation influence the total investment for effective property monitoring.
How much does professional security camera installation cost?
The professional security camera installation cost includes labor, camera setup, and system configuration. Prices typically range from $500 to $2,500. Professionals ensure optimal angles, coverage, and secure connections, enhancing reliability and reducing blind spots for your property.
What is the multi-camera security installation cost?
The multi-camera security installation cost depends on the number of cameras, wiring, and integration into a single system. Expect $1,000 to $5,000 for full home or business coverage. Coordinated setups minimize blind spots and maximize surveillance effectiveness.
How much do security camera maintenance and upgrades cost?
Security camera maintenance and upgrade costs typically range from $50 to $300 annually. This includes lens cleaning, firmware updates, and optional equipment upgrades. Regular upkeep ensures peak performance, reliability, and long-lasting protection. Brands like aosu provide guidance for easy maintenance.






Leave a comment
This site is protected by hCaptcha and the hCaptcha Privacy Policy and Terms of Service apply.