Can’t find your camera’s IP address in your router? You’re not the only one. This common issue can stop you from setting up your camera, viewing footage, or even knowing if it’s online. In this guide, you’ll learn why it happens and how to fix it quickly—without needing advanced tech skills. Let’s solve it step by step so your camera gets back online and stays connected. Also check out our
hot sellers from the last
30 days: Night
Vision Security Cameras Why Is the IP Address from My Camera Not Showing in the Router?
Before diving into fixes, it helps to understand how your router normally detects devices like cameras. When a camera connects to your Wi-Fi, the router assigns it an IP address using a system called
DHCP. This IP is how your router—and your phone or computer—knows where to find the camera on your network. But sometimes, things don’t go as planned. Here are the most common reasons why your camera’s IP address might not appear in the router settings:
• Network Association Failure: The camera may not have successfully joined the Wi-Fi network. This can happen if the password is incorrect, the device is too far from the router, or the initial setup didn’t complete. Check for LED indicators or app status to verify connection.
• IP Address Not Assigned via DHCP: Even if the camera connects, your router might fail to assign it an IP address due to a DHCP service error, memory overload, or temporary network glitches. Without an IP, the device remains invisible to the network.
• MAC Address Filtering Restrictions: Some routers restrict access using
MAC address whitelisting or blacklisting. If your camera's MAC address isn’t on the allowed list, the router will silently block it from receiving an IP.
• Maximum Client Limit Reached on the Router: Many consumer-grade routers have a limit on simultaneous connections. If your network is saturated with smart devices, additional clients—like your camera—may be ignored or denied an IP lease.
• Camera Hardware or Boot Failure: If the camera is unresponsive, low on power, or stuck during startup, it might not request an IP at all. In some cases, the device appears to power on but never reaches the stage where it joins the network.
How to Fix “IP Address from Camera Not Showing in Router”
Setting up a camera but can’t find its IP address in your router? It’s a common issue, especially with IP cameras or smart devices. This guide walks you through 9 focused, effective steps to help you track down the problem and fix it — no technical background required.
1.Check the Camera’s Power and Status Lights
Before anything else, make sure the camera is turned on and functioning. Look for power indicators or blinking lights. If there's nothing, try a different power outlet, check the adapter, or switch cables. If the camera isn’t powered, it won’t show up anywhere on your network.
2.Use an Ethernet Cable Instead of Wi-Fi (for Now)
If your camera supports it, connect it to your router with an Ethernet cable. Wired connections are faster, more stable, and easier to detect. This bypasses many Wi-Fi issues and allows the router to assign an IP address more reliably.
3.Reboot the Router and the Camera
Power off the camera, then restart your router. Wait until the router is fully online, then turn the camera back on. This clears temporary network issues and resets the IP assignment process. Many connection problems are solved with a simple reboot.
4.Scan Your Network Using an IP Scanner
If the camera isn’t listed in your router, try scanning your local network. Use a free tool like Fing (for smartphones) or Advanced IP Scanner (for Windows). These tools list all devices connected to your network, even if your router doesn't display them. Look for unknown or unlabelled devices — that could be your camera.
5.Check Router Settings: DHCP List and MAC Filtering
Log into your router’s admin panel (usually at 192.168.0.1 or 192.168.1.1). Look for a section labeled DHCP clients or connected devices. If MAC address filtering is enabled, make sure the camera’s MAC address is not being blocked. Either disable the filtering temporarily or add the MAC address to the allowed list.
6.Assign a Static IP Address (if supported)
Some cameras allow you to manually assign a static IP. If available, use an IP within your router’s range (such as 192.168.1.150). Be sure the IP address is not already in use by another device. Static IPs can make devices more reliably visible on your network.
7.Temporarily Disable the Router Firewall
If your router has firewall or access control settings turned on, it might be blocking new or unknown devices. Temporarily disable these settings and restart the camera. If the camera appears, you’ll know where the issue was — you can then add it as an allowed device and re-enable security features.
8.Check for Camera Firmware Updates
An outdated firmware version might cause your camera to fail when trying to join your network. If you can access the camera through its app or web interface (via direct cable connection), check if a firmware update is available. Updating often solves compatibility and IP assignment problems.
9.Factory Reset the Camera and Reconfigure
If all else fails, reset the camera to its factory settings. This usually involves holding down a small reset button on the device for about 10 seconds. After resetting, go through the setup process again — preferably using a wired connection for initial configuration. This can resolve hidden issues or incorrect prior settings.
Top 3 aosu Cameras That Avoid IP & Network Issues
When it comes to smart home security,
aosu stands out for its seamless connectivity and user-friendly design. If you've ever struggled with cameras that won’t show up on your network or constantly drop their IP address, these top
aosu models are built to avoid those common issues. With strong Wi-Fi performance, automatic IP assignment, and smooth setup processes, these devices help you stay connected and protected—without the technical headaches.
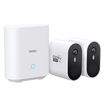
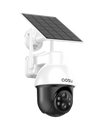
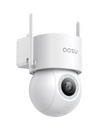
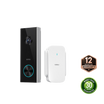
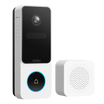
The aosu Video Doorbell Ultra connects effortlessly to both 2.4GHz and 5GHz Wi-Fi networks, giving it a stronger and more flexible signal range. Its smart setup system automatically assigns an IP address, so you won’t run into typical connection errors during installation.
Other features:
• 4K resolution with facial recognition
• Dual power (battery or wired)
• Instant mobile alerts and smart assistant support
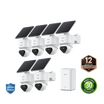
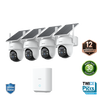
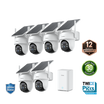
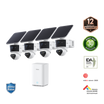
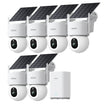
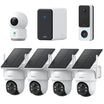
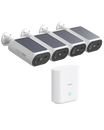
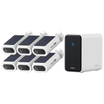
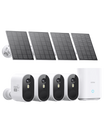
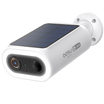
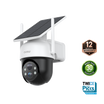
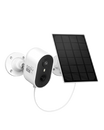
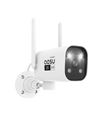
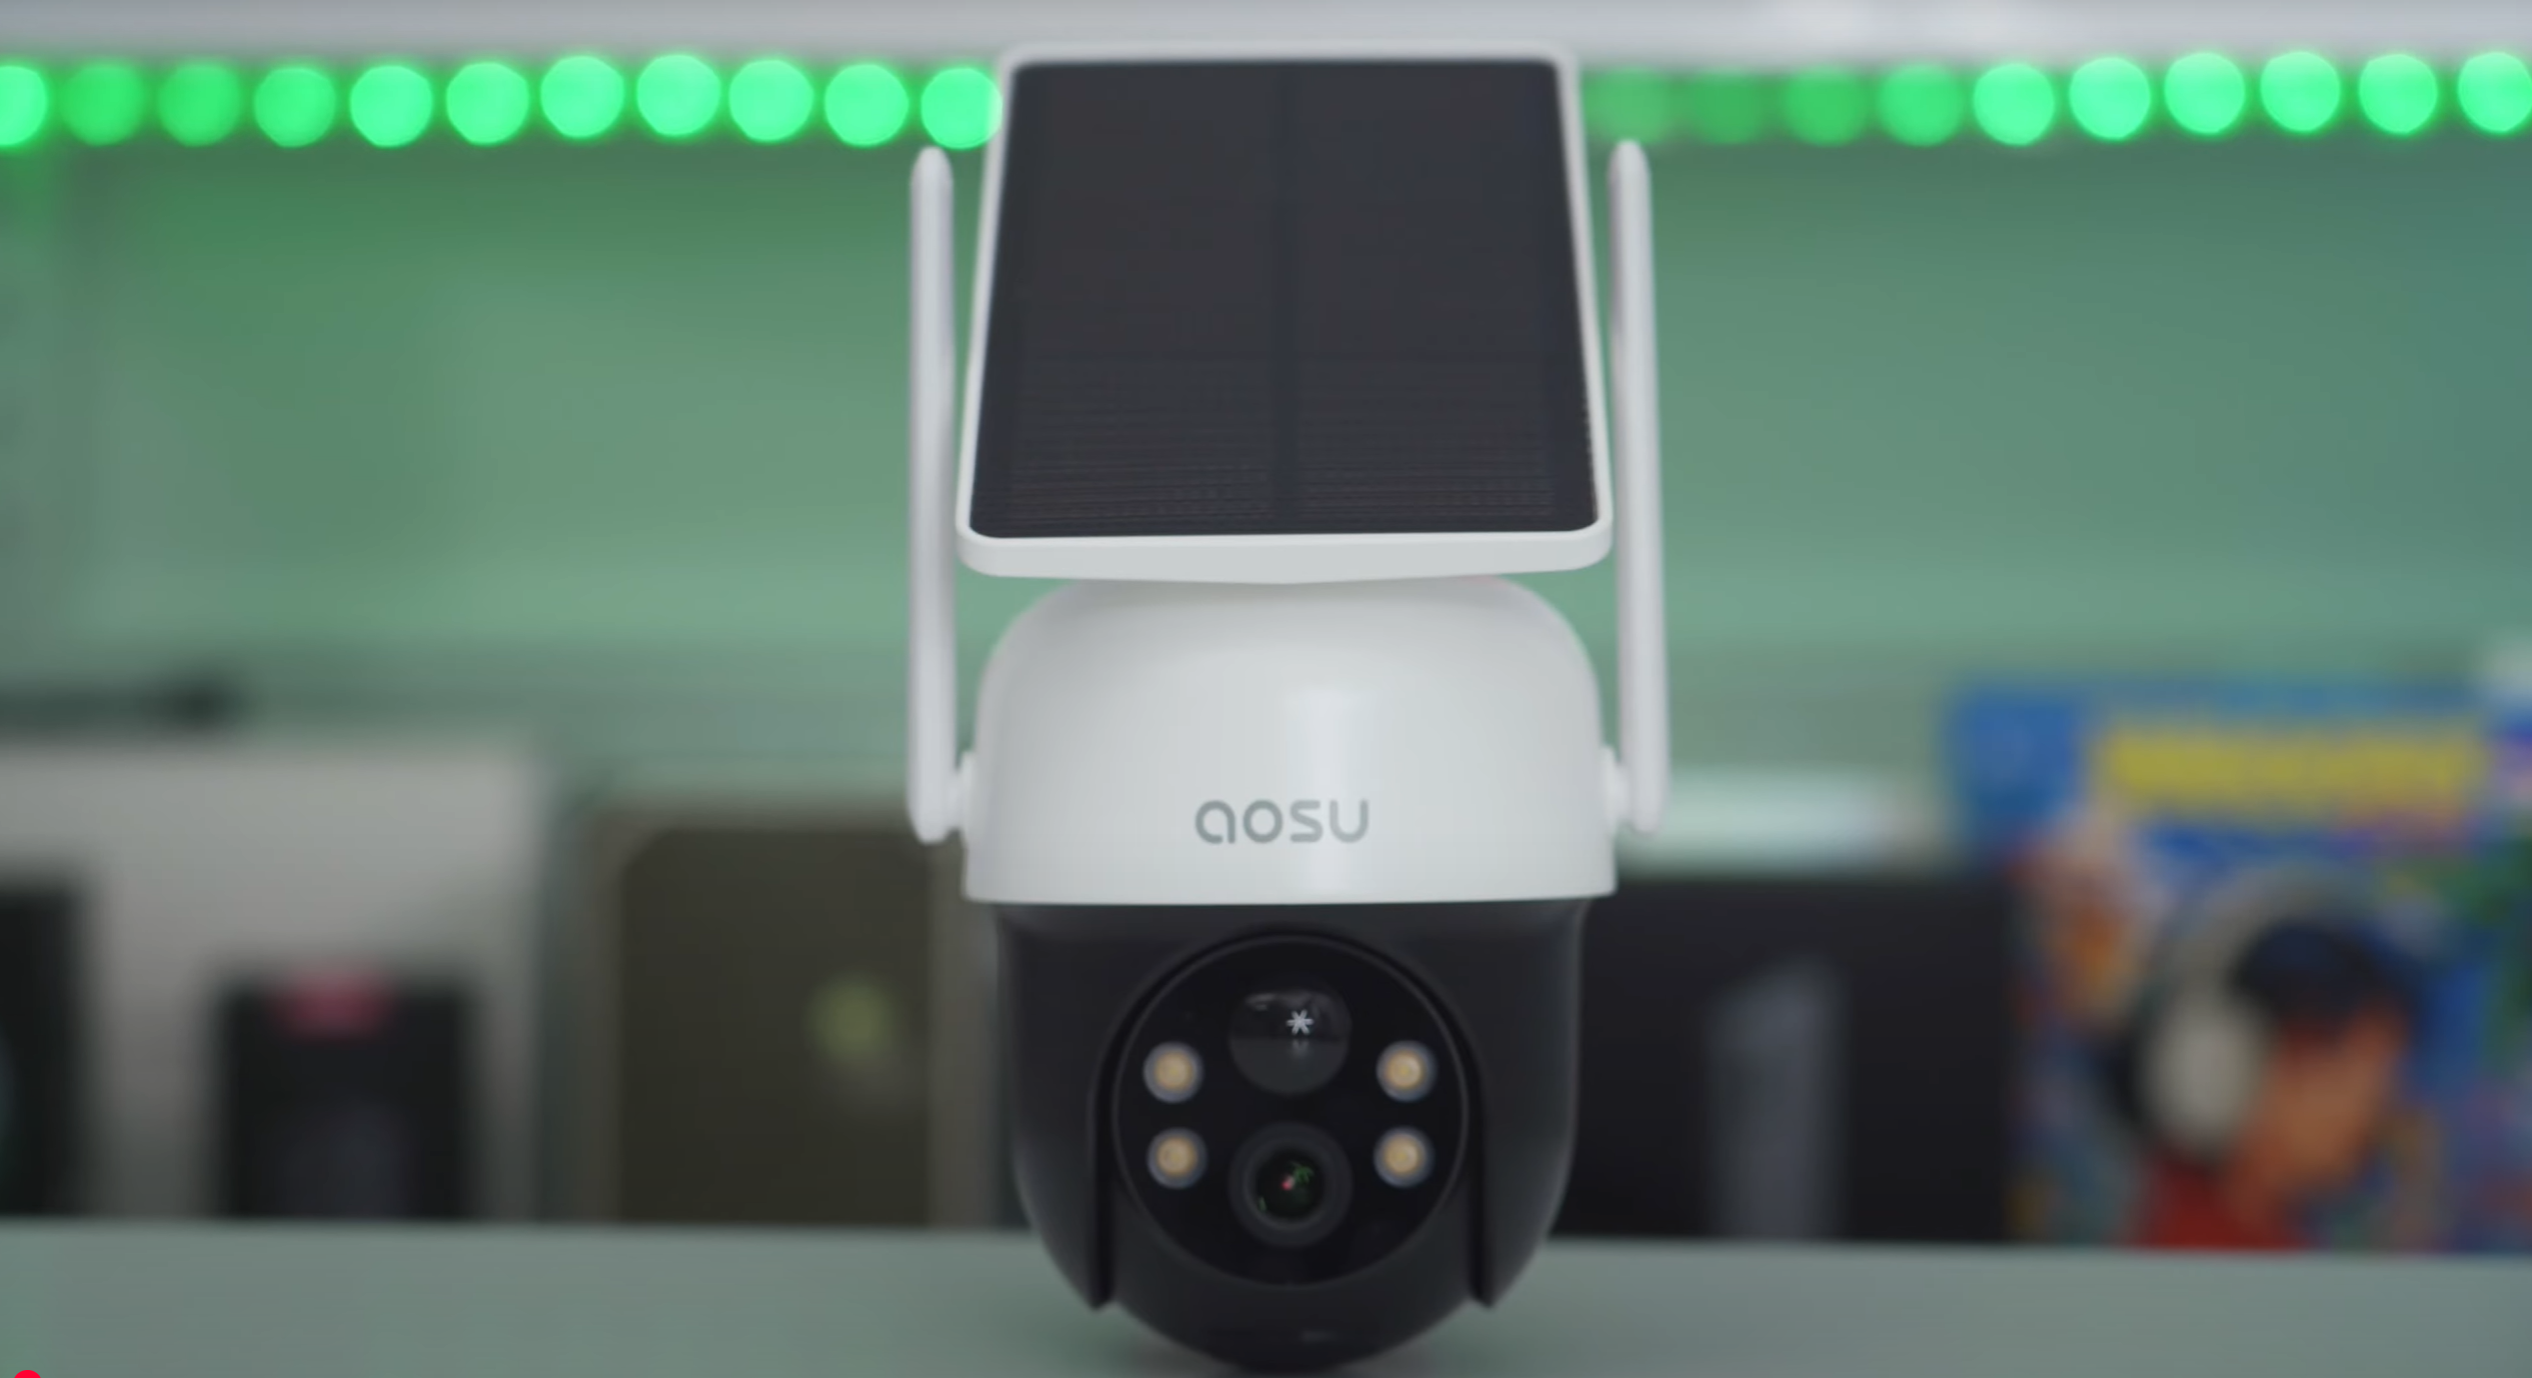
For outdoor users, the aosu SolarCam D1 Max delivers long-lasting, wire-free protection with solar charging and strong Wi-Fi connectivity — even at a distance from your router. Its power system and efficient networking make it ideal for remote corners of your property.
Other features:
• Solar-powered with 9400mAh battery
• 4K spotlight night view
• AI motion tracking with 360° coverage
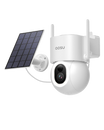
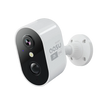
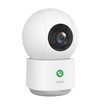
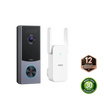
In indoor settings, the aosu IndoorCam P1 Pro stands out for its quick and reliable setup. It not only connects smoothly via Wi-Fi but also supports static IP configuration, offering more control for advanced users or custom networks.
Other features:
• 2K resolution with night vision
• Custom motion zones and two-way audio
• Smart home compatibility
Conclusion
If your camera’s IP address isn’t showing up in the router, it’s usually due to a network configuration issue — not a hardware failure. The good news is that most of these problems can be solved quickly by following a step-by-step approach: checking power, scanning the network, and adjusting router settings as needed.
For a more hassle-free experience, we recommend using aosu cameras. Their simplified setup process, stable Wi-Fi performance, and support for automatic IP detection make them ideal for home users who want reliable security without the technical headaches.
FAQs
Why is my camera connected to Wi-Fi but doesn’t have an IP address?
This is often caused by the router failing to assign an IP address via DHCP. While your camera may appear to be connected to the Wi-Fi network, it won’t function properly without an IP address. Common causes include a full DHCP address pool, router settings like MAC address filtering or firewalls, or outdated firmware on the camera. The fix is usually straightforward: try rebooting both the camera and router, disable any MAC filtering temporarily, and use a network scanner (like Fing) to see if the camera is receiving an address. If not, assigning a static IP might help.
How can I find my camera’s IP address using a phone or computer?
You can use a network scanning tool to identify your camera’s IP address. On a smartphone, apps like Fing allow you to scan your local Wi-Fi network and view all connected devices. Look for unfamiliar device names or manufacturer labels like "Aosu" or "IP Cam." On a computer, software such as Advanced IP Scanner (Windows) or LanScan (Mac) offers similar functionality. Alternatively, you can log into your router’s admin panel (usually by entering 192.168.1.1 in your browser) and check the DHCP client list for new or unrecognized devices.
What is a static IP address, and do I need to set one?
A static IP is an IP address that doesn’t change each time the device reconnects to the network. While most home networks assign IPs dynamically through DHCP, setting a static IP can be useful for devices like cameras that you want to access consistently. You might consider using a static IP if you plan to set up direct access, integrate the camera into a third-party system, or prevent IP conflicts. For most everyday users, it’s not required — especially since many Aosu cameras are designed to handle IP management automatically — but having the option to configure it manually is helpful for advanced users.
Do I need to set up port forwarding for Aosu cameras?
In most cases, no. Aosu cameras are designed to work out of the box using their companion app and secure cloud connectivity. You don’t need to configure port forwarding to view live streams, receive notifications, or use cloud recording. However, if you plan to integrate your camera with an NVR, NAS, or third-party software that relies on direct IP access or RTSP streaming, then port forwarding and a static IP setup may be required. For typical home users, though, Aosu’s plug-and-play design means you can skip this step entirely and still enjoy full functionality.
Why Is My IP Camera Not Appearing on My Router?
If your IP camera isn’t showing on your router, it may be due to network misconfiguration, DHCP issues, or disabled UPnP. Restart your router and camera, then check IP settings or assign a static IP manually. For reliable connectivity, Aosu cameras integrate easily with most routers for seamless detection.
How Do You Assign a Static IP to an IP Camera?
To assign a static IP to your camera, log into the router’s admin panel, locate the device under connected devices, and reserve an IP address. Setting a static IP prevents disconnection or duplicate address conflicts, ensuring your IP camera stays consistently accessible and secure.
Should You Enable UPnP for Your IP Camera?
Enabling UPnP (Universal Plug and Play) allows your router to automatically detect and connect cameras or smart devices. It’s safe when used on secure home networks, simplifying setup and ensuring your IP camera quickly appears for remote access and monitoring.
Is Your Firewall Blocking the IP Camera Connection?
A firewall can block your IP camera if its rules restrict new or unknown devices. Check your router’s firewall settings, allow the camera’s IP or MAC, and refresh your network. Adjusting these preferences restores device visibility while keeping your security intact.
Why Isn’t My IP Camera Connecting to WiFi?
Your IP camera might fail to connect to WiFi due to weak signal strength, incorrect password, or incompatible network frequency. Move it closer to the router, verify credentials, and reset if needed. Brands like Aosu design cameras to automatically optimize WiFi pairing for stable connection.
What Should You Do If Your IP Camera Firmware Update Freezes?
If your IP camera firmware update gets stuck, power-cycle the camera and router, then reattempt the update via the manufacturer’s app or browser tool. Ensuring a strong connection and uninterrupted power prevents corruption, allowing smooth performance recovery and improved functionality.
How Can IP Scanners Help You Detect Hidden Cameras?
An IP scanner identifies all devices connected to your network, revealing your camera’s address instantly. Use reliable scanners like Angry IP or Advanced IP Scanner to find undetected cameras. This method ensures complete control and simplifies troubleshooting across your security system.
How Do You Set Up Port Forwarding for an IP Camera?
To configure port forwarding, access your router’s settings, find the Port Forwarding section, and assign internal and external ports for your IP camera. This setup enables secure remote monitoring from anywhere, improving accessibility for advanced surveillance management at home.


Leave a comment
This site is protected by hCaptcha and the hCaptcha Privacy Policy and Terms of Service apply.