



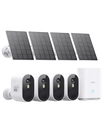
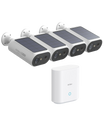
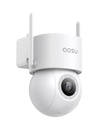

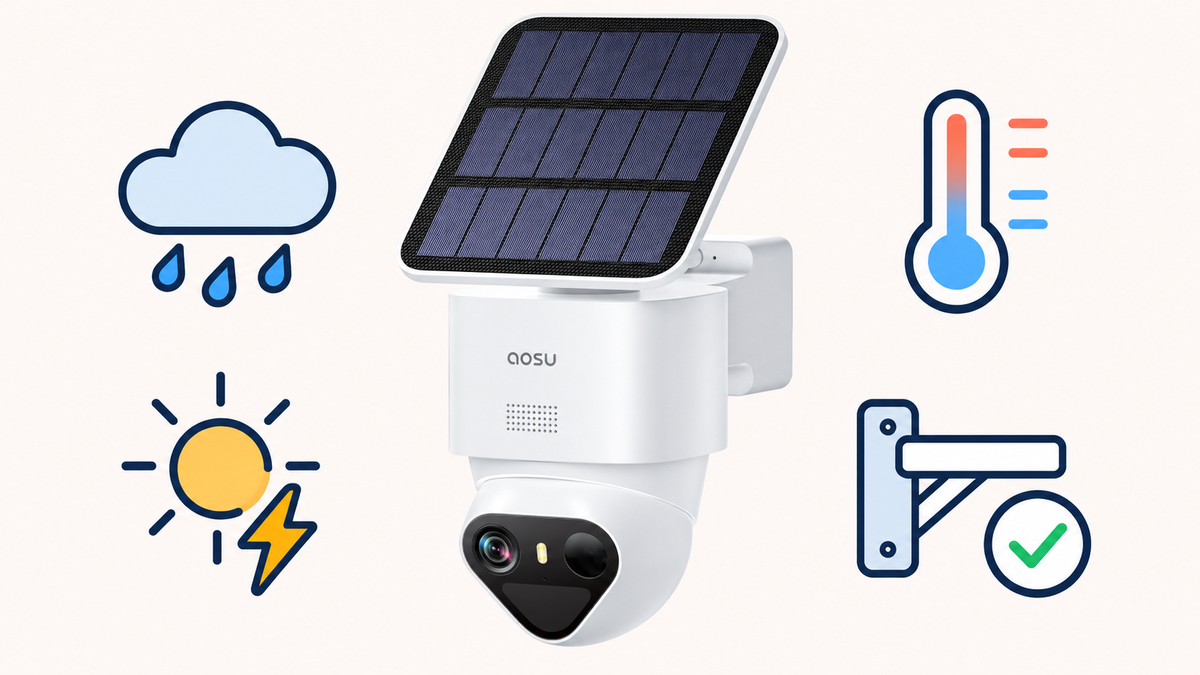

Security cameras for outdoor use need weather protection, a suitable power supply and mounts that fit the place you’re installing them. Check the camera’s IP rating, operating and charging temperatures, port covers and mounting instructions against the rain, sun and cold at that spot.
A covered porch, an exposed driveway and a shaded side gate put different demands on the same camera. Follow the whole installation—from the camera to its panel or power connection—to decide whether to keep the spot, adjust the setup or choose another model.
Check More Than the Outdoor Label
The camera body, solar panel, cable connector and power adapter each need to suit their surroundings. The camera’s IP rating covers the component identified in its specifications. An indoor-only adapter needs an indoor location.
Follow the planned cable route with the accessories in hand. Find the panel connection, USB charging cover and adapter position. With a battery camera, allow access for its next recharge.
Look above and around the mount. A gutter joint can spill water onto the camera, sprinklers can spray it from below, and a roof can shade the solar panel for most of the day. Move the proposed mount away from concentrated runoff and check the panel’s sunlight separately from the camera’s view.
Read Weather Ratings in Context
An IP rating tells you how an enclosure was tested against solids and water. In IP65, the 6 means dust-tight protection and the 5 means protection against the specified water-jet test. Temperature limits and protection against salt-air corrosion are separate specifications.
Match water exposure to the rating and mounting instructions. Check where water can collect around ports and power connections, and keep adapters out of puddles.
A Camera That Took on Water Overnight
A homeowner in r/homeassistant wrote: “My E1 Outdoor Pro took on water after one night of heavy rain.” Water poured out, the lens had condensation and the camera would no longer hold its Wi-Fi connection. The owner had been testing its position in bushes before drilling and had not yet mounted it.
Related links:
· Read the homeowner’s post in r/homeassistant
When choosing a replacement for a location like this, compare mounting position and connection protection alongside the IP rating. Installation drawings should show how the camera hangs, where the ports face and how cables enter. Check whether that arrangement works beside the plants and sprinklers.
For a temporary placement test, hold or securely support the camera in the specified orientation while you check the view and signal, then bring it back inside. Finish the bracket, covers and connections before leaving it outdoors. If water has entered the housing, stop powering or charging the camera and contact support for service or replacement.

T2 Ultra mounted beside a porch during a water-spray demonstration.
Protect Connections and Mount Correctly
Fit the supplied bracket with fasteners suited to the wall. Check that it stays firm when you adjust the camera. On a pan-and-tilt model, move through the full viewing range so the lens, panel and cable clear the wall, eave and nearby branches.
Inspect each opening while it’s easy to reach. A charging cover should close flat, with no dirt or cable caught beneath it. A connected solar cable needs the seal or protective fitting supplied for that connection. Use the manufacturer’s sealing arrangement and approved accessories.
Support cables so their weight doesn’t pull on the connector. Keep them clear of sharp edges, doors and moving camera parts. For a detachable panel, check the actual cable route around corners and along the wall; the straight-line distance between camera and panel won’t include those bends.
Confirm the view and connection before final fastening. Have someone walk through the gate or up the driveway, then play the saved clip. If cleaning or charging requires an awkward reach from a ladder, move the mount or arrange maintenance help.
Plan Power for Heat, Cold and Shade
A camera has an operating-temperature range and a separate battery-charging range. When temperatures fall outside the charging range, charging pauses and the camera draws on its battery while conditions remain within its operating range. Several cold days can use up the reserve. Choose a model whose documented limits cover your winter conditions.
Sunlight also affects the camera and panel differently. A sunny panel helps replace battery energy, while a camera on a hot wall still needs to stay within its operating limit. A detachable panel lets you put the camera under an eave and the panel in direct sun.
Check the panel position in the morning, around midday and later in the afternoon. Include shadows from the roof, fences and trees, and allow for seasonal changes. Longer recordings, live viewing, tracking and night lighting increase power use. A shaded panel at a busy entrance has less charging time and more energy to replace.
If every reachable panel position stays shaded, compare a battery camera with practical recharge access against a wired setup. If you need continuous saved video, choose a model and power arrangement that explicitly support it. For seasonal panel and battery preparation, use our winter solar-camera guide.
Related links:
Build an Outdoor Inspection Checklist
Use the inspection table at the actual camera and panel positions. Each row connects a condition you can see with the specification and installation detail that address it.
| Environment | Specification to confirm | Installation requirement | Often-overlooked part | Maintenance action | Not suitable when |
|---|---|---|---|---|---|
| Rain, runoff or sprinklers | IP code for each exposed component | Mount in the specified orientation, away from concentrated runoff | Port cover and panel connector | Inspect covers and connections after rain | The exposure exceeds the documented protection |
| Dust, pollen or yard work | Dust rating and cleaning instructions | Keep the lens and moving parts clear | Panel surface and PTZ joint | Clean the lens and panel as instructed | The location exceeds the stated dust protection |
| Hot wall or afternoon sun | Maximum operating and charging temperatures | Choose a cooler camera position; place the panel for sun | Heat from masonry or metal siding | Check heat warnings during hot periods | The camera’s temperature limit is exceeded |
| Freezing weather, snow or ice | Minimum operating and charging temperatures | Allow access for charging and snow removal | Battery reserve while charging pauses | Check the battery trend and clear the panel safely | Temperatures fall below the operating limit |
| Solar panel in seasonal shade | Permitted panel placement and cable length | Use a sunny position within the supported cable route | Corners, roof shadows and connector reach | Recheck shade when seasons change | No reachable position supplies enough sun |
| Plug-in or wired power | Ratings for exposed cable, adapter and connectors | Keep indoor-only equipment indoors | Adapter and inline cable joints | Inspect cable supports and connections | The route needs an unsupported splice or exposed indoor adapter |
Keep the Spot, Adjust the Setup or Choose Another Camera
Keep the spot when the exposure and temperatures fall within the documented limits, the connections are protected and maintenance is reachable. Adjust the setup when a nearby mount, separate panel or better cable route resolves the problem. Choose another camera or power supply when the site still falls outside a required limit.
For example, suppose a porch gives you a clear view of the gate but keeps an attached solar panel in shade. A nearby wall gets direct sun. A detachable panel solves the charging-position problem if its supported cable reaches along the wall and both brackets can be secured. The camera can keep its gate view.
If the cable is too short, compare another panel position or mount. If the whole side of the house stays shaded, choose another power setup. A larger battery extends the time between charges.
Apply the Checklist to T2 Ultra
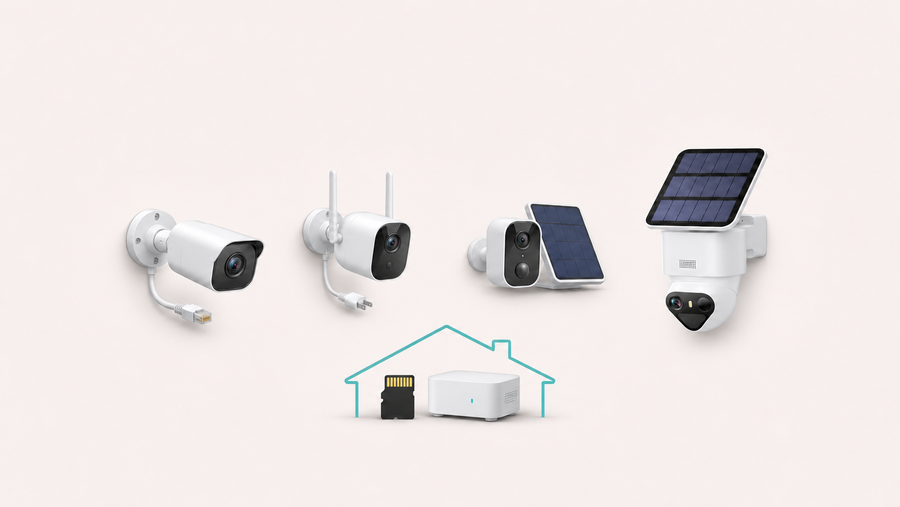
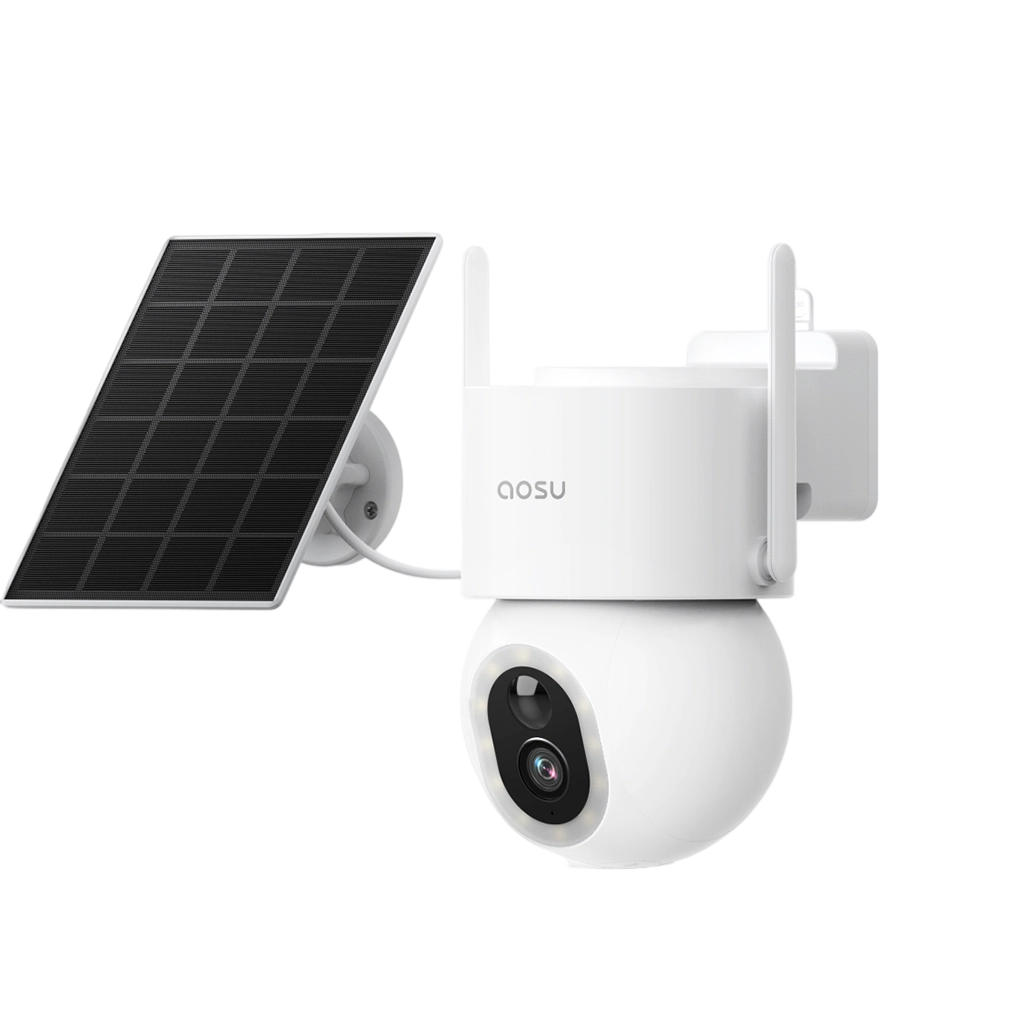
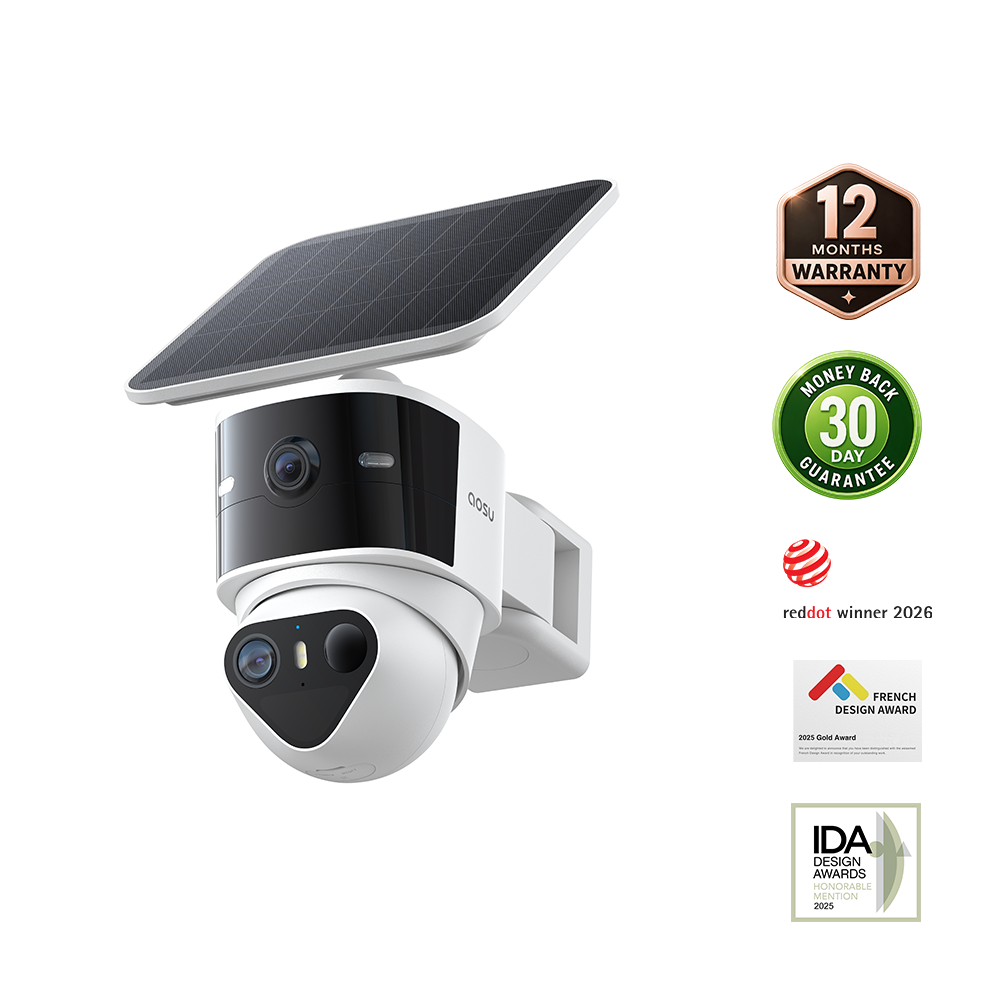
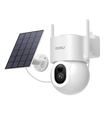
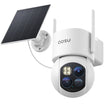
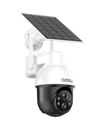
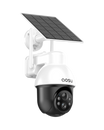
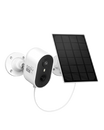
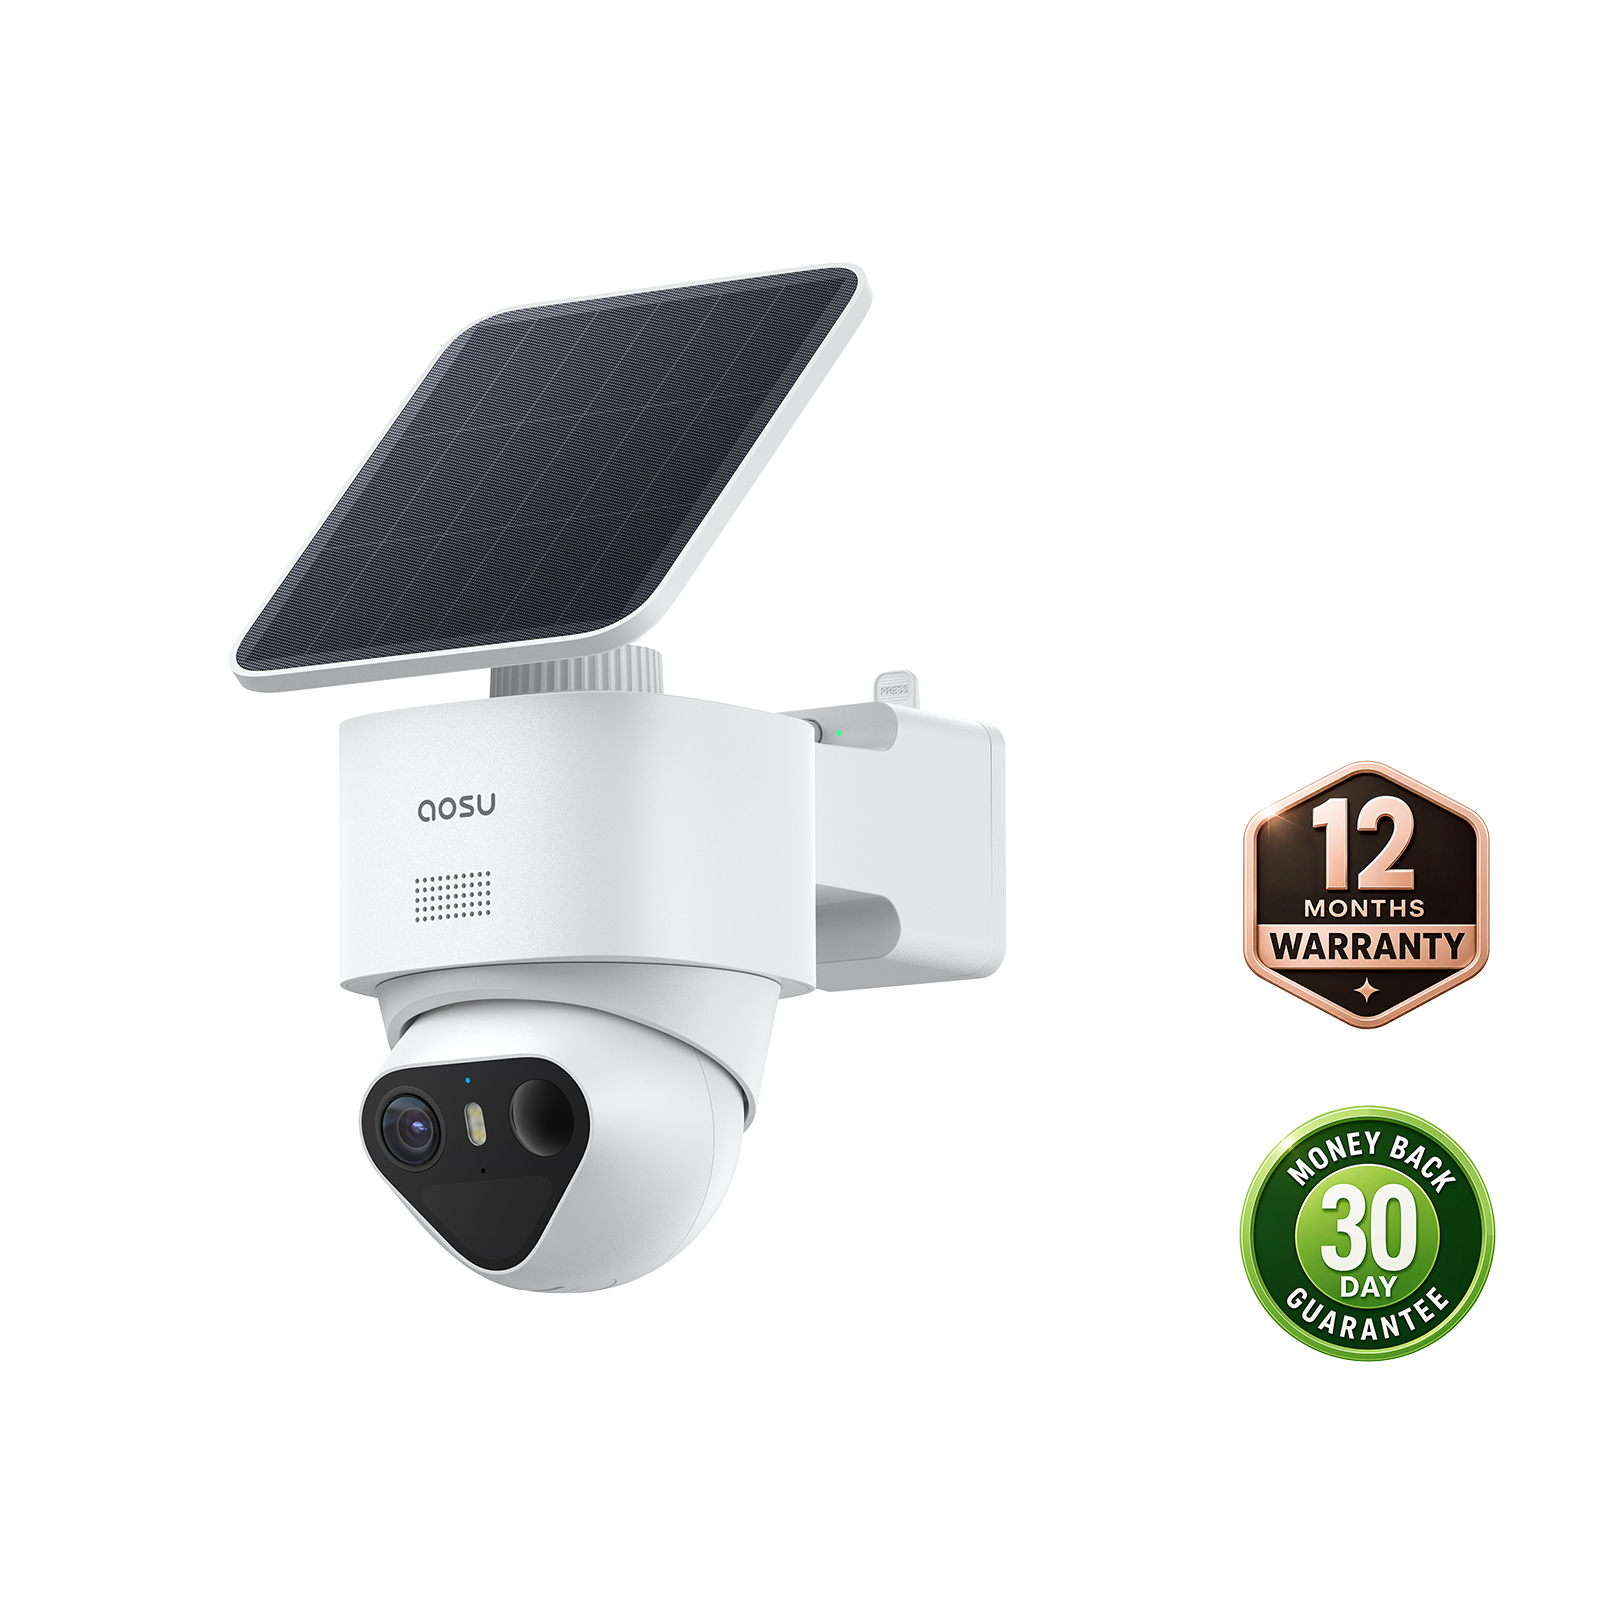
SolarCam T2 Ultra model C9X11 has an IP65 enclosure, a 9,200 mAh battery and a 3 W solar panel that can attach to the camera or mount separately. Its recommended installation height is 2.0–3.0 m. The detachable panel gives you flexibility when a sheltered camera position and a sunny panel position are several steps apart.
Before ordering, match the exact camera and kit instructions to your outdoor conditions, including both temperature ranges and the supplied cable reach. Choose the standalone, aosuBase or aosuCortex configuration for the storage arrangement you need. The T2 Ultra product page shows the available configurations.

T2 Ultra with the solar panel attached to the camera (left) and mounted separately (right).
Related links:
· night-vision camera collection
Check the Installation After the First Rain
From a safe position after rain, look for roof runoff striking the camera, water gathering around a connector, a loose bracket or a cover that has lifted. Play a new recording to check the view and sound. Inspect accessible exterior parts without opening the housing.
Move the camera out of a gutter’s drip line, reseat a cover according to its instructions or correct a cable pulling on a connector. Contact support if water has entered the housing.
To Wrap Up
Choose security cameras for outdoor use by matching the camera and its accessories to the mounting spot. Follow the connections, compare operating and charging limits, and leave access for service.
Use the checklist to resolve each mismatch before drilling, then inspect the installation after its first rain. Explore our night-vision camera collection when you’re ready to compare outdoor models for the view you need.
FAQs
Is IP65 enough for an outdoor security camera?
IP65 means dust-tight enclosure protection and protection against the specified water-jet test. Match it to the exposure and mounting instructions for your location. Check the rating of exposed connectors, panels and adapters separately.
Can an outdoor battery camera work when it is too cold to charge?
Yes, while it remains within its operating-temperature range and has battery power. Charging resumes when the battery returns to its permitted charging range. Compare both limits before choosing a camera for a cold location.
Should an outdoor camera go under an eave?
An eave can shelter the camera from direct rain. Leave room for its full movement and view, and place a detachable solar panel in direct sun when the eave shades the camera. Keep the mount away from gutter leaks and concentrated roof runoff.