





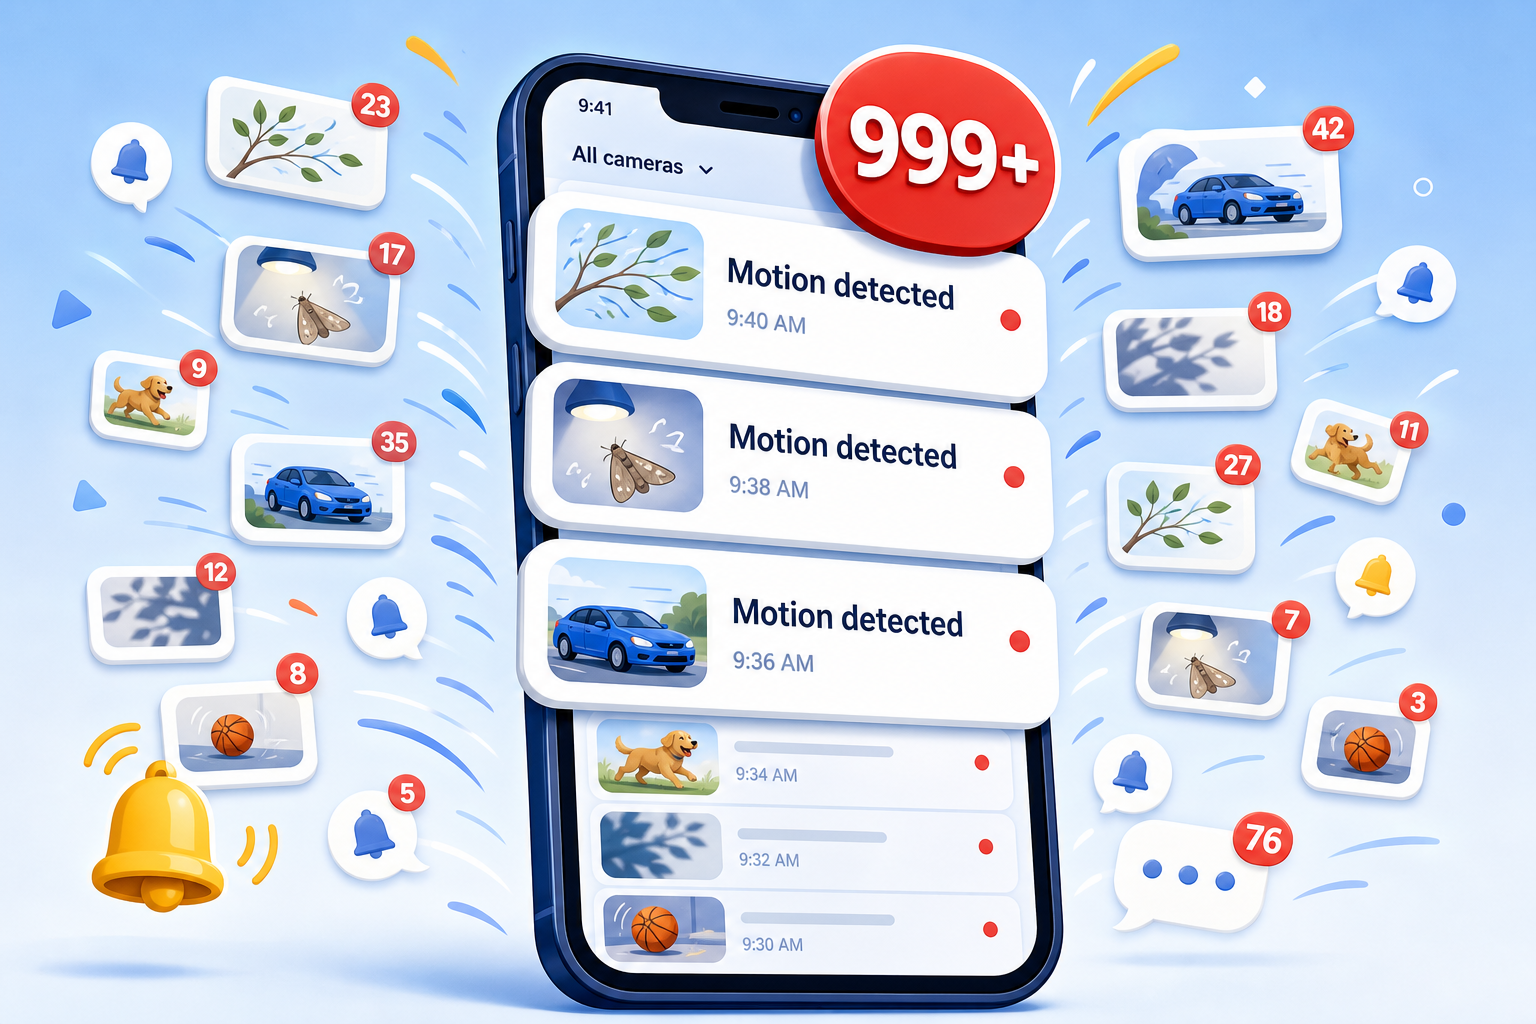
If your security camera keeps sending alerts when no one is there, the camera may still be reacting to real movement or a real image change. Passing cars, moving branches, insects near the lens, shifting shadows, rain, reflections, and infrared light can all look important to a motion-detection system.
The most reliable fix is to identify the repeat trigger, remove it from the camera's active view when possible, and then tune zones, sensitivity, and alert categories one setting at a time. The steps below work as a general troubleshooting process, although exact controls vary by camera model and app.
Start Here: The Fastest Fixes to Try
If you want to reduce unwanted alerts quickly, start with these three high-impact checks. They address the scene, detection sensitivity, and notification choices without requiring a reset or a complete change to your camera setup.
Try the check that best matches your recent events, then test the monitored area to make sure the camera still catches the activity you care about.
- Clean and adjust
Wipe the lens, remove webs or debris, and adjust the angle or active zone to move the repeated trigger out of the monitored area.
- Lower sensitivity by one level
Make one small adjustment, save it, and test normal activity before lowering it again.
- Choose the alerts you need
Use person, vehicle, pet, or package alerts when available instead of receiving every general-motion notification.
The Best Order for Fixing False Motion Alerts
False alerts are easier to solve when you work from the physical scene toward the app settings. A settings change cannot fully compensate for a camera pointed at constant movement, and lowering sensitivity too far can make the camera miss a person approaching.
Use this order: review recent events, clean and inspect the camera, correct its angle, tighten detection zones, lower sensitivity gradually, choose useful detection categories, and only then reduce notification frequency.
- Find the repeated trigger
Review several unwanted events and note what changes first: a branch, headlights, an insect, a pet, a shadow, weather, or traffic at the edge of the frame.
- Fix the view before the sensitivity
Clean the lens, remove webs, and aim the camera away from constant movement, reflective surfaces, and public traffic when possible.
- Tune one control at a time
Adjust a zone, sensitivity level, or detection category, then test normal activity before changing another setting.
- Check what the camera still catches
Walk through the monitored area in daylight and at night so fewer alerts do not come at the cost of missed people or deliveries.
First, Identify What Is Triggering the Camera
Open the event history and review at least five unwanted alerts if you can. Look at the first second of each clip, not only the middle. The object that triggered the event may have left the frame by the time the clip becomes clear.
Write down the time, weather, lighting, and part of the frame where movement begins. If the same pattern appears more than once, you have a useful lead. If the alerts happen only at night, concentrate on insects, spider webs, infrared reflection, headlights, and outdoor lighting. If they happen in wind or sun, look for plants, flags, loose decorations, and fast-moving shadows.
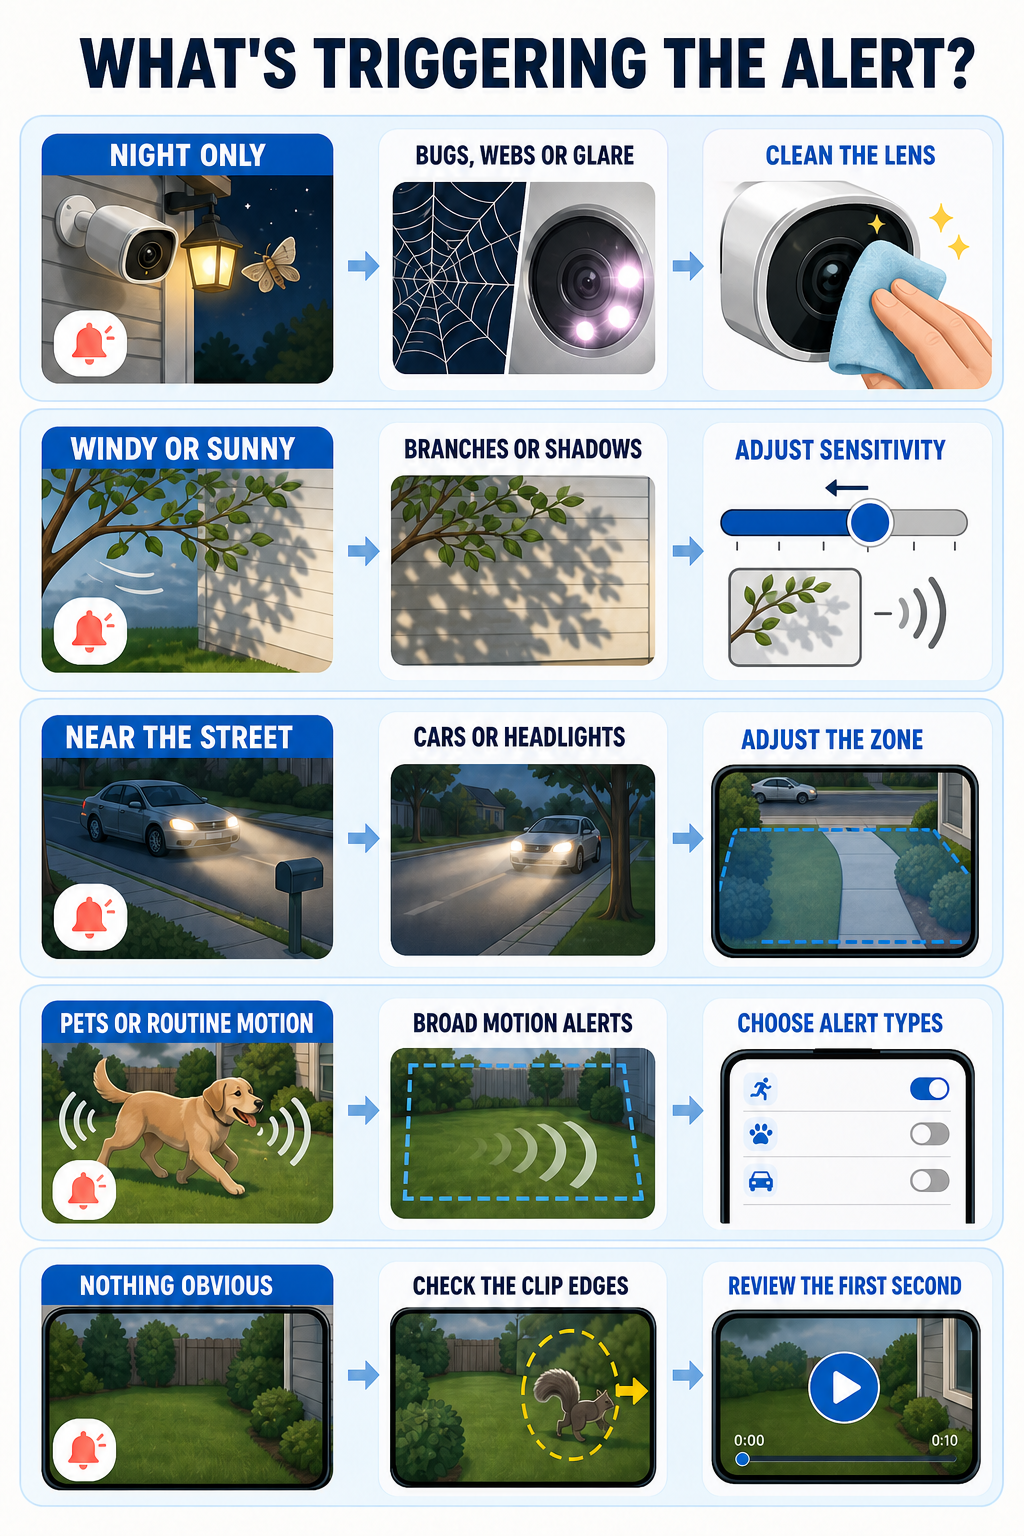
A short event review usually reveals whether the problem begins with the scene, the camera position, or the detection settings.
Match the Alert Pattern to the Likely Cause
| Alerts on windy days | Alerts after dark | Alerts from the street | Alerts with no obvious motion | Alerts caused by pets | Too many correct but unwanted alerts |
|---|---|---|---|---|---|
|
|
|
|
|
|
1. Clean the Lens and Remove Nearby Trigger Sources
Wipe the lens and the area around it with a soft, clean cloth suitable for camera lenses. Remove spider webs, insect nests, dust, water spots, and debris around the housing. Bugs close to the camera can appear very large, especially when infrared night vision illuminates them.
Also check for loose cables, leaves, wind chimes, flags, hanging plants, reflective decorations, and fast-moving shadows within the frame. Trim or secure what you safely can. Do not spray insect repellent, cleaner, or water directly onto the camera unless the manufacturer's care instructions specifically allow it.
2. Correct the Camera Angle and Placement
Aim the camera across the route a person is likely to take rather than filling the frame with a road, sidewalk, tree canopy, or sky. Keep the important approach area central enough to detect, while moving constant background activity toward the edge or outside the frame.
At night, inspect the live view for bright walls, soffits, gutters, railings, glass, or glossy surfaces close to the lens. Infrared light can reflect from these surfaces and create glare, haze, or pulsing exposure changes. A small angle adjustment can sometimes solve more than a large sensitivity change.
If the camera looks through a window, infrared night vision may reflect from the glass. Use a placement and night setting designed for that situation, or move the camera outside if the model and location allow it.
3. Tighten Activity or Detection Zones
Draw the active zone around the doorway, gate, porch, path, or driveway section you actually need to monitor. Exclude public roads, neighboring property, moving plants, flags, bright signs, and areas where headlights sweep across the image.
Leave a little space before the most important point. If the zone begins at the doorstep, a fast-moving visitor may enter too late for a useful alert. After saving the zone, walk through the approach path at a normal pace and check the recorded result.
Zone behavior varies. On some cameras a zone limits alerts, while on others it also affects recording or only applies to certain detection types. Confirm how your model behaves before relying on the zone as the only control.
4. Lower Motion Sensitivity Gradually
Reduce sensitivity by one level, save the change, and test again. Avoid jumping straight from maximum to minimum. A very low setting may stop nuisance alerts but also miss someone at the edge of the detection range, a person approaching slowly, or an event in poor lighting.
Test from the distance and direction that matter in real use. Walk toward the door, cross the driveway, or enter through the gate in daylight and after dark. Keep the lowest sensitivity that still captures those important movements reliably.
5. Use Person, Vehicle, Pet, or Package Detection Carefully
If your camera offers event categories, enable the ones that match the location. A front door may benefit from person and package alerts, while a driveway may need person and vehicle alerts. Turning off general-motion notifications can reduce noise when smarter categories are reliable on your camera.
Classification is not perfect. Shadows, clothing, objects, and partial views can sometimes be labeled incorrectly, and a person can be missed if the view is blocked or the approach begins outside the active area. Review the event history after changing categories rather than assuming the label filter solved everything.
6. Separate Recording Decisions From Notification Decisions
A camera can record useful events without sending your phone an alert for every one. If your app separates detection, recording, and notifications, keep the coverage you need and narrow only the alerts that interrupt you.
Useful controls may include alert schedules, quiet hours, event categories, cooldown or retrigger time, and per-camera notification settings. For example, a camera can remain active overnight while routine vehicle notifications are silenced during the morning commute. Do not disable all notifications until you have checked whether schedules or category filters solve the problem.
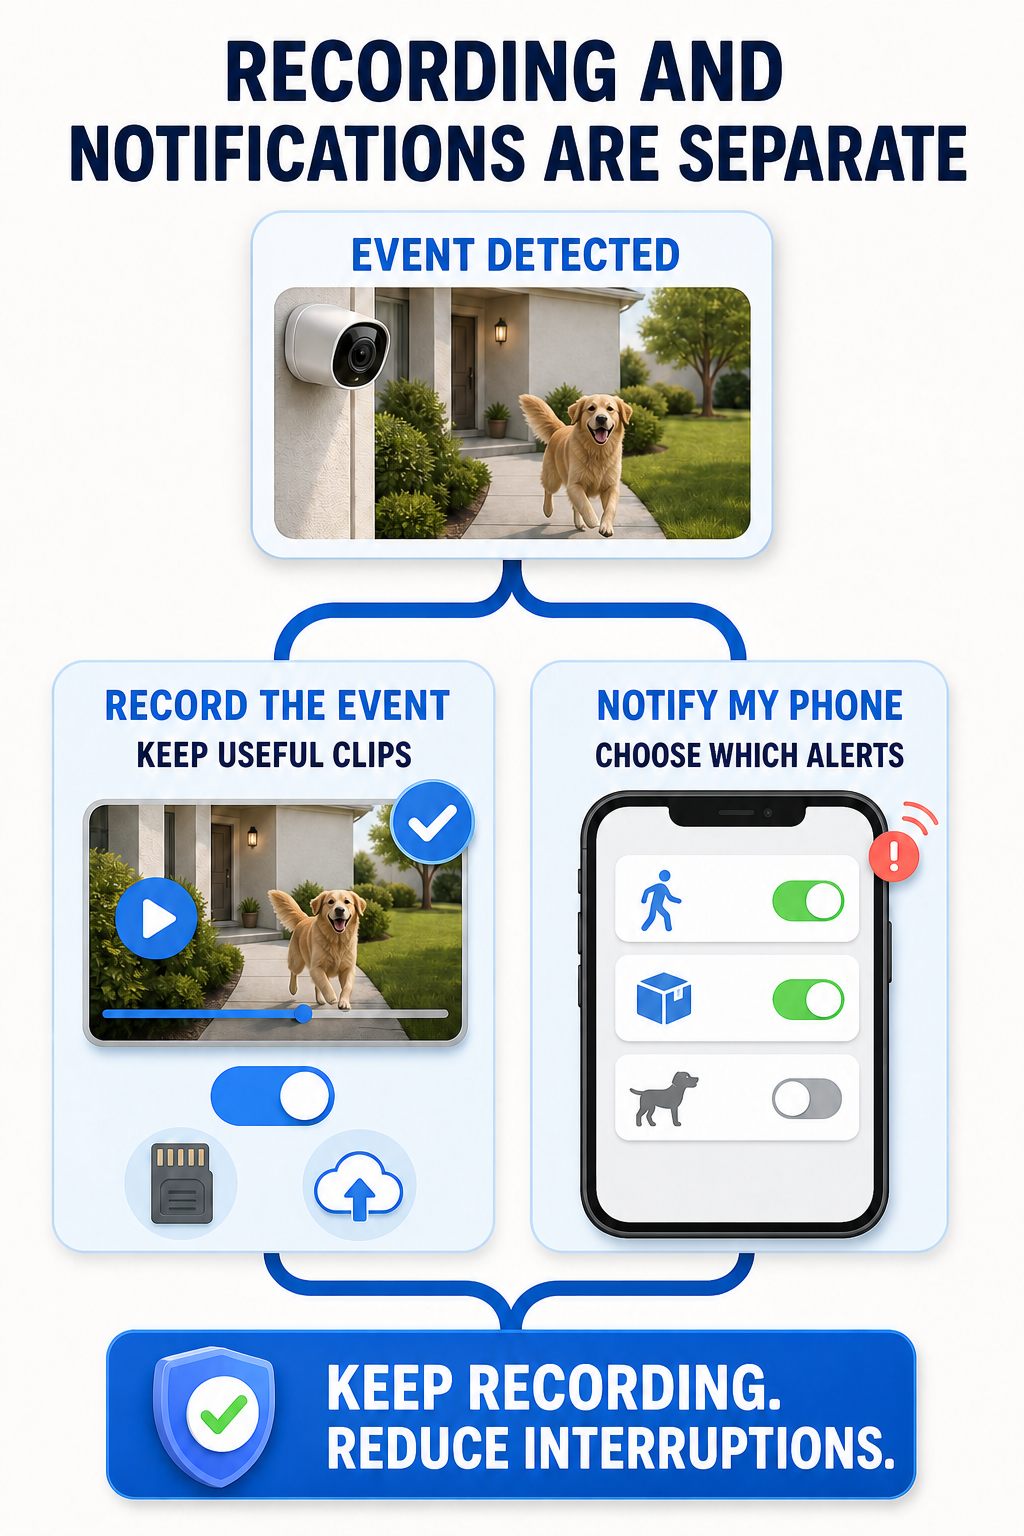 Recording an event and sending a phone notification can be separate choices. Keep useful footage while limiting low-value interruptions when your camera supports separate controls.
7. Troubleshoot Night, Rain, Snow, and Lighting Separately
Night alerts often need a different fix from daytime alerts. Watch for insects circling infrared LEDs, webs glowing near the lens, raindrops catching light, snow crossing the frame, or a porch light switching the image between day and night modes.
Clean the camera, remove nearby reflective obstructions, and adjust the angle first. If your model lets you change infrared intensity, spotlight behavior, or night mode, test one setting at a time. Keep enough illumination to identify people safely; the goal is a stable image, not simply a darker one.
8. Check the App, Firmware, and Connection After Tuning the Scene
If alerts remain inconsistent after the physical and detection changes, confirm that the camera and app are on supported software versions, restart the camera according to its instructions, and check whether settings are actually saving. A weak or unstable connection may delay alerts or event loading, but it does not explain every unwanted motion trigger.
Avoid a factory reset as the first step because it can erase zones and other useful configuration. Use it only when the manufacturer's troubleshooting guidance calls for it or support recommends it.
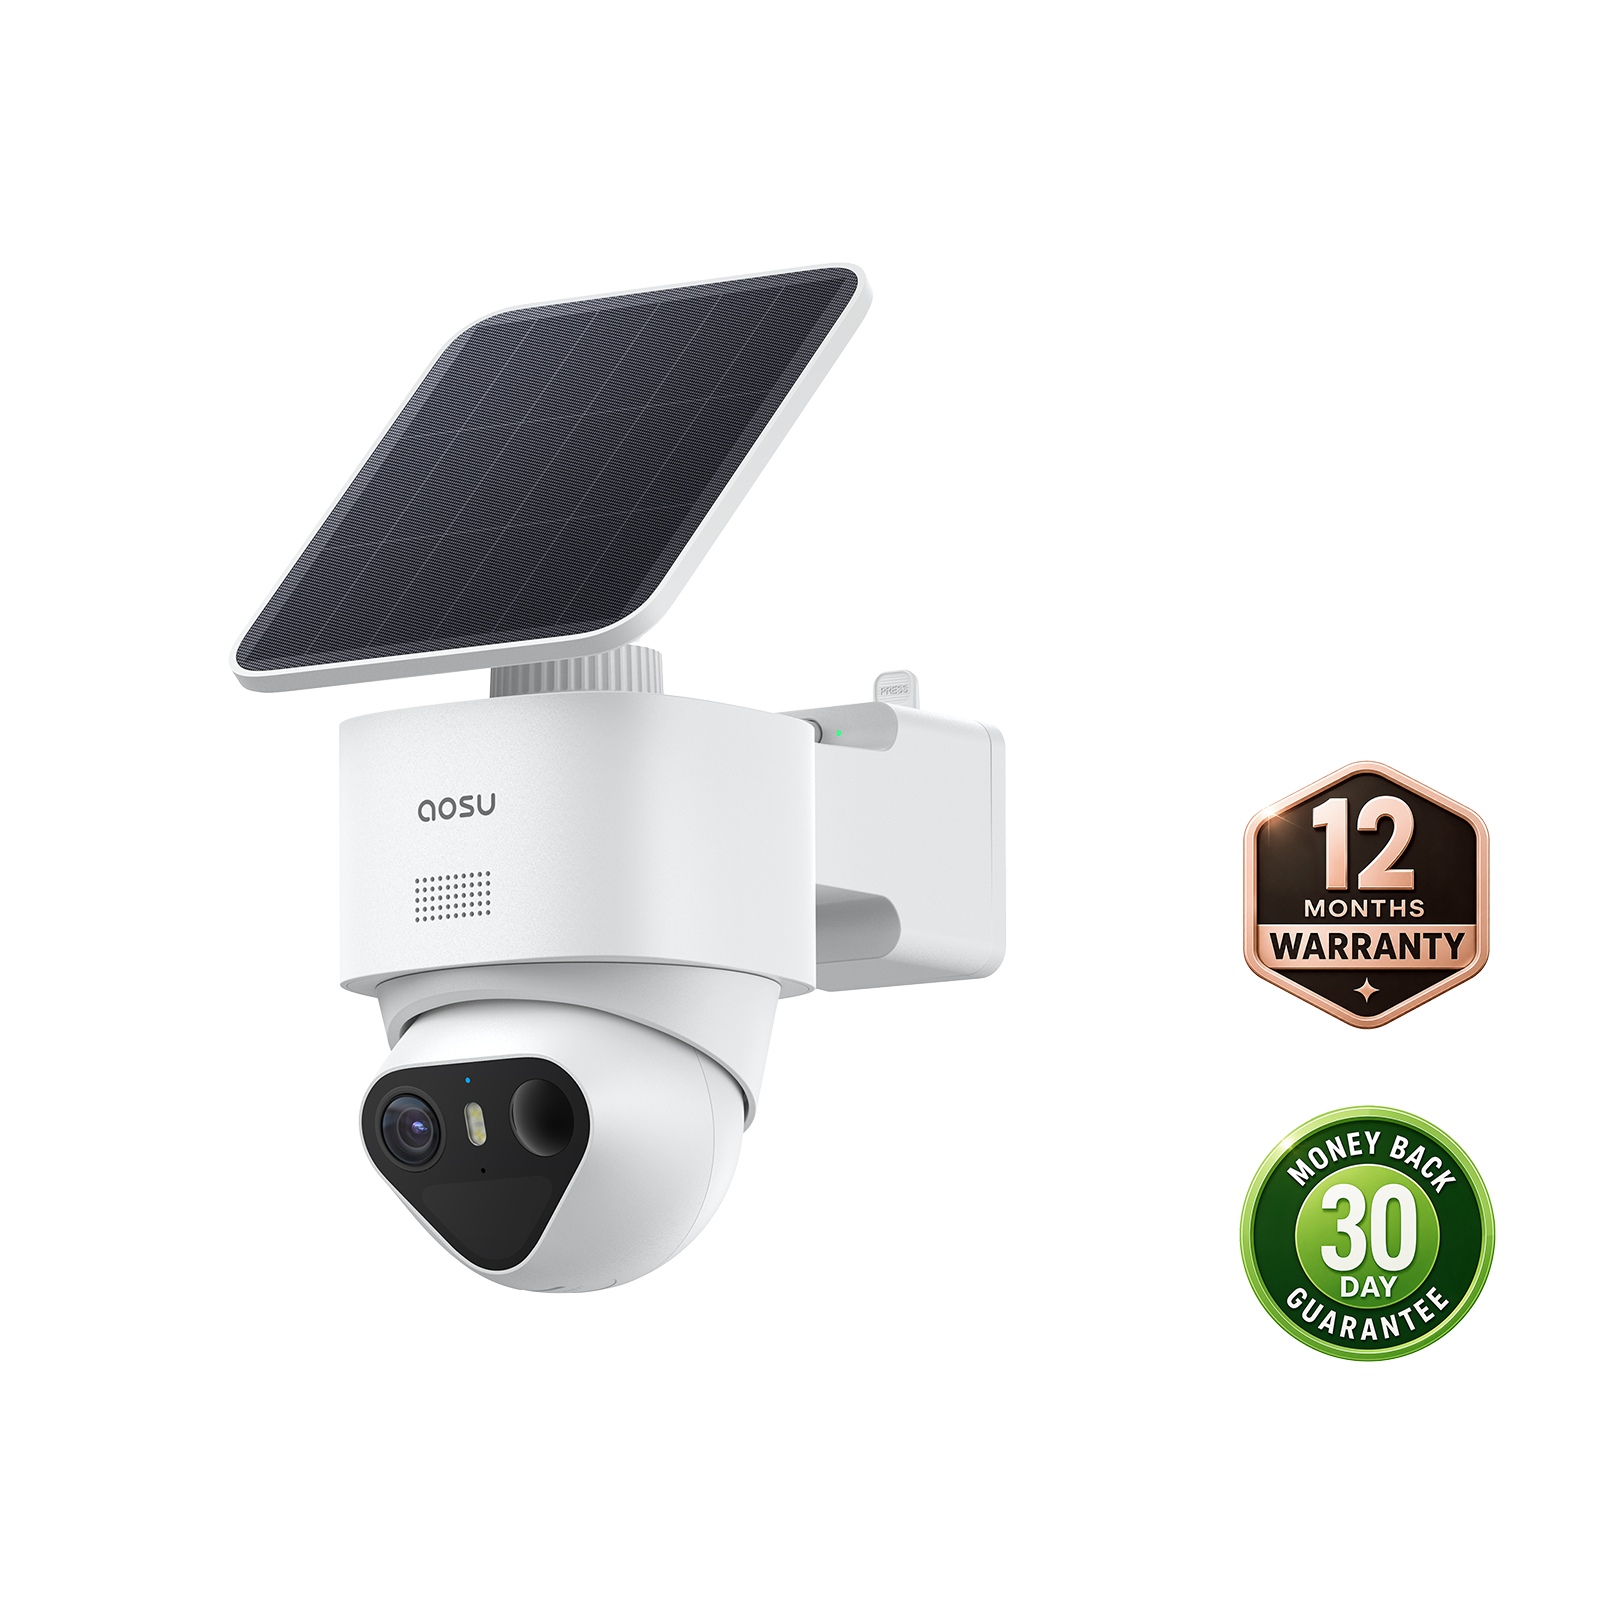
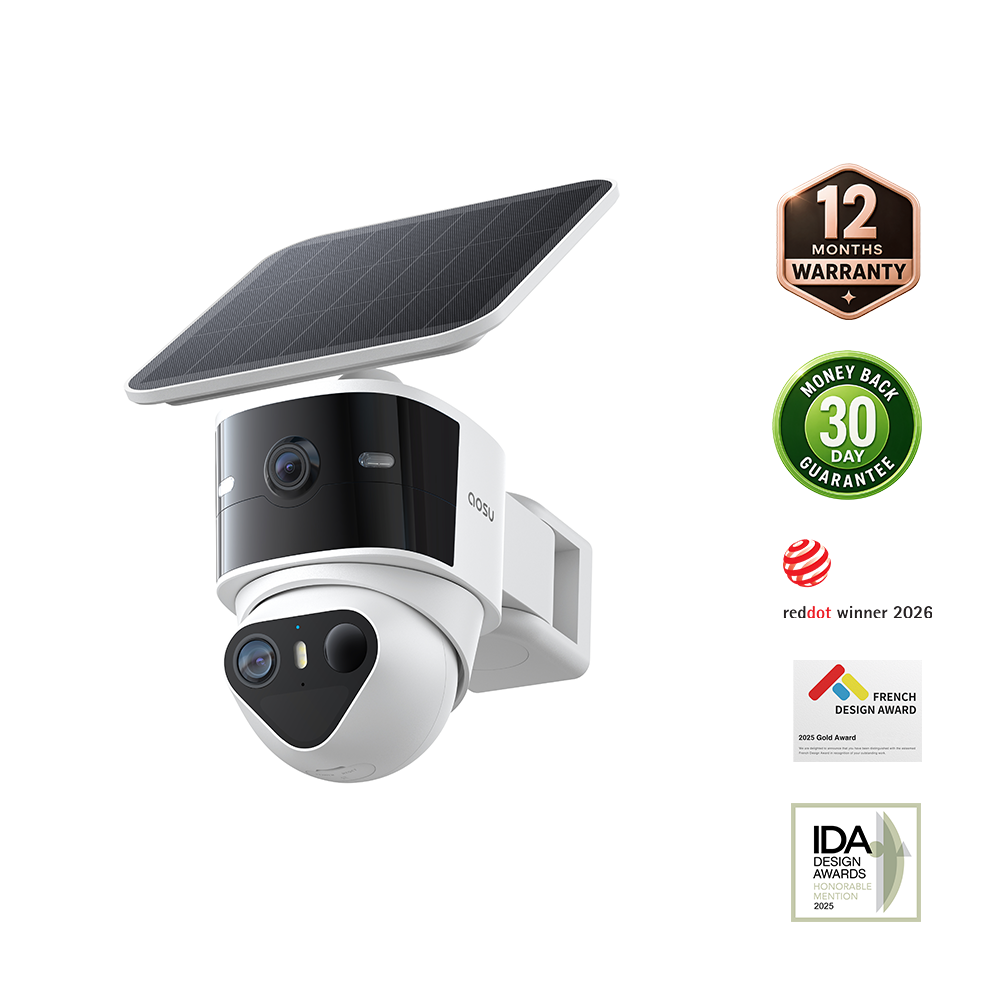
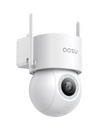
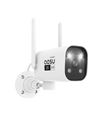
Using an aosu Camera? Follow the Model-Specific App Guide
The process above applies broadly, but menu names and available detection controls differ by aosu model. Use our step-by-step aosu app guide to find motion sensitivity, detection zones, event categories, schedules, and notification controls, along with model-specific notes where needed.
How to reduce false alerts in the aosu app
Use a Simple 24-Hour Test Before Changing More Settings
A short tuning log prevents random changes. Record the setting you changed, the unwanted alerts that remain, and which real-world tests were captured. Busy locations may need several rounds, but each round should answer one clear question.
- Make one focused change
Change the zone, angle, sensitivity, or alert category that best matches the repeated trigger.
- Test real scenarios
Walk past the camera, let a pet cross the monitored area, and roll a ball through the scene to see which events the camera detects.
- Let it run for 24 hours
Leave the new setting unchanged through a full day and night, then count unwanted alerts and check whether the original trigger returns.
- Keep, undo, or refine
Keep a helpful change, undo one that causes missed events, or adjust the same control one more step before moving on.
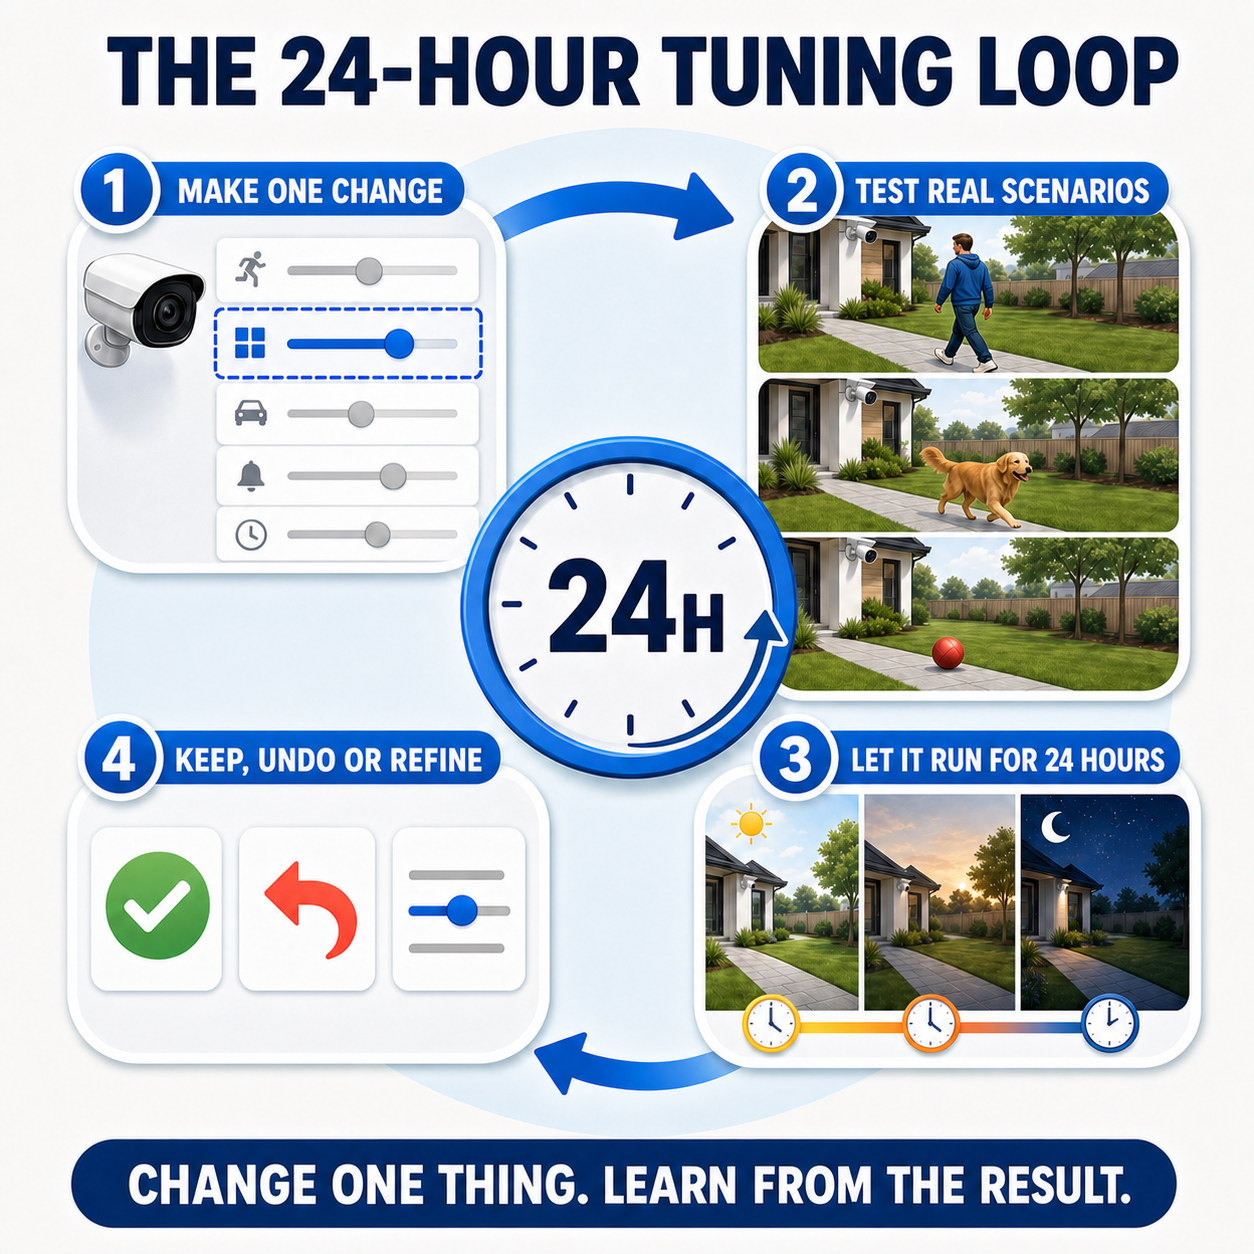
Change one setting, test the kinds of movement your camera normally sees, let the setting run for 24 hours, and then keep, undo, or refine it.
Common Mistakes to Avoid
The goal is not zero motion events. It is fewer low-value interruptions while preserving the people, vehicles, packages, and other events you actually want the camera to catch.
| Avoid | Do instead |
|---|---|
|
|
When to Contact the Camera Manufacturer
Contact support if the camera ignores saved zones, triggers repeatedly in a stable indoor scene, sends alerts that do not appear in event history, misses your controlled walk tests at reasonable settings, or changes behavior after an update and does not recover after an approved restart.
Before contacting support, note the camera model, app version, firmware version, approximate alert times, lighting and weather conditions, and the settings you tested. A short example clip or screenshot can make the problem much easier to diagnose.
Learn how camera settings can also affect battery life
To Wrap Up
To stop false motion alerts, start with the evidence in your event history. Clean the camera, remove or exclude the repeated trigger, correct the view, tighten the active zone, and lower sensitivity only as much as needed. Then use event categories and notification schedules to reduce interruptions without giving up useful recordings.
Change one setting at a time and run a real walk test after each adjustment. That slower, controlled process is usually faster than repeatedly changing everything and wondering which setting caused the camera to miss an event.
FAQs
Why does my security camera detect motion when nothing is there?
The trigger may have moved out of view before the saved clip becomes clear. Common causes include insects close to the lens, spider webs, branches, shadows, headlights, rain, snow, reflections, and activity at the edge of the frame. Review the first second of several events to find a repeated pattern.
Will lowering motion sensitivity stop false alerts?
It can reduce alerts, but lowering it too far may also cause missed events. First correct the camera angle and detection zone, then reduce sensitivity one level at a time and test a person walking through the important area.
Can insects and spider webs trigger a security camera?
Yes. Insects and webs close to the lens can look large, especially when infrared night vision illuminates them. Clean the lens area and housing, remove webs, and check whether the alerts mainly occur after dark.
Do activity zones stop a camera from recording outside the zone?
It depends on the camera. A zone may control alerts, recording, or only certain detection categories. Check your model's instructions and test an event both inside and outside the zone before relying on it.