



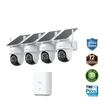
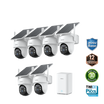

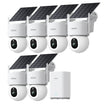
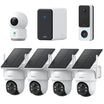
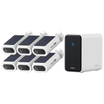
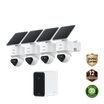
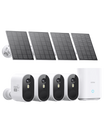
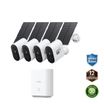
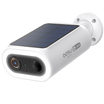
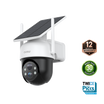
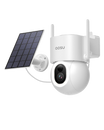
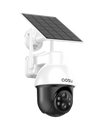
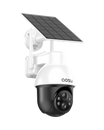
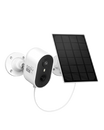
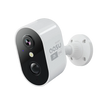
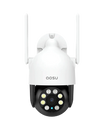
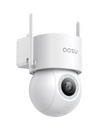
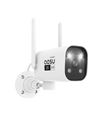

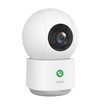
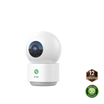
Solar wireless security cameras are popular for a good reason: the install can be fast. You are not running long power cables, building a recorder closet, or planning a major wiring project.
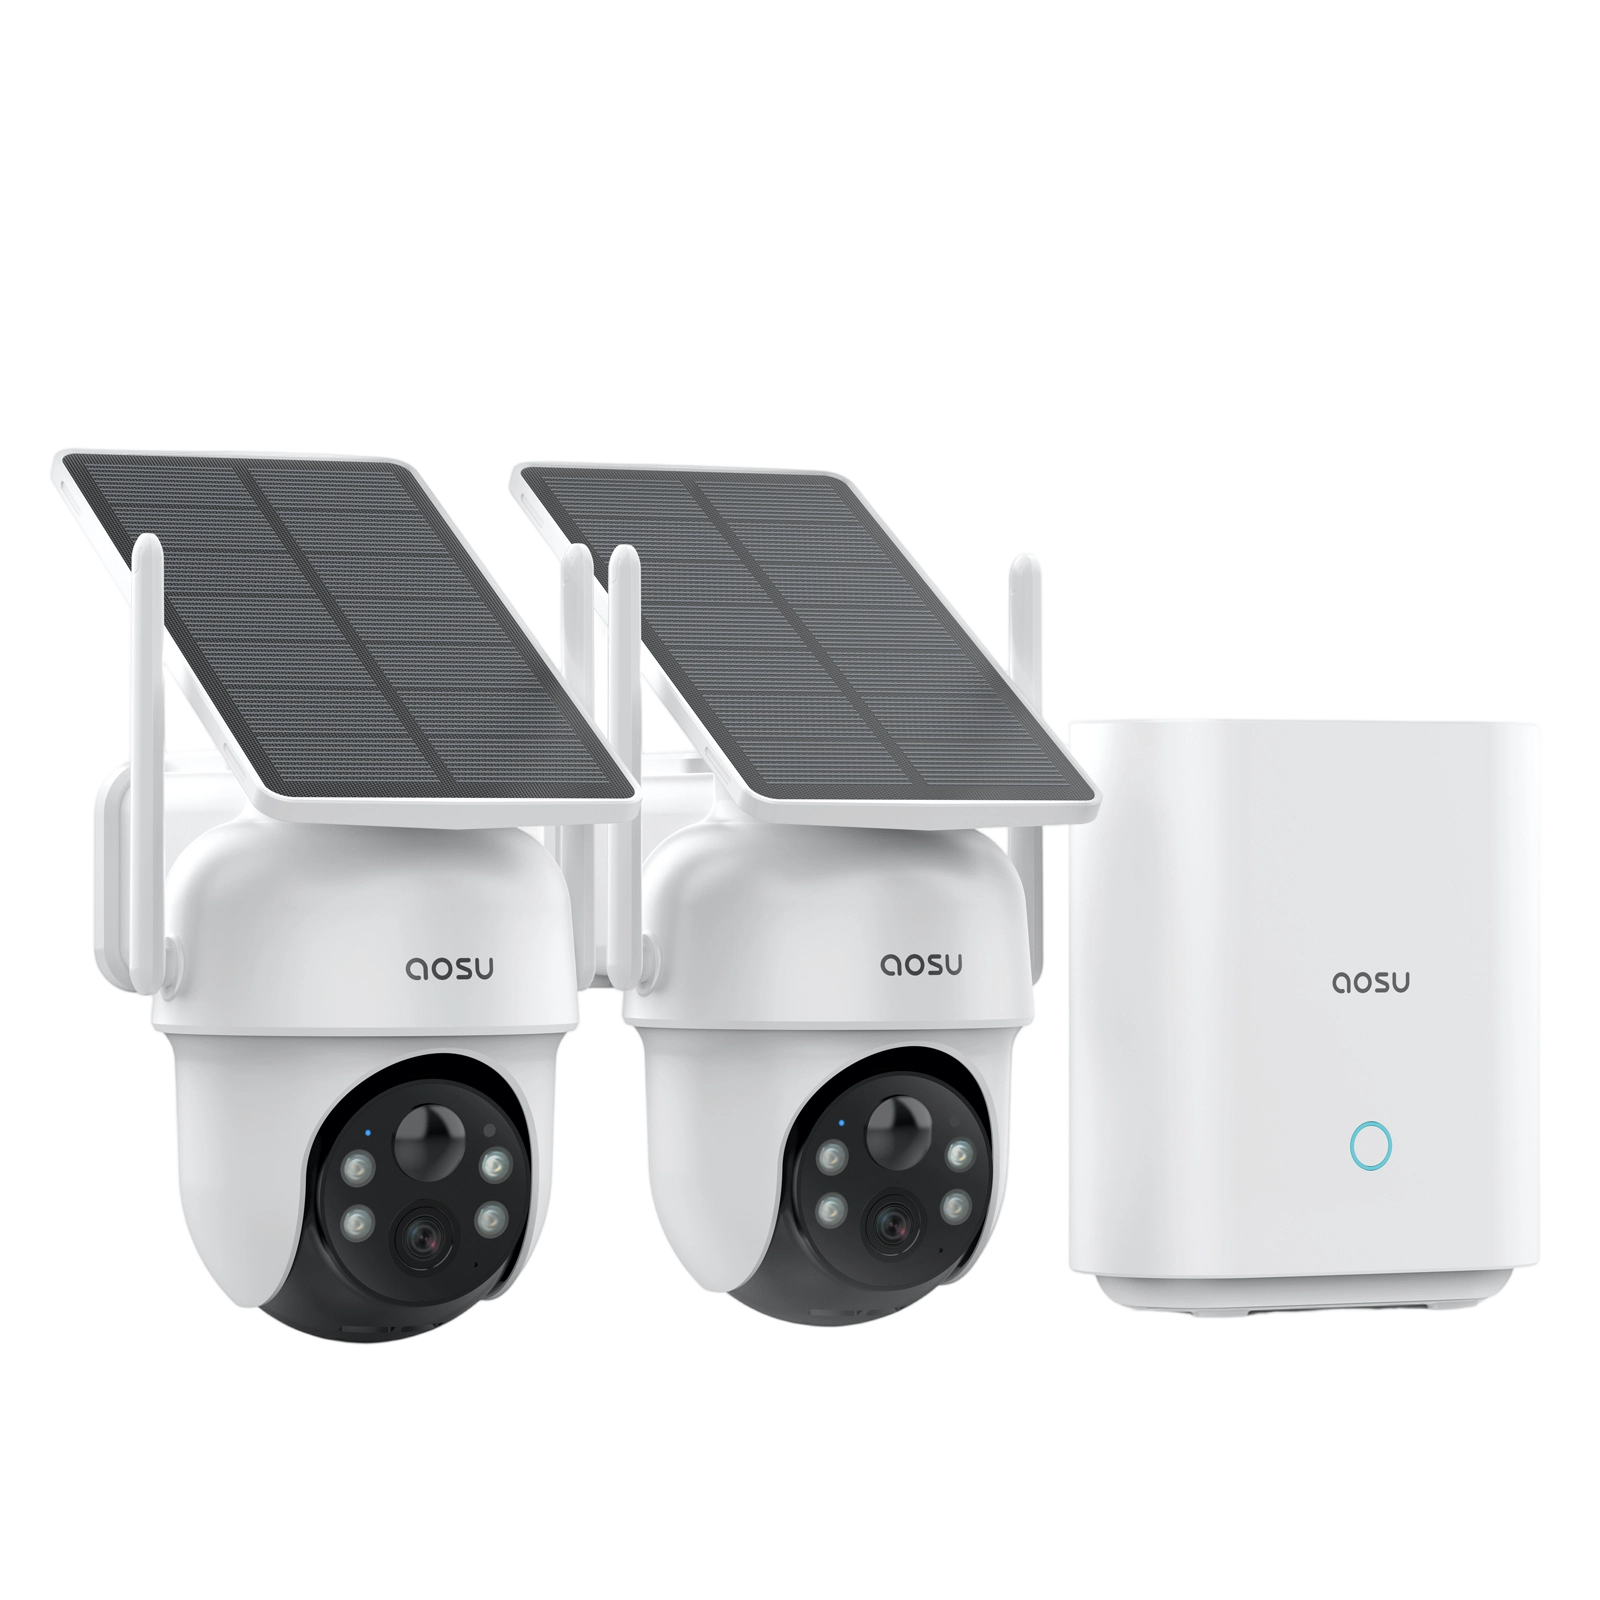
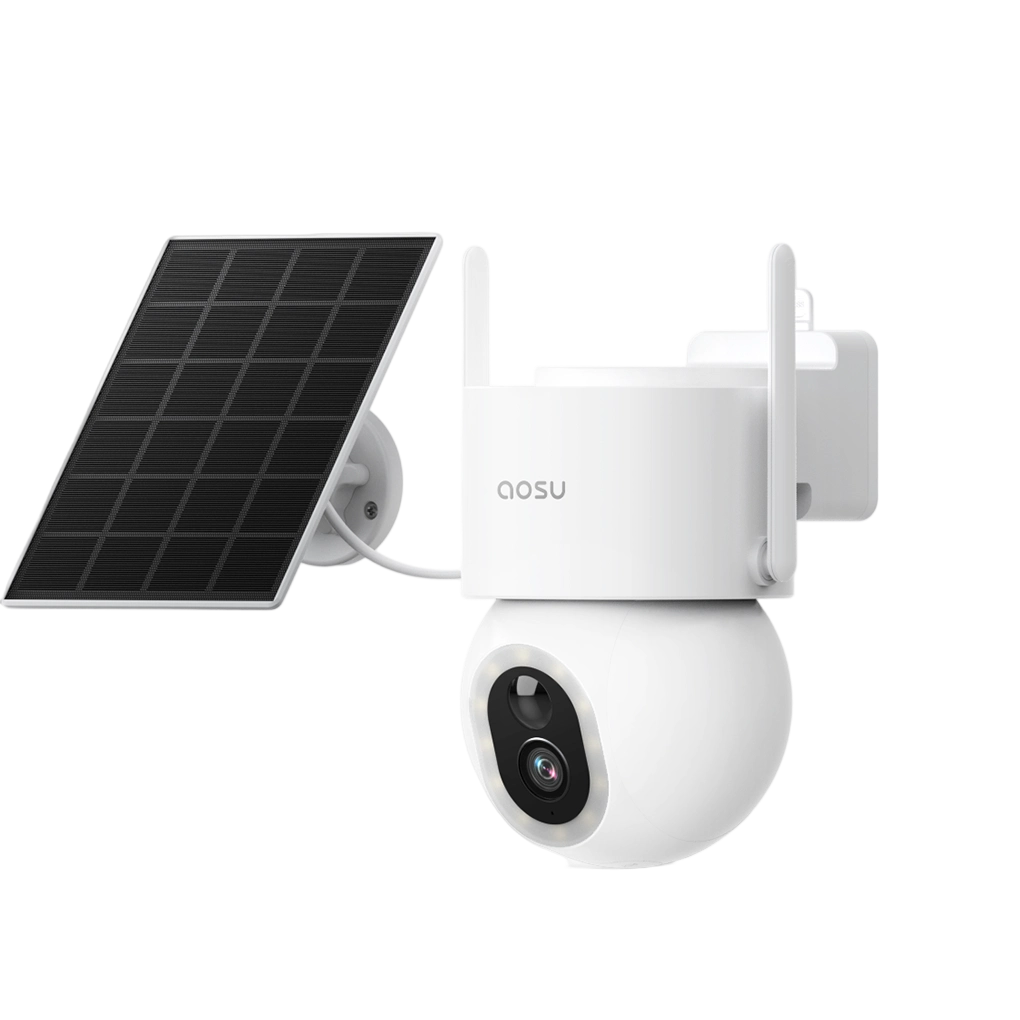
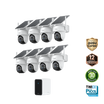
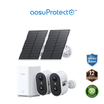
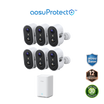
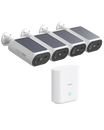
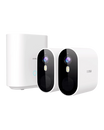
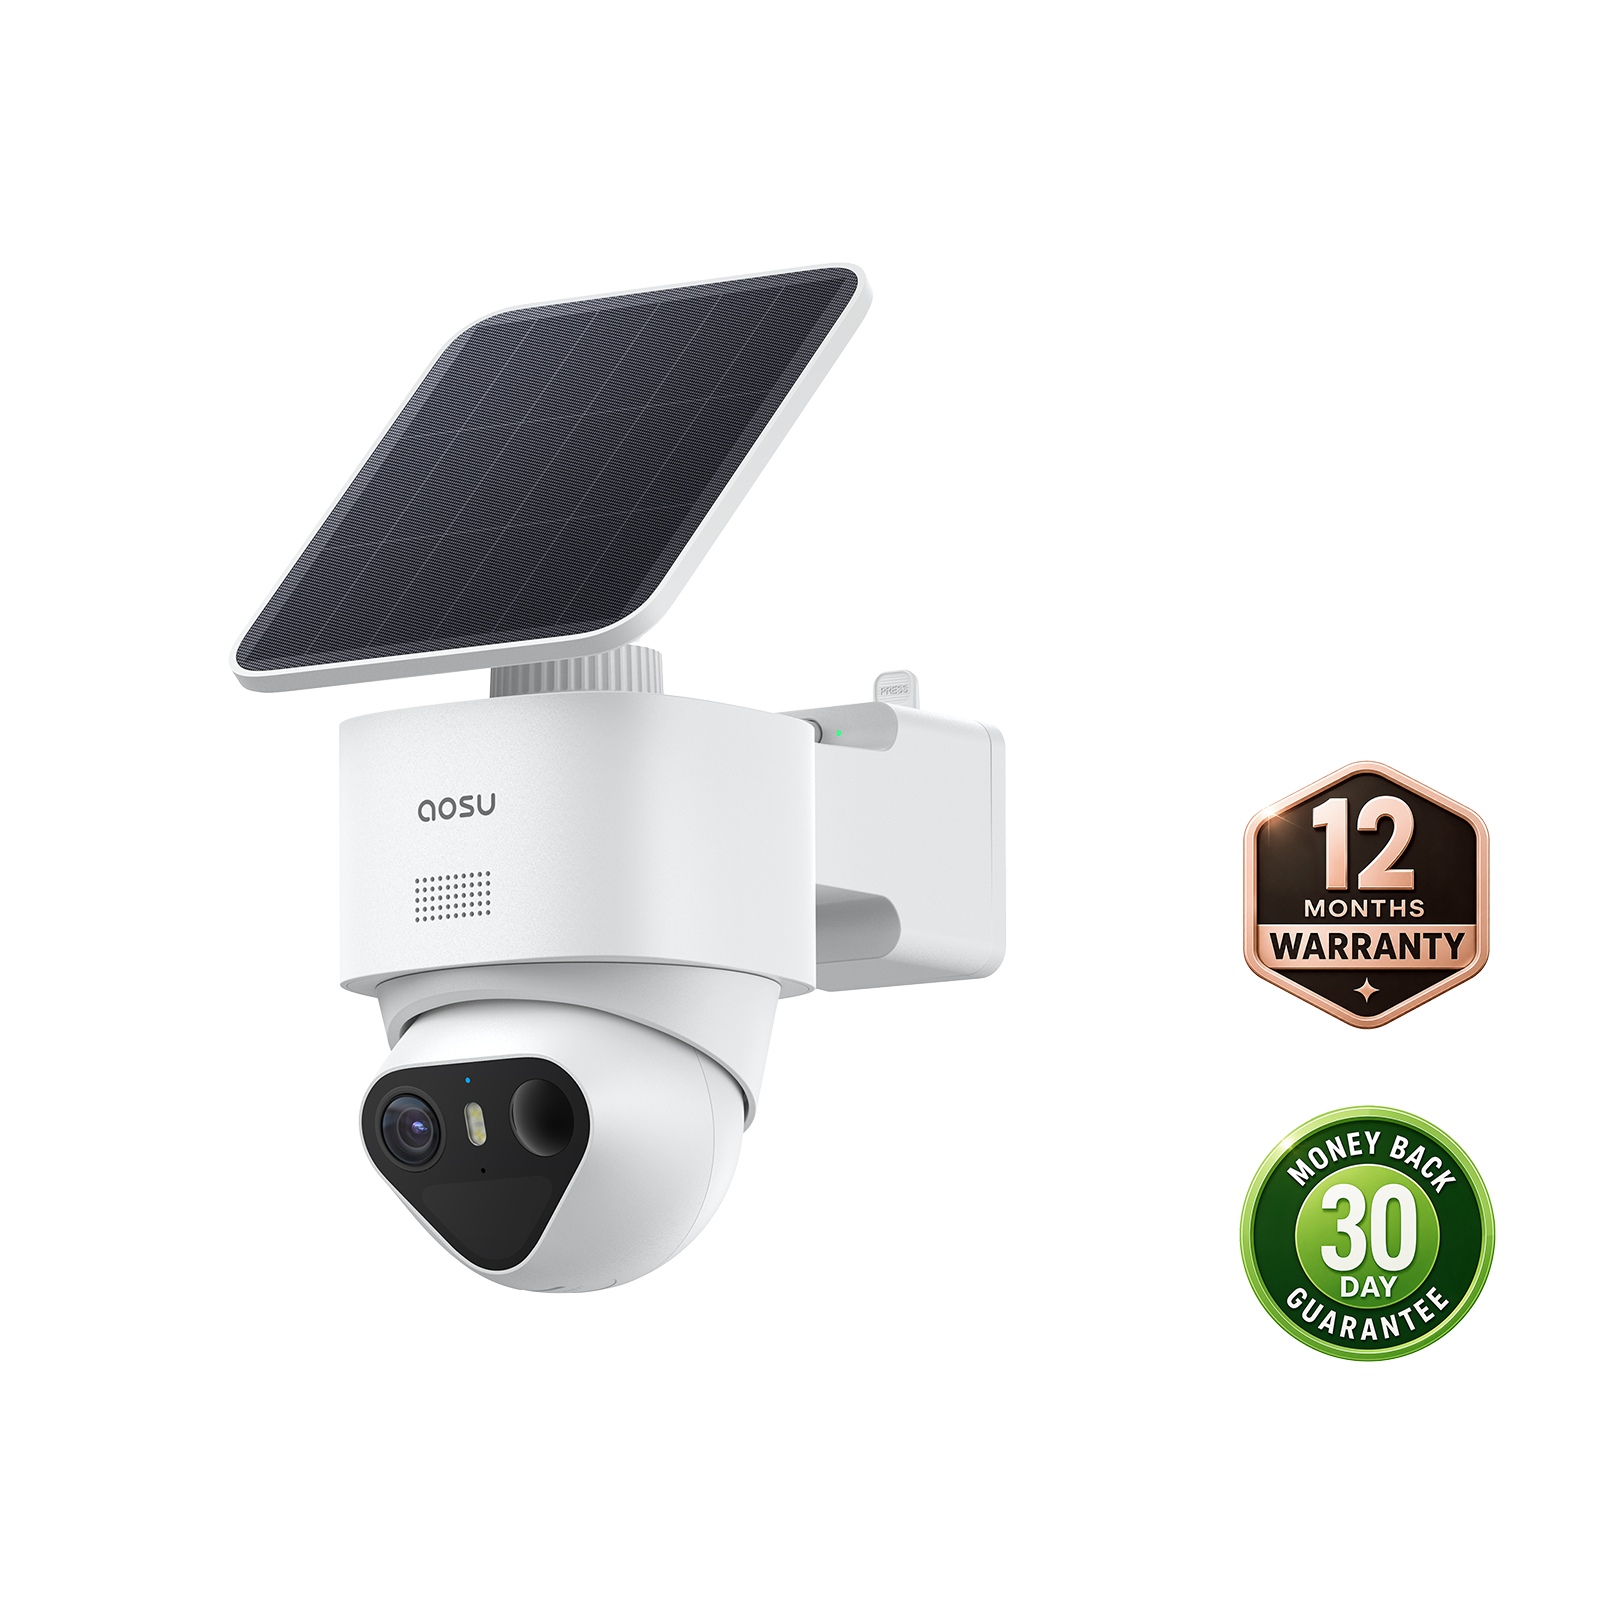
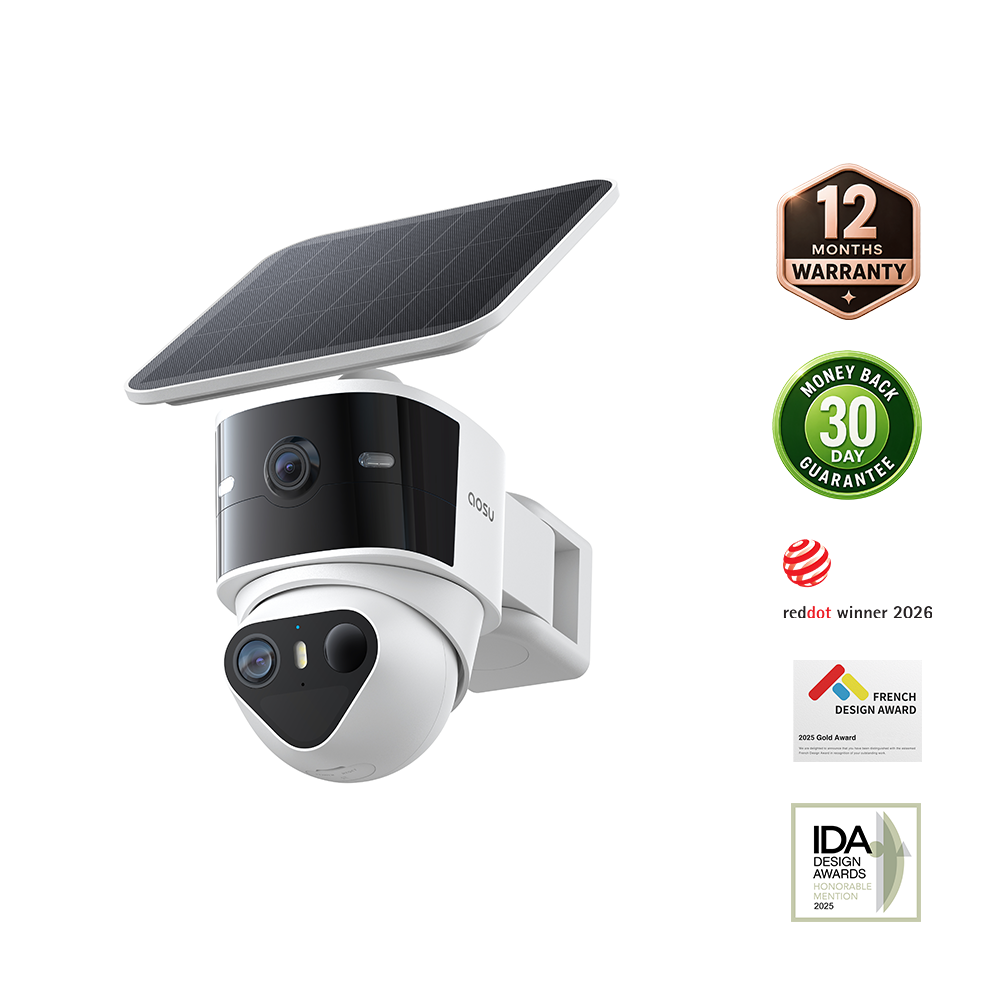
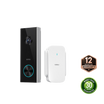
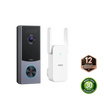
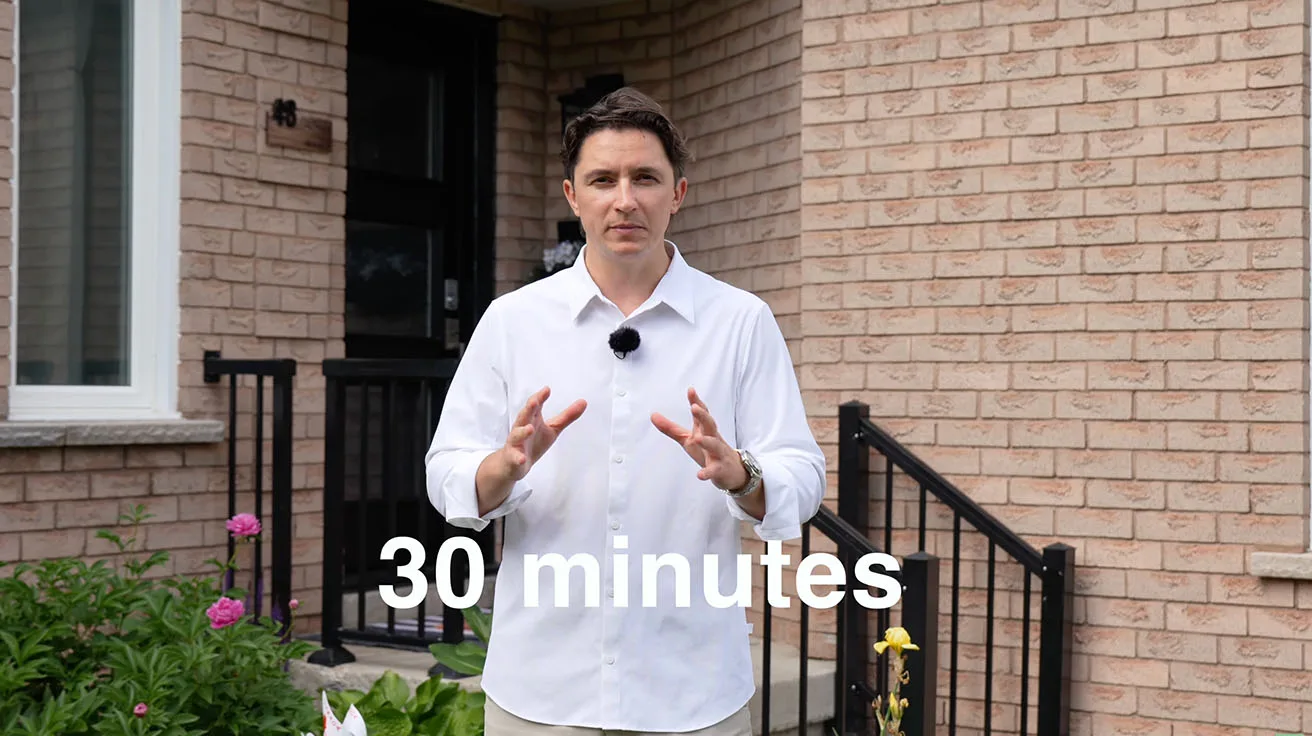
In a field test with Pipl Systems, a homeowner installed two aosu T2 Pro cameras, one aosu T2 Ultra camera, and aosuBase in about 30 minutes. That's a realistic timeline for this kind of setup when you pair the cameras first, choose the view before drilling, and keep the solar panel placement simple.
Quick Answer: What a 30-Minute Install Really Means
A 30-minute solar wireless security camera install is a practical target for many homes. The key is doing the app setup first, then treating the outdoor work as a straightforward mount-and-aim job. Of course, if you don't have much DIY experience, you're taking it slow, or you come across hurdles, install can take longer.
The field test followed the right basic order: pair everything in the app, confirm the cameras work, choose the outdoor views, mount the brackets, attach the cameras, place the solar panels, and check the live views before wrapping up.
| A fast install is more likely when: | Plan more time when: |
|---|---|
|
|
Navigate the Video
The full Pipl Systems video is useful if you want to see the setup in motion. The installation part is the most relevant section for this guide, but the earlier and later moments help show why the cameras were placed the way they were.
Use the timestamps below as a quick map instead of watching straight through.
Watch the field test, then use the timestamp guide below to jump to the installation and app-review moments.
| 0:00 | Why solar wireless cameras are easier to consider now Sets up the shift from wired camera installs toward app-managed solar wireless systems. |
| 1:23 | T2 Ultra and T2 Pro as two different camera approaches Compares 4K PTZ coverage with the T2 Pro's wide view plus PTZ tracking. |
| 2:53 | Installation sequence Shows app pairing, QR-code setup, mounting plate, camera attachment, and separate solar panel positioning. |
| 3:47 | App review after installation Shows the installed cameras in the app, including multi-camera views, event categories, alerts, and cross-camera tracking. |
| 5:47 | T2 Ultra, night vision, and final takeaways Covers T2 Ultra, color night vision, AI features, and the broader home-security takeaway. |
Before You Start: Do the Planning Indoors
The biggest practical lesson from the install is to avoid making the wall your first test station. Pair the cameras, charge or power them as needed, confirm the app flow, and make sure each device appears correctly before you go outside with a drill.
That first indoor check saves time because it separates app setup from mounting. If something needs a reset, QR scan, Wi-Fi adjustment, or account step, you can handle it on a table instead of standing on a ladder.
| Have ready | Check first |
|---|---|
|
|
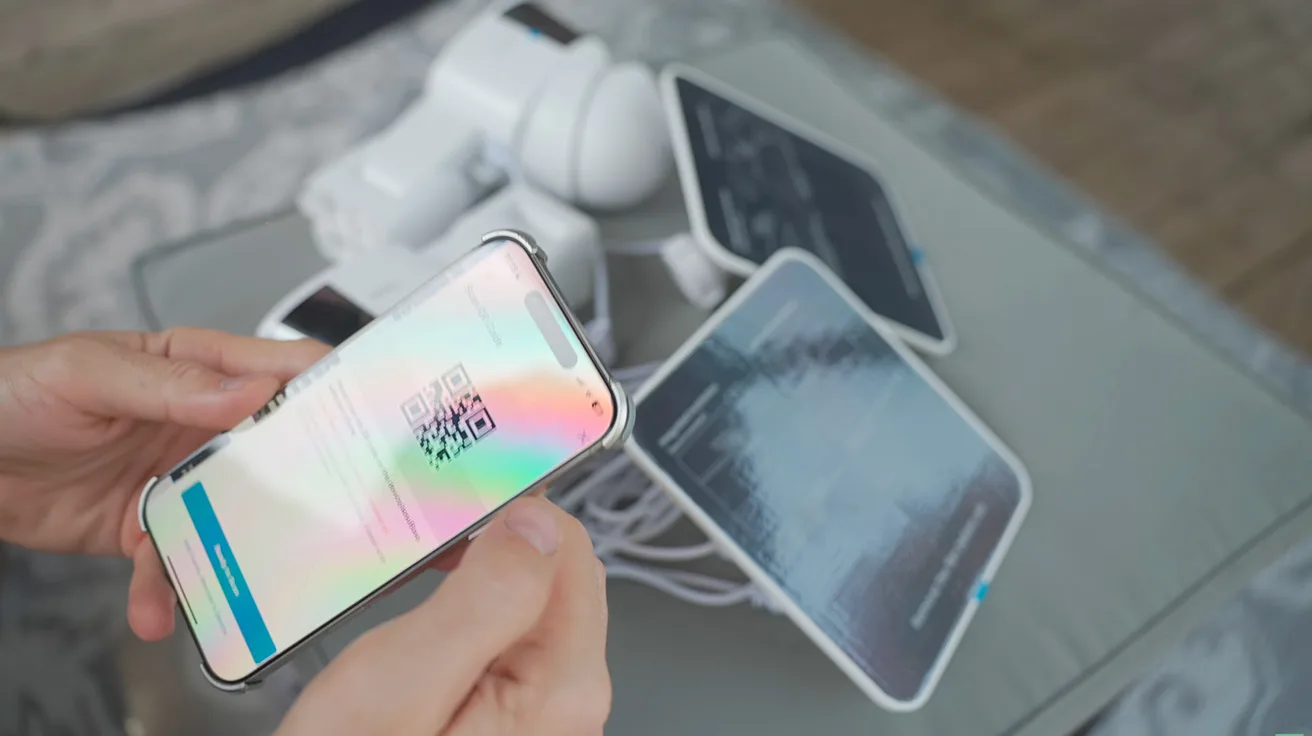
Pairing the cameras before mounting them keeps the app setup separate from the outdoor install.
Step 1: Pair the Cameras Before You Mount Them
In the field test, setup was handled through the mobile app by scanning QR codes. That is the right order for most homeowners: connect the cameras first, then install them in their final locations.
Once the camera is paired, check the live view, battery status, Wi-Fi connection, and any hub or aosuBase connection before moving outside. A camera that works on the table is much easier to troubleshoot than a camera already fastened to brick.
Read what aosuBase adds to a multi-camera setup
Step 2: Choose the Camera View Before You Drill
A solar wireless camera is easier to mount than a wired camera, but placement still matters. The best spot is not just the highest spot or the most convenient spot. It is the spot that gives the camera a useful view while keeping the solar panel practical.
For a driveway or garage, a T2 Ultra can work well when you want a PTZ camera to follow movement through one main approach area. For front-yard, backyard, or side-yard coverage, T2 Pro can be useful when you want a wide overview and a moving PTZ view at the same time.
Before drilling, hold the camera near the planned location and check the live view in the app. Look for blind spots, glare, tree branches, rooflines, and areas where passing cars or sidewalk traffic could create unnecessary alerts.
Compare aosu T2 Pro vs T2 Ultra
Read the solar security camera guide
Step 3: Install the Mounting Plate
The field-test install used a bracket system: install the mounting plate first, then secure the camera to that plate. This is the cleanest way to work because the bracket can be leveled and tightened before the camera is attached.
Use the right fasteners for the surface. Brick, concrete, wood, vinyl siding, and trim all behave differently. If you are drilling into masonry, use the right bit and anchors. If you are mounting near siding or trim, avoid crushing thin material or creating a path for water.
If the install requires a ladder, take the extra minute to position it well. A fast install is not worth rushing the part where you are drilling, reaching, or handling a camera above shoulder height.
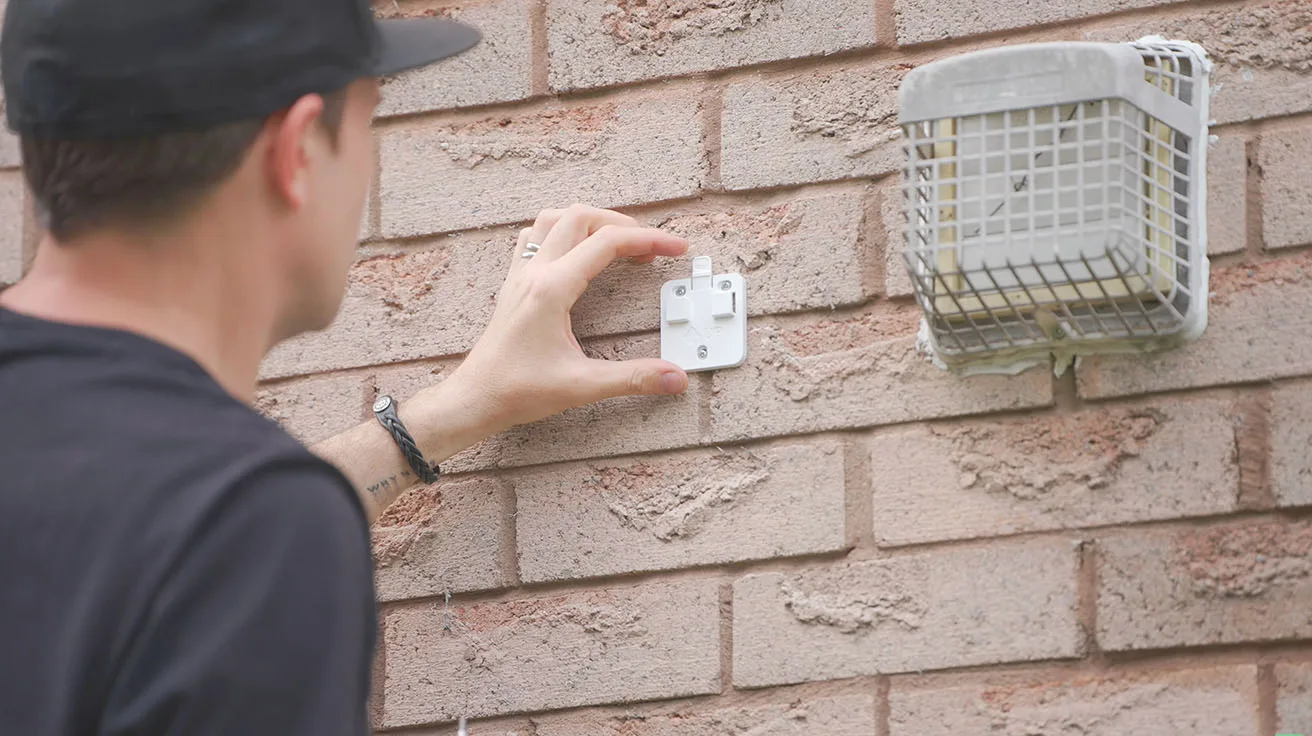
Install the mounting plate first so the camera can attach cleanly after the bracket is secure.
Read how to install a security camera on brick
Step 4: Attach the Camera and Place the Solar Panel
After the plate is secure, attach the camera and set the angle. Do not fully trust the angle by eye. Open the live view and make small adjustments until the important area is actually framed well.
The detachable solar panel is one of the most important details in this kind of install. The camera needs the best security view, while the panel needs the best sunlight. Sometimes those are the same place. Sometimes they are not.
If the panel mounts separately, use that flexibility. Aim the camera at the driveway, gate, walkway, garage, or backyard area you need to monitor, then place the panel where it has a better chance of seeing open sky during the day. Keep the cable neat, protected, and within the allowed routing for the kit.
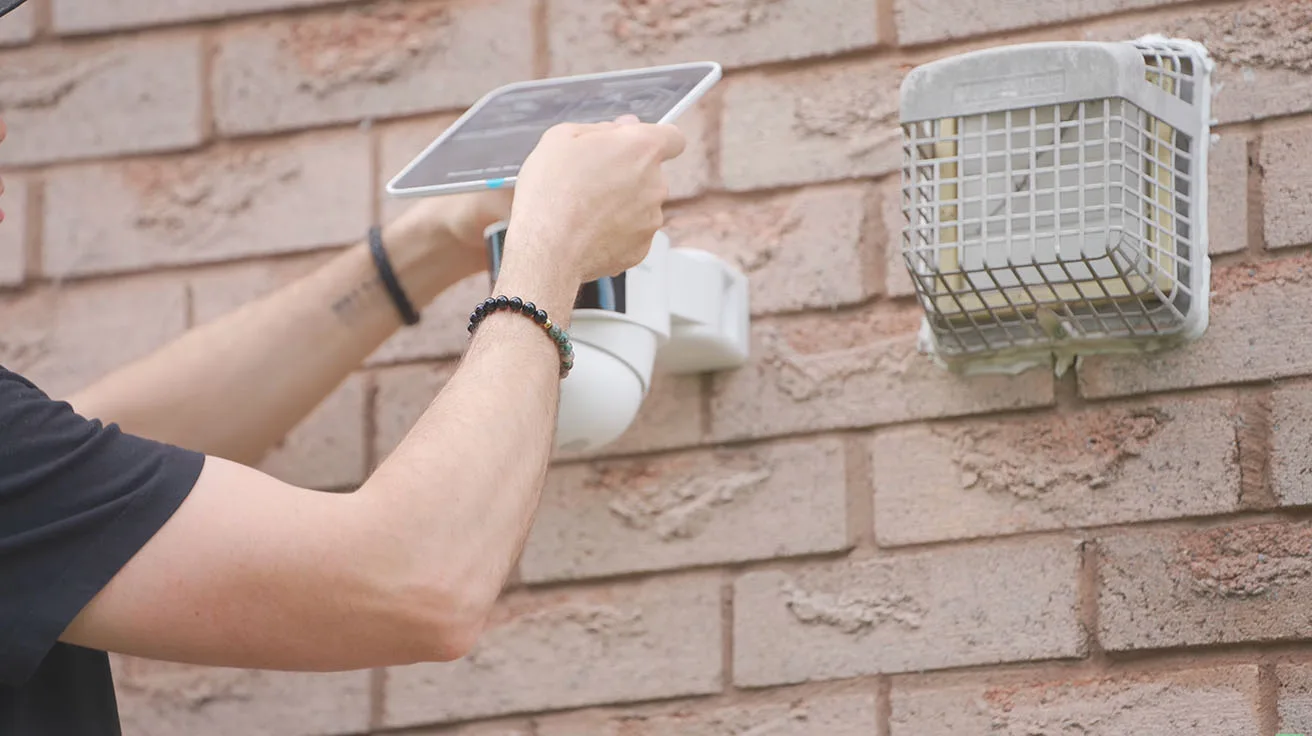
Camera view and solar-panel sunlight are related, but they are not always the same placement decision.
Step 5: Confirm the Views in the App
Once the cameras are mounted, open the app again and check every view. In the field test, the system showed multiple cameras around the property, including backyard, front-yard, and garage views.
This is where the install becomes a security system instead of a set of mounted devices. Confirm that each camera has a useful view, that the battery or solar status looks right, and that alerts are not obviously pointed at the wrong kind of motion.
For a multi-camera setup, also check whether event review, alert settings, and camera names make sense. Clear names like Front Yard, Backyard, Garage, and Side Path make the system easier to live with.
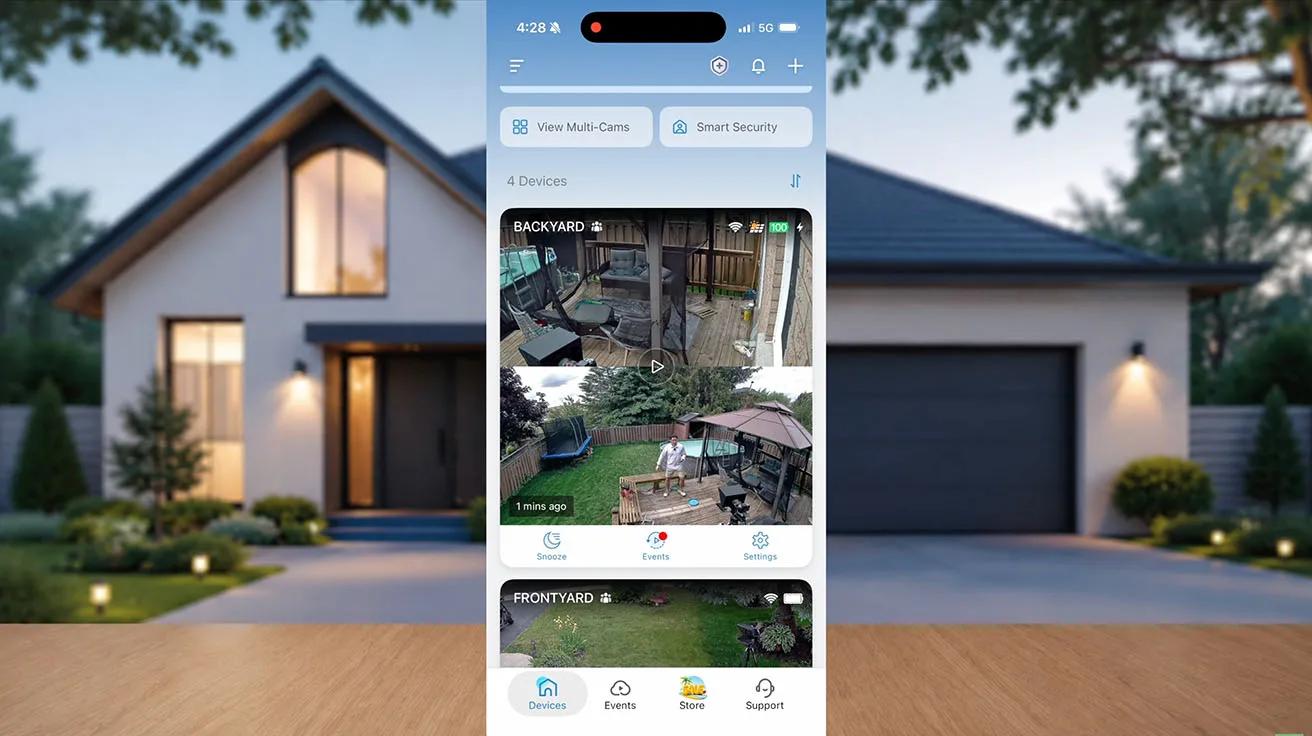
After mounting, the app check is where you confirm that each camera is actually covering the right area.
What Can Make Installation Take a Bit Longer
The 30-minute timeline is very realistic for a normal install, especially when the cameras are paired before they go outside. When the job takes longer, the reason is usually easy to spot: placement, surface, signal, or cable routing.
A shaded panel location may need a quick adjustment. A weak Wi-Fi signal may push you toward a better camera position. Brick or concrete may take a few extra minutes with the right bit and anchors. None of that changes the basic workflow; it just adds a little time to the same install.
- Hard mounting surfaces
Brick and concrete can be very secure, but they need the right drill bit, anchors, and patience.
- Awkward ladder positions
A camera may be easy to aim from the ground but harder to fasten safely near a roofline or corner.
- Solar panel shade
Trees, roof overhangs, and neighboring structures can reduce sunlight even when the camera view looks perfect.
- Weak Wi-Fi at the edge of the house
A camera location near a garage, side yard, or backyard can be farther from the router than expected.
- Skipped app testing
Mounting first and troubleshooting later is one of the easiest ways to make a simple install feel slow.
Read how to install a security camera on any surface here
What the Finished Install Should Look Like
A good finished install should look boring in the best way. The camera should be secure, the solar panel should have a practical angle, the cable should not hang loosely, and the app view should match the area you intended to cover.
The camera also should not be so high or so wide that it misses the details you care about. Solar wireless cameras make installation easier, but they do not remove the need to think about faces, packages, vehicles, gates, walkways, and the direction people actually move through the property.
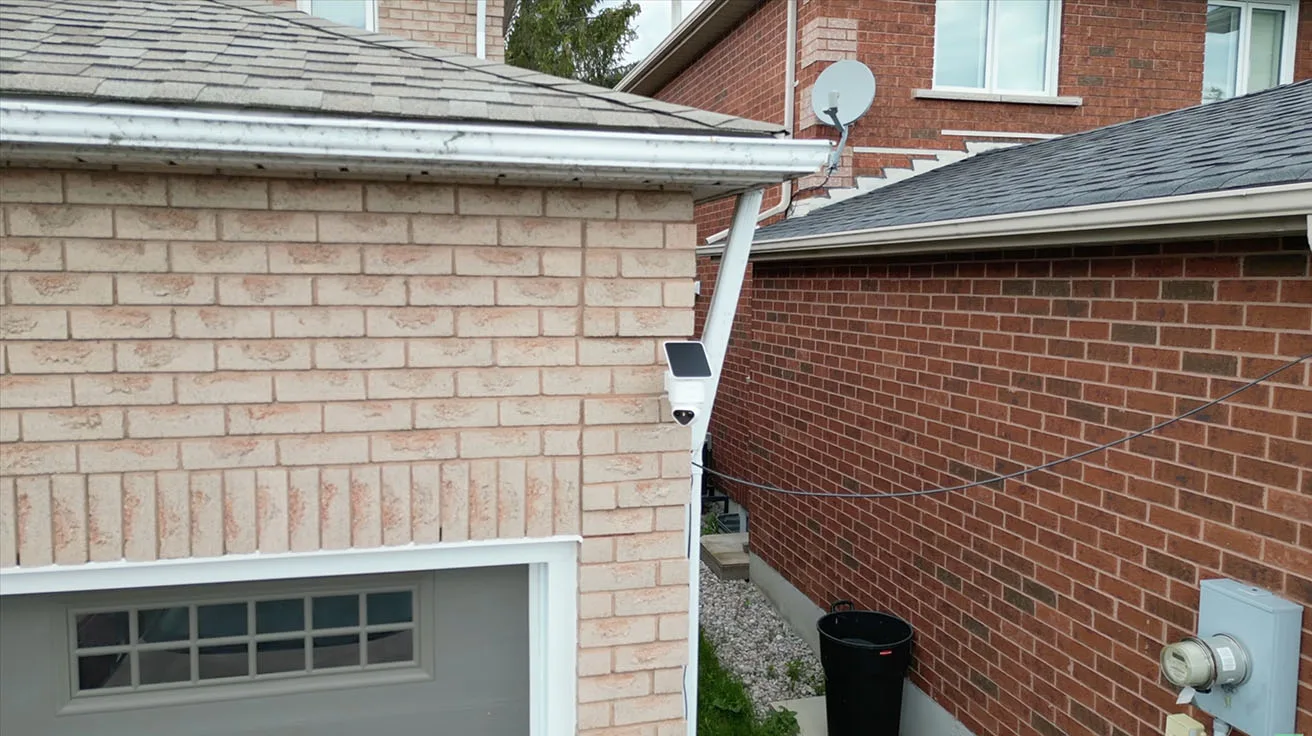
The finished setup should balance view, sunlight, cable routing, and everyday reliability.
Common Mistakes to Avoid
Do not mount the camera before pairing it. App setup is easier when the camera is still in your hands.
Do not choose the camera location based only on sunlight. The solar panel matters, but the camera still needs to see the right area.
Do not ignore the cable path between the camera and solar panel. A panel that technically reaches but leaves the cable exposed, stretched, or ugly can become a long-term annoyance.
Do not assume the first live view is the final view. Walk through the monitored area, check what the camera sees, and adjust before you call the job finished.
Do not skip safety basics. Use stable ladder placement, avoid drilling into unknown wiring or utility paths, and check local rules or HOA restrictions when they apply.
To Wrap Up
A solar wireless security camera installation can move quickly when you work in the right order. The Pipl Systems field test is a good example: pair first, mount carefully, separate the camera-view decision from the solar-panel sunlight decision, and confirm everything in the app before you move on.
For many homeowners, 30 minutes is plenty realistic. The install gets much easier when you treat pairing, placement, mounting, solar charging, and app review as separate steps instead of trying to solve everything at once.
FAQs
Can you install a solar wireless security camera in 30 minutes?
Yes. A 30-minute install is realistic for many solar wireless security camera setups when the camera pairs smoothly, Wi-Fi reaches the area, and the mounting location is already chosen. Harder surfaces, ladder work, or shaded solar panel locations may add a little time.
Should you pair a solar security camera before mounting it?
Yes. Pair the camera in the app and confirm the live view before mounting it outside. That makes app setup, Wi-Fi checks, and troubleshooting much easier.
Where should the solar panel go?
Place the camera where it gets the best security view, then place the solar panel where it gets better sunlight, as long as the kit allows the cable route. The best camera angle and best charging angle are not always the same.
What can make a solar wireless camera installation take longer?
The usual slowdowns are hard mounting surfaces, weak Wi-Fi, awkward ladder placement, shaded solar panel locations, unclear cable routing, and skipped app testing before installation.
Can one solar wireless camera cover a whole home?
Usually no. One camera can cover one important area well, but full-home coverage normally takes several cameras placed around the driveway, front entry, side path, garage, backyard, or other key routes.