


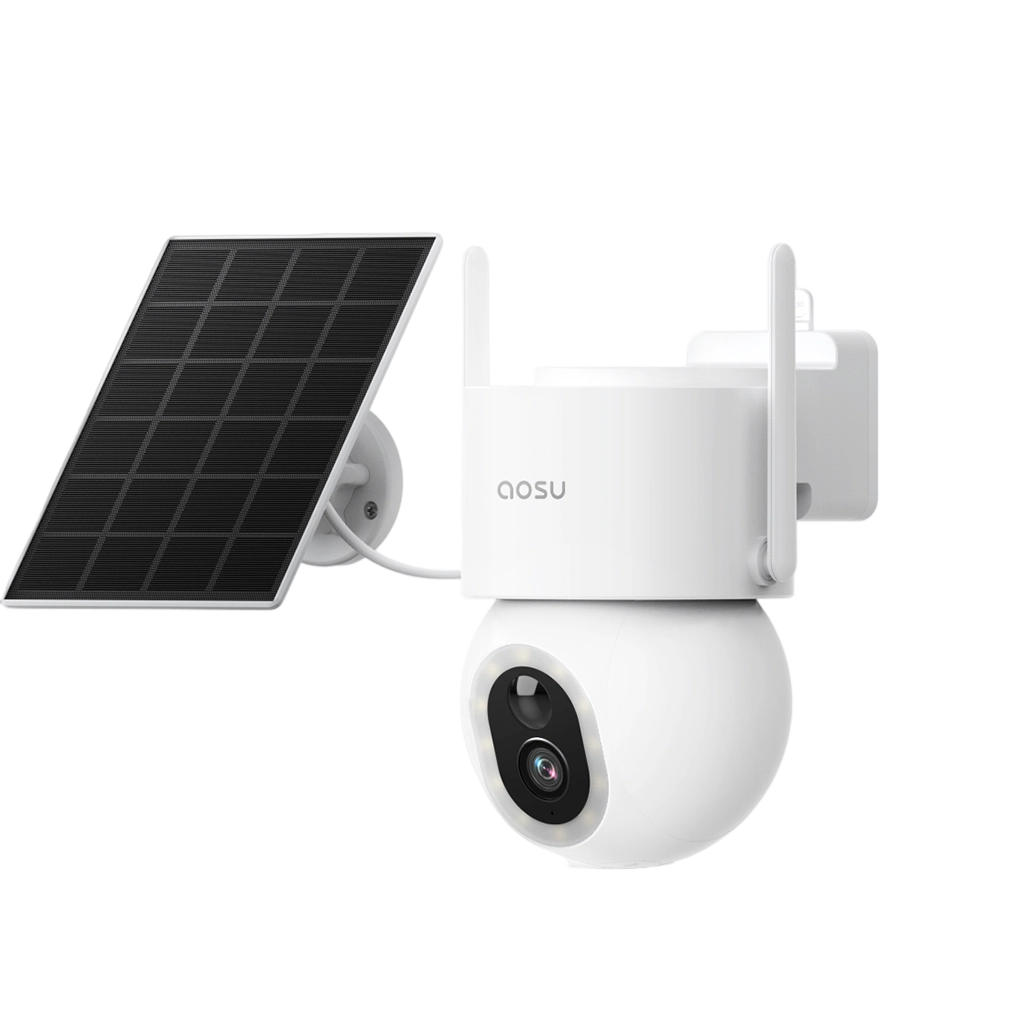
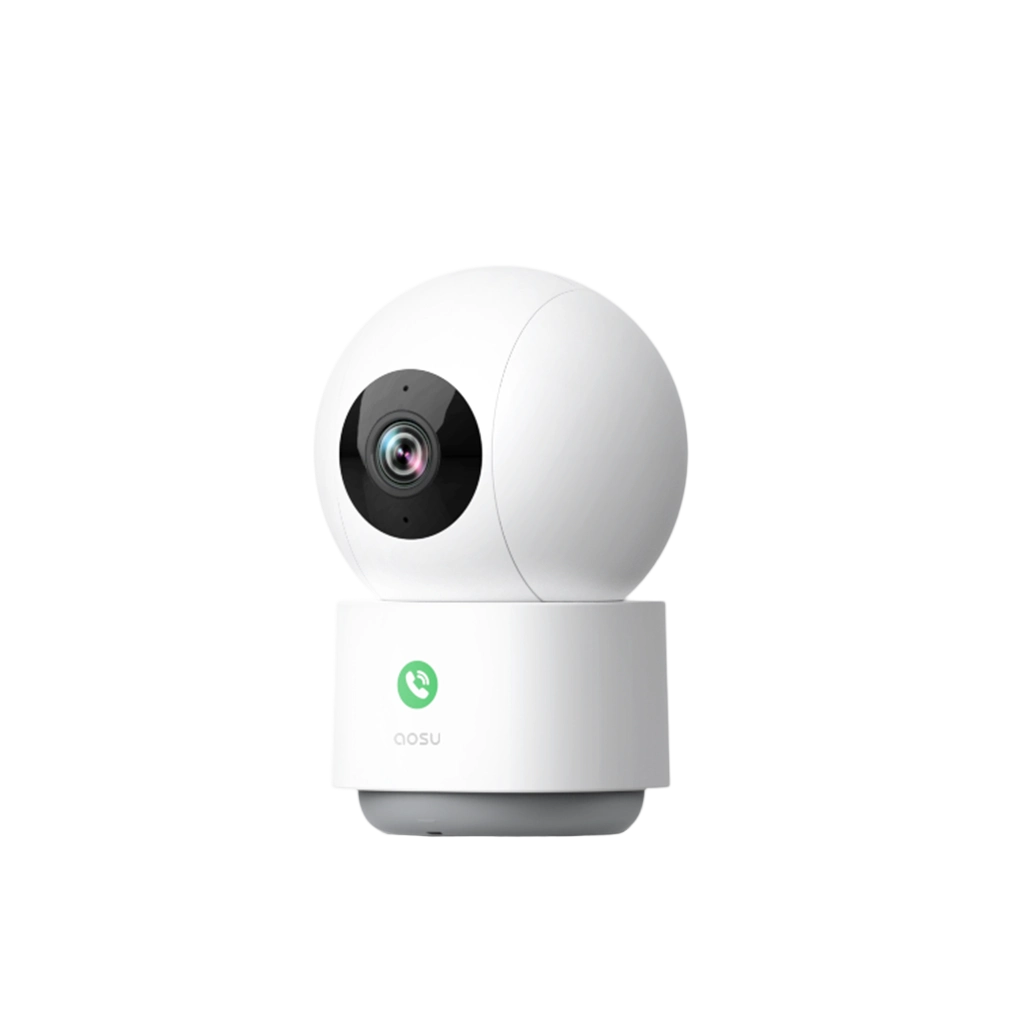
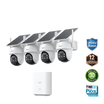
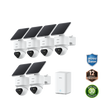
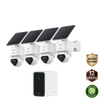
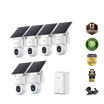
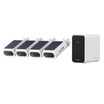

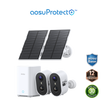
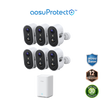
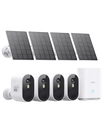
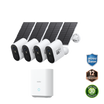
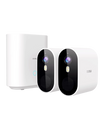
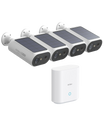
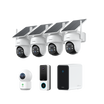
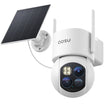
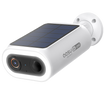
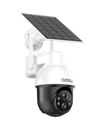
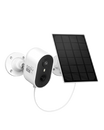
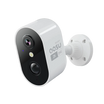
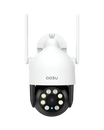
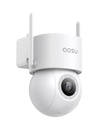

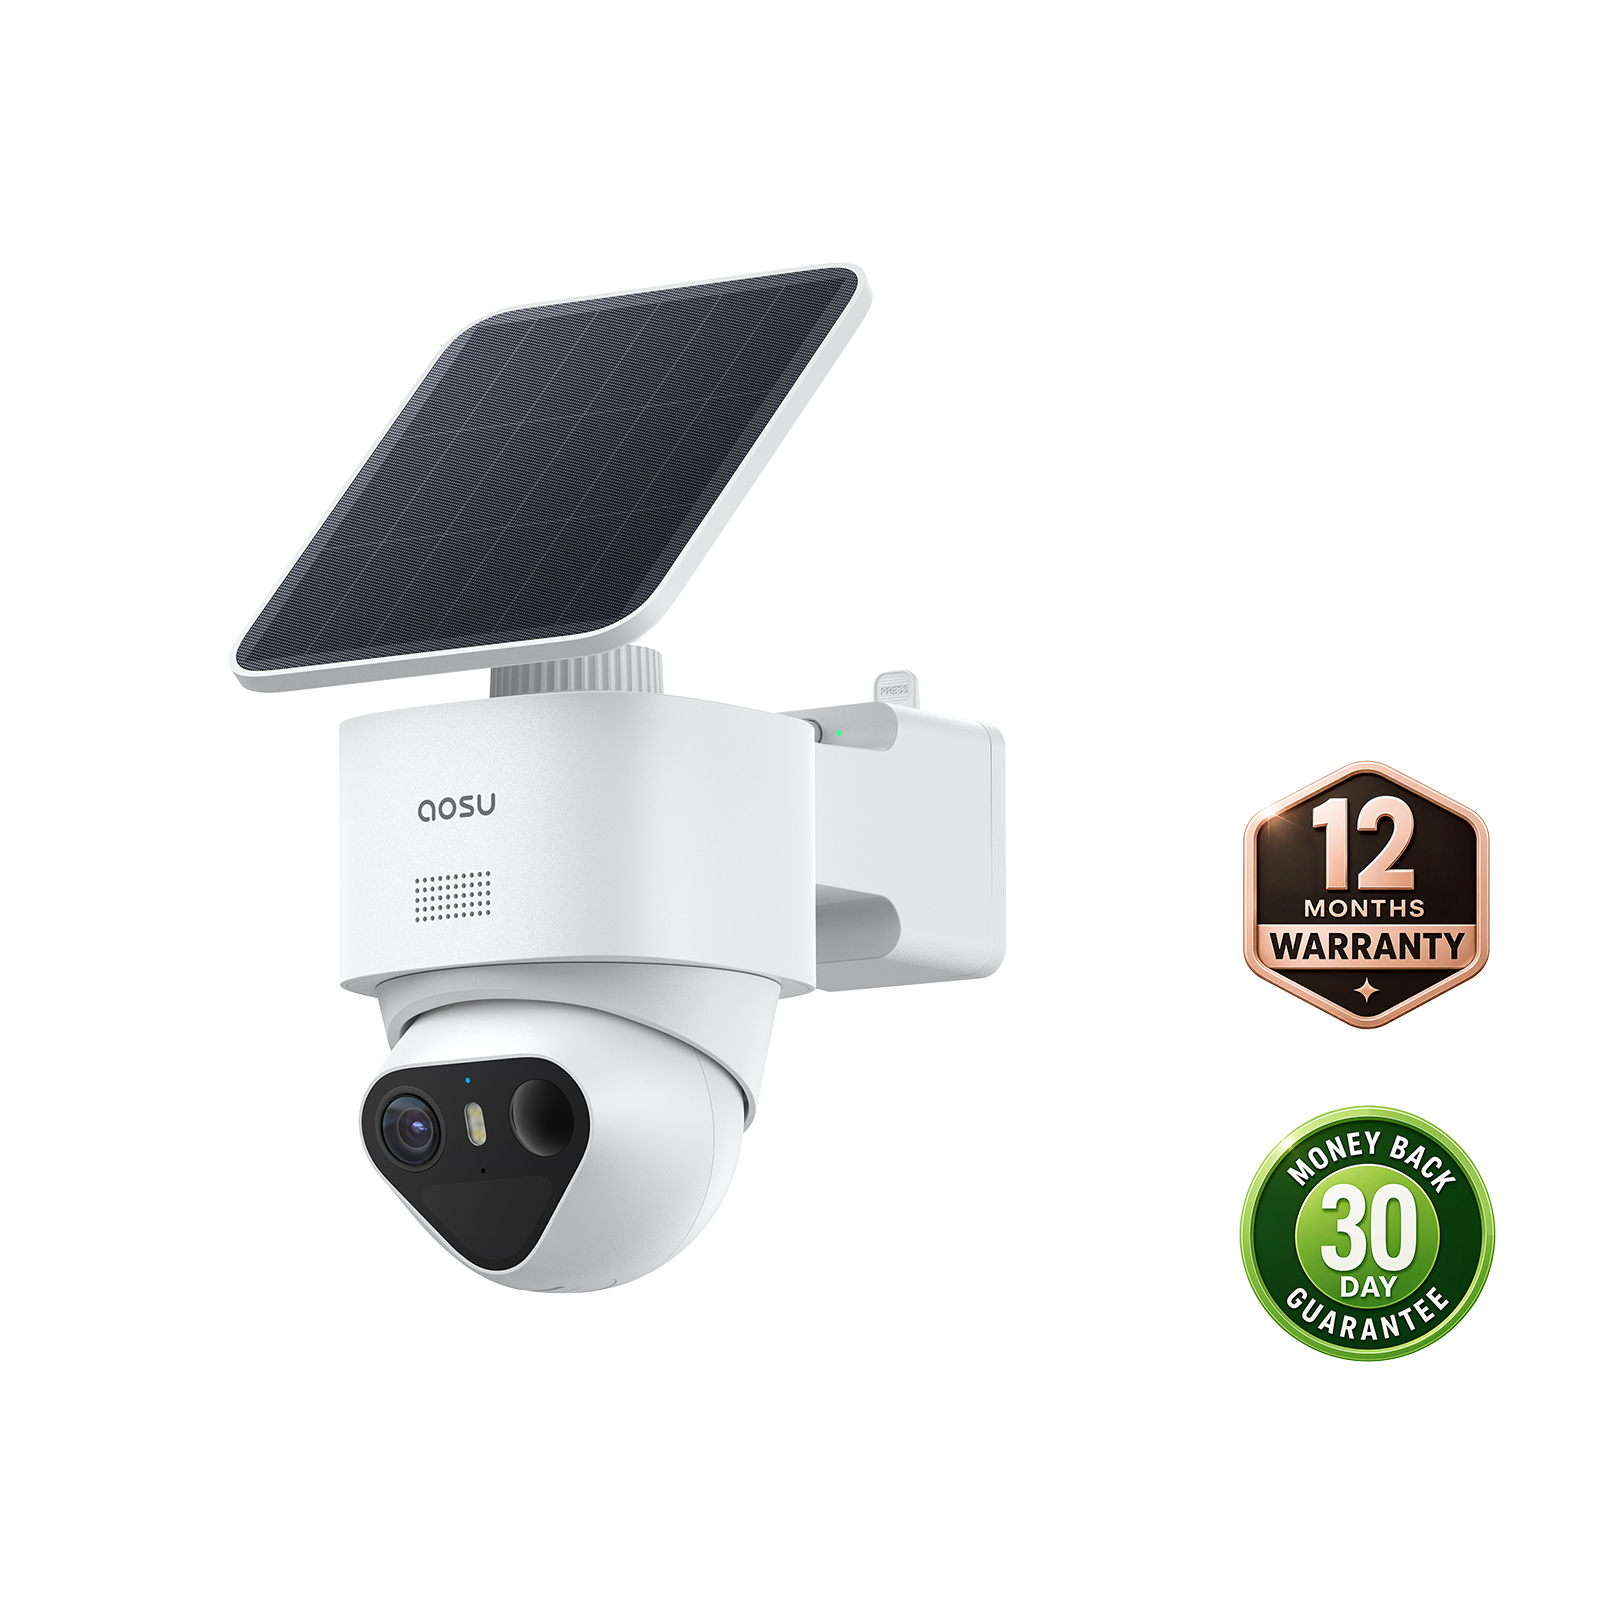
To view security cameras on a screen, start with the connection method. A monitor connected to a recorder, a compatible smart display and a phone or tablet app are different setups.
This guide explains those paths and the checks needed before buying. A working live view does not establish continuous display, saved recordings or support for several cameras at once.
Choose the Viewing Method First
| Viewing method | Typical connection | Best question to ask |
|---|---|---|
| Monitor or TV connected to a recorder | Compatible cameras → NVR/DVR → supported display output | Can the recorder display the required cameras and layout? |
| Smart display | Compatible camera → supported platform integration → smart display | Is this exact camera supported, and how long can it stream? |
| Phone, tablet or computer | Camera or recorder → supported app or client | Are live view, playback and simultaneous feeds supported? |
Reolink documents a direct NVR-to-monitor connection. Google separately documents compatible camera streaming to Nest displays. These are examples of different architectures, not proof that every camera works with every screen.
Three Ways to Connect Cameras to a Screen
1. Connect a Compatible Recorder to a Monitor
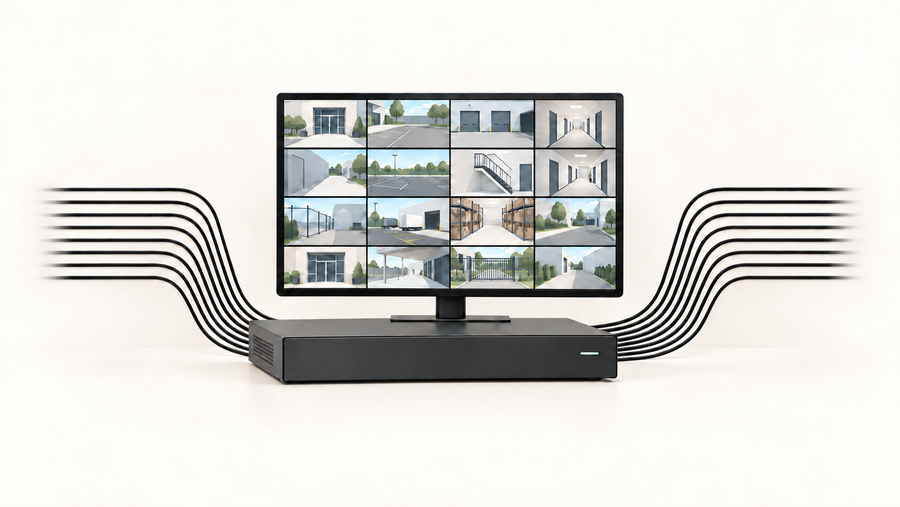
Select cameras supported by the recorder, then check its display outputs and the monitor’s inputs. Reolink’s HDMI/VGA guidance describes this arrangement for its supported NVRs.
Connect the recorder’s output to the monitor’s input and select that input on the screen. Camera power and recording storage must also be configured.
Do not assume a laptop’s HDMI port accepts video input. Use a supported computer client when viewing through a computer.

Example architecture only. Confirm the camera, PoE requirements, recorder, storage and display compatibility. The monitor displays video; it is not the recording destination.
2. Use a Compatible Smart Display
Check the exact camera, display, account-linking procedure and supported commands. Platform compatibility does not establish unrestricted streaming or a multi-camera grid.
Google’s camera-streaming instructions include automatic stream limits for specified Nest cameras. Third-party cameras require their own compatibility and session-limit checks.
3. Use a Phone, Tablet or Computer App
Follow the camera maker’s supported app or client. Confirm simultaneous views, account permissions, playback and session behaviour.
If you want a screen left on for long periods, verify automatic timeouts, reconnection, device power and the effect of live viewing on battery use. Treat recording as a separate function.
What to Check Before Buying
| Check | Confirmation needed |
|---|---|
| Camera-to-recorder compatibility | Exact models, supported streams, audio and event functions |
| Display connection | Recorder output, screen input and supported output resolution |
| Multi-camera viewing | Available grid layouts and simultaneous decoding limits |
| Live-view duration | Timeouts, manual restart and reconnection behaviour |
| Recording | Event or continuous mode, storage and overwrite rules |
| Playback and export | Where to find footage and how to save a useful clip |
| Power and network | Every required powered component and the connection path |
| Total cost | Cameras, recorder or hub, screen, storage, cables, installation and selected services |
Check the actual image at the distance and lighting you need. A resolution label alone does not establish useful identification detail.
Set Up and Verify the Viewing Path
Step 1: Confirm the Components
List the camera models, recorder or hub, storage and intended screen. Confirm compatibility before mounting anything.
Step 2: Test the Connection
For a supported recorder-connected screen, connect the correct display cable and select the screen input. For a smart display, follow the supported platform-linking procedure.
Step 3: Check Every Required View
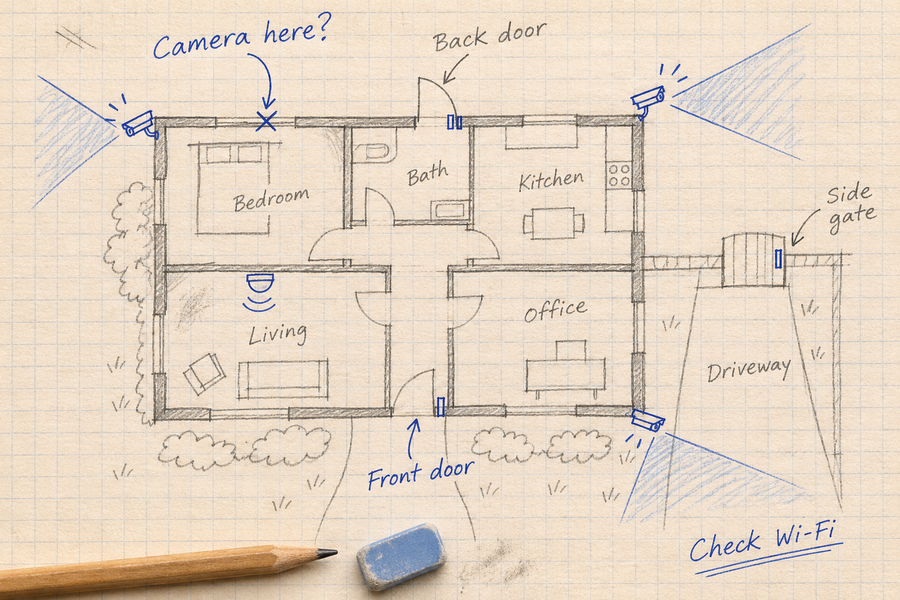
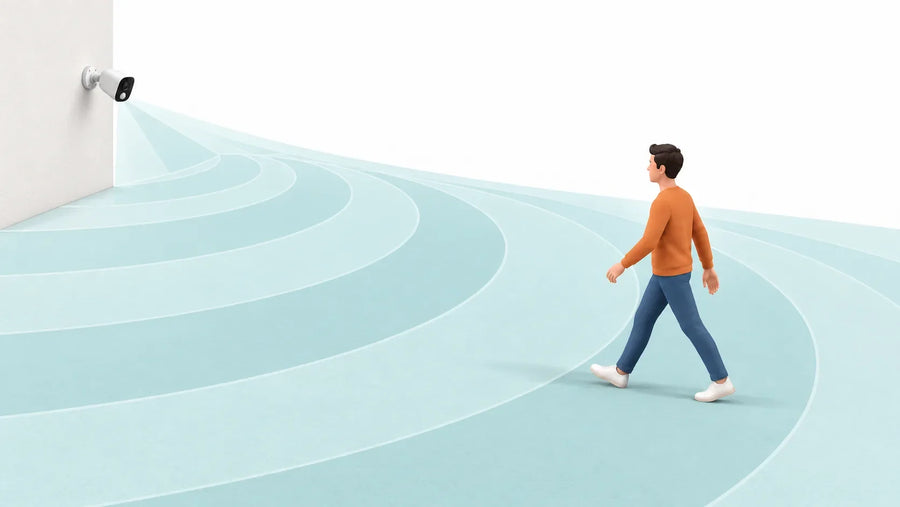
Test the intended mounting position using a safely supported camera. Check people approaching, delivery positions and obstructions. Follow the model’s installation instructions rather than a universal mounting height.
Step 4: Verify Multi-View and Session Behaviour
Open the required layout, leave it running for your intended use period and observe any timeout or reconnection requirement. Record the result rather than assuming continuous display.
Step 5: Verify Saved Footage
Create a test event, replay it and export a clip. Check night footage separately. Confirm what continues during an internet interruption using model-specific instructions.
Respect household privacy and check applicable local recording and installation requirements. This guide does not determine legal permission for a particular camera position.
Choose the Viewing Path Before the Camera Package
For a dedicated local screen, start with a compatible recorder and its supported display output. For occasional viewing on a smart display, verify the exact integration and live-stream limits. For flexible access, compare the supported app or computer client.
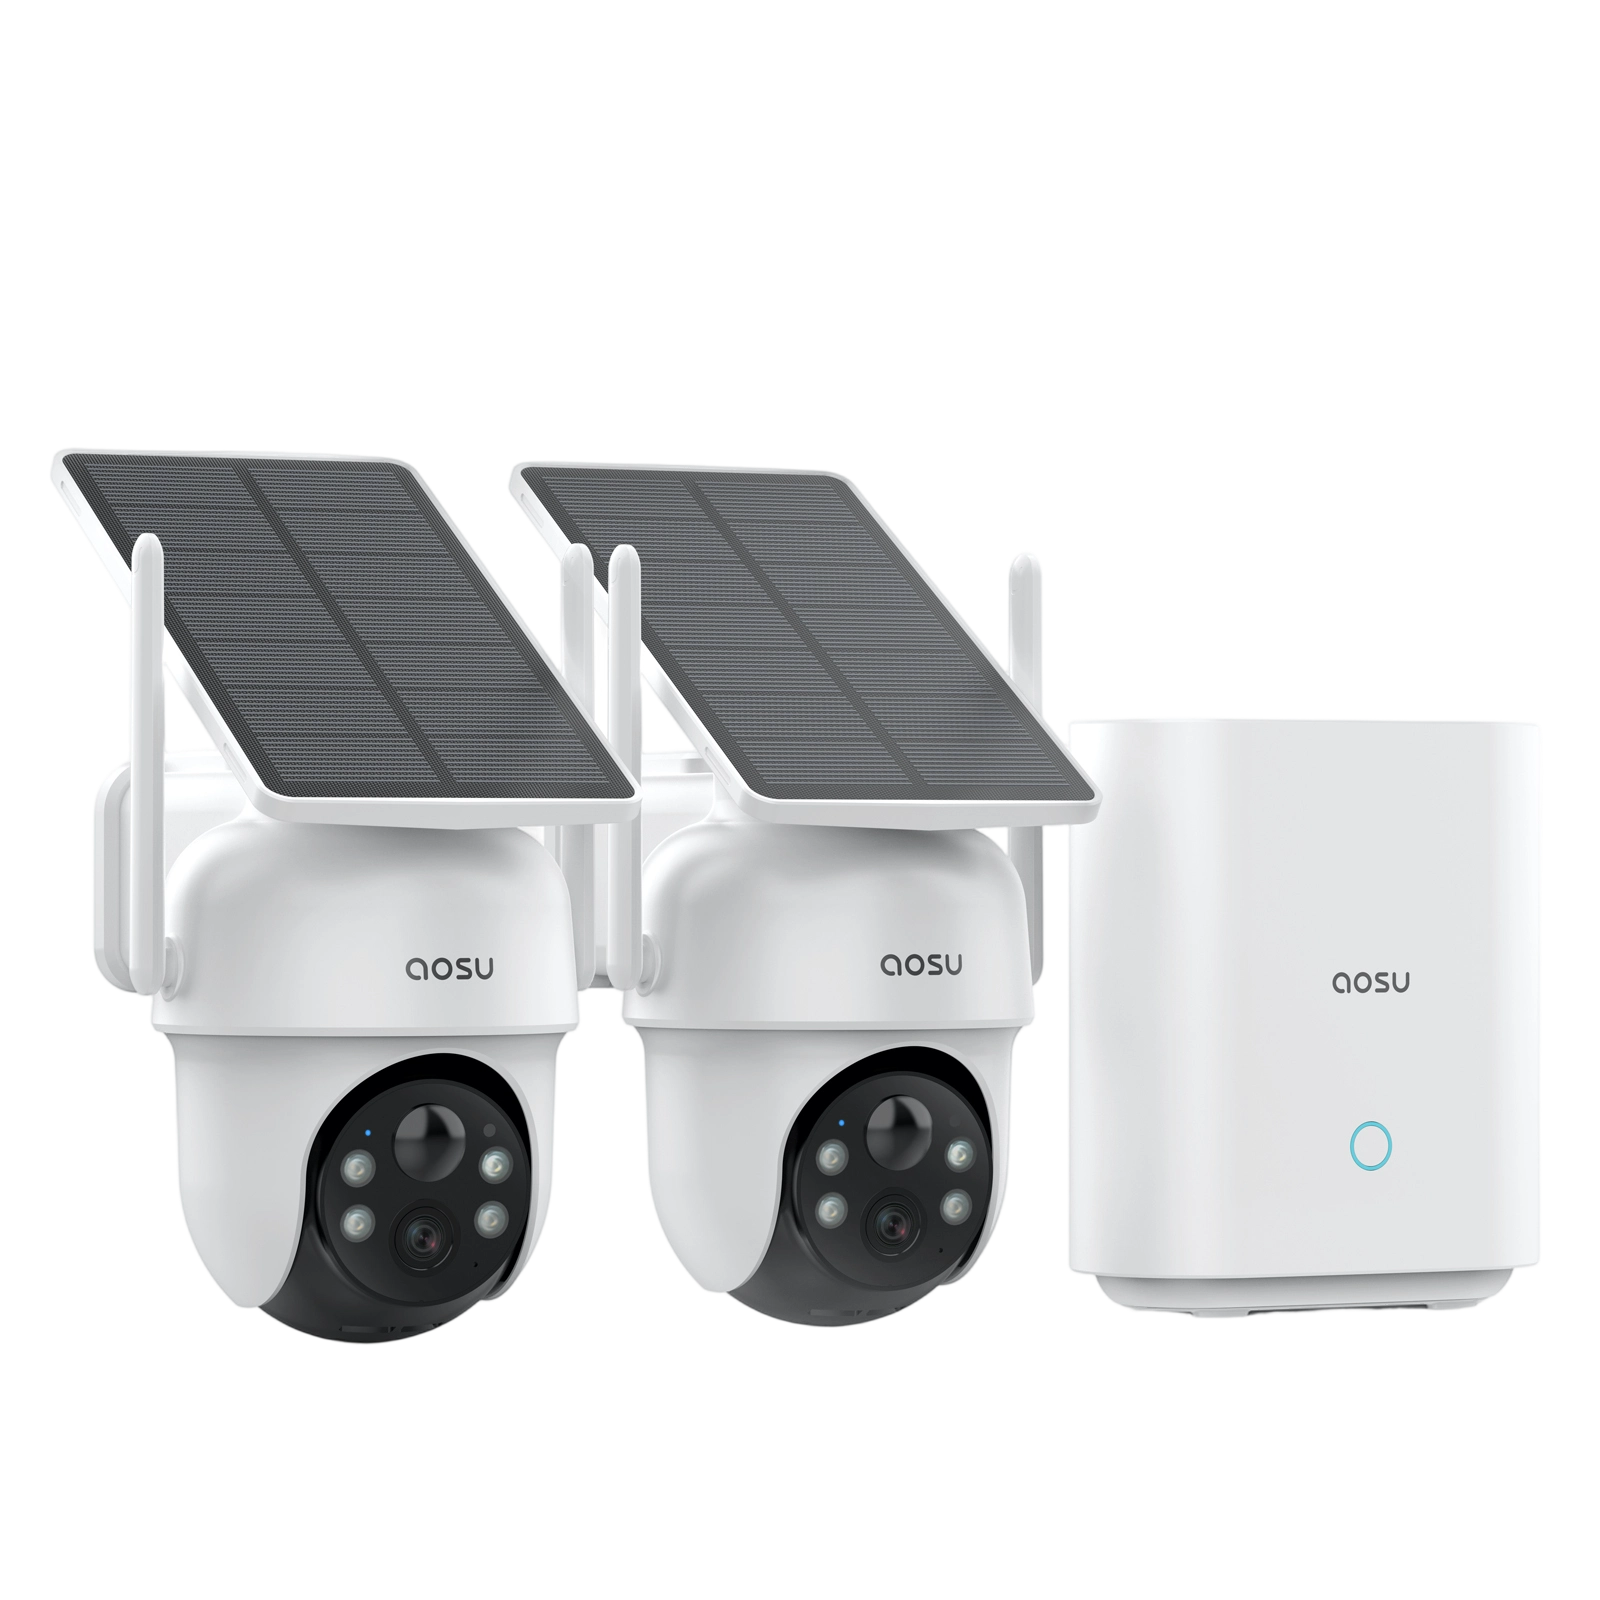
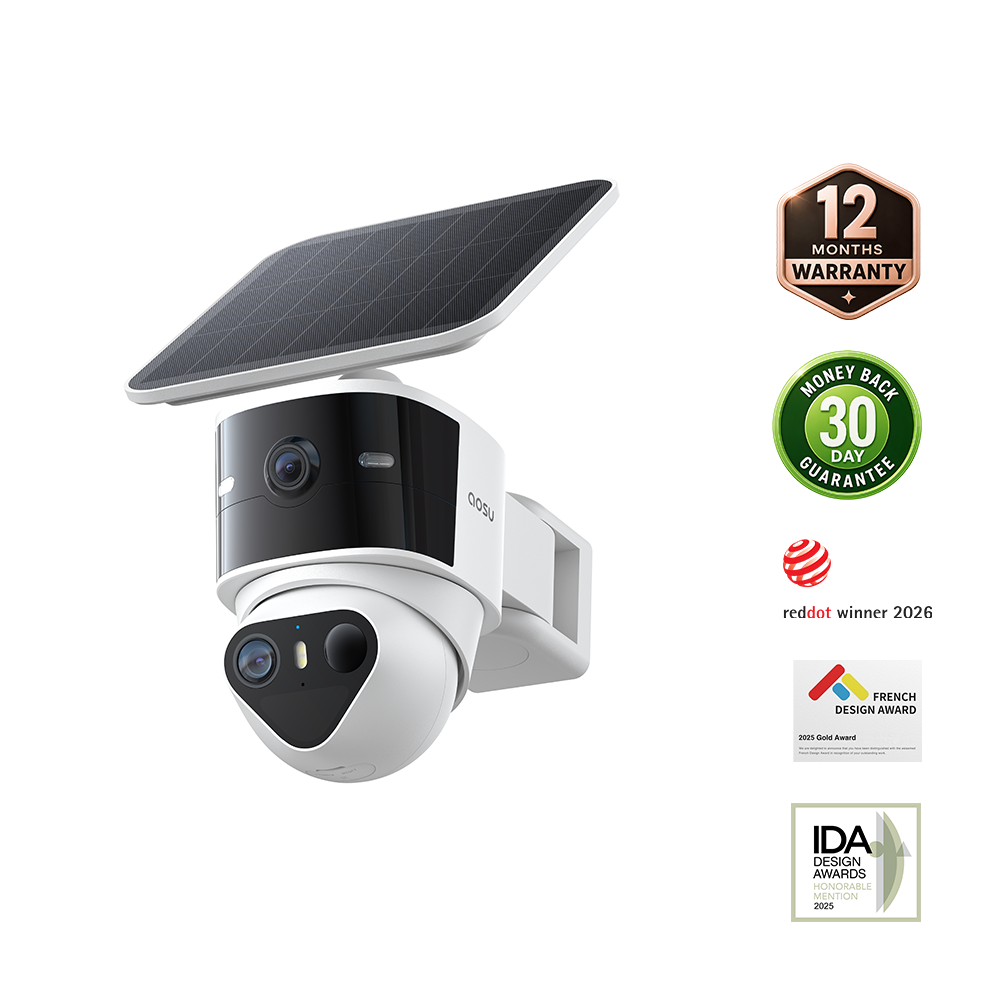
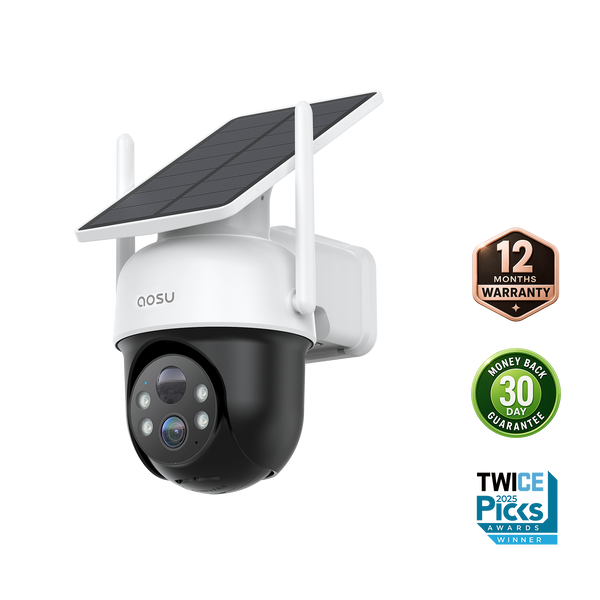
If you are considering aosu camera systems, confirm the supported viewing method for the exact package. A product being called a hub or base station does not establish HDMI output or compatibility with an arbitrary NVR.
Before buying, verify live viewing, simultaneous feeds and saved recording separately.
FAQs About Security Camera and Monitor Systems
Can I Connect Any Security Camera Directly to a Monitor?
No. Check the camera’s supported output or use a compatible recorder or viewing device. A monitor alone does not decode every camera stream.
Do I Need Wi-Fi for Remote Viewing?
Remote viewing generally needs a supported internet path at the camera system and viewing device. That connection is not necessarily Wi-Fi. Local viewing and recording have separate requirements.
Can a Smart Display Show Cameras Continuously?
Do not assume so. Compatibility and session limits vary by camera, display and platform. Check the manufacturer’s instructions and test the intended viewing duration.
Can Cameras Be Accessed Without Permission?
Connected cameras can face security risks. Use unique passwords, enable two-factor authentication where offered, maintain updates and review access permissions. Follow the FTC camera-security checklist; these measures reduce risk rather than guarantee immunity.