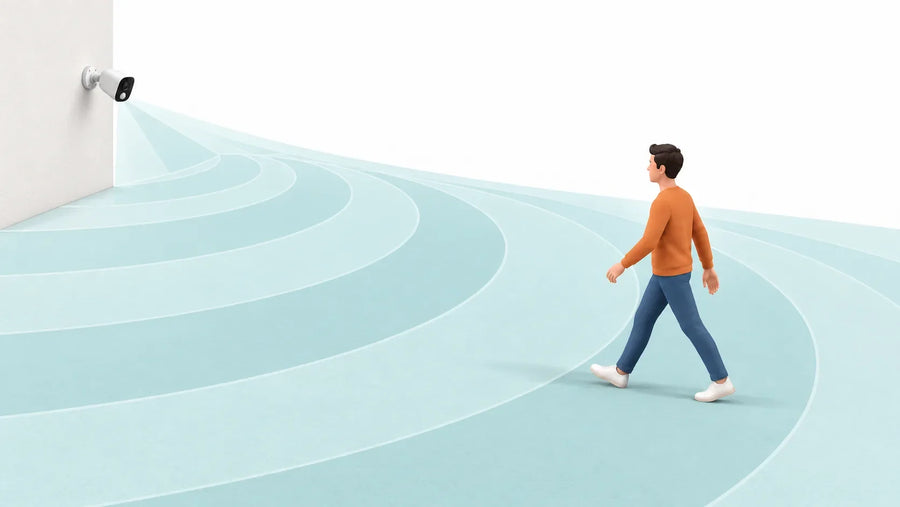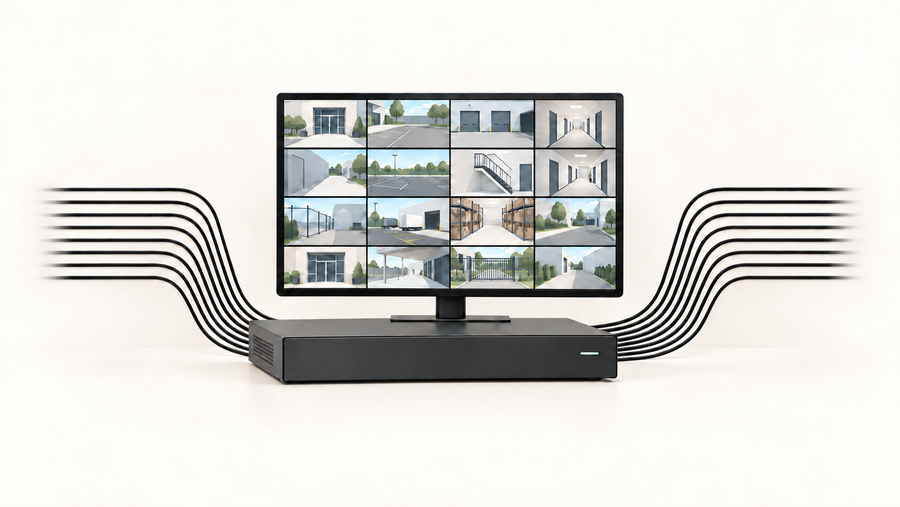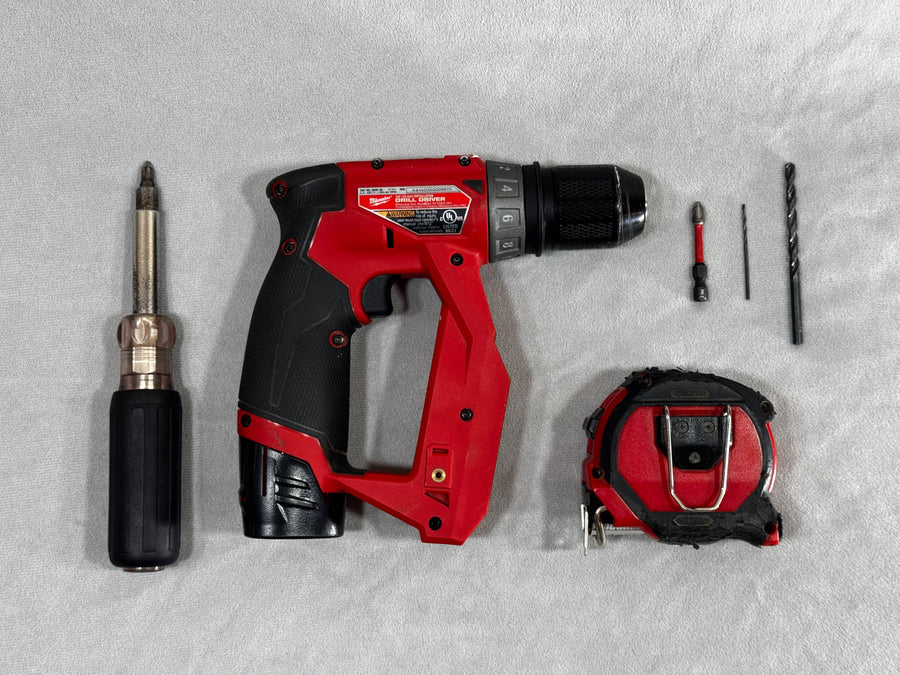



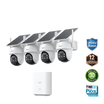
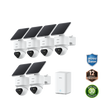
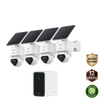
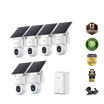
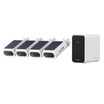

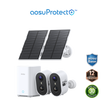
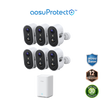
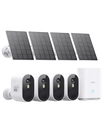
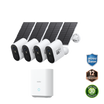
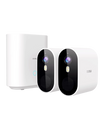
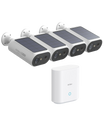
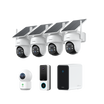


DIY home security systems combine sensors that detect an opening or movement, cameras that show what happened, and alerts that reach someone who can respond. Choose the equipment for your doors, windows, driveway and gate, then assign who handles each alert. Pair the devices and test a complete entry setup before mounting everything permanently.
One r/homesecurity reader put the goal plainly: “I don't need someone else watching my system I just need my system to tell me what it sees.” For self-monitoring, you need phone alerts, accessible recordings and a backup person who can act when you're unavailable.
Define What Your System Must Do
Write one outcome for each area before choosing hardware. At the front door: report an opening while armed, show the person, save the event and alert both adults. At a detached garage: show a person approaching after dark and let the first available adult review the clip.
A contact sensor reports that a door opened; a camera shows who came through it. A motion sensor detects movement in a room, and a siren gives an audible warning. With self-monitoring, you check the alert and decide what to do. With professional monitoring, a monitoring center follows the service's contact and response procedure.
For each area, write down the trigger, the recording you need, any automatic warning and the person who responds. For example: patio door opens while armed → both adults receive an alert → one checks the patio camera and contacts the person at home.
Related links:
· Read the original r/homesecurity self-monitoring question
· Professional vs. DIY home security
Match Cameras, Sensors and Monitoring to Each Need
Choose each device for the event you need to detect or see. Use this worksheet to compare equipment, installation and continuing costs, including storage, batteries and optional services.
| Need / device or service | Suitable use and drawback | Who installs | Who responds | Network and power dependency | Upfront and continuing cost |
|---|---|---|---|---|---|
| See and record an approach / outdoor camera | Door, driveway or gate context; view and detection depend on placement | Household or installer | App user | Usually Wi-Fi; wired, battery or solar power varies | Camera, storage and optional cloud plan |
| Know a door or window opened / contact sensor | Clear open-or-closed event; no visual identity | Usually household | App user or alarm service | Battery plus compatible hub or radio | Sensor and possible hub; replace batteries |
| Detect movement inside / motion sensor | Useful for a hallway or room; pets and household routines need testing | Usually household | App user or alarm service | Battery plus compatible hub or radio | Sensor and possible hub; replace batteries |
| Warn people nearby / siren or alarm panel | Immediate audible warning; false alarms affect everyone nearby | Household or installer | Household, and service if enrolled | Battery or mains power; panel may need internet or cellular service | Panel/siren; possible service and permit fees |
| Provide an outside response path / professional monitoring | Useful when household members cannot reliably check alerts; adds a contract and procedure | Provider or approved installer | Monitoring center under the service terms | Panel communication and backup depend on the service | Equipment or activation plus recurring fee |
Devices can work together through a compatible hub or supported app automation. Before buying, verify that the exact sensor and camera models support the action you want, such as a door opening triggering a recording. With separate apps, a household member can receive the door alert, open the camera view and decide whether to sound a warning or call someone.
Test any automatic link with the intended schedule and account permissions, then repeat it after a router restart. Include the camera's built-in siren in the response plan if you intend to use it.
Related links:
· Plan the camera-and-alarm event chain before mounting
Plan Devices Around Your Doors, Windows and Daily Routines
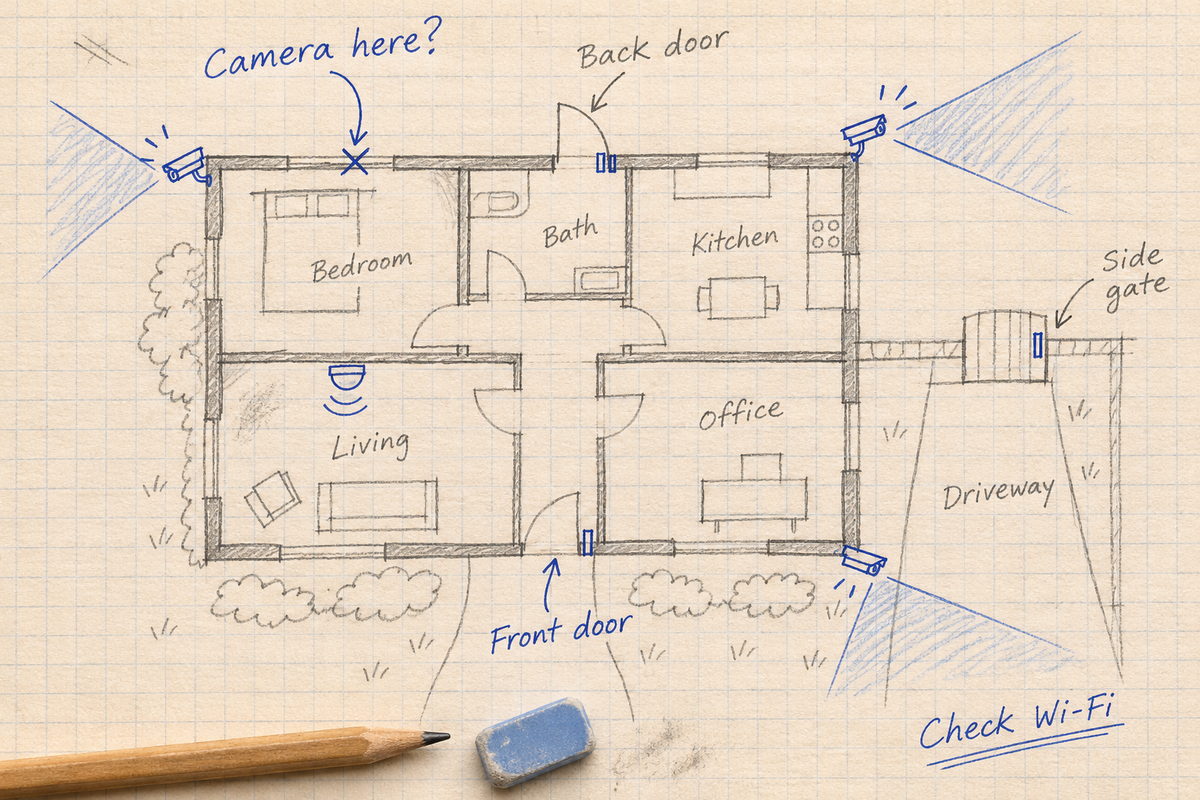
Walk through the home and mark exterior doors, accessible windows, the garage connection and the side gate on a floor plan. Note where someone could enter and where a camera would show them clearly. Include the doors you use every day so you can plan arming and disarming around normal arrivals.
For example, a two-story home with a front door, patio door, attached garage and side gate could use this starter shopping list:
· Three door contacts: one each for the front door, patio door and door between the garage and house.
· One ground-floor hallway motion sensor, positioned after testing household and pet movement.
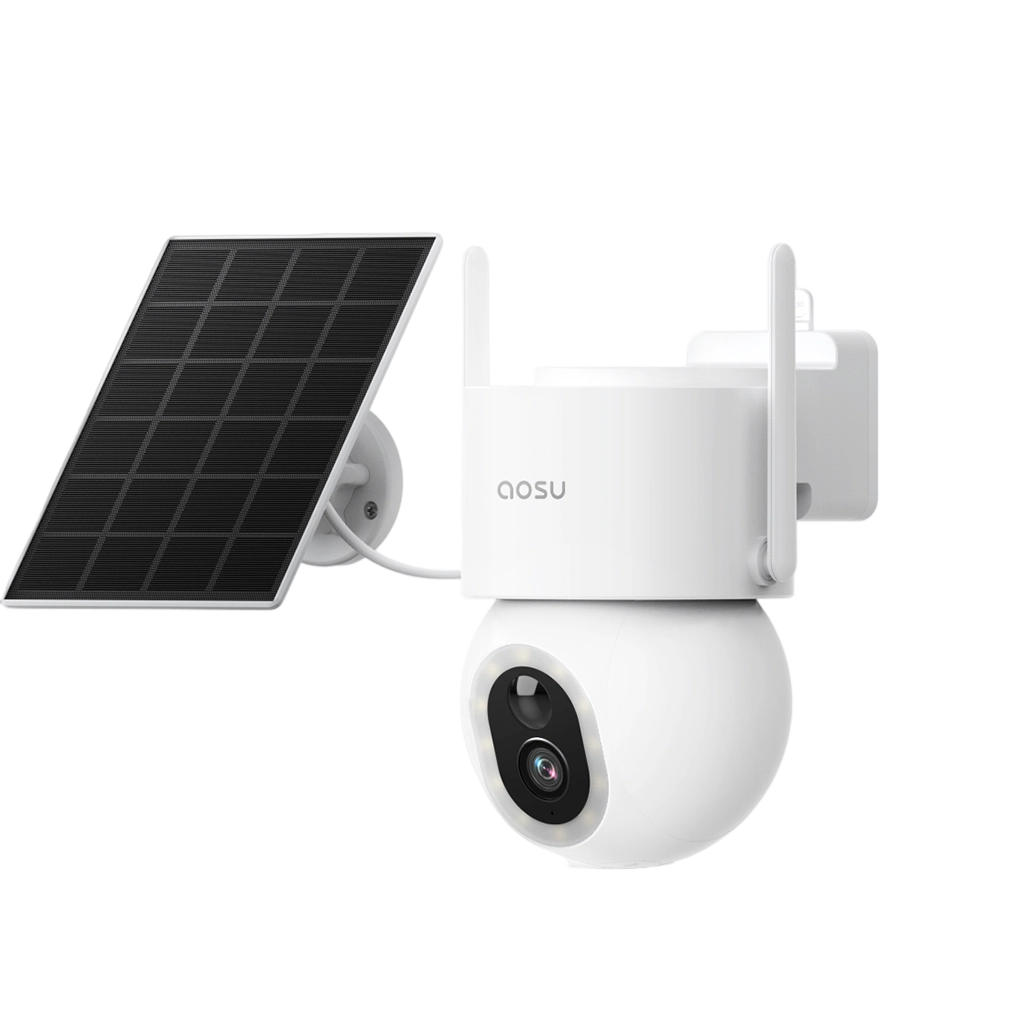
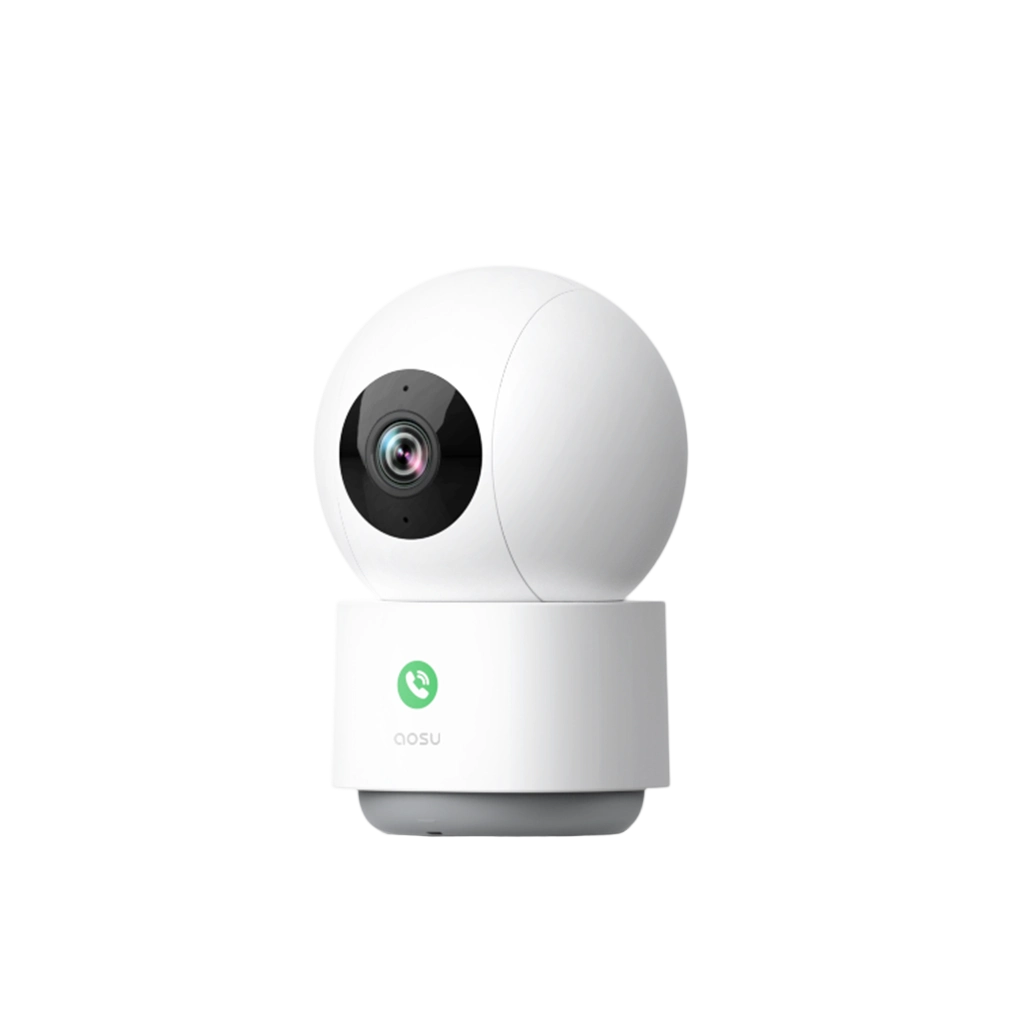
· Two outdoor cameras: one showing visitors at the front door and one showing the driveway or side gate.
· One compatible hub or alarm panel if the selected sensors require it, plus one indoor siren if the household wants an audible warning.
· Recording storage for both cameras: compatible cards, hub storage or a chosen cloud plan, plus suitable fixings and any required power accessories.
· Two named app users, one backup contact and a written response card kept with the household plan.
Add window contacts where opening detection is needed. A hallway motion sensor covers movement after someone enters its detection area; it doesn't report which window opened. An apartment with one entrance can use a smaller list. A detached garage needs a connection check before you choose its camera.
Plan separate home and away settings where your system supports them. At night, you might arm exterior door contacts while leaving the hallway motion sensor inactive so people can move indoors. Test the entry delay on the door you use to come home and make sure everyone knows how to disarm.

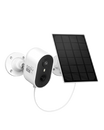
Outdoor camera and separate solar panel installed on a tree.
Install in Stages and Test the Household Response
Pair and update devices at a table before permanent mounting. Create a unique account password, turn on two-factor authentication when available, update the app and device firmware, and give each household member their own supported access rather than sharing the administrator password.
Test the front door sensor and camera together before expanding. Open the door, walk toward it by day and after dark, confirm that each phone receives the alert, then play and download the saved clip. Repeat using mobile data with your phone's Wi-Fi off to check access from away from home.
Replace the example recipients below with names and record a result for every row. Agree how long the primary person has to acknowledge an alert before the backup takes over.
| Test event | Expected alert and evidence | Primary person | Backup person | Action and result |
|---|---|---|---|---|
| Front door opens while armed | Door alert plus usable entrance clip | Adult 1 | Adult 2 | Review, contact person at home if appropriate, silence/reset; pass or fix |
| Person walks through side gate after dark | Person alert plus clear gate view | Adult 1 | Adult 2 | Primary acknowledges; backup takes over after agreed interval; pass or fix |
| Internet connection is interrupted | Trigger a test event during the outage; note local warning and recording behavior | System administrator | Adult 2 | Restore internet, find the outage event if recorded, and test a new alert; pass or fix |
| Primary phone is muted or unavailable | Backup recipient receives the planned alert | Adult 2 | Trusted backup contact | Acknowledge and use the same verification steps; pass or fix |
Record the date, device name, phone, alert delay, playback result and any correction. A pass means the intended people received the alert, could see what happened and could complete their assigned action. Test the backup person's account and phone too, including notification permissions and Do Not Disturb settings.
Practice checking live video, contacting someone at home, silencing the siren and resetting the alarm. Retest after changing a detection zone, schedule, router, phone or account role. Keep emergency contact details with the response sheet and follow local guidance when an incident needs emergency help.
Related links:
· Arduino home security vs. ready-made camera systems

Camera view of a snow-covered deck and wooded yard.
Build the Camera Part With SolarCam T2
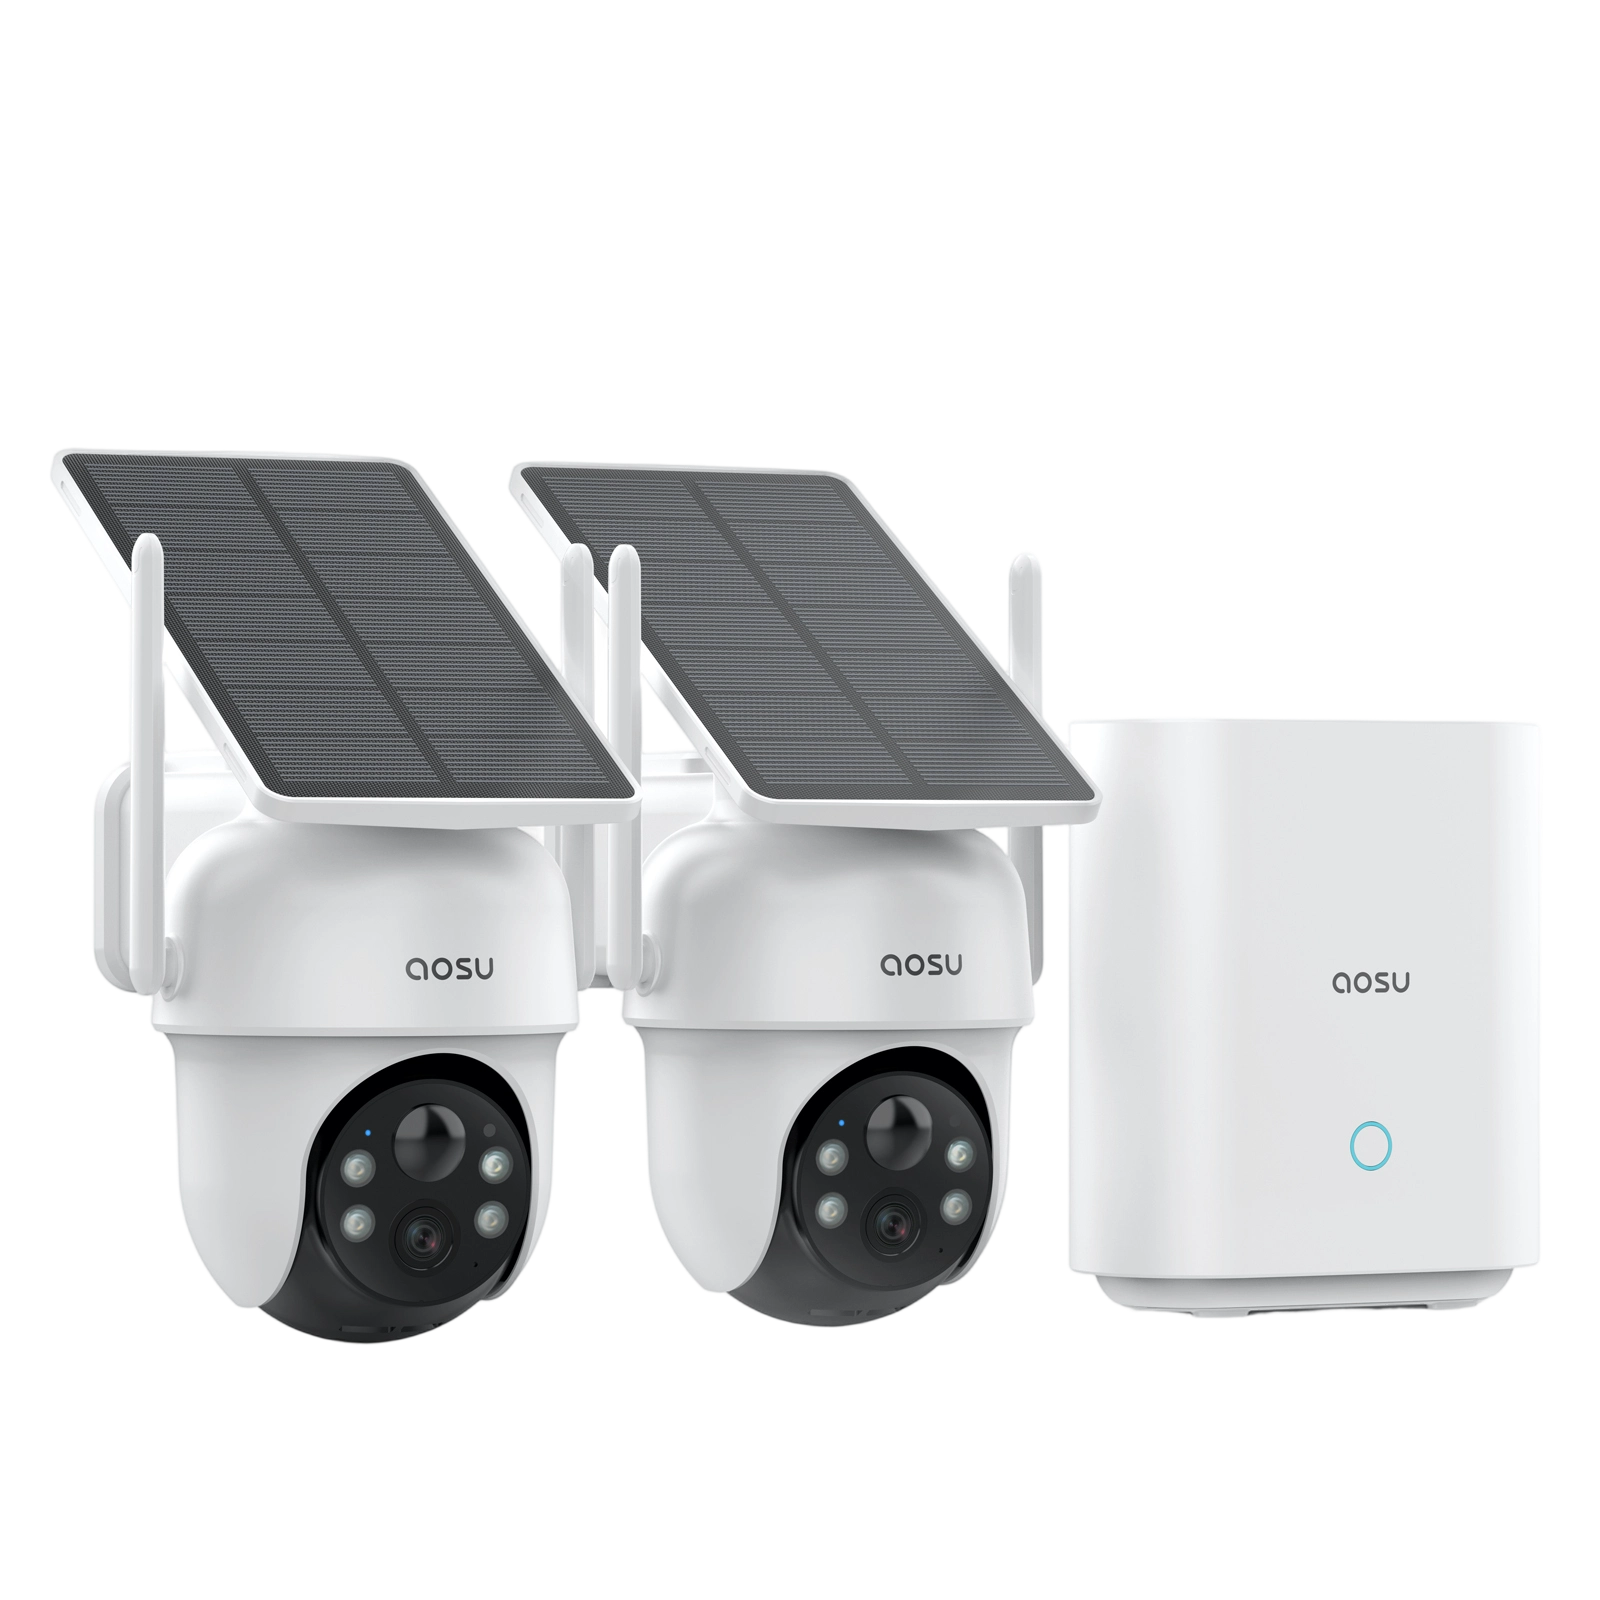
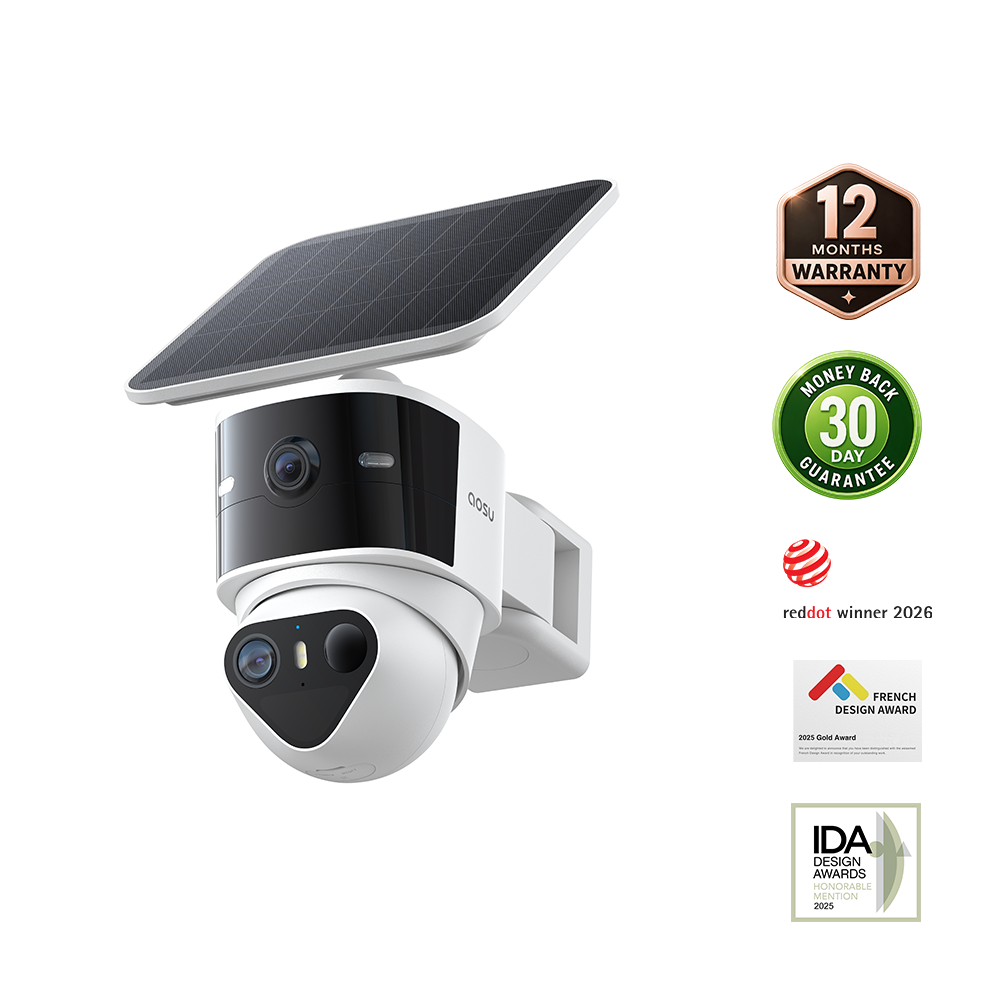
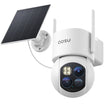
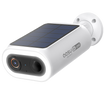
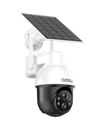
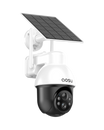
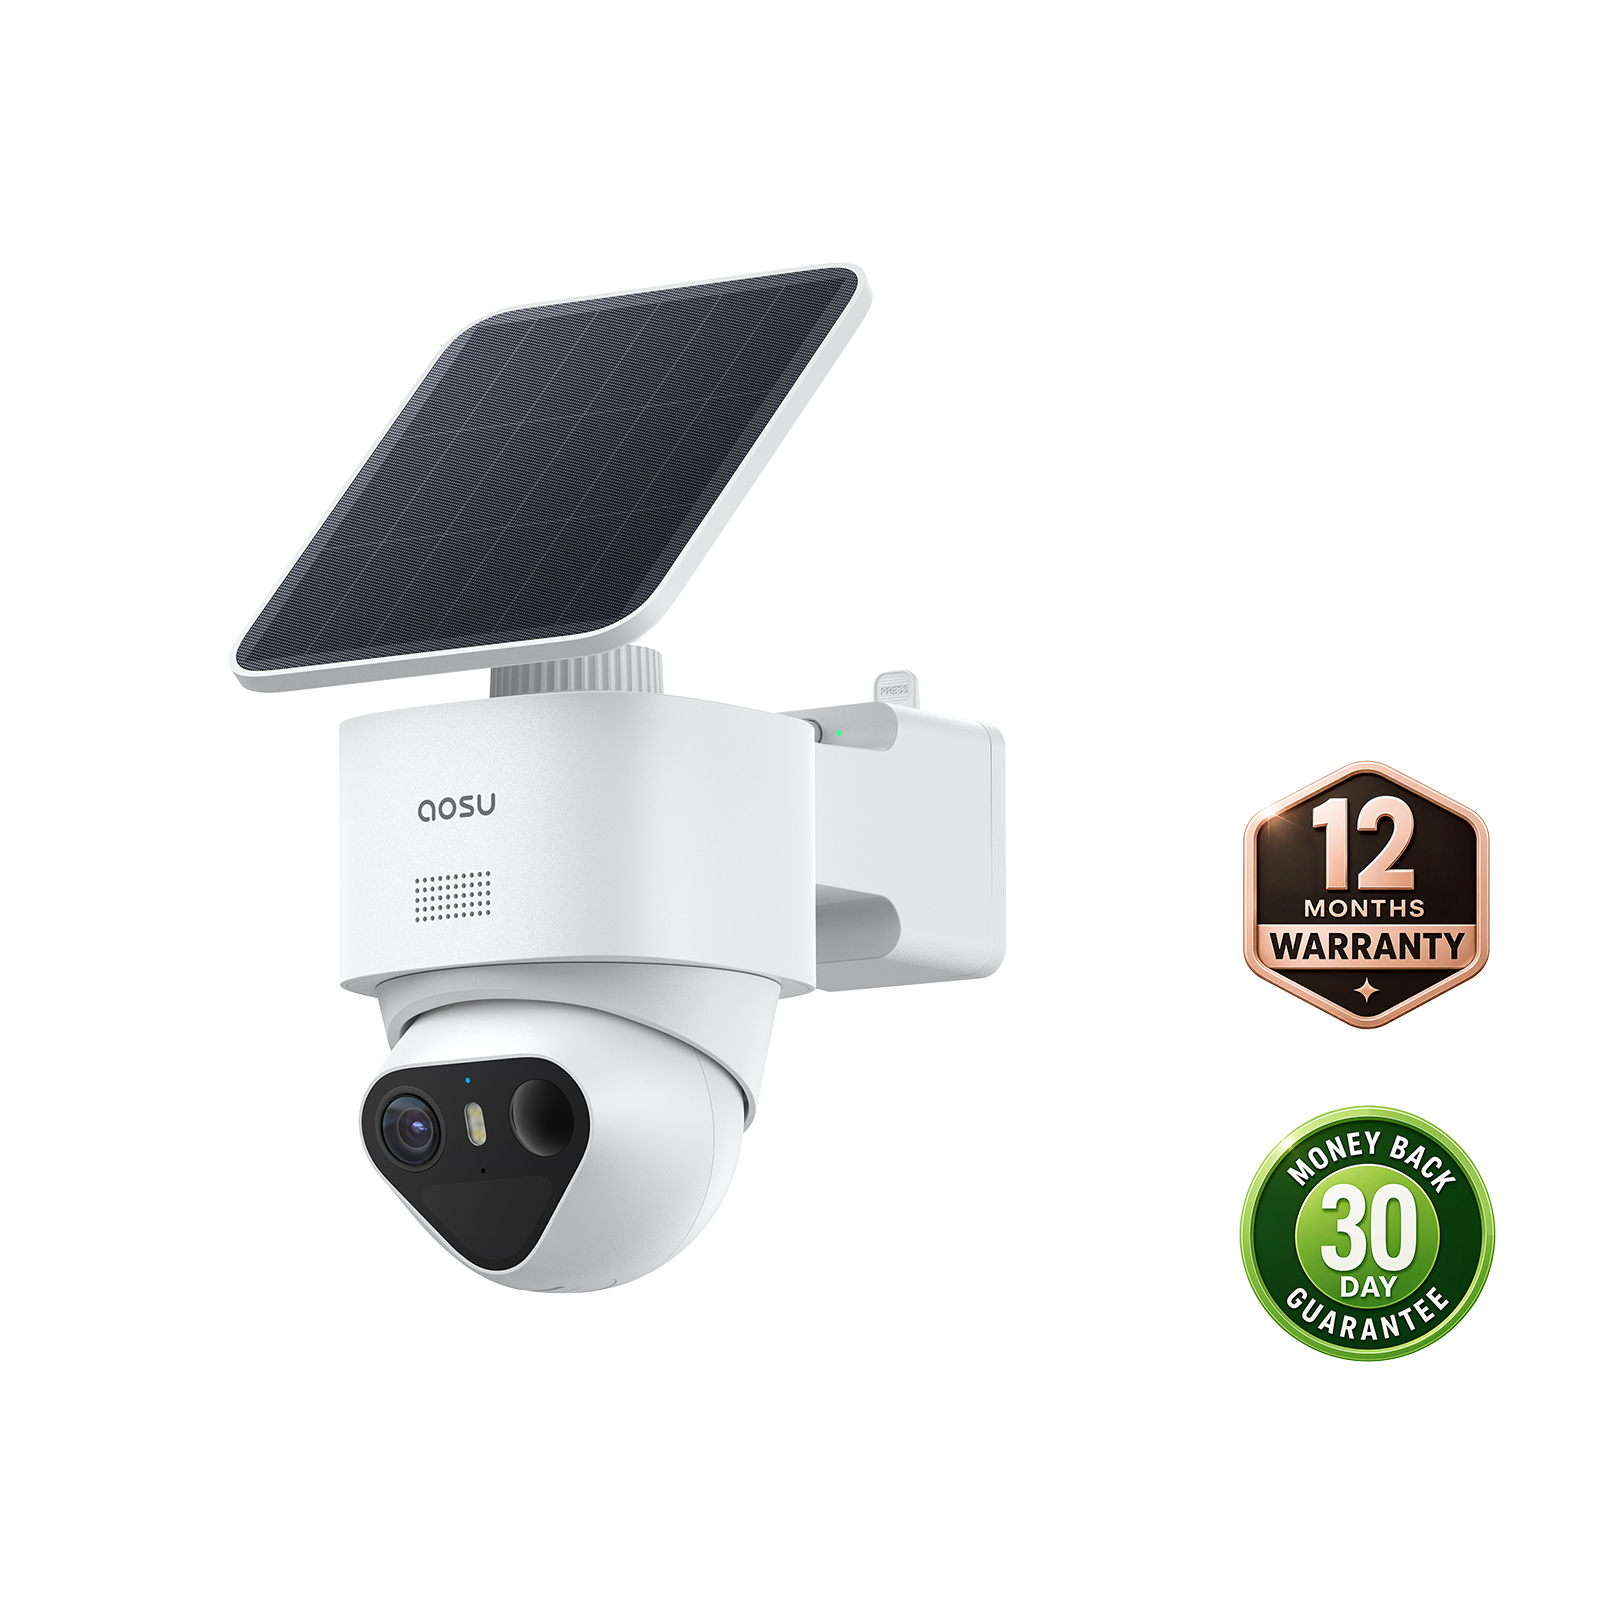
When an outdoor position needs a wide overview and a closer view together, SolarCam T2 can fill the camera portion of the plan. Its wide and telephoto lenses both record at 3K. It also supports 360-degree tracking, event recording with all-day snapshots, a microSD card slot and optional cloud storage.
The standalone camera connects to your home network through 2.4 GHz Wi-Fi. Its detached solar panel lets you position the camera for coverage and the panel in direct sunlight. Test the connection at the camera's intended position before securing either bracket.
At a driveway or side gate, the wide view shows someone entering the area while the telephoto view shows closer detail. Check both views during your daytime and nighttime walk tests. T2 saves event videos and snapshots every five minutes between events, rather than a continuous video record. Full Day Video Summary requires a paid subscription.
Use T2 for video and camera alerts alongside the contacts and alarm equipment chosen for your home. Door contacts, indoor motion sensors and any professional monitoring remain separate parts of the setup.
Related links:
· How SolarCam T2 wide, telephoto and digital views work
Keep Your Setup Ready for Everyday Use
Keep the device list, account recovery details and response sheet somewhere the household can access securely. Name the cameras and sensors by location, such as Front Door and Garage Entry, so an alert tells you where to look.
Assign someone to check batteries, available storage, recent playback and device updates regularly. Repeat the household test after a router change, new phone, device replacement or change in who receives alerts.
FAQs
Can cameras replace door and window sensors in a DIY home security system?
Cameras can show and record activity, but a door or window contact gives a precise open-or-closed event. Use both when you need a reliable entry signal and visual verification. A camera alone can be enough where the goal is simply to see and record an approach.
Can I build a DIY home security system without professional monitoring?
Yes. A self-monitored system can send alerts and camera events directly to household members. Assign a primary and backup recipient, test every phone and write the response steps. Professional monitoring remains an option when the household wants an outside response path.
What should I install first in a DIY home security system?
Pair and test the devices for one important entrance before mounting them permanently. Confirm the sensor trigger, camera view, saved recording and alerts on both the primary and backup phones. Complete the response test, then repeat the process at the next entrance.