


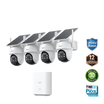
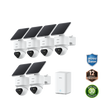
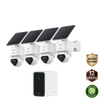
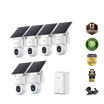
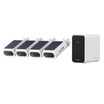

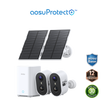
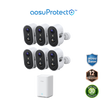
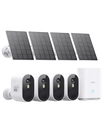
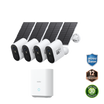
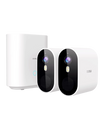
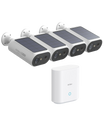
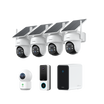
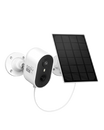
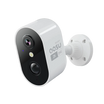
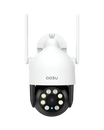
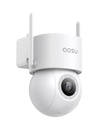



You may need your camera’s local IP address for network troubleshooting or a supported recorder integration. You do not necessarily need to find it manually to complete an app-based setup.
Start by identifying the exact camera model and how it connects: directly to your router, through a hub, or through a recorder. Use only a network you own or are authorized to administer.
What Finding an IP Address Does—and Does Not—Tell You
An IP address helps identify a device on a particular network. It does not establish which services the device supports.
Before trying browser access or adding a camera to a NAS or recorder, confirm the manufacturer’s requirements for the exact model. App viewing, browser access, RTSP and ONVIF are separate capabilities. A hub-connected camera may also sit behind a different connection from the one shown in your router’s device list.
Six Places to Check Your Camera’s Local IP Address
1. Check Documented App Settings
If the manufacturer documents an IP-address field, open that setting for the selected device. Menu names vary. Do not assume every camera app displays the camera’s local address.
2. Check the Router’s Device List
Sign in using your router manufacturer’s instructions. Look at connected devices and DHCP leases. Match the camera using documented identifiers where available; a generic device name alone is not reliable identification.
For a hub-based system, check whether the listed device is the hub rather than an individual camera.
3. Use an Authorized Local Discovery Scan
Scan only a network you are permitted to administer. Confirm the correct network interface and subnet first. Guest isolation, VLANs, device behavior and filtering can prevent discovery, so a missing result does not prove that the camera is disconnected.
4. Use the Manufacturer’s Discovery Utility
Download the tool from the official support site and confirm model compatibility. For example, AXIS IP Utility discovers supported Axis devices on the same subnet; it is not a universal camera finder.
5. Inspect the Local ARP Cache
On Windows, arp -a displays cached IP-to-MAC mappings. Microsoft’s arp documentation explains its function.
A matching entry can help identify an address, but an absent entry does not prove the camera is offline. On Linux, ip neigh displays the neighbor table; macOS provides arp. These commands do not by themselves perform a complete camera scan.
6. Check the Exact Model’s Initial Addressing Instructions
Read the manual for DHCP, fallback addressing or a documented default address. Use only the values and connection procedure specified for that model.
Do not guess addresses from a generic list. Factory reset is a last resort after checking the documented recovery process and understanding what settings or access will be lost.
Common Problems and How to Fix Them
If you cannot identify the camera’s address, check its documented connection requirements before changing network settings.
1. Confirm the Connection Type
Check power, completion of the official pairing process and the Wi-Fi bands supported by the exact model. Confirm whether the camera connects directly to the router or through a hub.
The same Wi-Fi name does not always establish local reachability. Guest isolation, VLANs or network policies may separate devices. Ask the network administrator before changing a managed network.
2. Troubleshoot Without Removing Network Protection
Keep firewall and antivirus protection enabled. If an official discovery utility is blocked, follow its documented requirements and use a narrowly scoped application rule where appropriate.
Use Ethernet only if the camera has a supported Ethernet interface and the manual describes that setup. Record existing settings before making changes, and avoid resetting the camera or restarting shared network equipment as the first step.
3. Secure Your Camera After Setup
Once your camera is online, securing it is just as important as getting it connected. Many users overlook this step, but it's critical for protecting your privacy. Here's what you should do:
- Change the default username and password immediately
- Disable UPnP (Universal Plug and Play) on your router unless you know you need it
- Avoid port forwarding unless you understand how to do it securely
- Keep your camera's firmware up to date using the official app or support portal
These basic measures go a long way in preventing unauthorized access.
4. Avoid Public Exposure Risks
Some cameras are accidentally left open to the internet without proper protection. To reduce exposure risks:
- Never enable remote access without a strong, unique password
- Always use encryption protocols if available (like HTTPS or secure streaming)
- Review documented remote-access settings with the network administrator; public search tools are not a required setup step
- Disable remote viewing features unless absolutely necessary
Regularly reviewing your camera's privacy settings helps ensure your video feed stays private.
Check Compatibility Before Choosing a Camera
A camera designed around app-based setup may suit users who do not need direct local configuration. Buyers planning browser, NAS or recorder access should confirm those capabilities before purchasing.
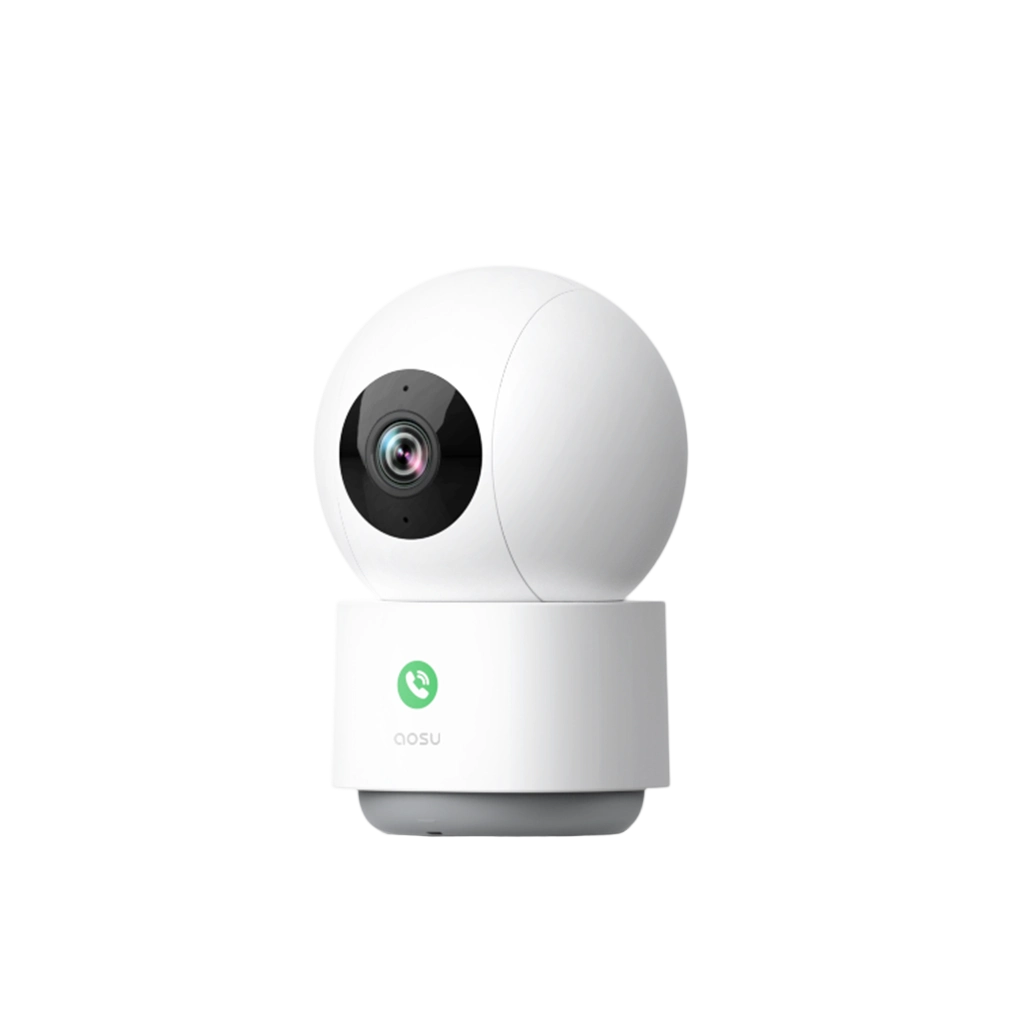
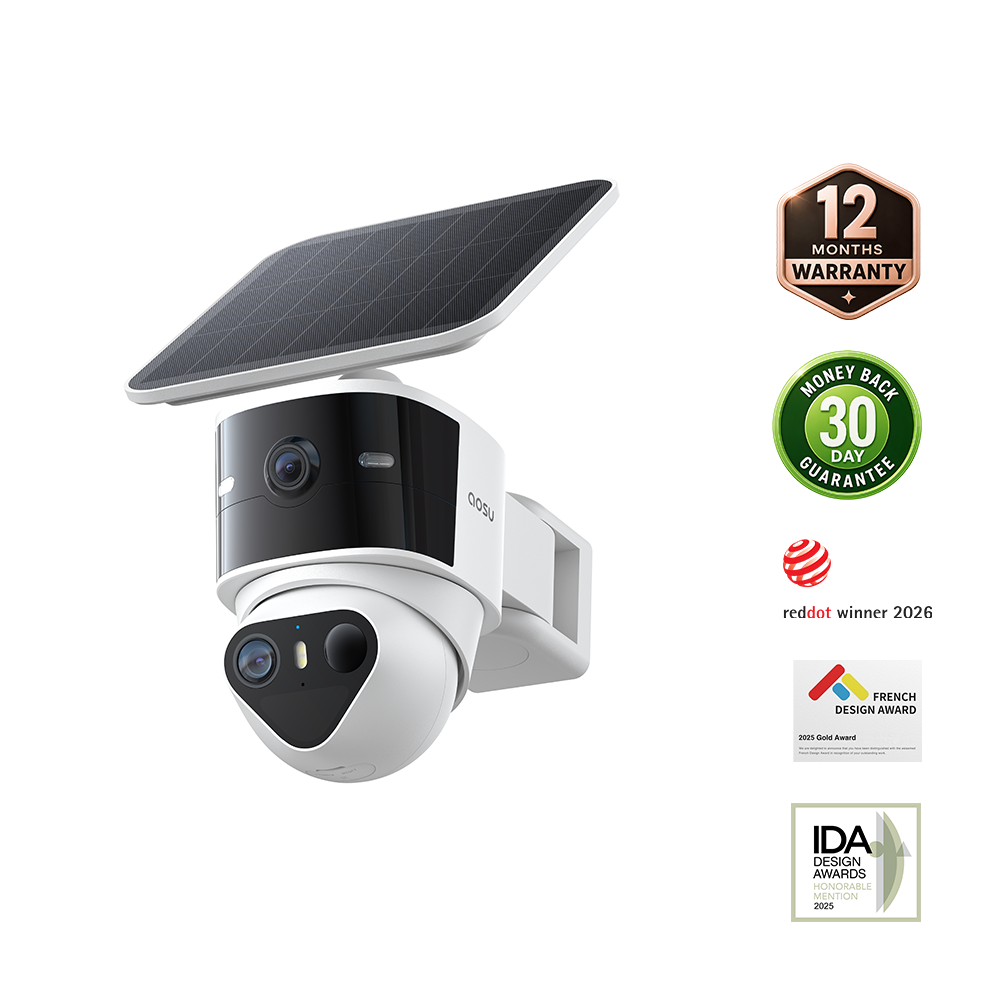
The aosu IndoorCam P1 Pro is an indoor option with published 4MP video and app-managed features. Those specifications do not establish that its app exposes an IP address or that it supports third-party recording.
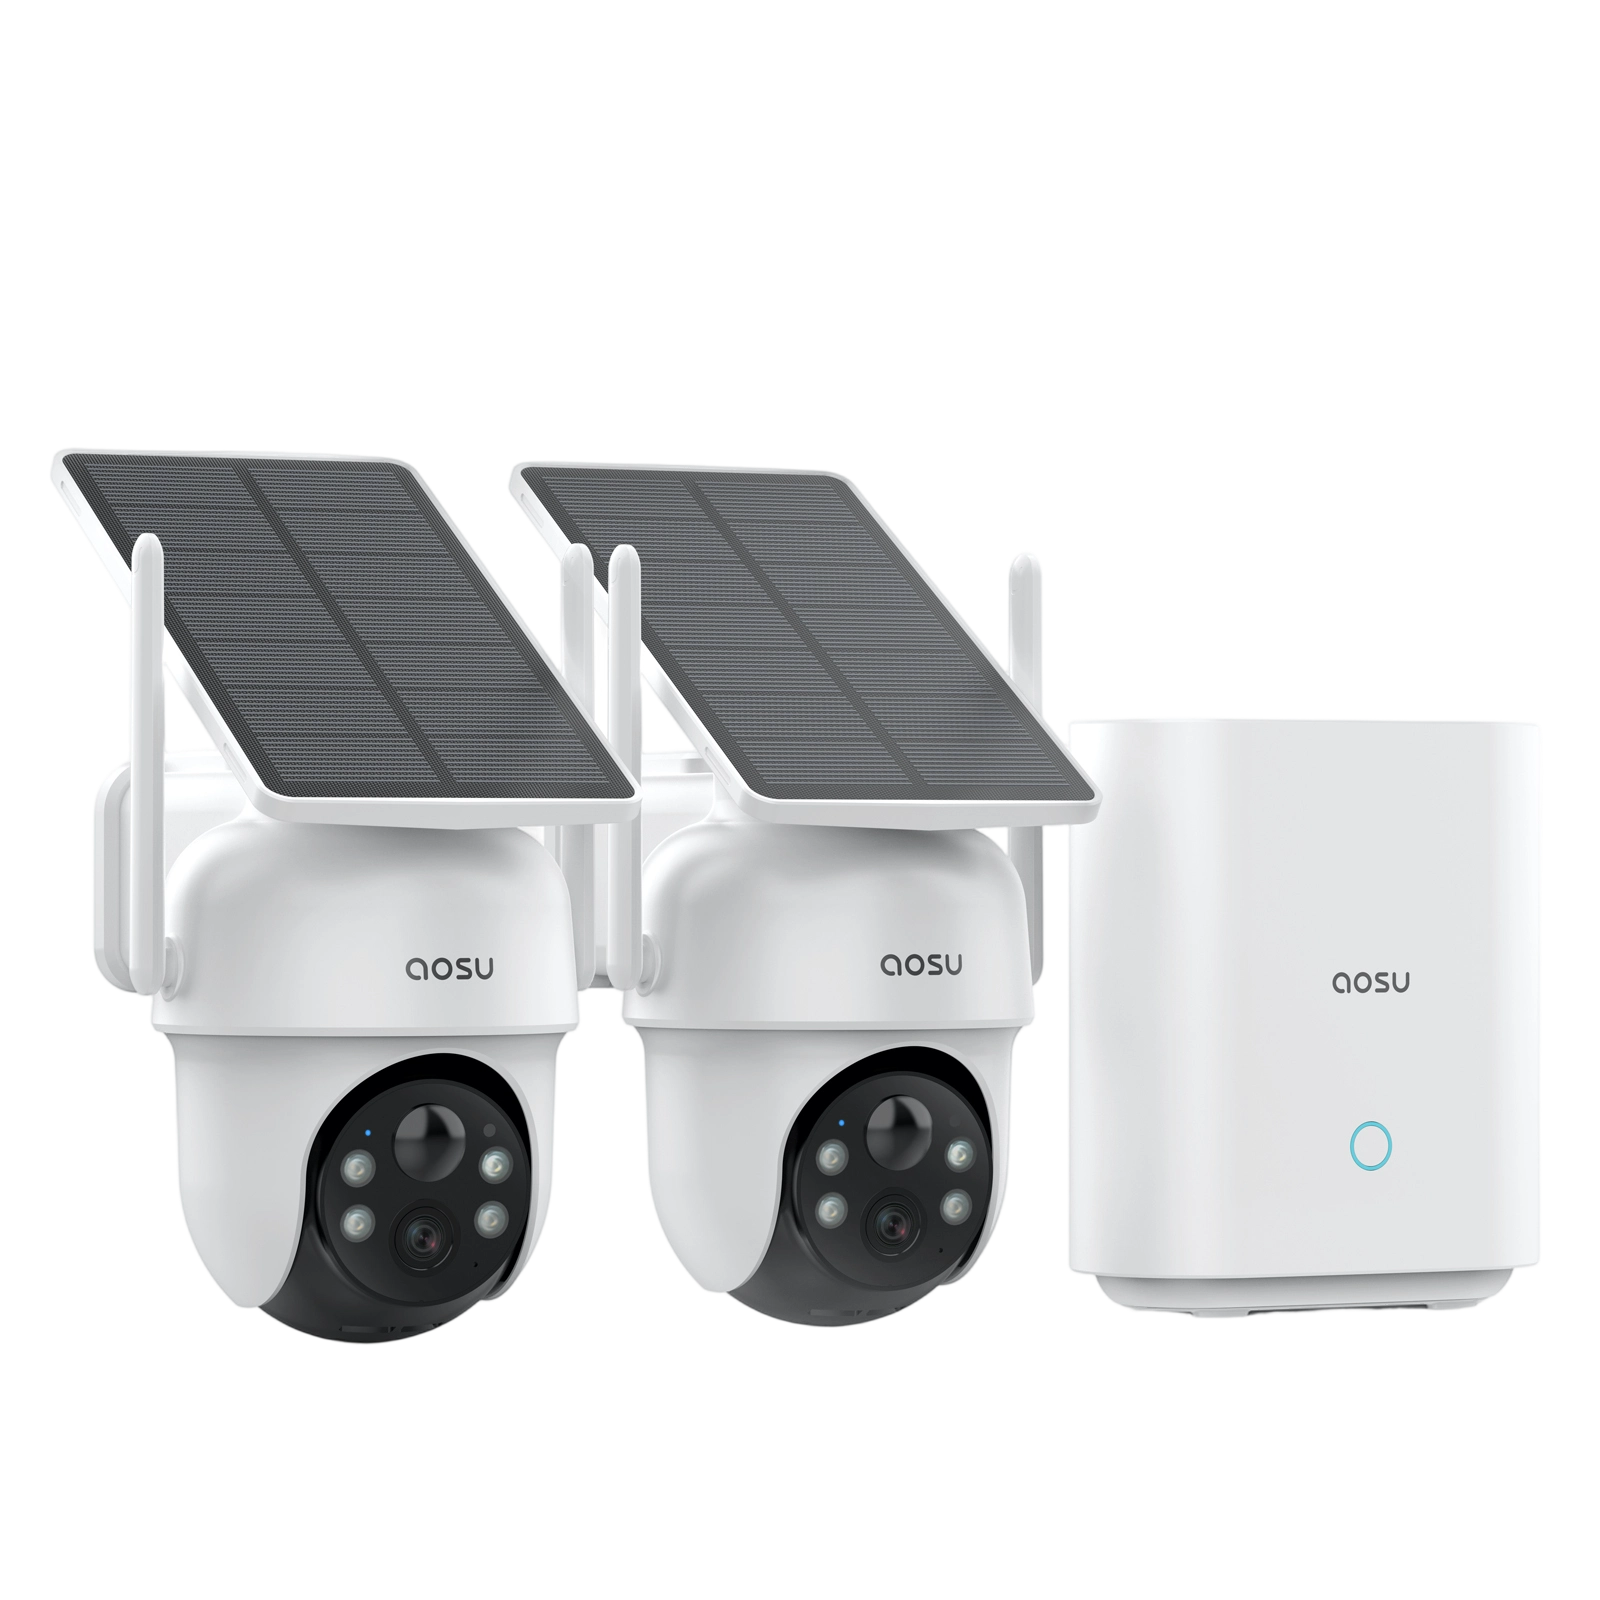
For any aosu camera or hub combination, ask aosu support to confirm:
- Whether the camera or only the hub appears on the router’s network.
- Whether local IP information is available to the user.
- Which browser, recorder or integration interfaces are supported.
- Which camera models and firmware versions are compatible.
Use the product cards to review current options, rather than treating easy setup as proof of local-network integration.
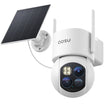
1. IndoorCam P1 Pro

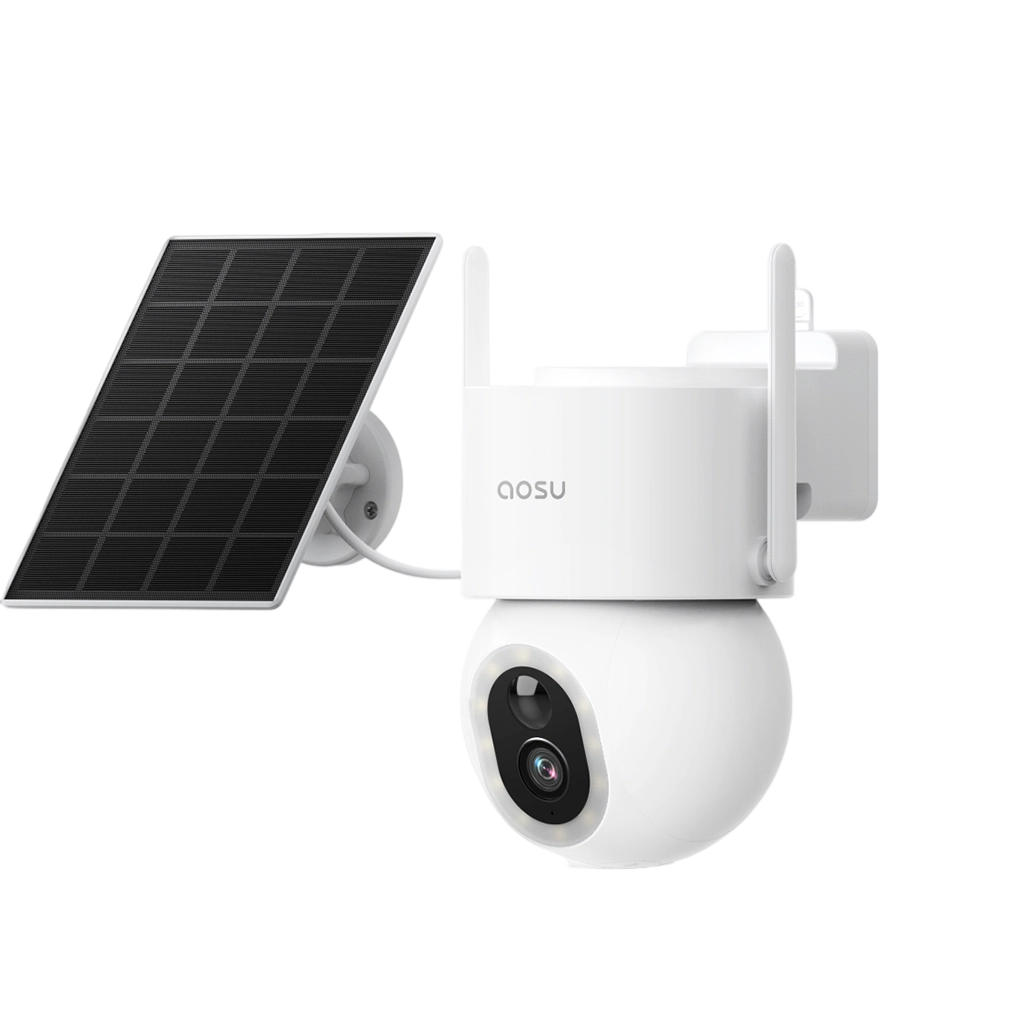
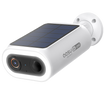
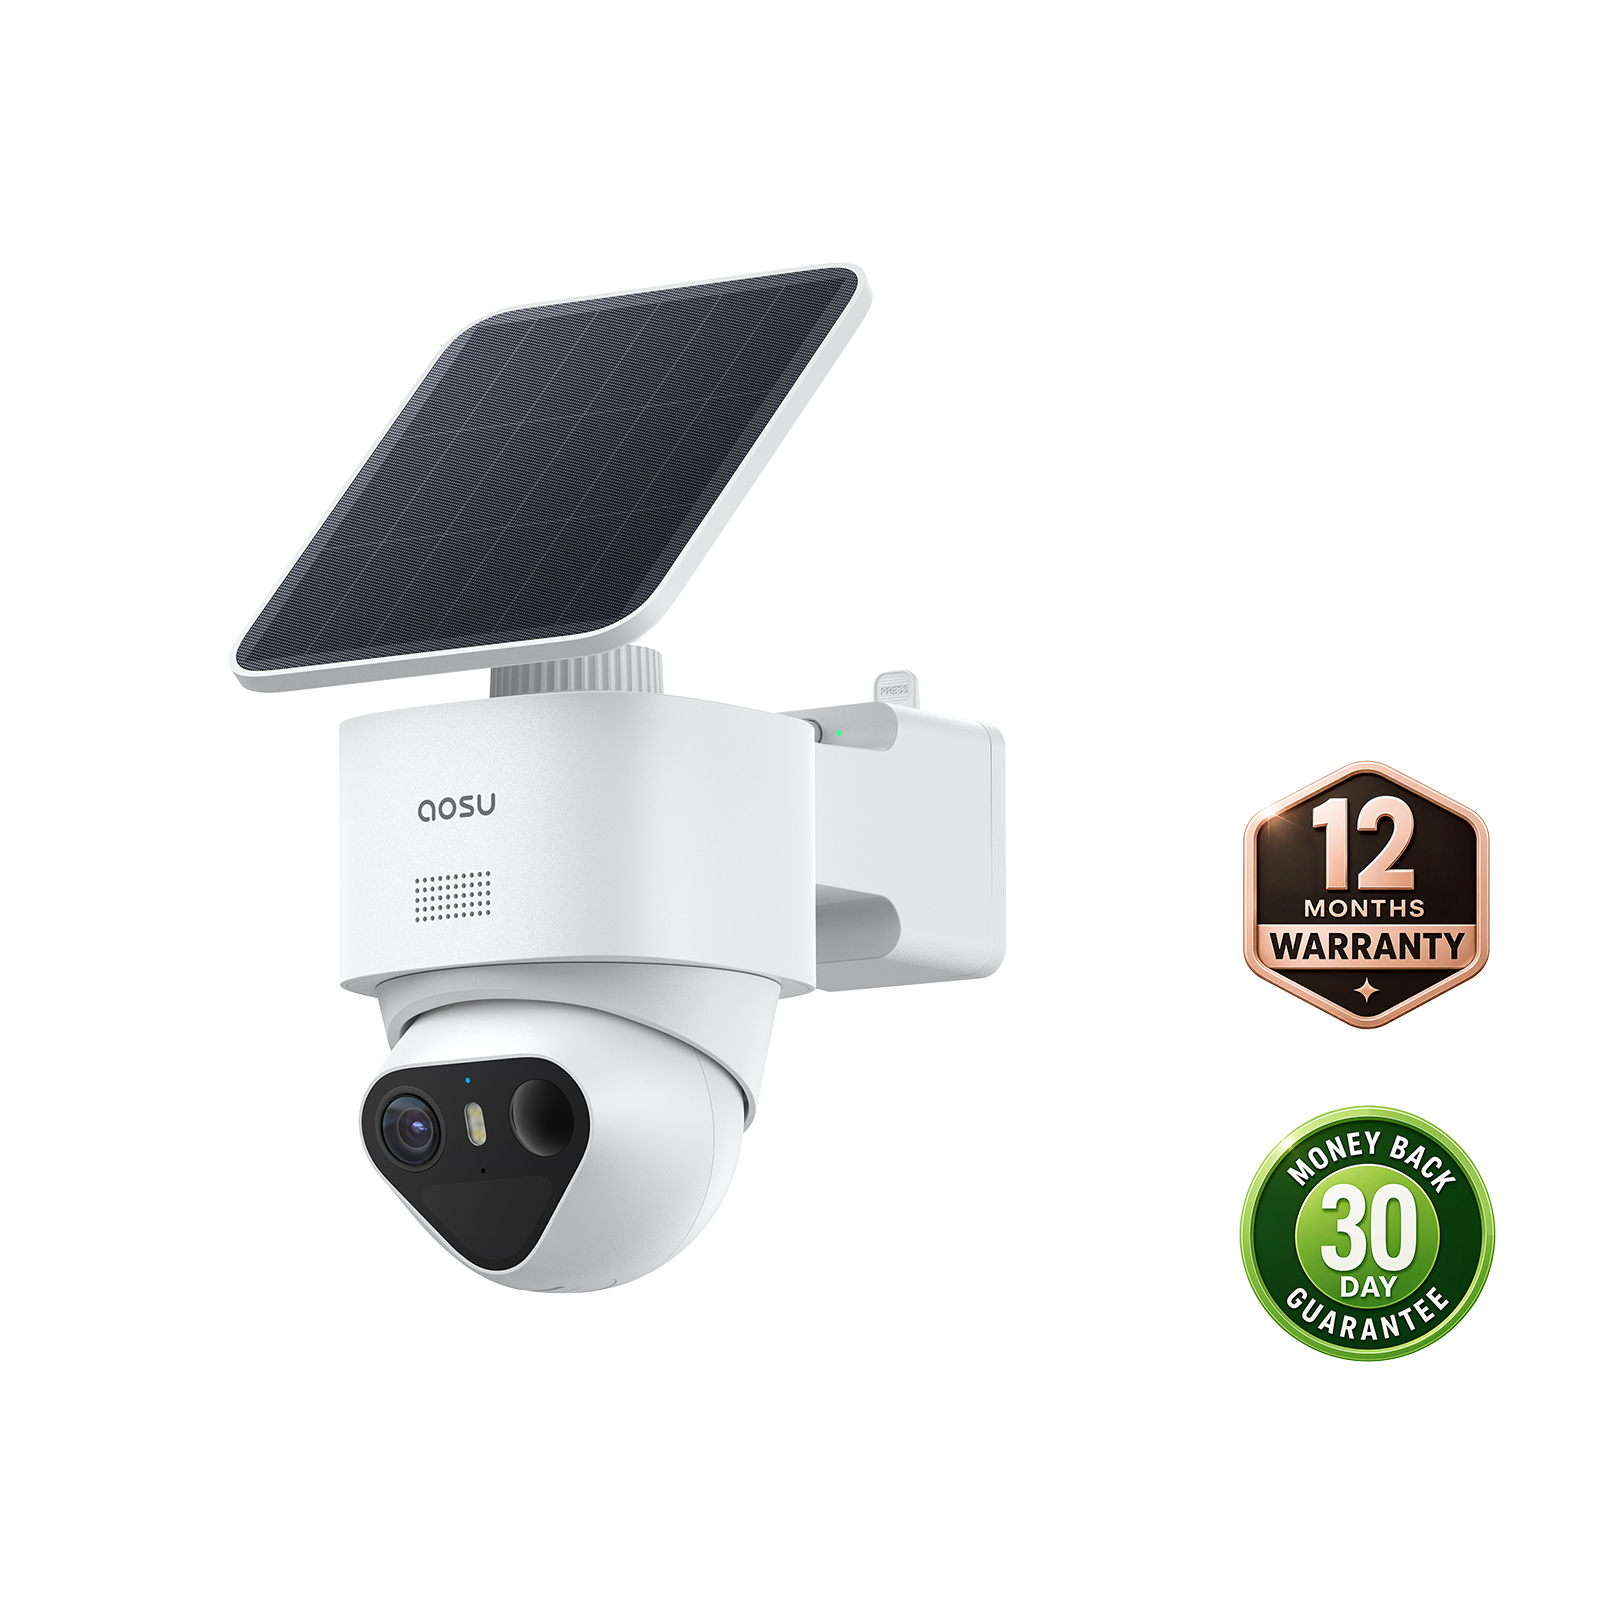
2. SolarCam D1 Classic

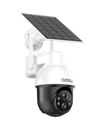
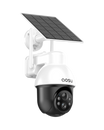
3. 4K SolarCam P1 Max with HomeCortex System

Conclusion: Finding Your Camera’s Local IP Address
Finding a local IP address is useful for a specific troubleshooting or integration task. Start with documented app information, the router and the manufacturer’s utility. Confirm supported access methods before changing network settings.
FAQs
Do I need the IP address for normal app viewing?
Not necessarily. Follow the manufacturer’s pairing and account setup process. Manual addressing is needed only for supported tasks that require it.
Why is the camera missing from arp -a?
The command displays a cache, not a complete inventory. A missing entry does not establish whether the camera is connected.
Can I open every camera in a browser?
No. The device must provide a supported web interface. Knowing its address does not add that capability.
How do I find the address while away?
Use an existing, authorized router-management connection or documented remote network access. Do not create camera port-forwarding rules merely to discover a local address. A cloud viewing app may not display it.
Should I assign a static address?
Only if your task requires a stable address and the system supports it. A documented router DHCP reservation may be an option. Coordinate changes with the network administrator to avoid conflicts.