


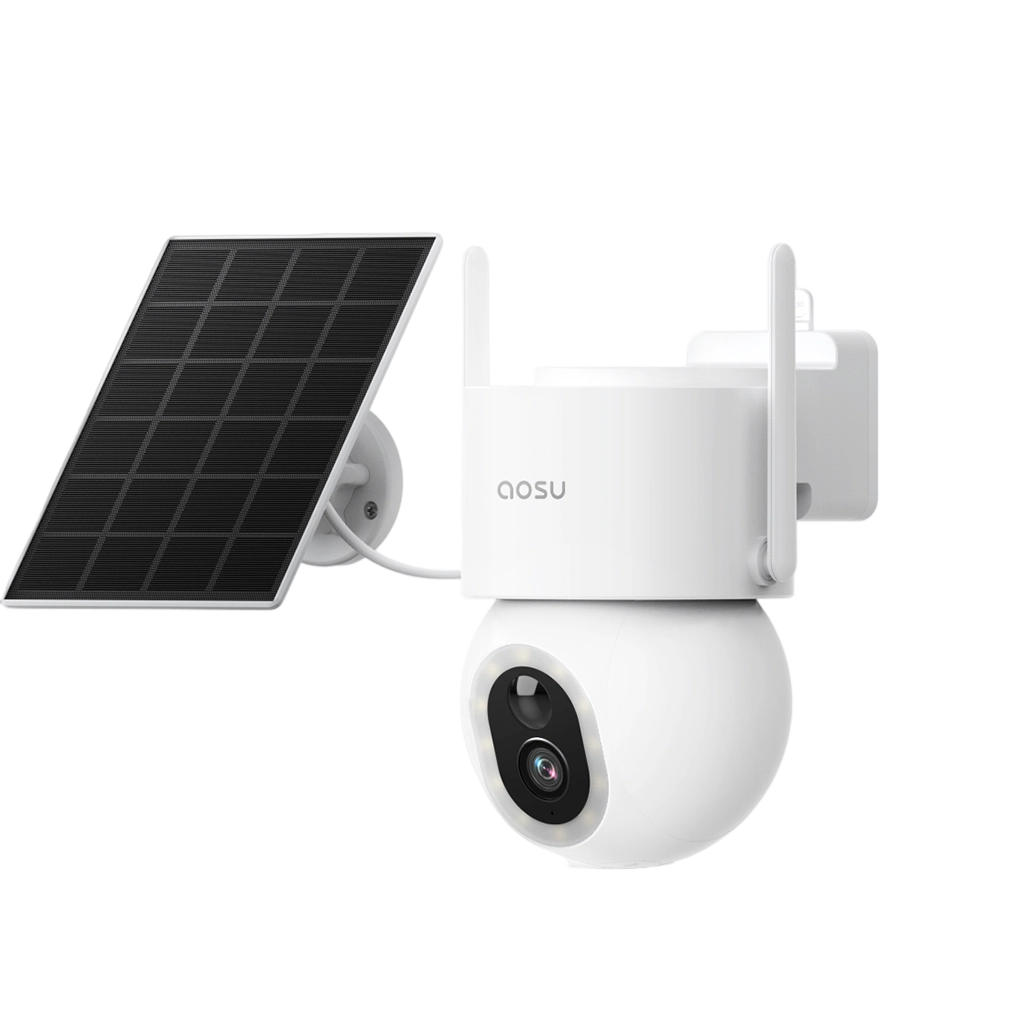
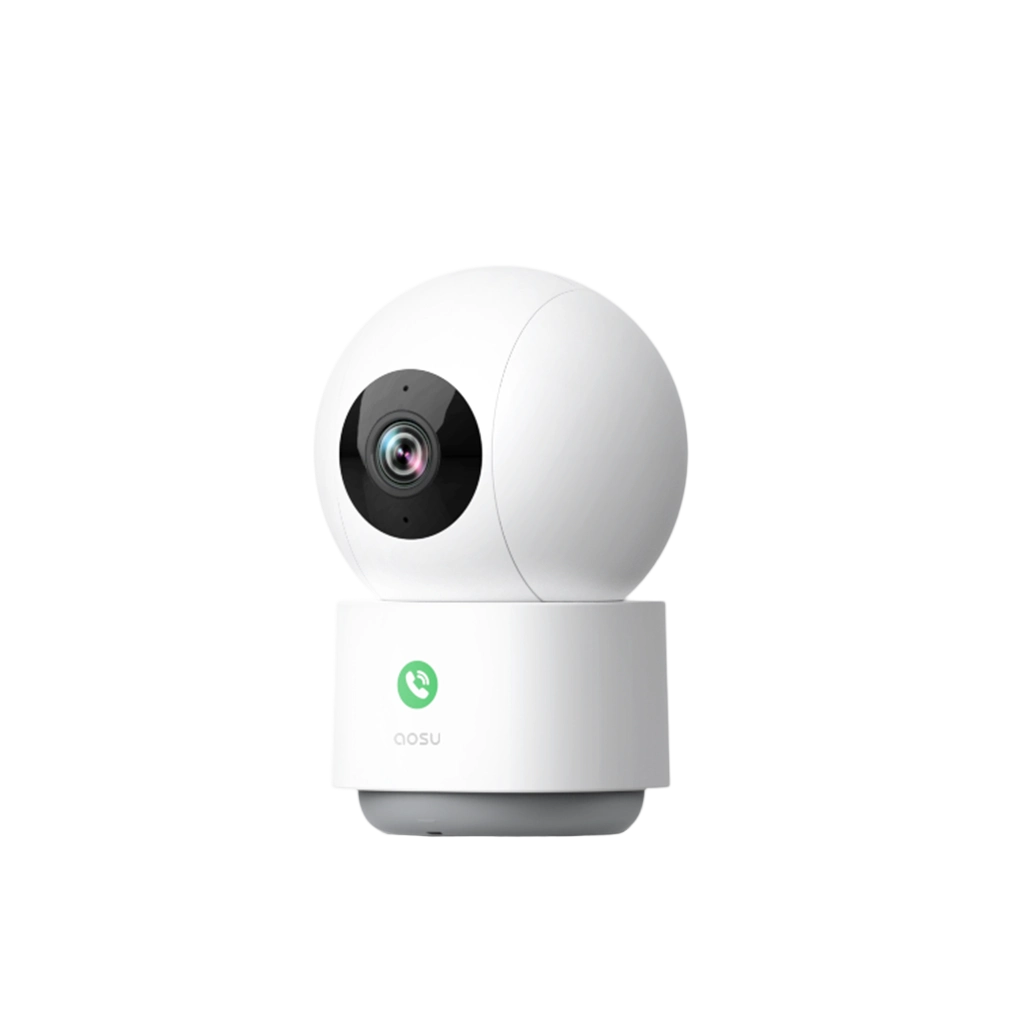
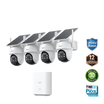
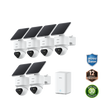
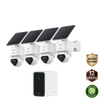
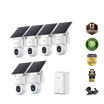
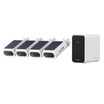

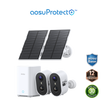
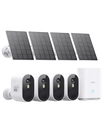
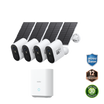
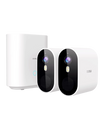
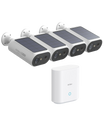
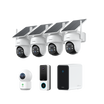
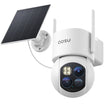
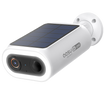


A solar outdoor camera is set up well when its battery stays stable or recovers across normal days. Give the camera the view it needs and the panel direct sun, then record battery level, charging conditions, event count and settings at the same time for one week. If the trend keeps falling, change one factor and repeat the log.
A charging icon only shows that energy is entering at that moment. The multi-day trend shows whether solar input is keeping up with recording, live view, night lighting and other use.
Check the Camera Position and Panel Position
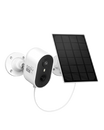
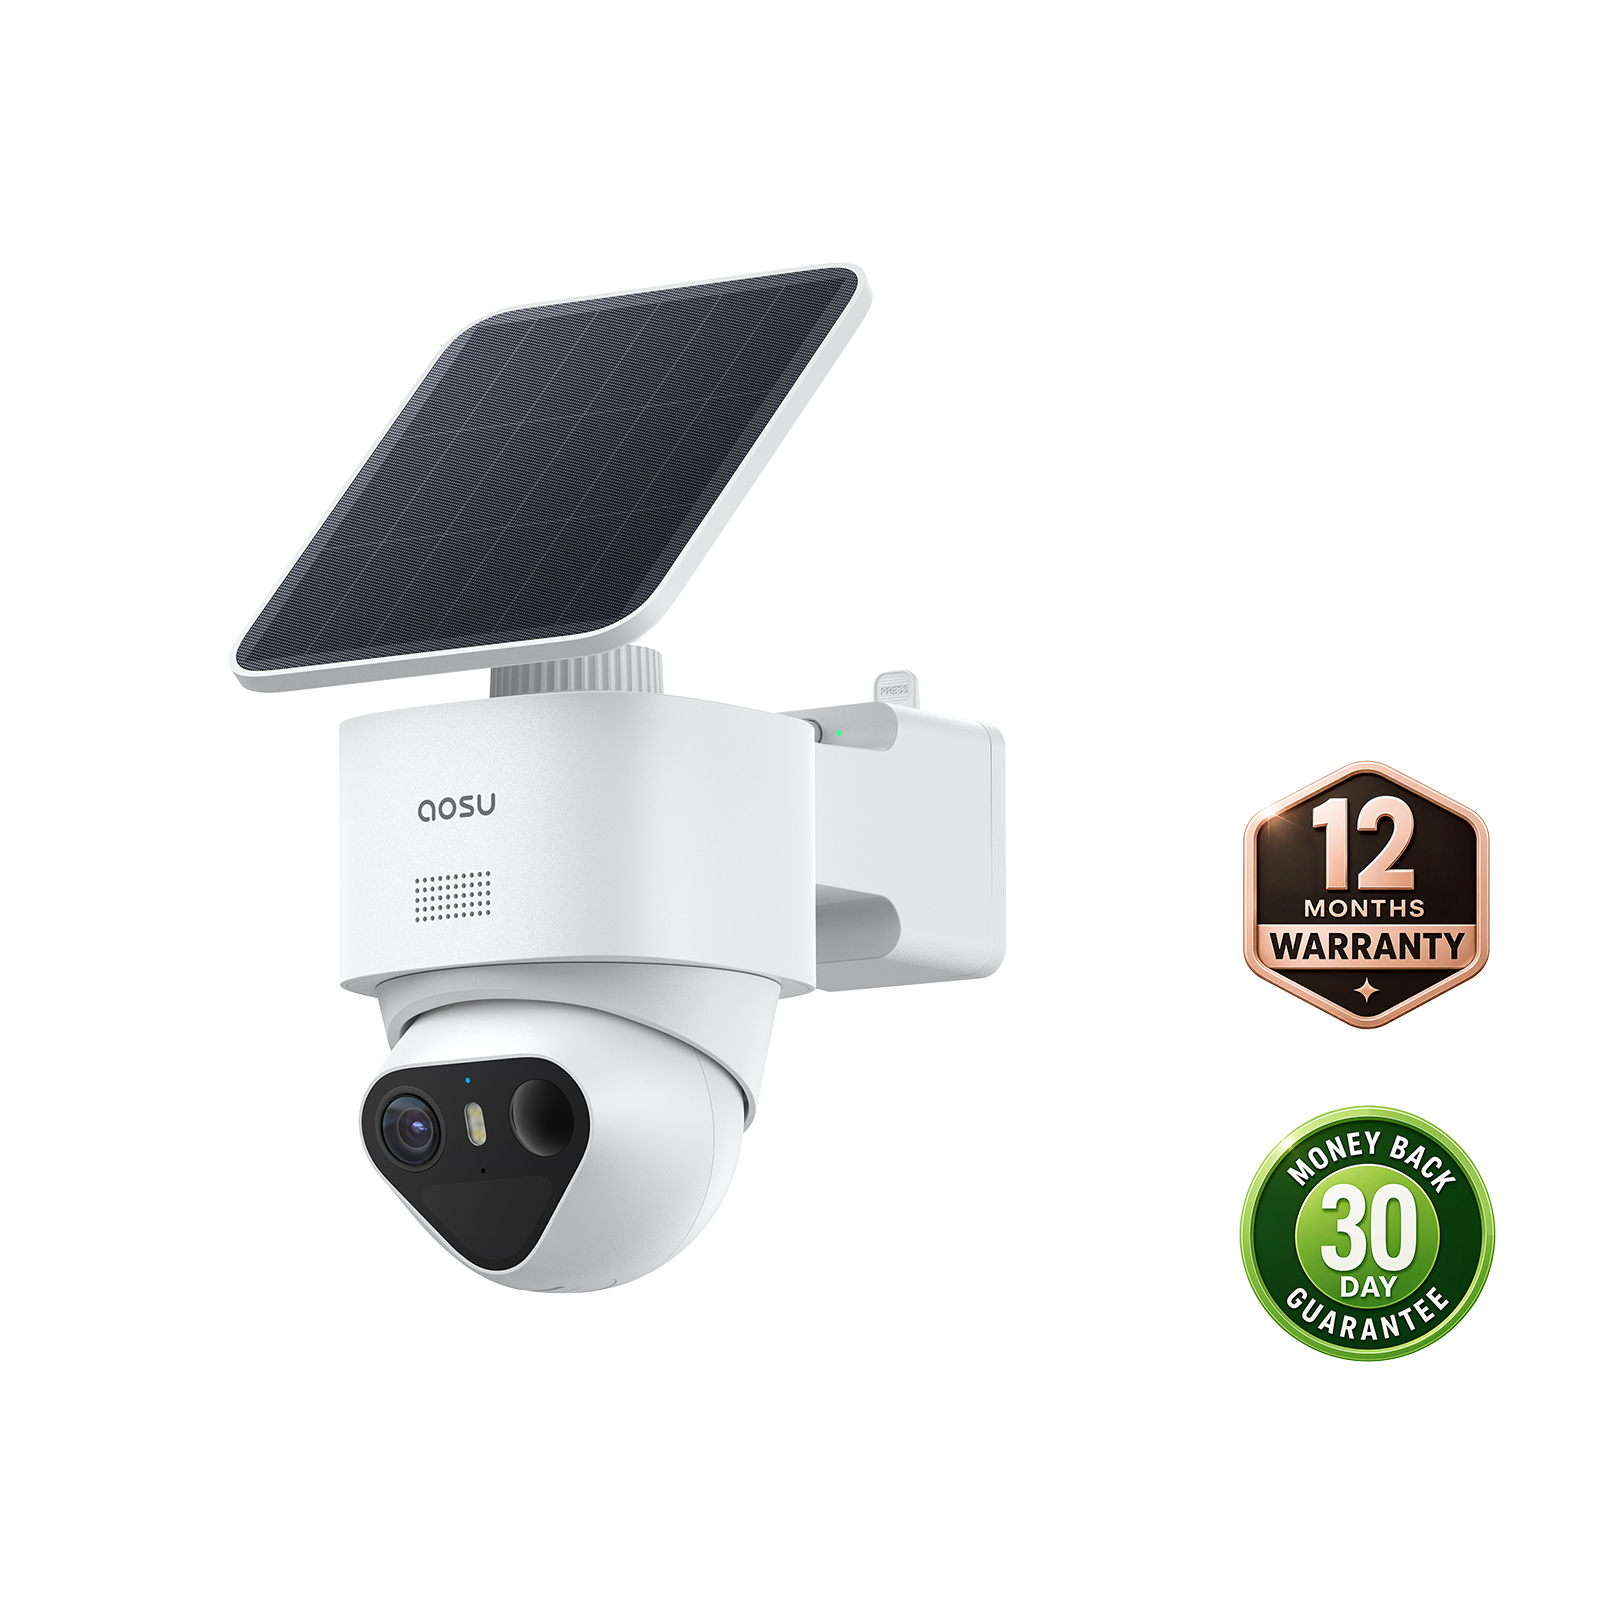
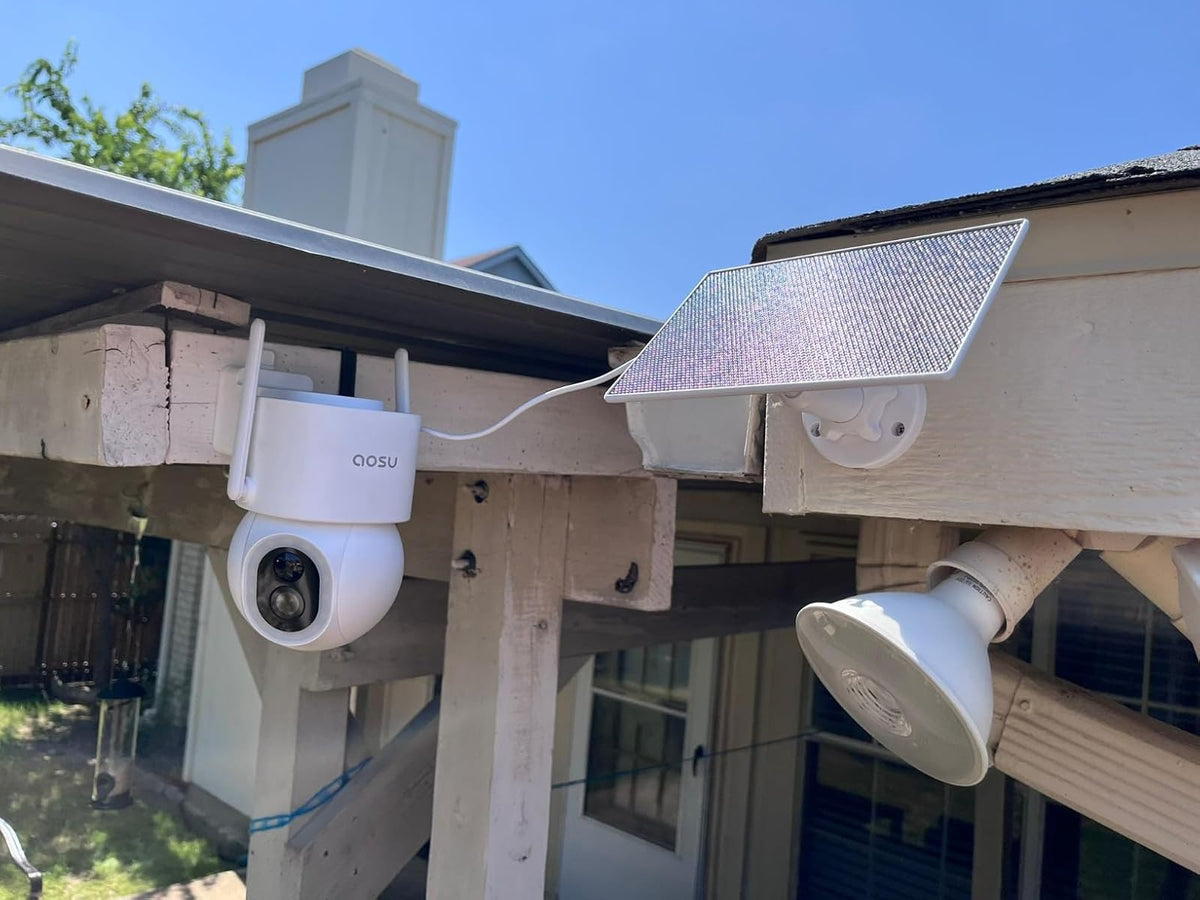
Treat the camera and solar panel as two connected parts with different placement needs. The camera needs a clear view of the driveway, gate or entrance. The panel needs direct sunlight. A detachable panel lets the camera sit under an eave while the panel mounts on a nearby sunny wall, as long as the supplied cable reaches and can be routed according to the installation instructions.
Before drilling, check the live view with the camera temporarily supported at the proposed height. Check the panel’s own position at several times of day. Confirm that the connector seats securely, the cable has a safe route and both mounts remain accessible for cleaning and adjustment.
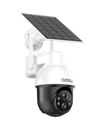
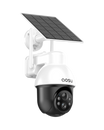
An integrated panel works when the required camera angle also gives the panel useful sun. If turning the lens toward the entrance points the panel into shade, use a compatible separate-panel arrangement or choose another power setup. Our camera-and-panel placement guide covers the detailed sightline, mounting and cable-route checks.

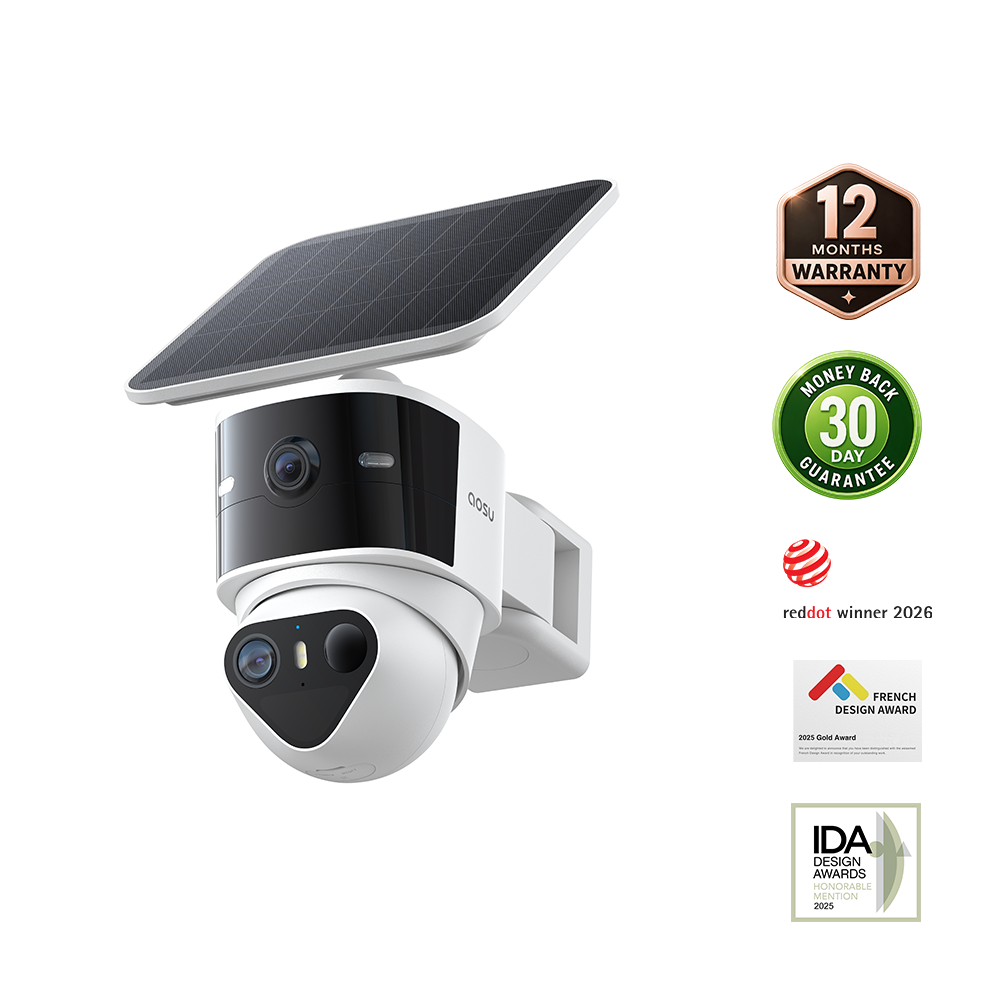
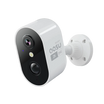
T2 Ultra shown with the solar panel attached to the camera (left) and mounted separately (right), allowing the panel position to be chosen independently of the camera view.
Related links:
· camera-and-panel placement guide
Plan for Shade Across the Day
Check the panel site in the morning, around midday and later in the afternoon. Look for shadows from the roofline, gutters, trees, fences and neighboring buildings. Take a photo from the same position at each check to compare when direct sun reaches the panel.
Repeat the check when seasons change. A branch that clears the panel in summer can shade it when the sun sits lower, and shorter winter days leave less time to replace the energy used overnight. Our direct-sun guide explains how to assess seasonal exposure.
One Saskatoon homeowner described their winter experience in r/homesecurity: “The partial shade camera stopped for two weeks in December because of short cloudy days.” If one camera loses charge while another at the same home stays stable, compare the shade at each panel and the activity each camera records. A sunny front wall and a tree-shaded side entrance need separate checks.
Related links:
· Read the original Reddit comment
Install and Run a First-Week Baseline Test
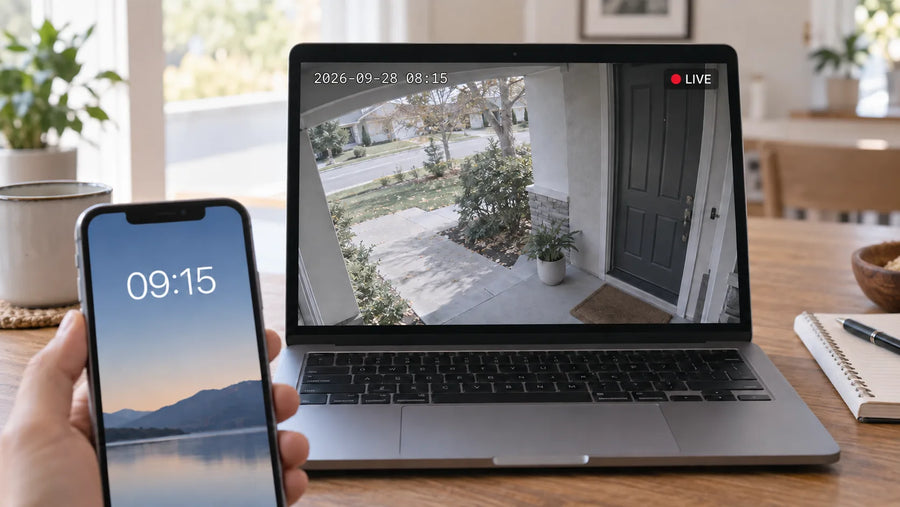
Charge the camera using the method specified for your model, note the displayed battery level, and finish the installation. Keep your normal recording settings for the first few days. At the same time each day, record the battery level exactly as shown—percentage, bars or a high/medium/low label—along with charging status, sun or shade, weather and camera activity.
For activity, a quick note such as “usual deliveries,” “cars triggering clips all afternoon” or “long live-view session” is enough. Include event counts when available, and note changes to clip length, night lighting or detection settings. The record should help explain a change in battery level without becoming a separate daily chore.
Compare readings taken at the same time each day. A reading after a sunny afternoon and one before sunrise reflect different parts of the charging cycle. Use the first week to look for a sustained decline or recovery, then keep checking if the weather or household activity was unusual.
The illustrative log below uses a four-bar battery display. Record the number of filled bars out of the total shown on your own camera. Bars give a broad estimate: an unchanged icon can hide a smaller rise or fall, and one bar should not be converted into a fixed percentage unless the manufacturer defines it that way.
| Day · same check time | Battery display | Panel and weather | Camera activity | Action / observation |
|---|---|---|---|---|
| Mon · 7 p.m. | 4 of 4 bars | Clear; panel gets direct sun | Usual arrivals and deliveries | Initial reading |
| Tue · 7 p.m. | 4 of 4 bars | Clear; similar sun | Usual activity | No visible change |
| Wed · 7 p.m. | 3 of 4 bars | Cloudy | Usual activity | First visible drop; keep checking |
| Thu · 7 p.m. | 3 of 4 bars | Clear | Frequent clips of passing cars | Review what is triggering recordings |
| Fri · 7 p.m. | 2 of 4 bars | Clear | Frequent road-triggered clips | Narrow detection zone after this reading |
| Sat · 7 p.m. | 2 of 4 bars | Mixed sun | Fewer road-triggered clips | Check that visitors are still recorded |
| Sun · 7 p.m. | 2 of 4 bars | Clear | Usual arrivals and deliveries | Continue logging; recovery is not yet visible |
What the Example Shows
The display falls from four bars to two over several days, including clear weather. Frequent recordings of passing cars give the homeowner a specific setting to test. After narrowing the detection zone, fewer unwanted clips show that the recording load has changed. The unchanged two-bar reading over the weekend is too coarse to establish recovery; continue checking through more comparable days.
If the battery display approaches empty or a low-battery warning appears, use the model’s supported charging method and investigate promptly. You do not need to wait for the log to finish. Note any manual charge in the record so the later increase is not attributed to solar input.
Why the Battery Keeps Dropping
A sustained fall in displayed battery level points to the camera using stored energy faster than the panel replaces it. Compare clear days with cloudy days, then compare ordinary activity with unusually busy periods. With a percentage display, look for a continuing trend rather than treating a one- or two-point movement as a diagnosis.
Change one factor, then log the next comparable days. Move a shadowed panel, secure a loose connection or shorten unnecessary recording time. If passing cars trigger clips all afternoon, narrow the supported detection zone and check that those recordings decrease while visitors are still captured. A notification-only filter will not reduce recording load if the camera keeps recording the same events.
For detailed connector checks, supported wired charging tests and the evidence to send with a support request, follow our solar-camera charging guide.
| Symptom | Possible cause | How to verify | Adjustment | When support is needed |
|---|---|---|---|---|
| Charging appears, but the same-time battery trend falls | Solar input is lower than camera use | Compare panel sun, event count, clip settings, live view and night lighting across several days | Reduce avoidable activity or improve panel exposure; change one item at a time | The decline continues through normal use and suitable charging conditions |
| No charging indication in direct sun | Shade at that time, loose connection, obstructed panel or charging fault | Inspect the panel surface and supported connections; compare with a known sunny period | Clear the obstruction and reseat the connection as instructed for the model | The panel, cable or connector is damaged, or charging still does not begin |
| Battery drops overnight and recovers later | Normal night use followed by daytime charging | Compare readings at the same time over several days | Continue observing if the display stays broadly stable over several days | The daily recovery stops despite suitable sun and normal activity |
| Battery falls mainly during cold periods | Charging is reduced or paused outside the model’s charging range | Check the model’s charging-temperature limit and compare the trend after conditions improve | Preserve reserve, reduce avoidable load, or use another supported power arrangement | The camera does not recover within its supported conditions |
| One camera falls while another at the same home stays stable | Different shade, panel angle or activity at the two sites | Compare each location’s photos, sun window and event log | Correct the weaker site instead of copying one setting across both | The failing unit behaves differently after the sites and settings are made comparable |
Related links:
When to Move the Panel or Change Power
Move the panel when the log shows repeated shade during the hours it could receive direct sun and a nearby position has clearer exposure. Adjust recording settings when clear days still bring frequent clips you do not need. Consider wired power or PoE when no practical panel site is available or you need continuous recording beyond the solar model’s supported capabilities.
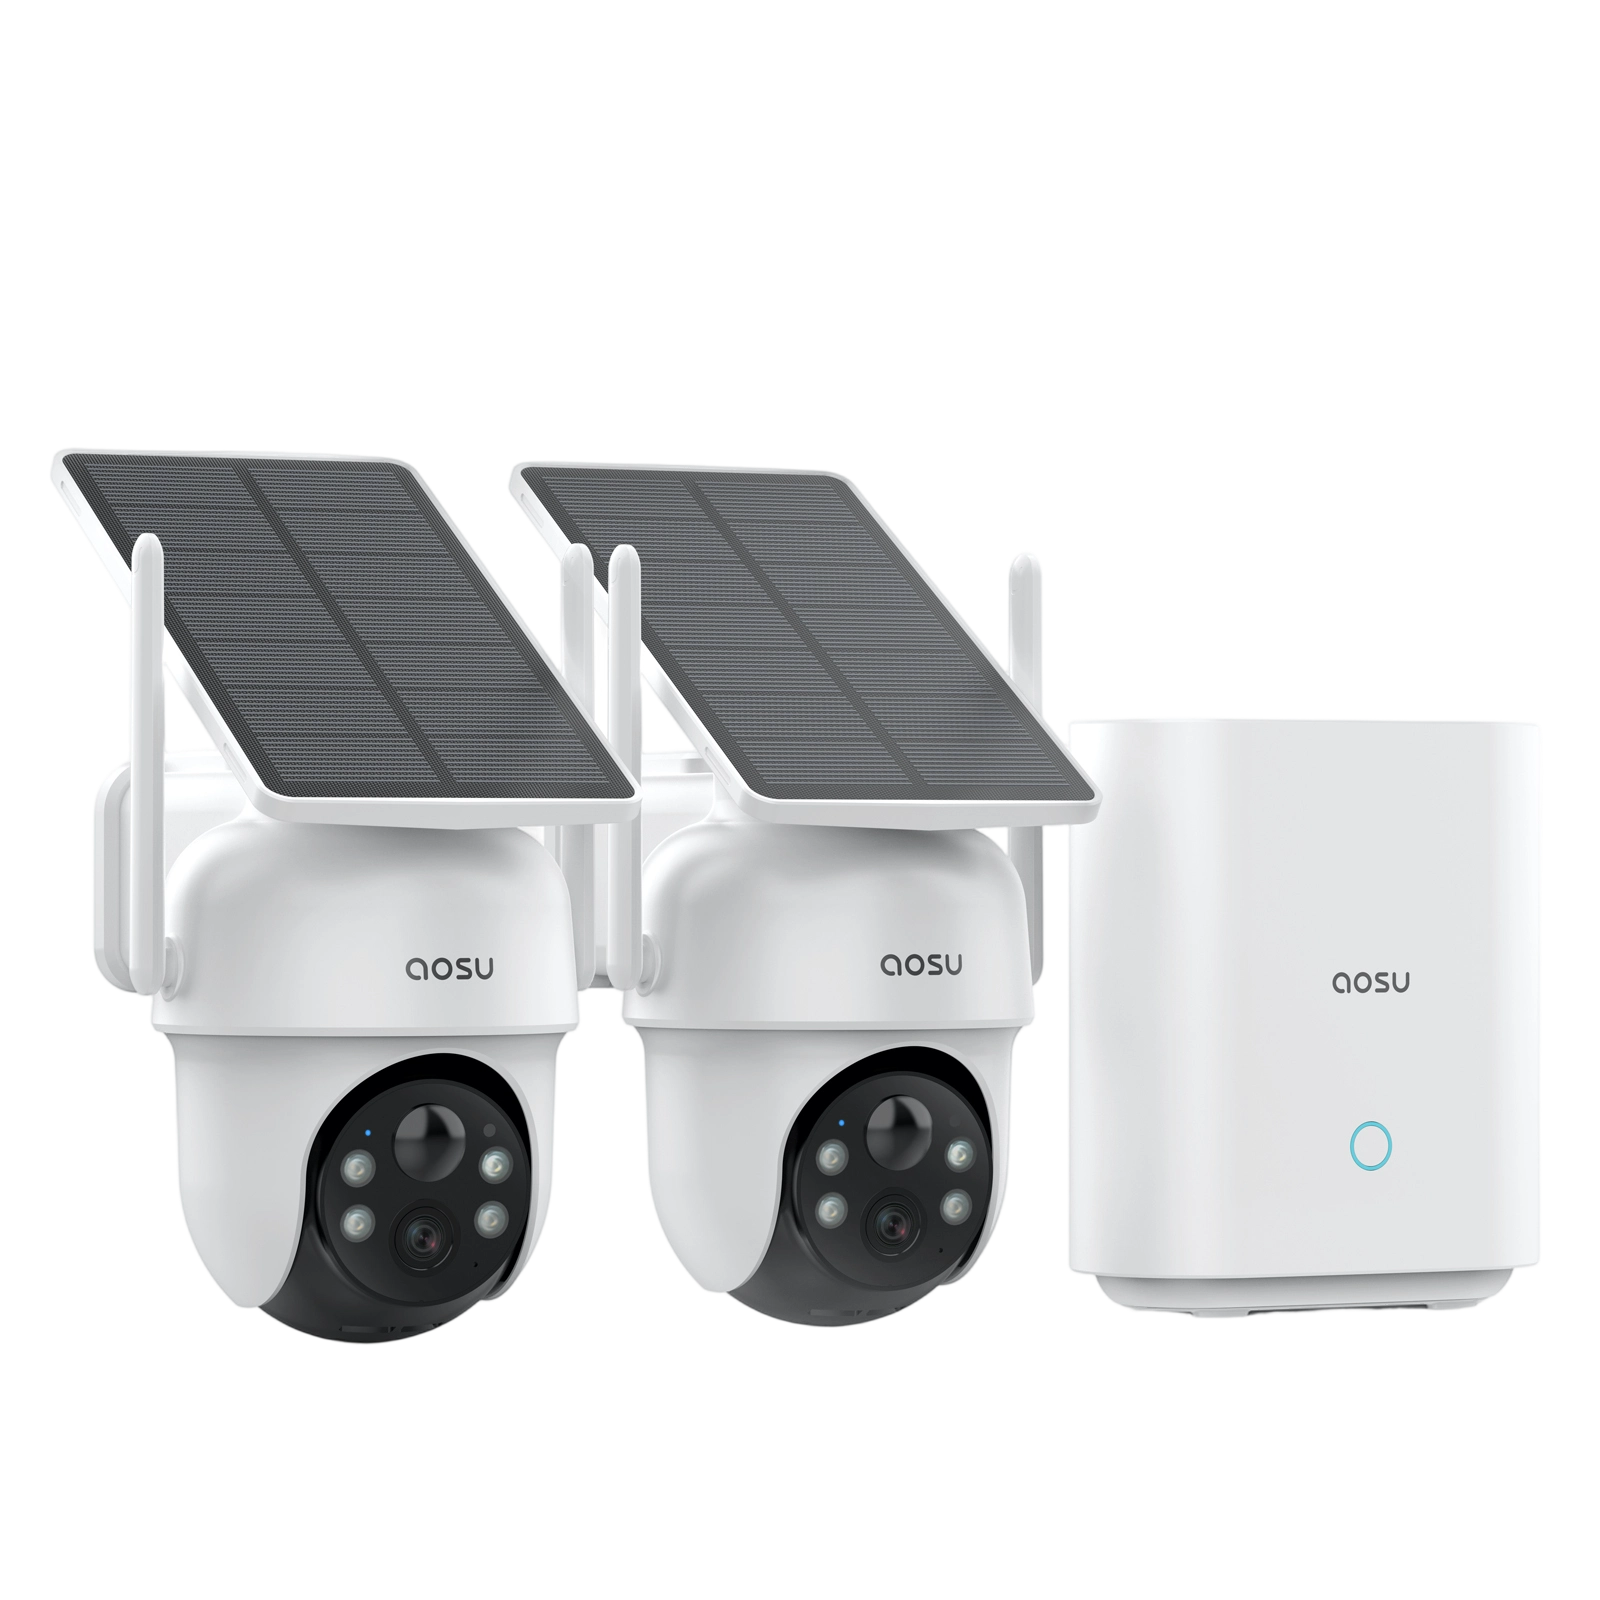
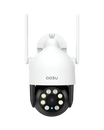
SolarCam T2 Pro is useful when the camera view and the sunny panel position do not line up. Its detachable panel supports integrated or split mounting, so the fixed overview and pan-and-tilt camera can cover a driveway or entrance while the panel uses a nearby sunny position. Confirm the supplied cable route and chosen base/storage configuration for the exact package before installation.
For T2 Pro, solar charging pauses below −5°C (23°F), and the camera uses stored battery power until charging conditions return. Note cold periods in the log and allow for battery use while charging is paused. Our winter solar-camera guide covers seasonal preparation in more detail.
After a panel move or setting change, repeat the same daily checks. Visible recovery across comparable days supports keeping the adjustment. With battery bars, allow longer to see whether the level holds or rises. If it keeps falling despite direct sun, supported temperatures and normal use, send the readings and installation photos to support.
Related links:
· solar-powered security camera collection
To Wrap Up
Position the camera for coverage and the panel for direct sun, then record the displayed battery level, charging conditions and activity at the same time each day. Compare the first week, adjust one factor and keep checking. Use visible trends to decide whether the panel needs a new position, the camera needs fewer unwanted recordings or the site needs another power supply.
For a camera with a detachable panel, explore our solar-powered security camera collection and check the mounting arrangement for your home.
FAQs
How long should I test a solar outdoor camera after installation?
Use the first seven days to compare battery level, sunlight and normal household activity at the same daily time. Continue longer if the camera shows only a few battery bars, the weather was unusual or the trend is still unclear. Investigate a low-battery warning promptly.
Why does the camera show charging while the battery level still falls?
The charging indicator shows that energy is entering at that moment. The battery can still fall across the day when recording, frequent wake-ups, live view, night lighting and other use consume more energy than the panel replaces.
When should I contact support about solar charging?
Contact support when the panel, cable or connector is damaged; charging does not begin under suitable supported conditions; or the battery keeps falling after you verify panel exposure, connections, temperature and normal activity. Send the same-time battery log and installation photos with the request.