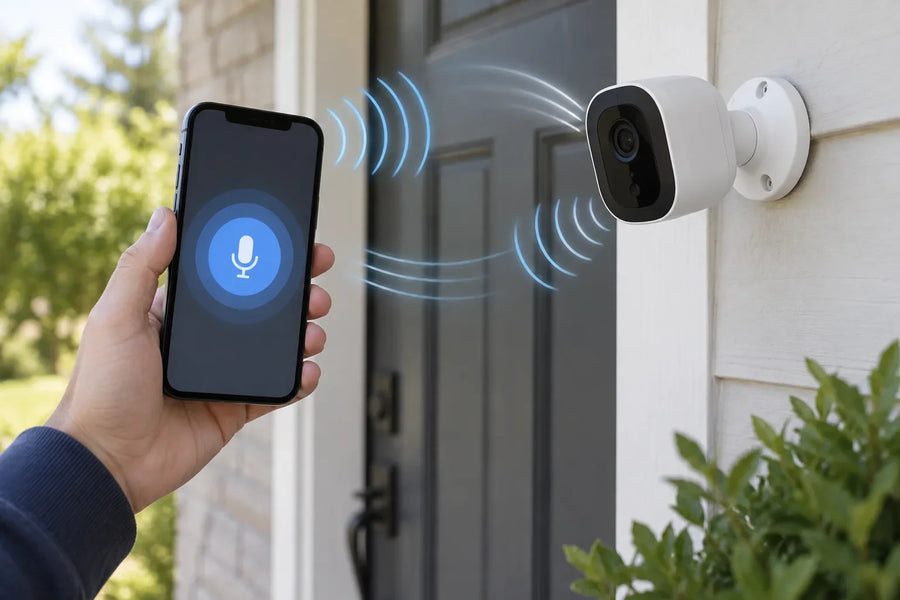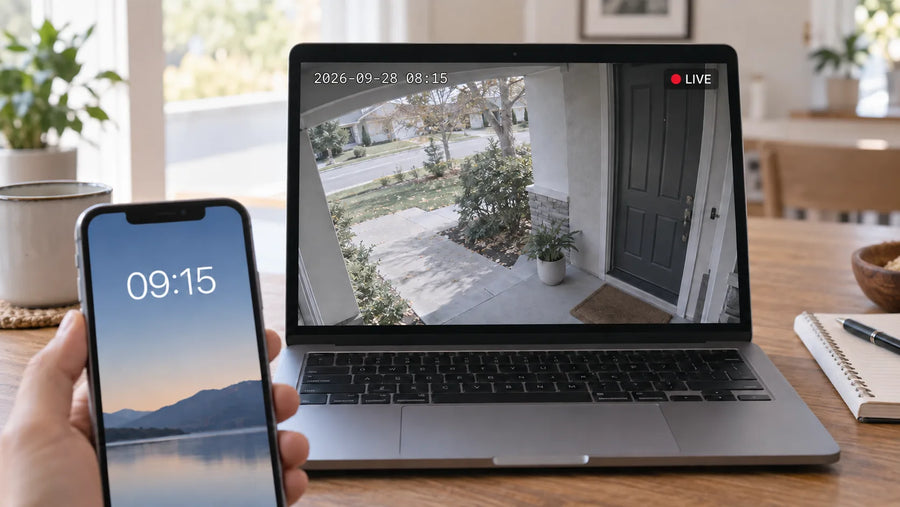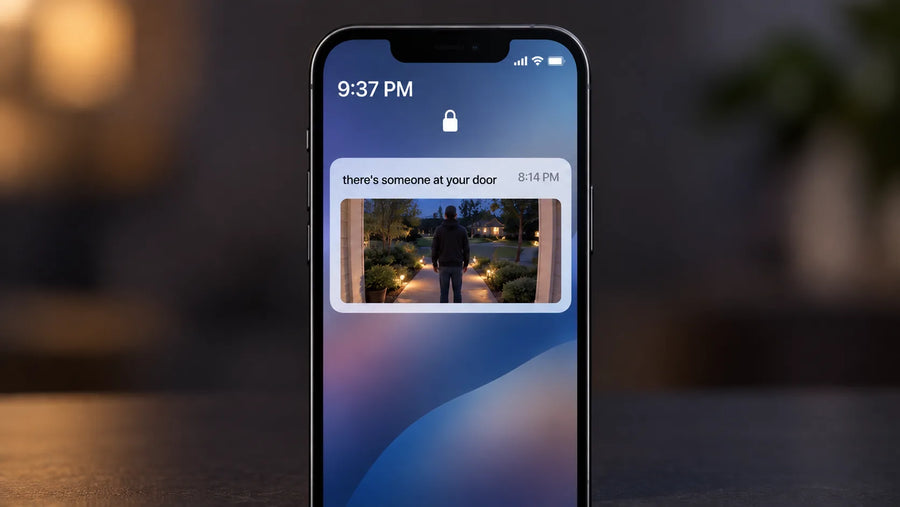



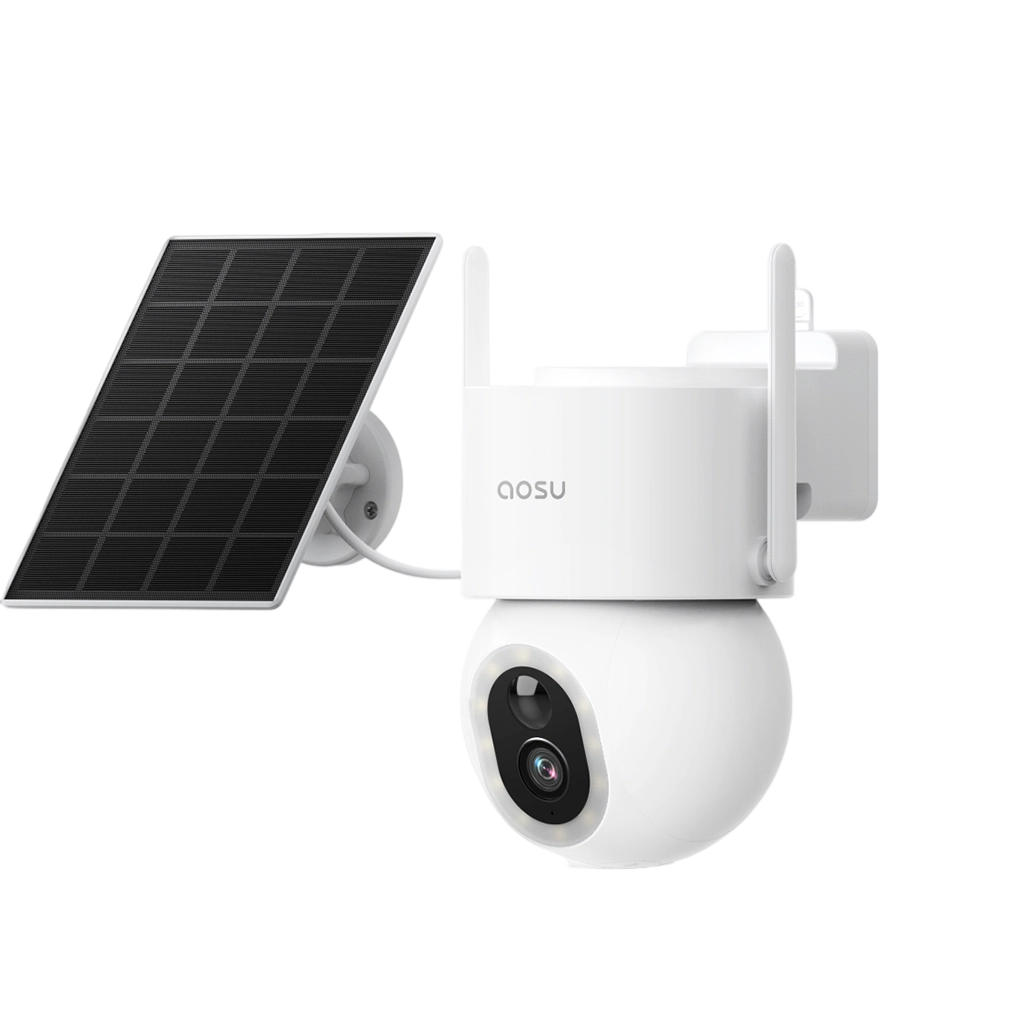
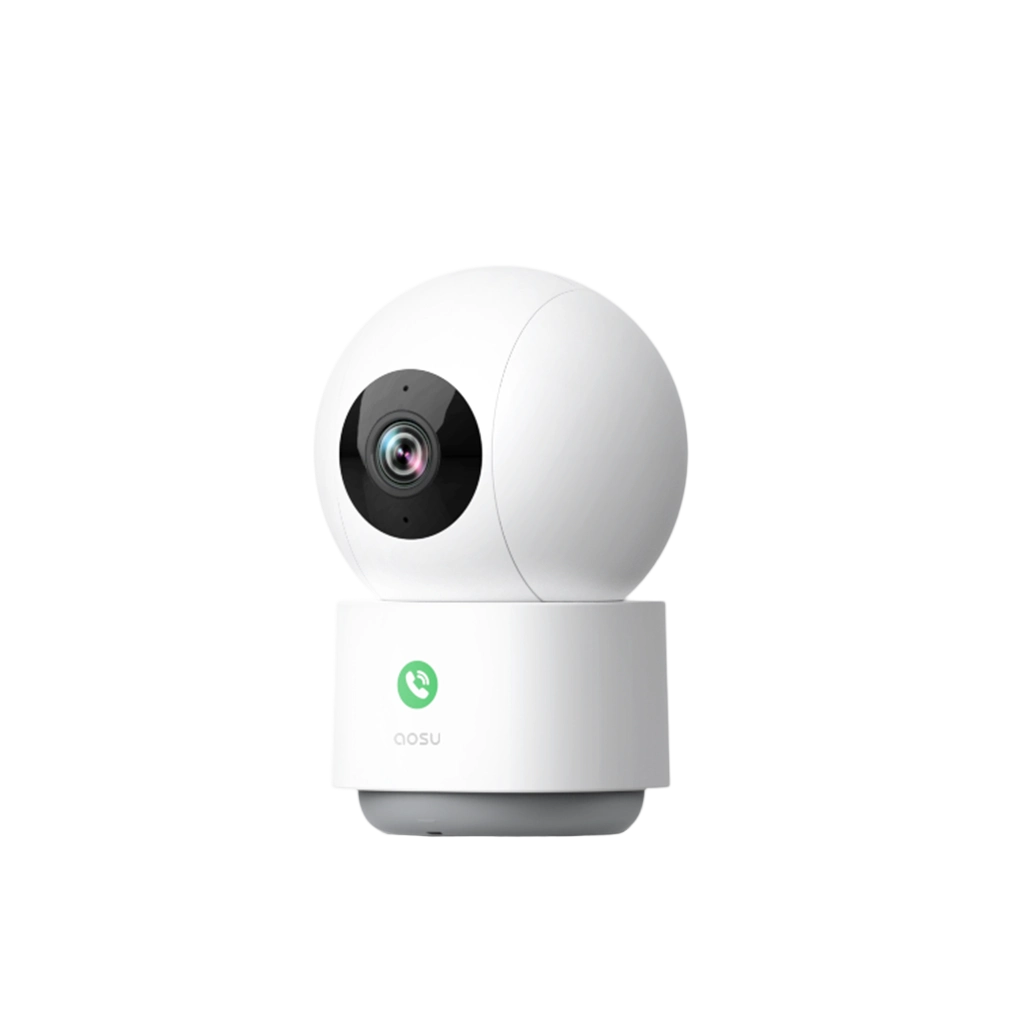


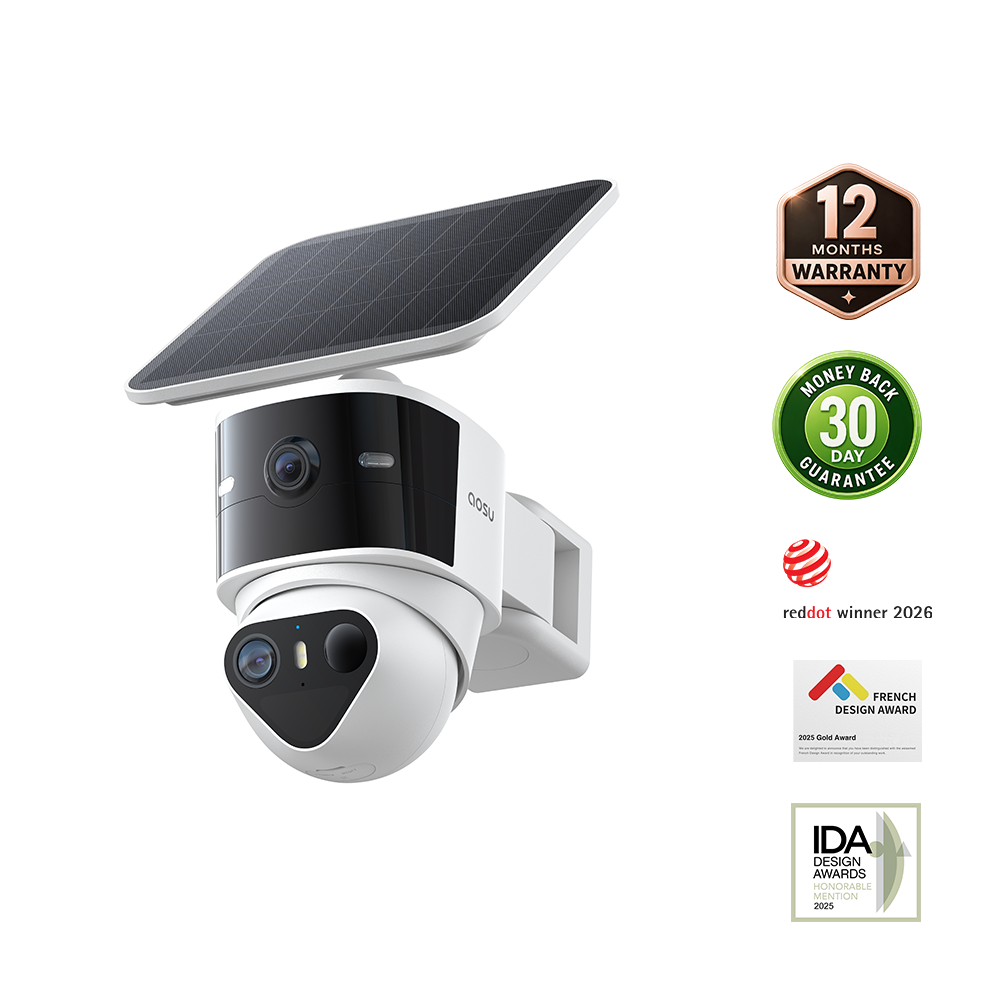



To find a specific event in security camera footage, start by choosing the camera most likely to have seen it, then search a short time window and verify the surrounding activity. A security camera app can make this faster with clips, filters, preview images, and playback tools, but the fastest route is still a focused search based on where and when the event happened.
Choose the Camera Most Likely to Show the Event
Start with the camera that had the clearest view of the event location. Do not begin by opening every camera in the system.
Use the event itself to narrow the choice. A delivery near the front door is more likely to appear on an entry camera than a backyard camera. A car arriving at the driveway may appear first on a driveway-facing camera, while activity at a side gate may be visible only from a side-yard angle.
If you are unsure, write down the location, direction of travel, and the last confirmed time the person, vehicle, or object was seen. Then choose one primary camera and one backup camera that covers the same route from another angle.
Choose Between Event Clips and the Playback Timeline
Event clips and the playback timeline serve different roles in a focused search. Use the table below to choose the best starting point.
| Start with | Best for | What to check next |
|---|---|---|
| Event clips | A doorbell press, person alert, or another known trigger | Filter by date, time, and available event type |
| Playback timeline | A longer visit, uncertain start time, or repeated activity | Review the period before and after the likely event |

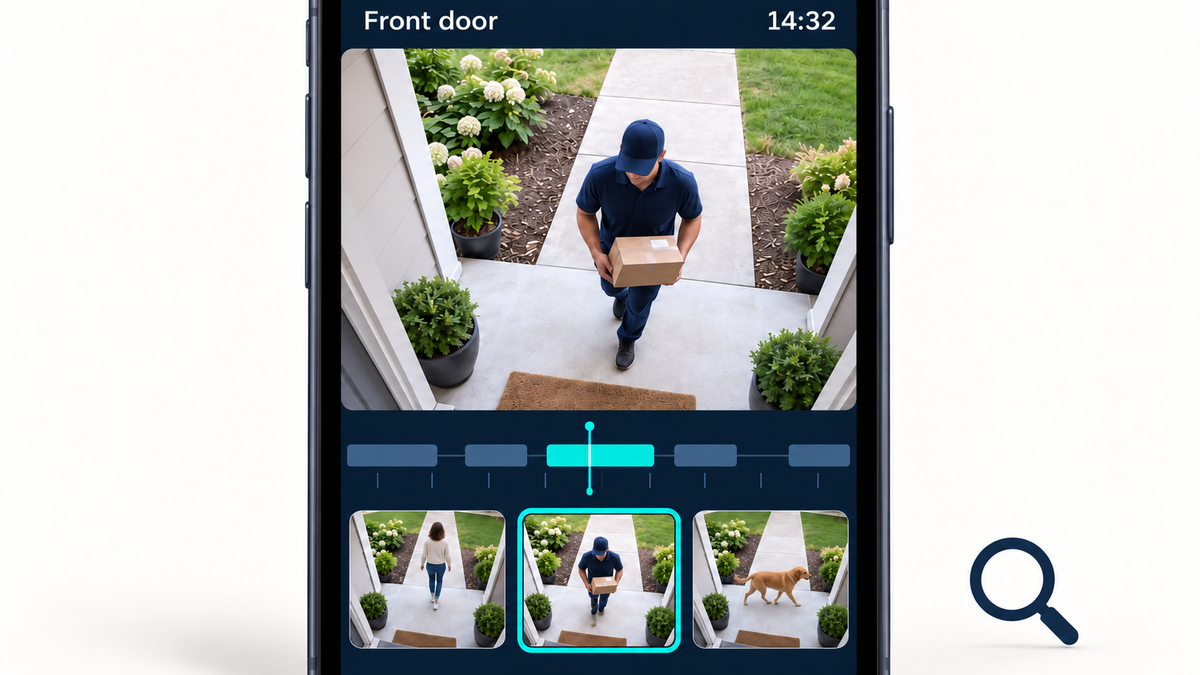
These two views answer different questions. Clips help you reach a likely moment quickly. The timeline helps you establish sequence and context. The timeline only contains footage the camera recorded; event-only recording can leave gaps between clips.
Use a Narrow Time Window to Search the Selected Camera
Begin with the smallest practical time range. A 10- or 15-minute window around a known delivery, arrival, or alarm is easier to review than an entire day of footage.
Build the window from a reliable reference point. You might use the time a neighbor called, the time a package notification arrived, the last time a vehicle was seen, or the first time someone noticed an item was missing. If the exact time is unknown, begin with a broader block, such as one hour, then narrow it after you find a related event.
Record the time zone and the source of the time before changing any camera settings. Changing a camera clock later may correct future recordings, but it does not rewrite a timestamp already embedded in an original clip.
Use Filters and Preview Images to Remove Unrelated Footage
Filters and preview images help you discard routine activity before opening full clips. Use them to reduce the search set, not as final proof of what happened.
Apply one useful filter first, such as the date, selected camera, or an available event category. Next, scan preview images for the expected person, vehicle, package area, or direction of travel. If the event is not visible, remove one filter or expand the time window rather than assuming the camera missed it.
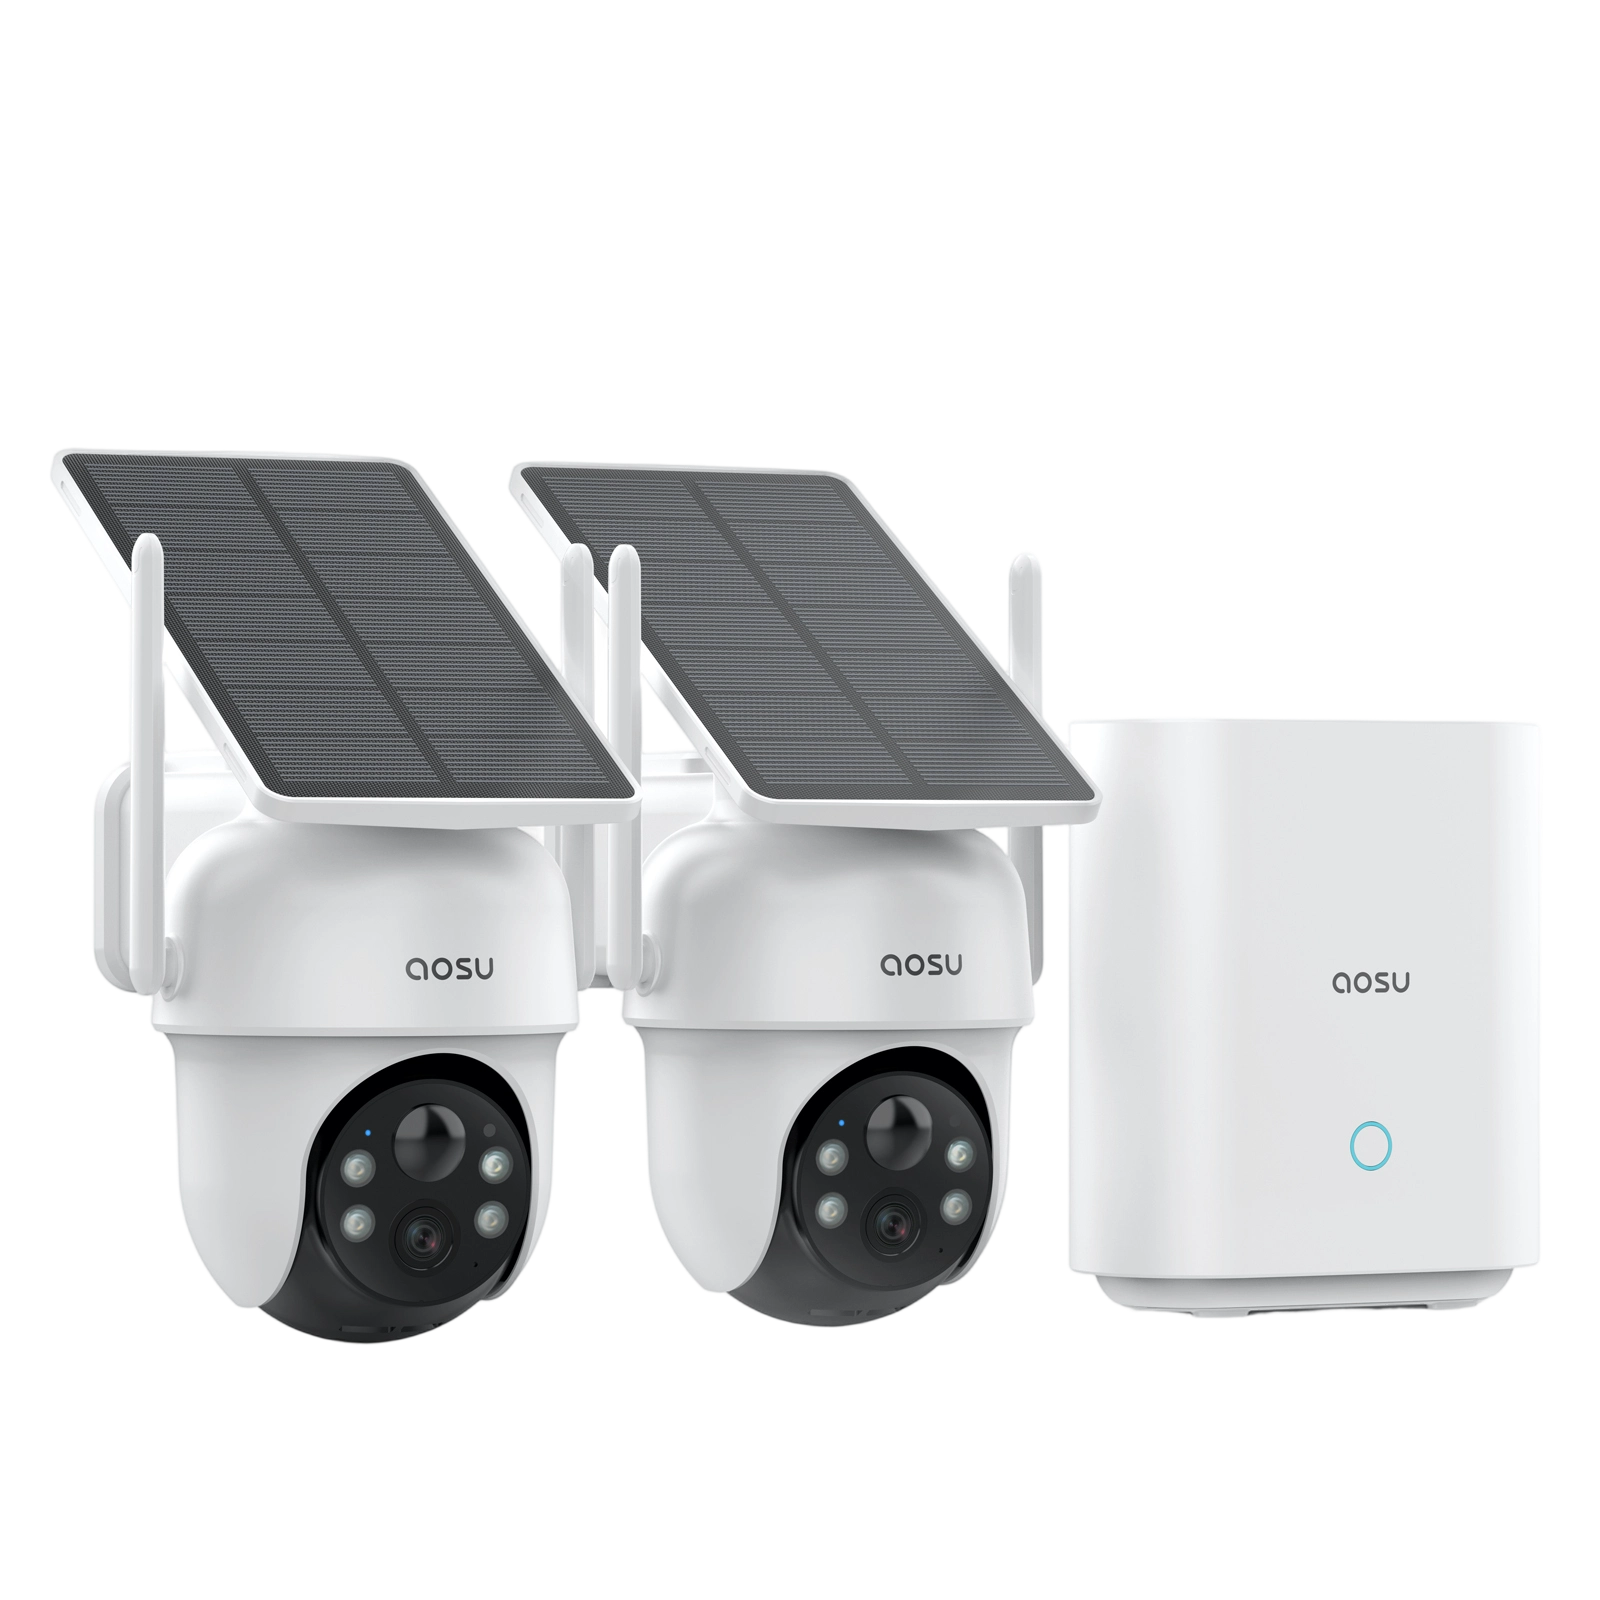
For homes that need to review activity across several outdoor areas, our home security systems can provide a practical way to organize coverage by entry, driveway, or yard. The final search process should still begin with the camera most likely to show the event.
Confirm the Event by Checking What Happened Before and After
A likely clip is not enough to verify the event. Use the steps below to confirm the sequence and preserve the original footage.
Use this confirmation sequence:
- Watch the likely event at normal speed.
- Rewind to see how the person, vehicle, or object entered the scene.
- Move forward to see what happened next.
- Compare the time and direction of travel with the backup camera if one is available.
- Download an unedited copy of the clip before sharing it or changing camera settings.

Treat each clip as part of a sequence until the timeline and nearby footage show otherwise.
Find Specific Security Camera Footage With a More Focused Search
Finding specific footage is usually a matter of reducing uncertainty in the right order: location, camera, time window, event type, and surrounding context. Do not let filters replace a full check of the key moment.
The next time you need outdoor security camera footage, begin with the camera that covers the route, search a short time window, and confirm the event from the footage before and after it. Save the original available clip once you have verified the match.
FAQs
Q1: Can You Search Multiple Cameras at Once?
It depends on the camera app and system. Some setups show events from more than one camera in a shared view, while others require you to check each camera separately. Start with the primary camera, then use a second camera to confirm the same route or time window.
Q2: What Should You Do if You Know the Date but Not the Exact Time?
Use another time reference, such as a doorbell press, message, delivery notice, or the last known sighting of the person or vehicle. If no reference is available, divide the day into smaller blocks and note each time window you have already checked.
Q3: Can One Continuous Event Be Saved as More Than One Clip?
Yes. A longer visit can appear as several clips when motion stops and starts, the camera creates separate event segments, or the recording mode divides the activity. Review the timeline and the clips immediately before and after the event to reconstruct the full sequence.
Q4: Why Might an Event Be Listed Under a Different Detection Category Than Expected?
Event categories depend on the camera's available detection settings and how the activity was classified at the time. A person, vehicle, general motion, or another available category may not always match the label you expected. Review the clip and the current detection settings before treating the category as a final description.
Q5: Can a Recorded Event Appear Without a Preview Image?
Yes. A preview image may be unavailable because of an app loading issue, a connection interruption, a camera setting, or the way that event was stored. Open the event or the nearby timeline first, then check whether the underlying clip is available before assuming the recording is missing.