


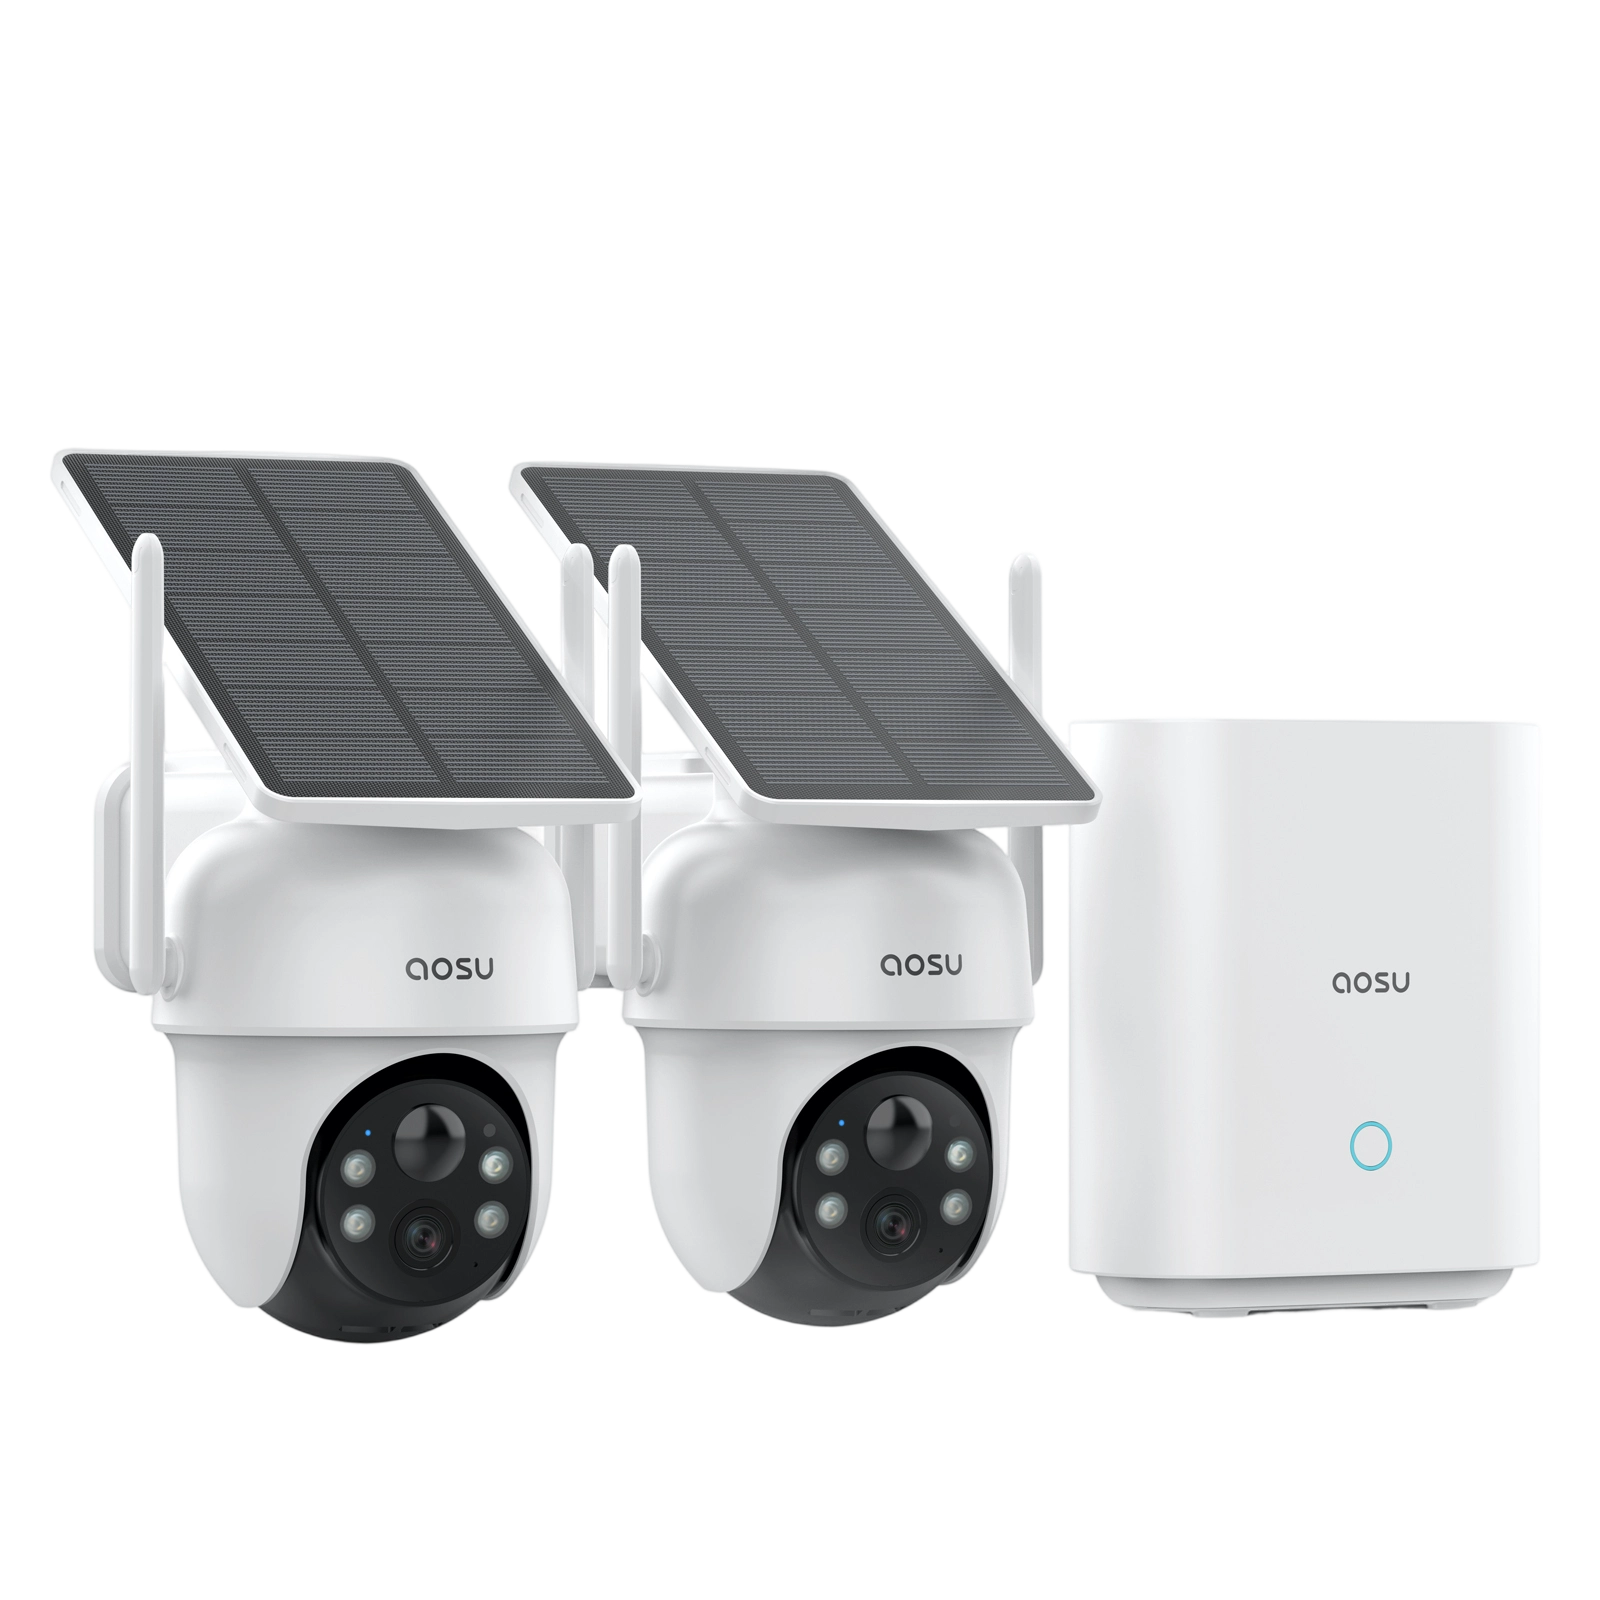
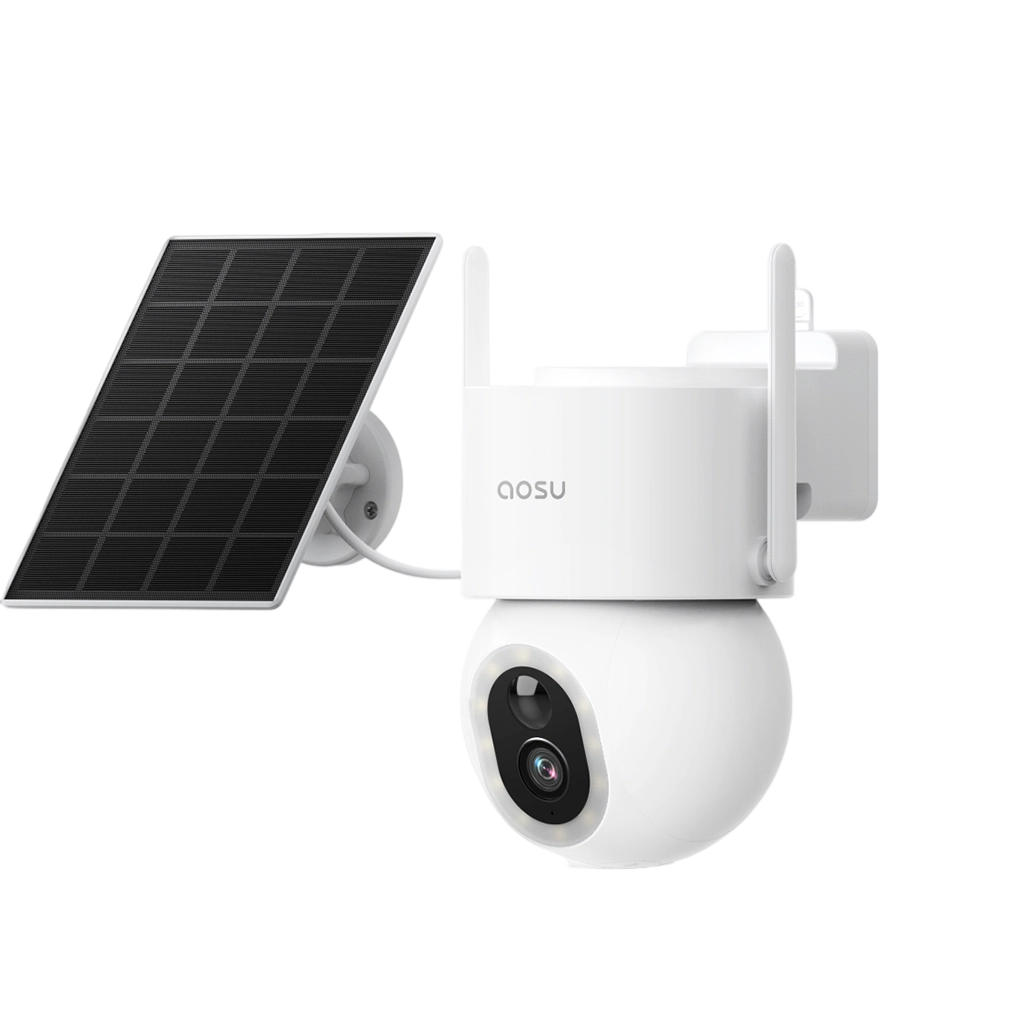
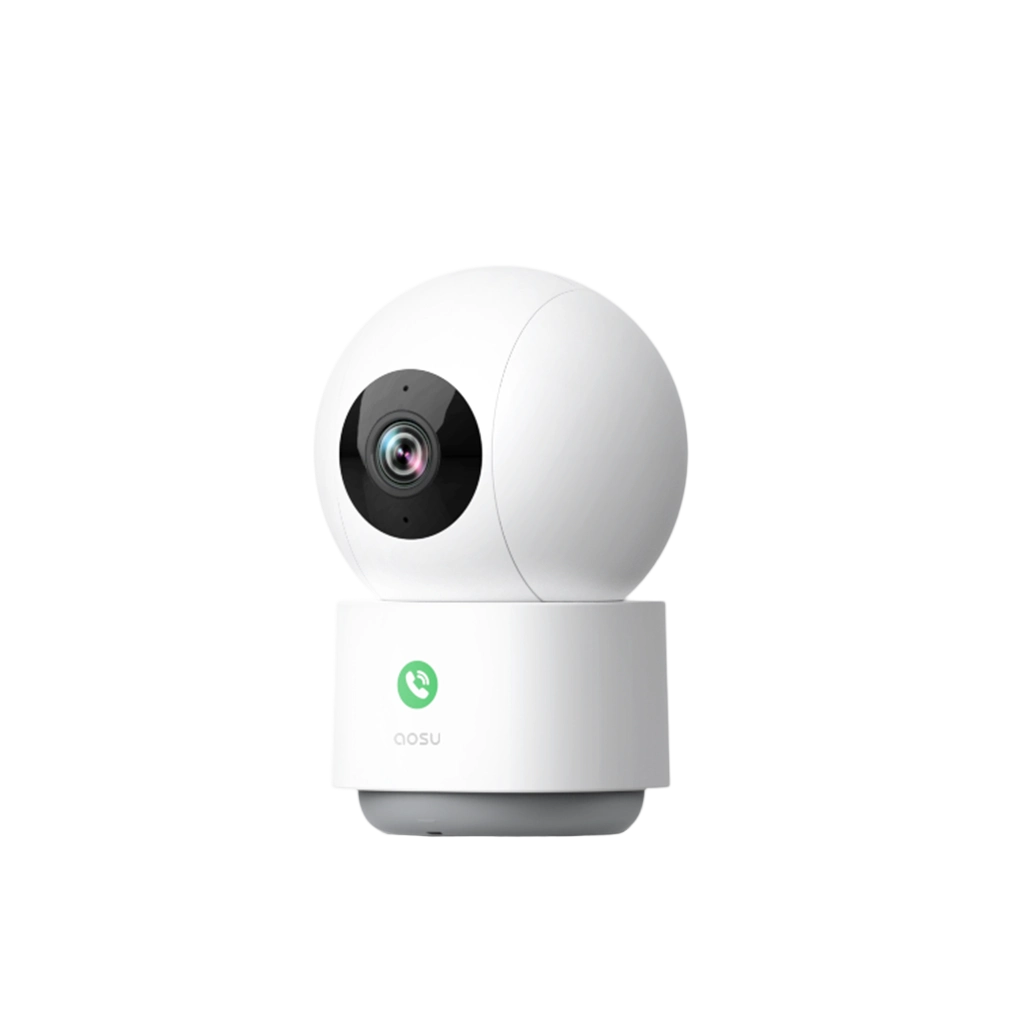


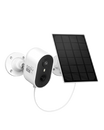
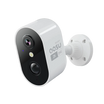
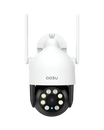
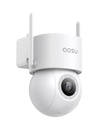

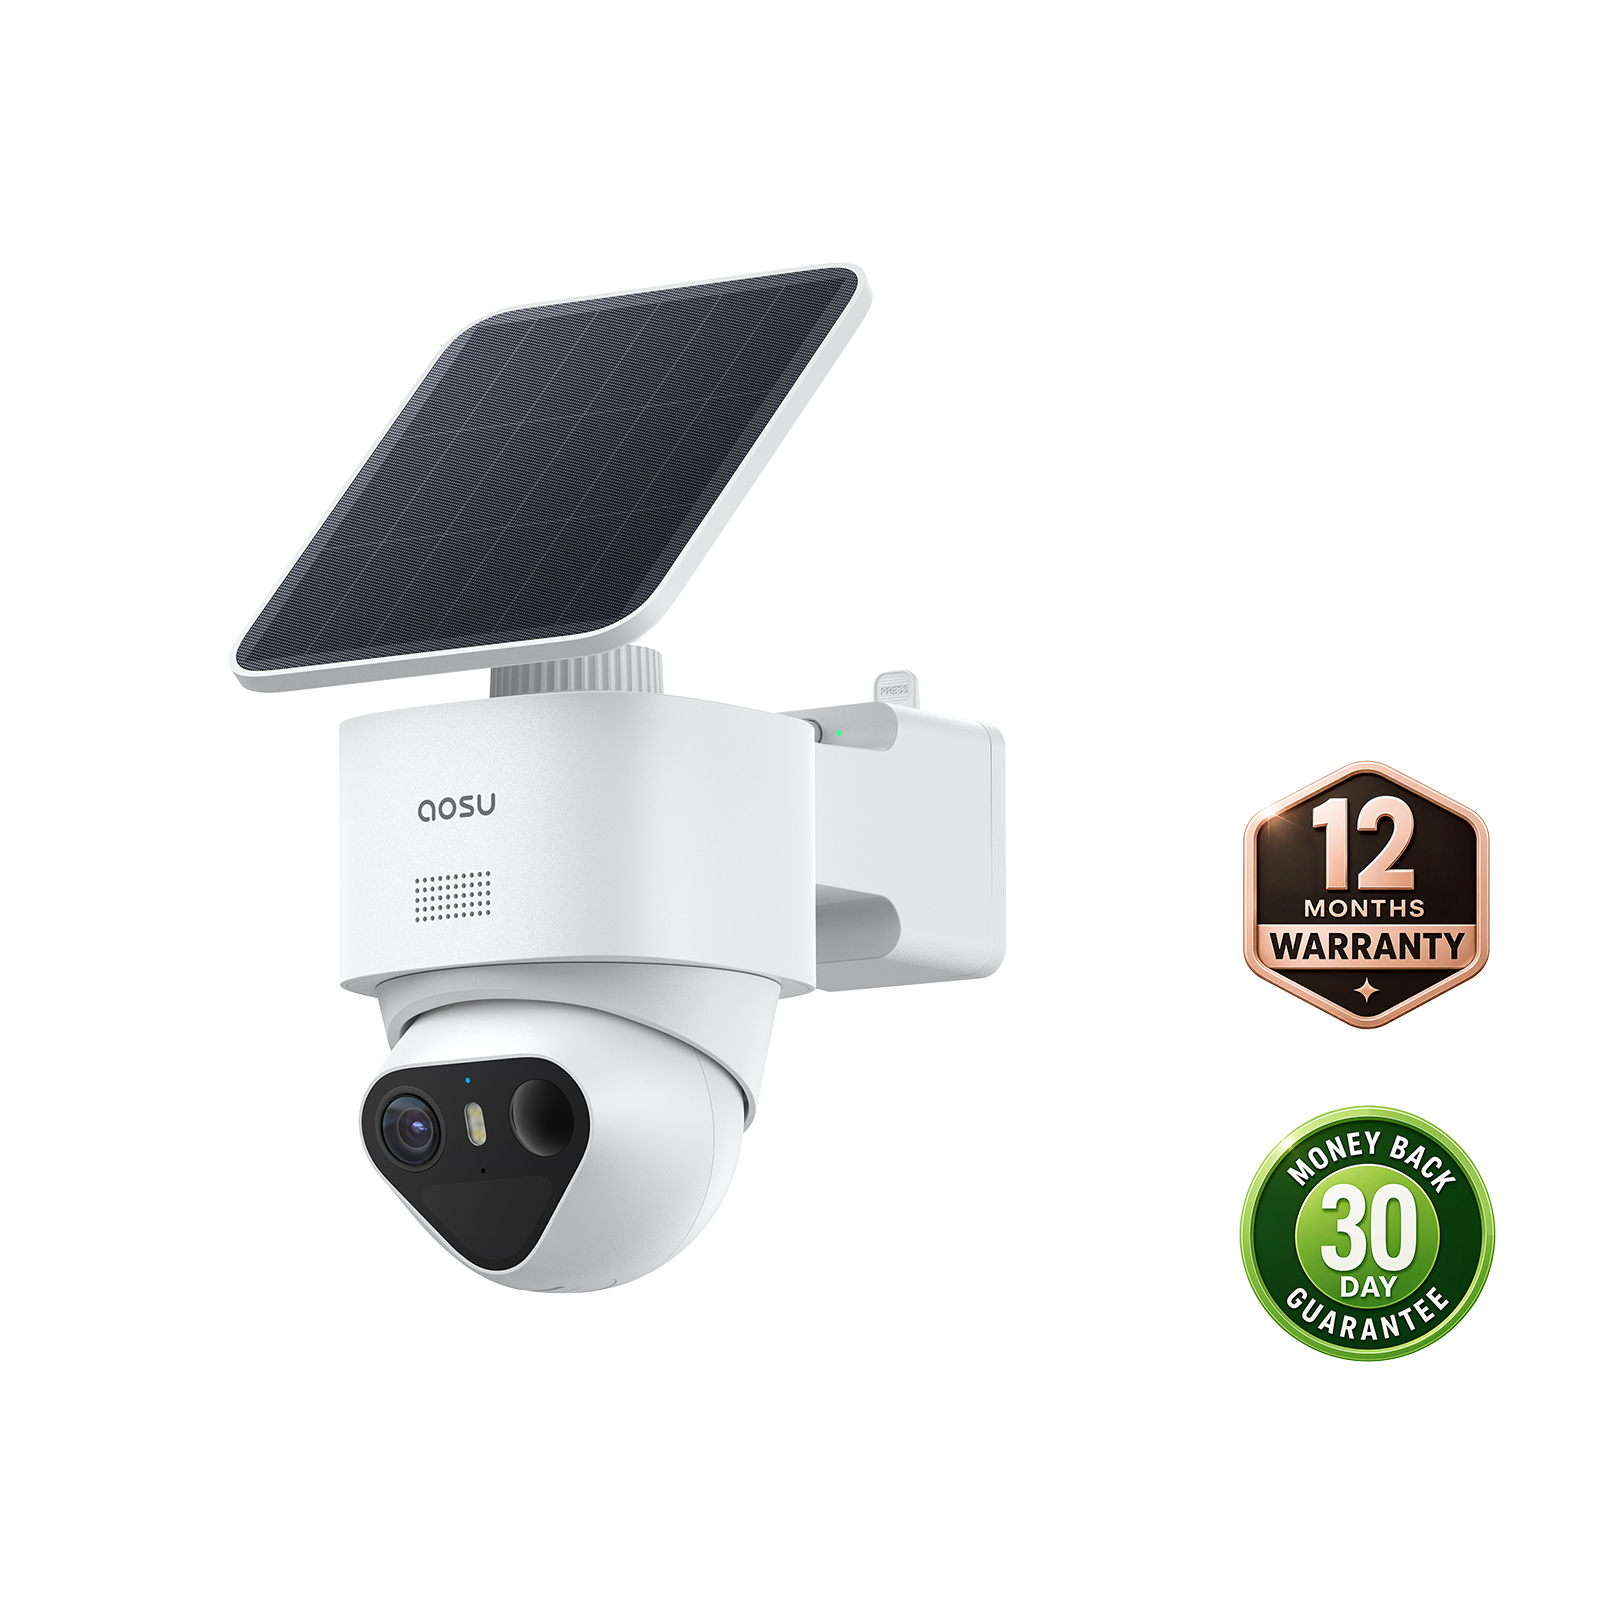

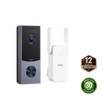


A dependable wood installation requires verified supporting timber and fixings suited to the bracket and exposure. Do not assume every wooden finish can hold the camera or that supplied screws suit every installation.
This guide walks through how to install a security camera on wood securely, what tools you need, and what mistakes to avoid so your camera stays stable over time.
What You'll Need
Before you start, gather the right tools:
- Drill or electric screwdriver and the specified driver bit
- Level and pencil or marker
- Safety glasses and task-appropriate protection
- Screws specified for the bracket, supporting wood and exposure
- The required pilot-hole bit, where specified
- A method to verify supporting material and concealed services
- Compatible weather-sealing materials where required
Check supplied screws against the installation requirements; do not assume they suit every wooden surface.

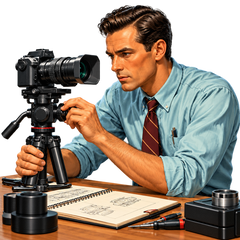
Illustrative tools only. Select the actual fastener, pilot-hole equipment and weather-protection materials from the applicable product instructions.
Step 1: Choose the Right Location
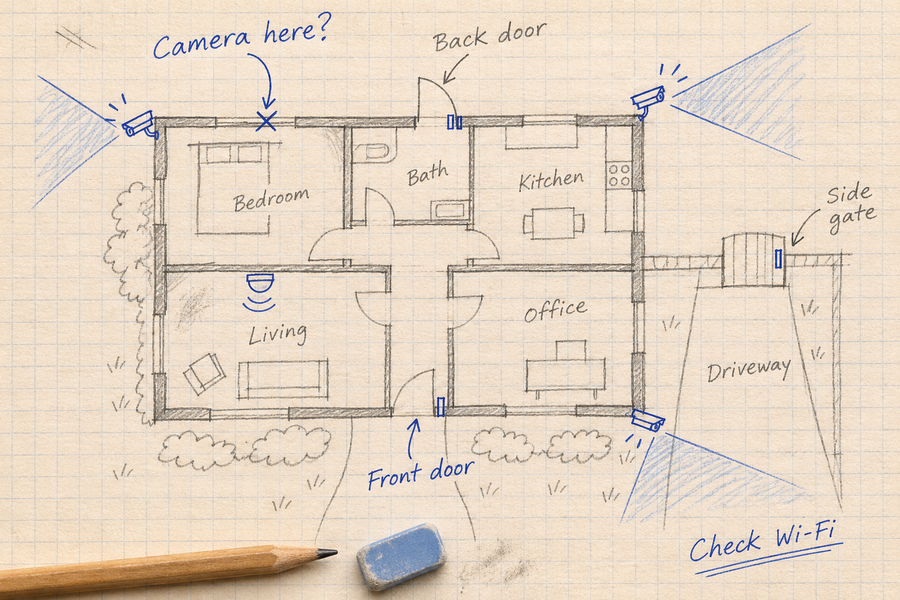
Before mounting the camera, make sure the spot gives you the coverage you want.
Look for:
- A clear view of the area you want to monitor
- A mounting height of around 7–10 feet
- A location with reliable Wi-Fi or wiring access
- Solid wood that feels stable and not rotted or split
Avoid:
- Mounting near bright lights
- Aiming directly into the sun
- Weak, damaged, or decaying wood
- Spots blocked by beams, trim, or decorations
Consider having someone hold the camera in place while you check the view through your app or monitor to ensure it meets your expectations before installing.
Step 2: Check the Wood Surface
Identify the material that will actually hold the screws. Thin siding, fascia or decorative trim should not be assumed capable of supporting the camera.
Confirm sound wood, sufficient thickness and the fixing manufacturer’s embedment and edge-distance requirements. Account for the bracket and any non-supporting layers: screw length is not the same as effective thread engagement in supporting wood.
Select corrosion resistance for the outdoor exposure, wood treatment and bracket material. Do not assume a generic zinc-coated screw suits all treated timber or coastal conditions.
Check the proposed screw path for concealed cables and pipes. If the supporting construction or fixing requirements are uncertain, seek qualified help before drilling.

Illustrative surface check, not proof of supporting structure, thickness or fixing suitability at another property.
Step 3: Mark the Drill Holes
Hold the camera in the position where you want it installed, using a level if needed. Mark the screw positions through the holes in the mount.
Note: aosu cameras come with a placement sticker that can be used instead.
Step 4: Follow the Screw’s Pilot-Hole Requirements
Check the selected screw’s instructions for the wood type, pilot-hole diameter, depth and edge distances. Dense timber, small edge distances and some screw designs require particular preparation.
Where a pilot hole is required, use the specified bit and depth control. Do not choose a bit merely because it looks slightly smaller than the screw’s outer diameter.
A screw described as suitable for installation without pre-drilling is not automatically suitable for every wood, bracket or fixing position.
Step 5: Complete the Required Weather-Sealing Detail
Determine whether the fixing penetrates an exterior cladding or weather barrier. Follow the camera mount and building-product instructions for compatible gaskets, sealant, flashing or mounting blocks.
Do not assume that a bead around each screw hole is sufficient. Keep required drainage paths open, and do not use sealant to compensate for an uneven or unsupported bracket.
Complete the weather-protection arrangement in the specified sequence before final tightening. If that detail is unclear, obtain installer guidance.
Step 6: Secure the Bracket
Use the specified screw head, washers and tightening method. Seat the bracket without crushing the wood, distorting the mount or stripping the hole.
If a screw spins, the wood splits or the bracket moves, stop. Do not improvise with packing material or drive a larger screw without checking the fixing arrangement.

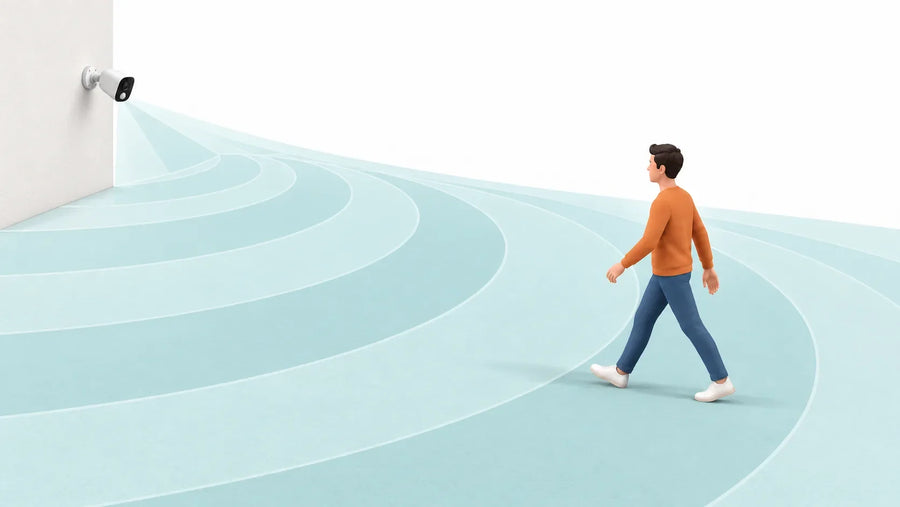
Installation illustration. The image does not establish the screw specification, effective engagement or weather-protection detail.
Step 7: Test the Completed Installation
Attach the camera and secure its adjustment points as instructed. Check bracket stability, cable routing, weather protection and maintenance access.
Test motion detection and saved footage in daylight and after dark. Recheck the mounting arrangement as directed by its manufacturer, and investigate movement, corrosion, cracking or water entry.

Common Mistakes to Avoid
- Mounting into weak or damaged wood → unstable installation
- Overtightening screws → stripped holes and reduced stability
- Mounting too low or too high → reduced effectiveness
To Wrap Up
A dependable wood installation needs sound support, suitable screws and the correct preparation for the specific fixing. Follow pilot-hole and weather-protection requirements rather than treating either as universally optional.
If the surface is thin cladding or its support is uncertain, return to the camera mounting-material guide before proceeding.
FAQs About Mounting a Security Camera on Wood
Do I need wall plugs in wood?
Suitable screws can fasten directly into verified supporting timber when the connection meets the fixing requirements. Thin trim or cladding needs a different assessment.
Can installation cause lasting damage?
Yes. Splitting, stripped holes, corrosion or water entry can require repair. After removal, restore the finish and any affected weather barrier using the appropriate method.
Is wood always the best mounting surface?
No. Choose a location that provides useful coverage and a verified support and fixing arrangement.