


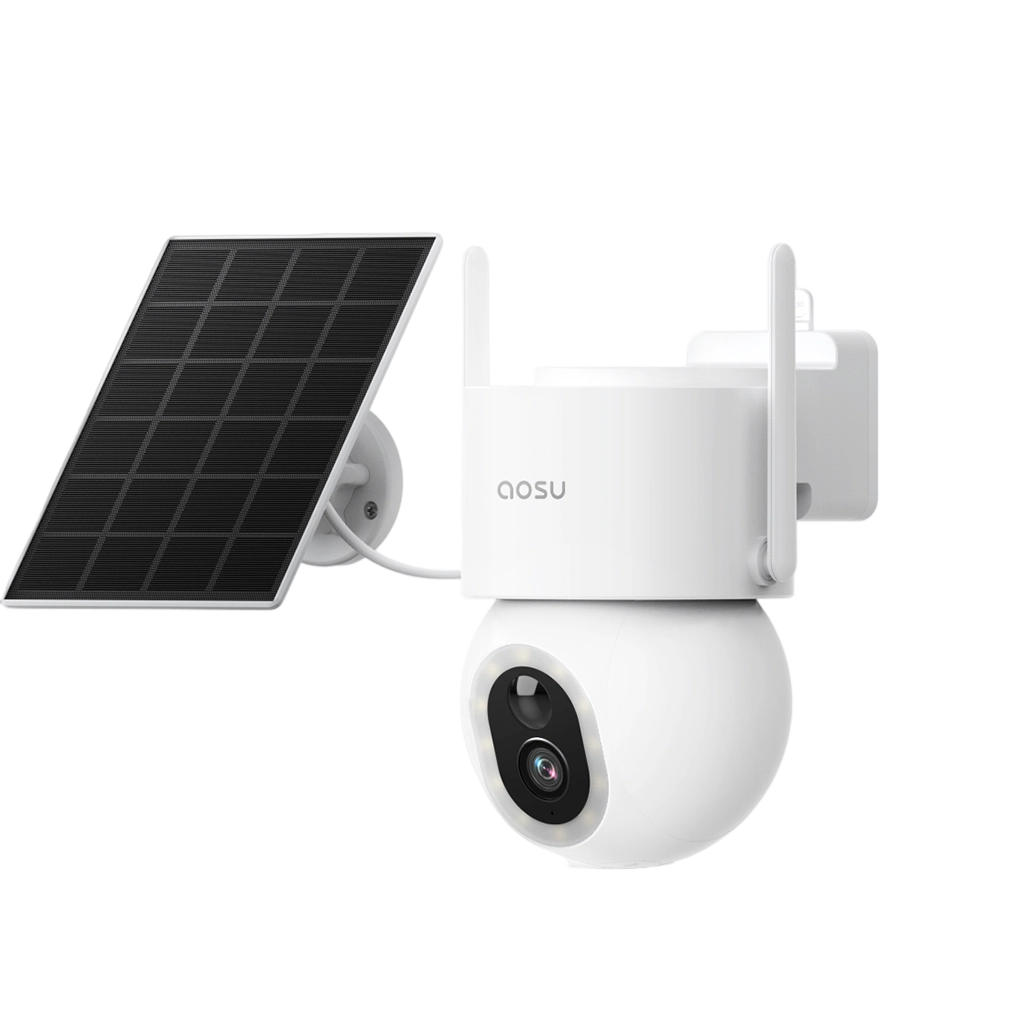
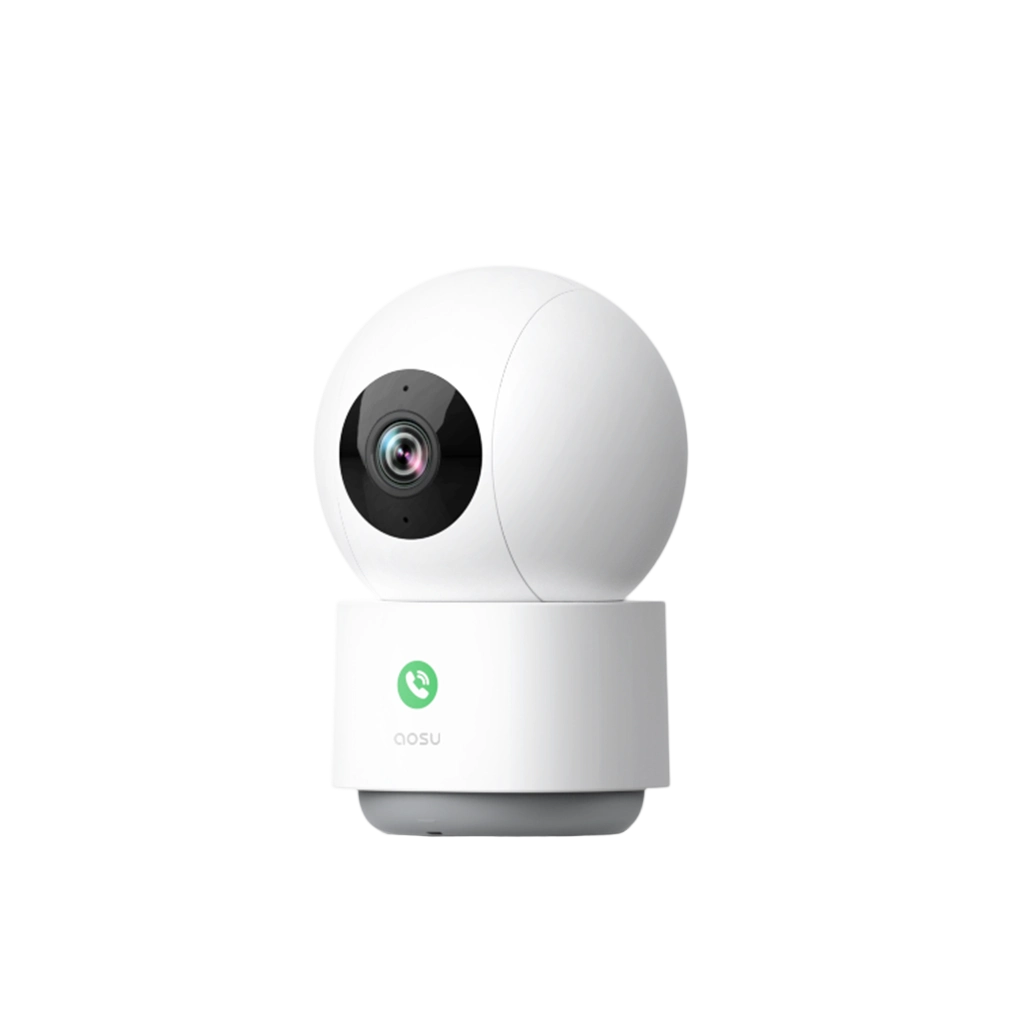

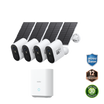
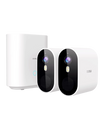
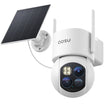
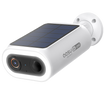
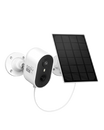
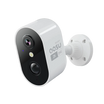

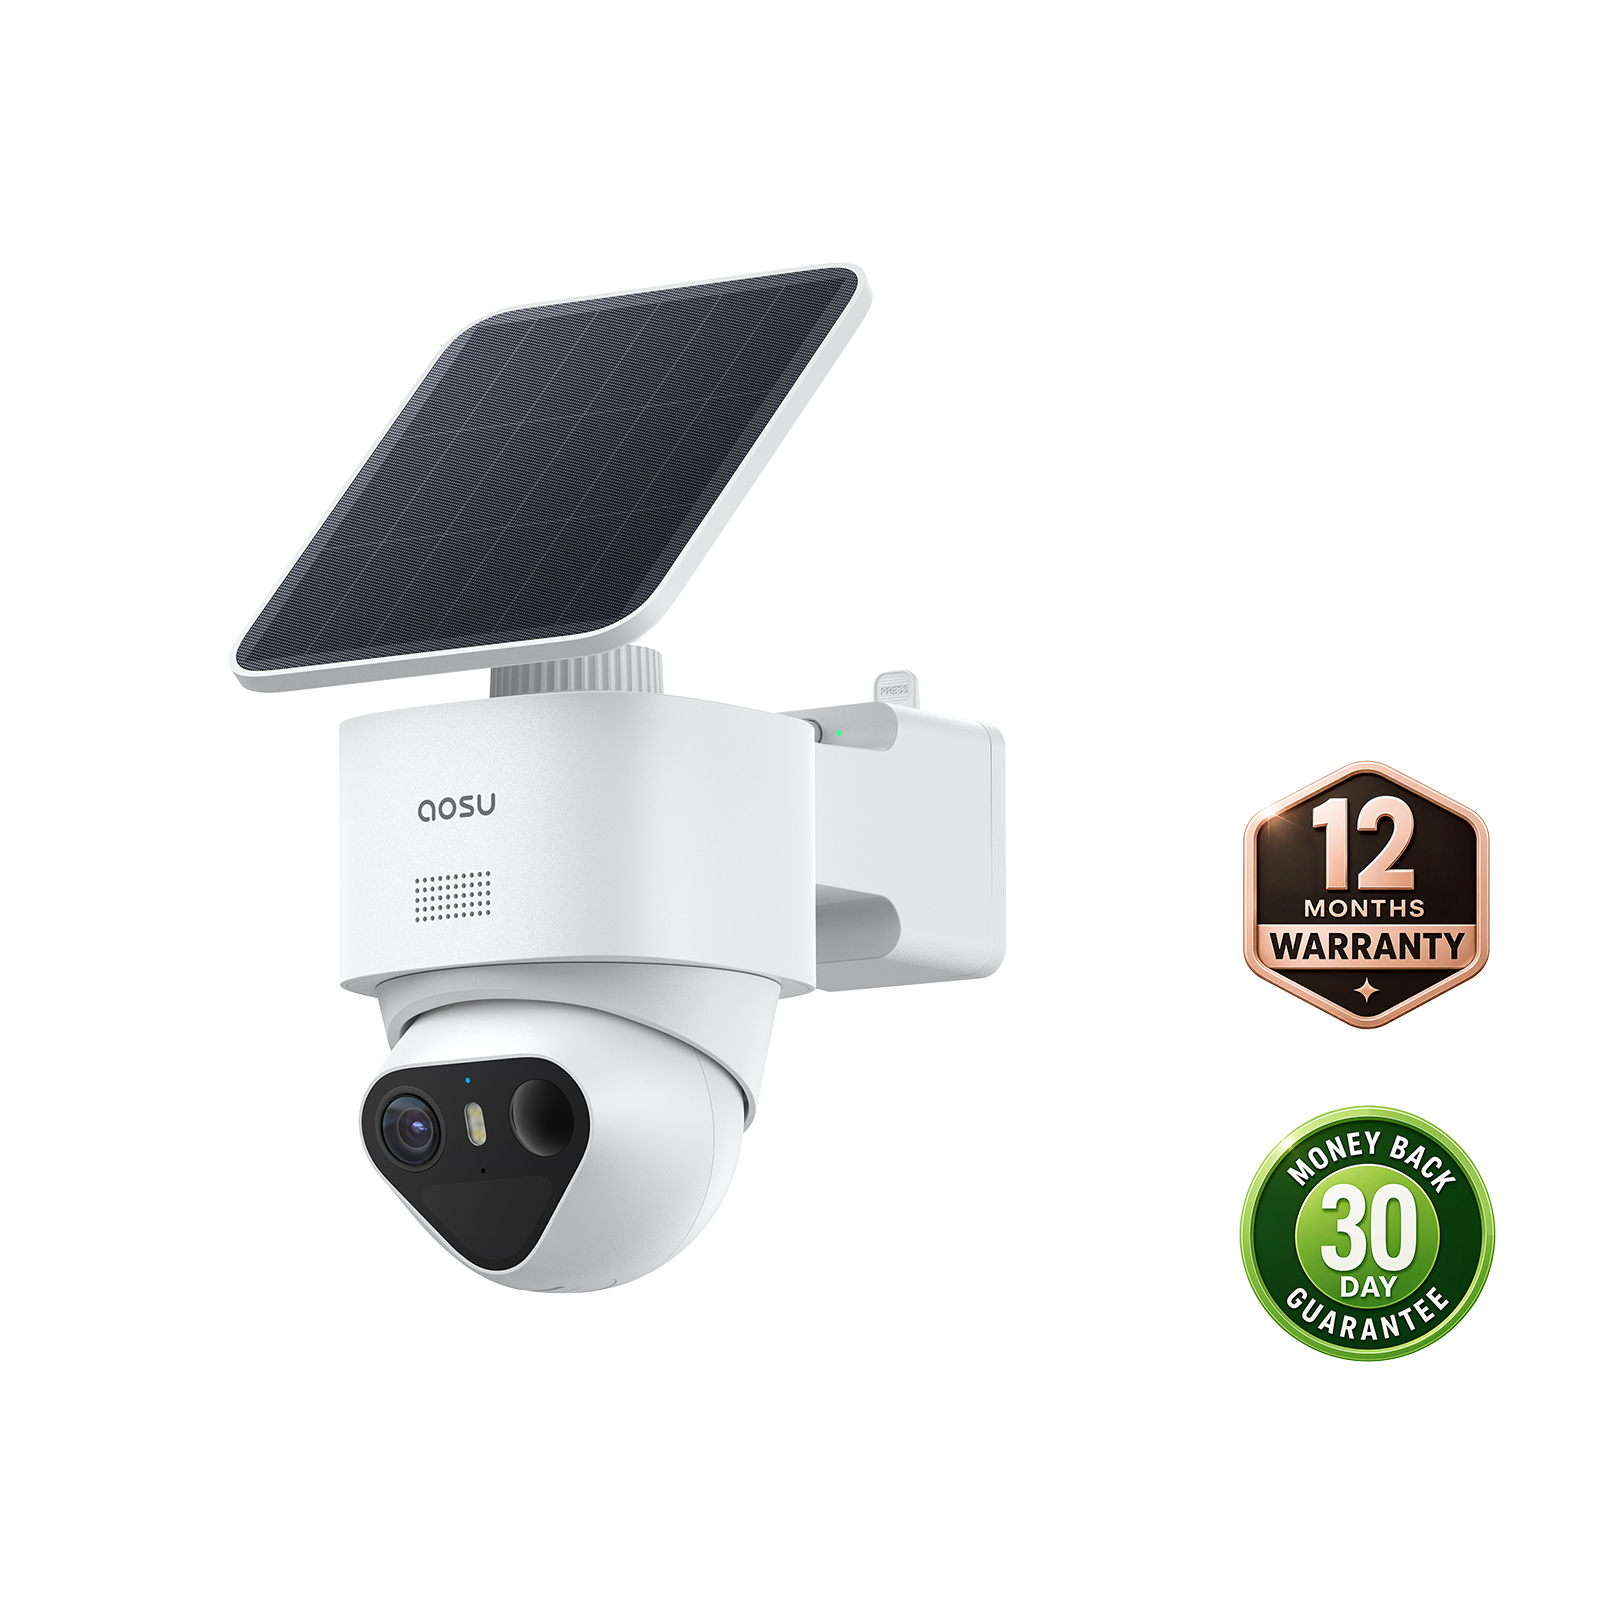
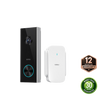
Start with the full model code on your doorbell, then confirm the charging connector and USB power requirements for that version. A cable advertised simply as “compatible with aosu” is not enough to establish a match.
This guide includes a documented Video Doorbell Pro example, physical-fit checks and a route to request a confirmed replacement. Specifications for other models should be added only when their manuals or aosu support identify the matching version.
Identify the Doorbell and Its Charging Port
Look for the model in the aosu app's device information, on the label on the doorbell or mounting area, in the original order, or in the manual. The model code is more useful than appearance because different doorbells can look similar.
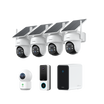
The current aosu video doorbell collection can help you recognize the product family. Use the label on your own doorbell as the deciding reference, especially if you bought it in an earlier year or outside the United States.
1. Record the model: Write down the full model name or code instead of relying on a product photo or a marketplace title.
2. Photograph the charging port: Open the charging-port cover in a dry place and take a clear close-up. The photo gives you something reliable to compare with the replacement plug.
3. Gather any original charging parts: Keep the original wall adapter, packaging, manual, and cable fragments together if you still have them. A surviving plug end can help confirm the connector shape and housing size.
A Documented Charging Example
The Video Doorbell Pro and Wi-Fi HomeBase manual hosted by Conrad provides the following information for the version it covers:
| Item | Published information |
|---|---|
| Doorbell-side charging connector | USB-C |
| USB charger output | 5V, 1A or 2A |
| Charging indication | Flashing blue |
| Fully charged indication | Solid blue |
Source: manufacturer-written Video Doorbell Pro and Wi-Fi HomeBase manual, Conrad-hosted copy for V8P product documentation. The package list is on PDF page 4, the USB-C charging diagram on page 10 and the charger output and indicator information on page 15.
Match your device and supplied documentation to this version before using these specifications. They are not a compatibility statement for every aosu doorbell sold under a similar name. Do not apply them to another Pro, SE or R1 Ultra version without confirmation.
Connector type alone does not confirm that a replacement cable’s plug housing will fit the recessed port.
Choose a Replacement Charging Cable Without Guessing
The plug needs to match the charging port and seat fully without pressing against the doorbell housing or weather cover. Check the physical connection first, then use the original charging instructions for the power source.
1. Compare the plug with the port: Compare the shape and size in good light before inserting anything. Do not force a plug that is close but not identical.
2. Check the connector housing: The plastic or metal body around the plug must clear the weather cover and doorbell housing. A bulky cable end can stop the plug from seating even when the connector itself looks correct.
3. Choose a practical length: Use a cable long enough to reach the charging location without being stretched or hanging from the port. Avoid a long loose run that can be pulled, tripped over, or caught on furniture.
4. Match the USB power requirements: Use a charger that meets the instructions for your exact model. Do not assume that a power component supplied for the indoor chime or HomeBase is the doorbell’s charging adapter. If you previously used a charger, confirm its output label rather than relying on appearance.

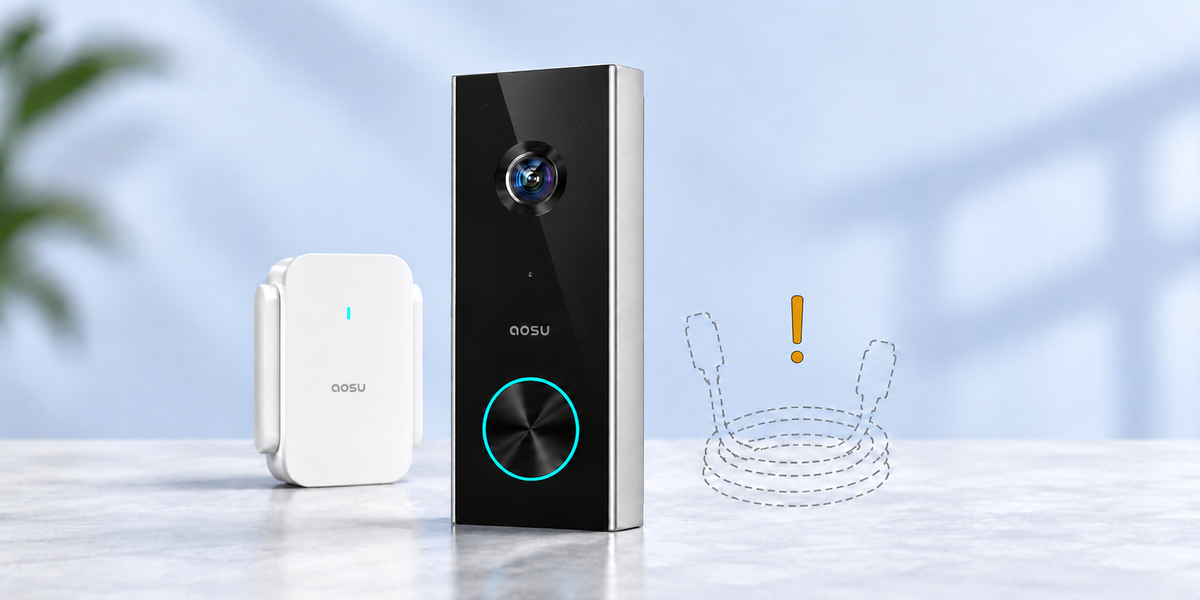
Use the model name and the covered charging-port area on your own doorbell to narrow the replacement search. This existing V8E illustration is not the V8P manual example above.
Request a Confirmed Replacement
If your model is not covered by a verified cable listing, send aosu support a replacement-cable request.
Include:
- Full model code and purchase country.
- A clear photo of the charging port.
- Photos of any remaining original cable and charger label.
Ask support to confirm the cable connector, required USB power source, plug-housing fit and whether an original replacement is available. Request the matching part number or purchase link before ordering.
Do not assume a generic cable listing is approved merely because it mentions aosu.
Request replacement-cable confirmation from aosu support
This is a support inquiry, not a verified cable purchase listing or a guarantee that a replacement is available. Contact support before charging if the port is loose, damaged, discolored or corroded.
How to Charge an aosu Doorbell
Charge the doorbell in a dry place where the cable can stay connected without strain. Use the release tool and removal method for your model; pulling the doorbell away from its mount can damage the bracket or device.
1. Remove and inspect the doorbell: Take the doorbell off its mount according to the model instructions. Open the charging-port cover and make sure the port is dry and free of visible debris. If the device has been exposed to rain, let the outside dry before opening the cover.
2. Connect the cable without forcing it: Insert the confirmed connector straight into the port. It should seat fully with light pressure. Connect the other end to a USB power source that meets the confirmed requirements for your model. Do not substitute permanent doorbell wiring for USB charging specifications.
3. Confirm that charging starts: Check the doorbell's charging indicator and the battery status in the aosu app. Use the model instructions for the finished-charge indication instead of timing it by another doorbell's result.
4. Reseal and reinstall it: Disconnect the cable, close the charging-port cover completely, and reinstall the doorbell on its mount. Confirm that it locks into place, reconnects in the app, shows the expected battery level, and responds to a test ring.
A Charging Cable Is Not Permanent Doorbell Wiring
Use the charging port for charging unless the instructions for your exact model say otherwise. Leaving the charging cover open with a cable attached can expose the connection to moisture and put strain on the port.
The Video Doorbell R1 Ultra is listed with battery operation or compatible existing doorbell wiring. Follow the R1 Ultra installation instructions if you choose that setup. Do not assume the same option applies to another model without its own wiring instructions.
What to Do if the Doorbell Still Will Not Charge
Change one part of the charging setup at a time. This makes it easier to tell whether the problem follows the outlet, cable, connector fit, power source, or doorbell.
| What you see | What to try | What the result means |
|---|---|---|
| No charging light or app indication | Reseat both ends, confirm the outlet works, and inspect the cable for bends, cuts, or a loose plug. | A visible cable fault or loose connection gives you a clear part to replace. If nothing changes, stop testing and contact support. |
| Charging starts only when the plug is held at an angle | Disconnect the cable and inspect the plug and port for looseness, damage, or debris. Do not wedge the plug in place. | The cable end or port may be damaged and needs support review rather than more pressure. |
| The connector or doorbell becomes unusually hot | Disconnect it immediately. Stop using that cable and power source, and contact support before trying again. | Unusual heat can indicate a damaged connection or unsuitable charging setup. Do not continue the test. |
| The app percentage does not rise | Confirm that charging is indicated, allow time for the app to update, then reopen the device screen. | If the indicator never appears or the level still falls, send support the model, setup details, and a photo or short video of the behavior. |
What to send support
Include the model number, purchase market, a photo of the port and cable ends, and a short description of the indicator and app behavior. These details help support identify the connection before treating the battery or charging port as faulty.
Replacement Cable Order Checklist
| Confirm before ordering | Your record |
|---|---|
| Full doorbell model and version | |
| Purchase country | |
| Doorbell-side connector | |
| Charger-side connector | |
| Required USB output | |
| Confirmed plug-housing fit or original part number | |
| Manual or support confirmation | |
| Seller and matching product link |
If a required detail remains unclear, obtain confirmation before ordering. After delivery, stop if the plug does not seat normally, the connection is loose or unusual heat develops.
Replace the Cable Without Guessing
Start with the model code and charging port, then choose a cable with a confirmed connector and plug-housing fit. Use a USB power source that meets the instructions for that exact model. Confirm unclear specifications with the matching manual or aosu support before ordering.
If the port feels loose, the connection becomes hot, or charging never starts, stop testing and send the model and connection photos to aosu support.
FAQs
How do I know whether a replacement cable will fit my aosu doorbell?
Find the exact doorbell model, photograph the charging port, and compare the replacement plug and its surrounding housing with that port. The plug should match and seat fully without being forced or blocked by the weather cover.
Can I use any cable with the right-looking connector?
No. A similar-looking plug can still fit poorly or press against the housing. Use the model instructions, original cable details, or an aosu support confirmation when the replacement is uncertain.
Can I use a phone charger for my aosu doorbell?
Possibly, if its output and connection meet the charging instructions for your exact doorbell. For the documented Video Doorbell Pro version described above, the manual specifies a 5V USB charger rated at 1A or 2A. Do not apply that requirement to another version without confirmation.
Can I hardwire an aosu video doorbell instead of charging it?
The Video Doorbell R1 Ultra is listed with compatible existing doorbell wiring as well as battery operation. Follow its installation instructions. Do not assume that another aosu doorbell supports the same setup without model-specific wiring instructions.