


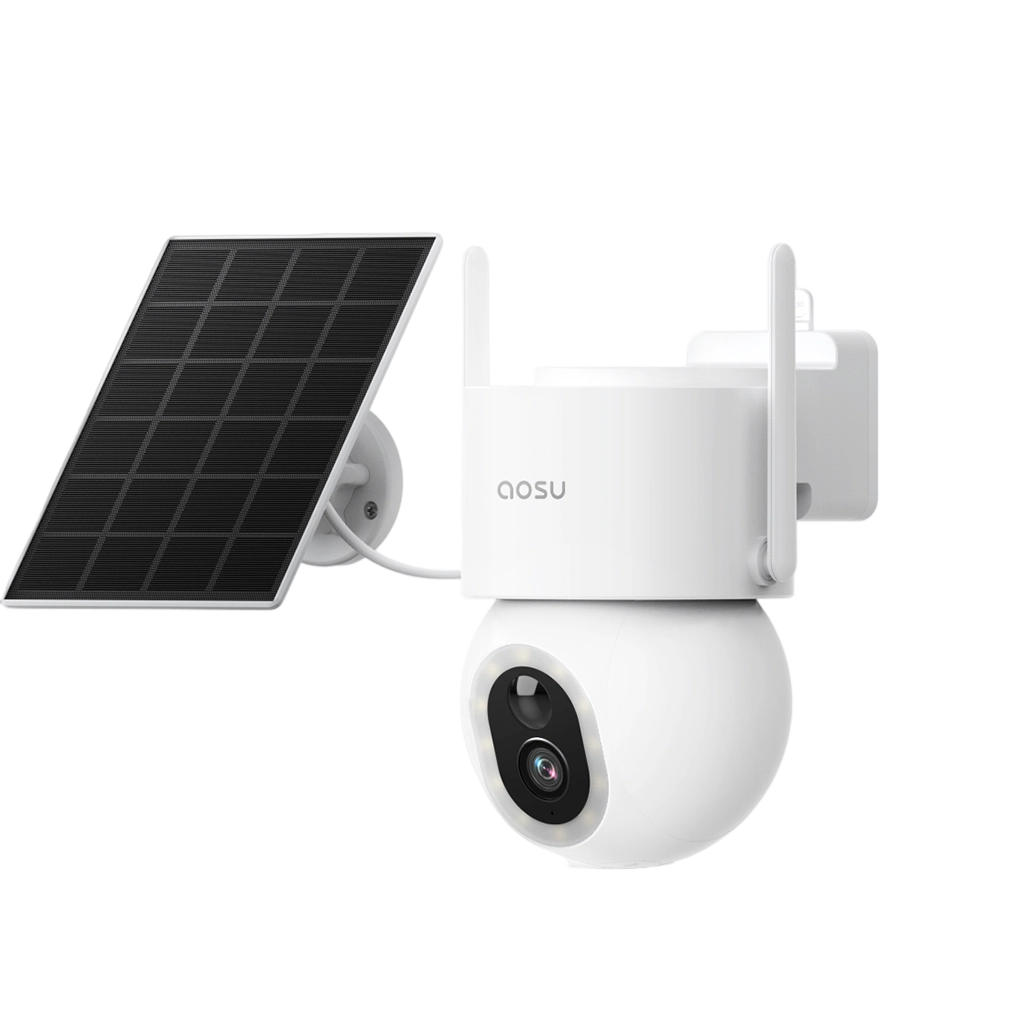
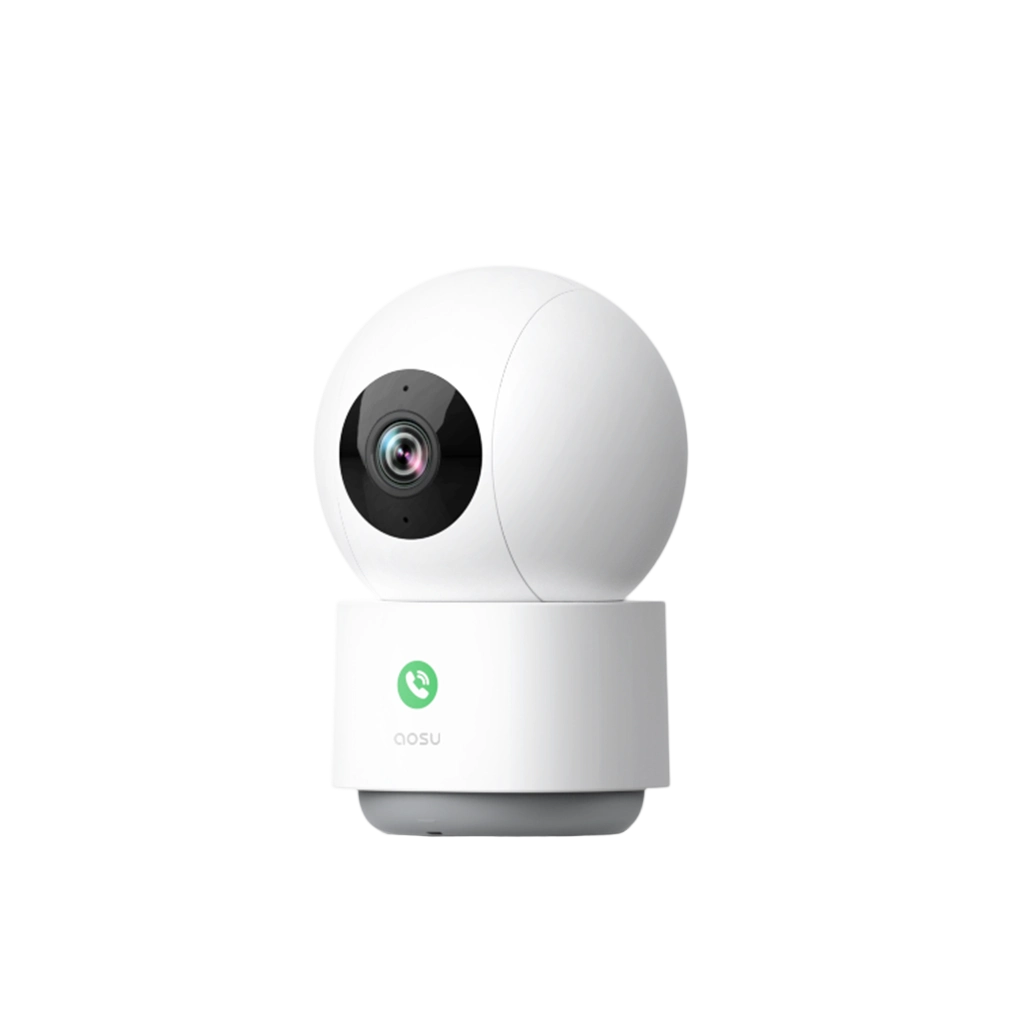
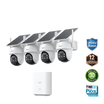
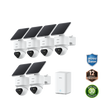
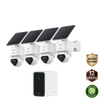
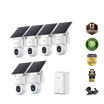

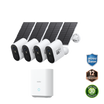
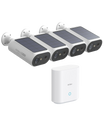
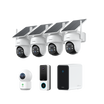
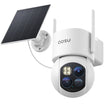
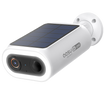

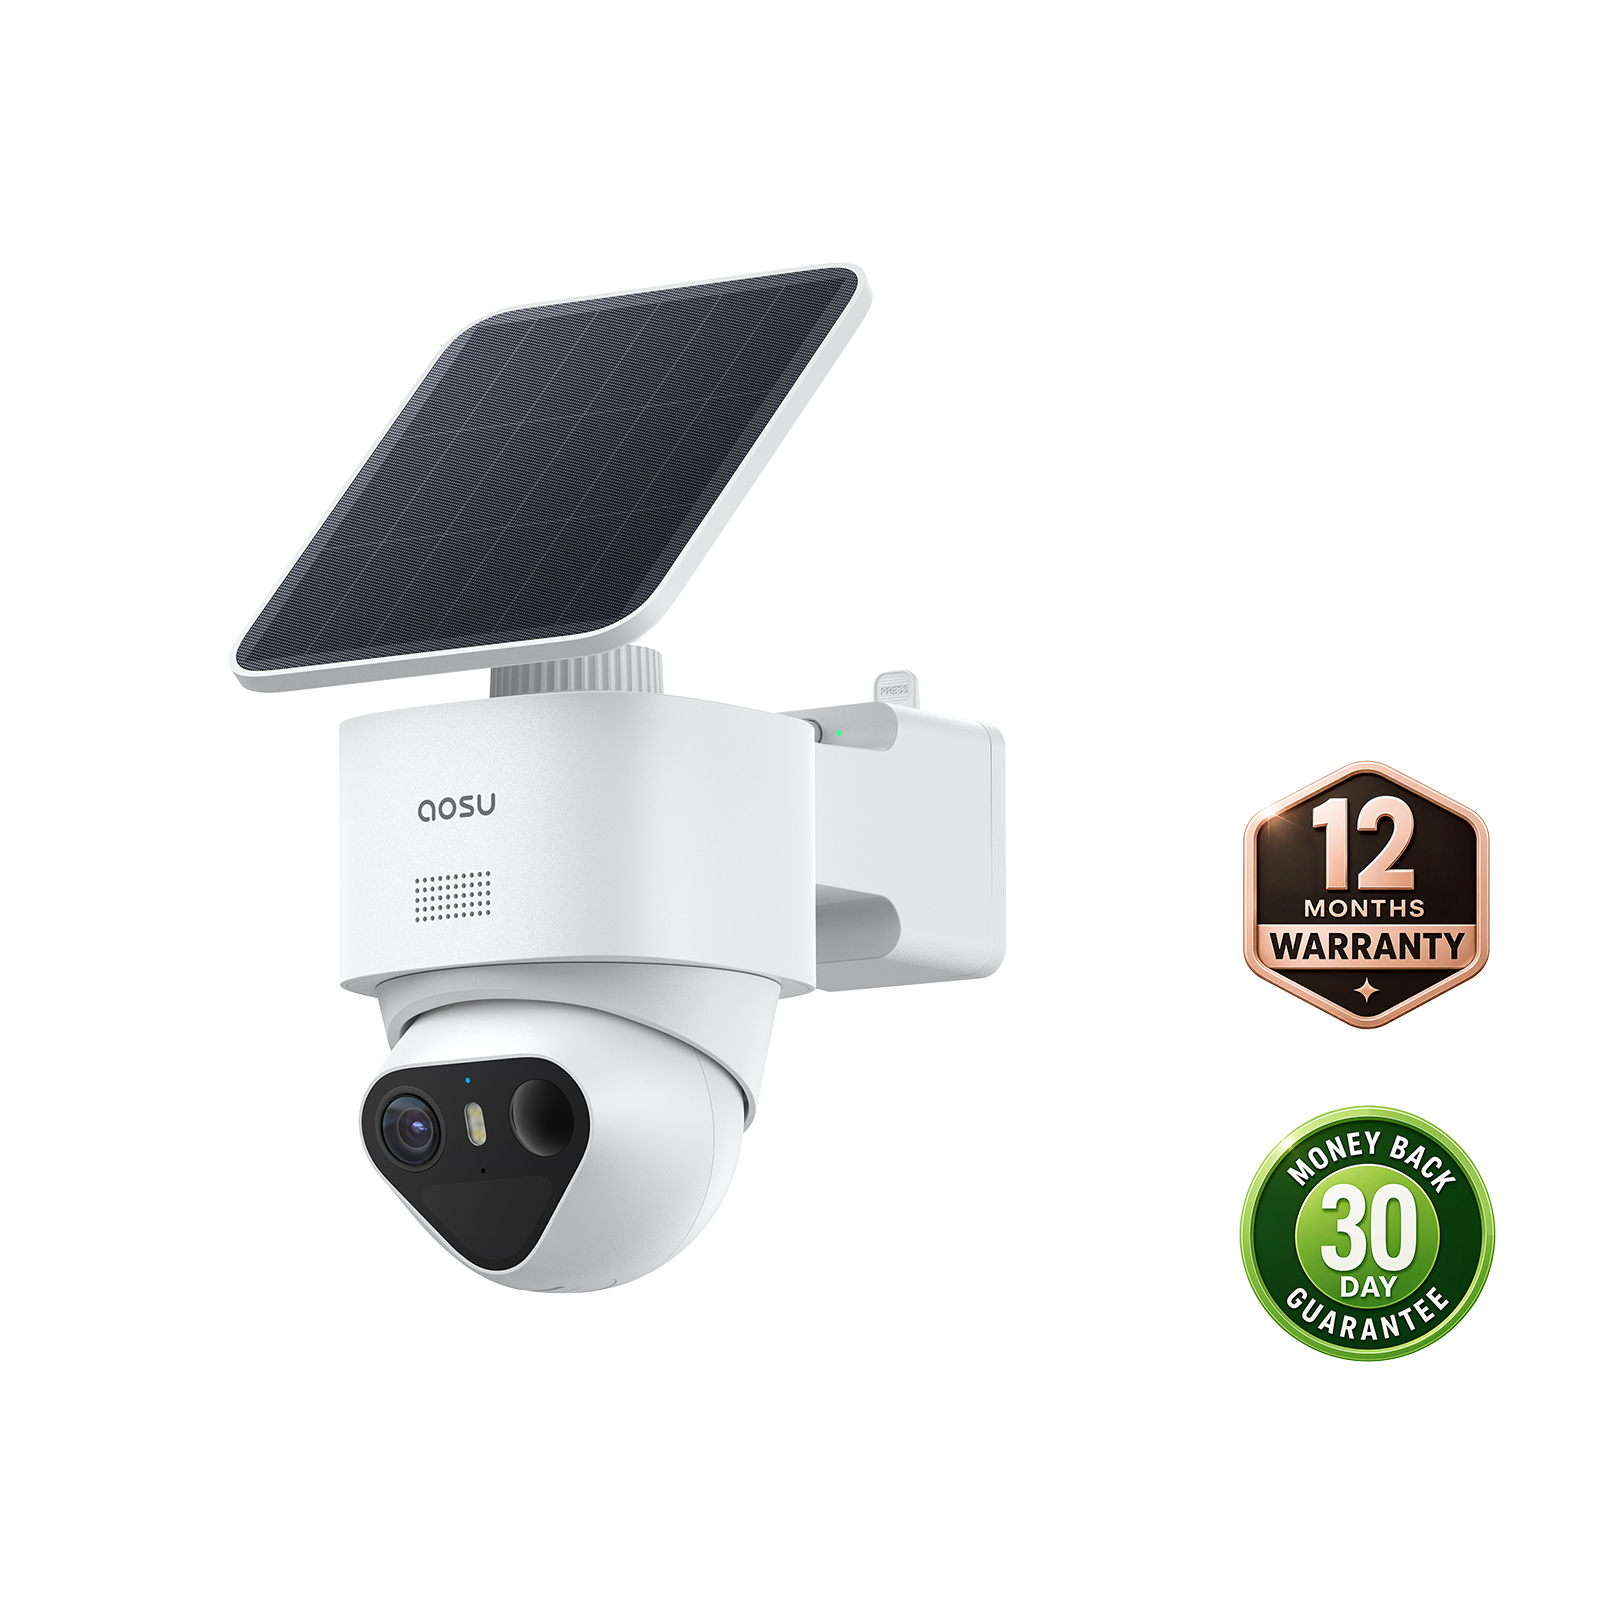
Before winter, check your solar security camera for panel exposure, model-specific charging restrictions and unnecessary activity. Look at the panel's actual winter sunlight, clear buildup you can reach safely, and retain the recording coverage you need.
A week of battery readings at the same time each day provides an initial trend, not proof of all-winter performance. Use the checklist and log below to record conditions and identify checks that need follow-up before an extended cold or cloudy period.
Pre-Winter Camera Check
Camera / panel model: ______
Check date: ______
Manual and charging restriction: ______
| Check | Record the result | Action needed |
|---|---|---|
| Panel sunlight | Shade observed in late morning, midday and the usual sunny period | |
| Charging conditions | Model restriction and available charging indication | |
| Panel and mounting | Visible debris, changed angle, loose or damaged parts | |
| Battery trend | Same-time readings over the observation period | |
| Recording and alerts | Normal approach recorded, replayed and notified as required | |
| Charging alternative | Approved manual-charging or alternative-power plan, if needed |
Start before an extended cold or cloudy period. Mark checks that do not apply to your model. Repeat relevant checks after storms or changes in shade.
This checklist records preparation; it does not certify that the camera will remain powered throughout winter.
Seven-Day Observation Log
Daily observation time and time zone: ______
| Date | Battery % | Outdoor temperature | Sun/shade notes | Events and live-view use | Charging indication / changes |
|---|---|---|---|---|---|
| Day 1 | |||||
| Day 2 | |||||
| Day 3 | |||||
| Day 4 | |||||
| Day 5 | |||||
| Day 6 | |||||
| Day 7 |
Note manual charging and setting changes. Outdoor temperature is context, not a direct measurement of battery temperature.
Compare same-time readings rather than treating a daytime rise as complete recovery. Repeat through colder, cloudier or busier conditions before estimating longer-term performance.

What Changes for a Solar Security Camera in Winter?
Winter preparation has four checks: panel exposure, the model’s charging limits, physical condition and the recordings you need to retain.
Use the checklist below before an extended cold or cloudy period. For the underlying explanation of sunlight, battery reserve and charging restrictions, read how solar security cameras work in winter.
Recheck Winter Sun at the Panel
A wall, eave, fence, or evergreen that did not shade the panel in summer can cross its lower winter sun path. Look at the installed panel in late morning, around midday, and again during its usual sunny hours. The important view is the panel itself, not the camera lens.
If the mount allows adjustment, aim the panel toward a clearer patch of direct sun within the product's mounting instructions, and make sure the bracket remains secure. A camera can stay aimed at the door or driveway while a supported detachable panel uses a sunnier nearby position.
Know Your Camera's Cold-Weather Charging Limit
Cold reduces the usable energy available from many rechargeable batteries. Check your camera's operating and charging temperatures in its own documentation before a hard freeze.
The current aosu SolarCam T2 Pro product page states that solar charging pauses below −5°C (23°F), with the camera using battery power. This is a published condition for that model, not a rule for every solar camera or its operating-temperature limit.
Record your own model’s charging restriction before winter. Being above a cutoff does not guarantee sufficient charging; sunlight and camera workload still matter. Follow the approved charging instructions rather than trying to bypass temperature protection.
Related links
Check for Snow, Ice, and Debris Without Taking Risks
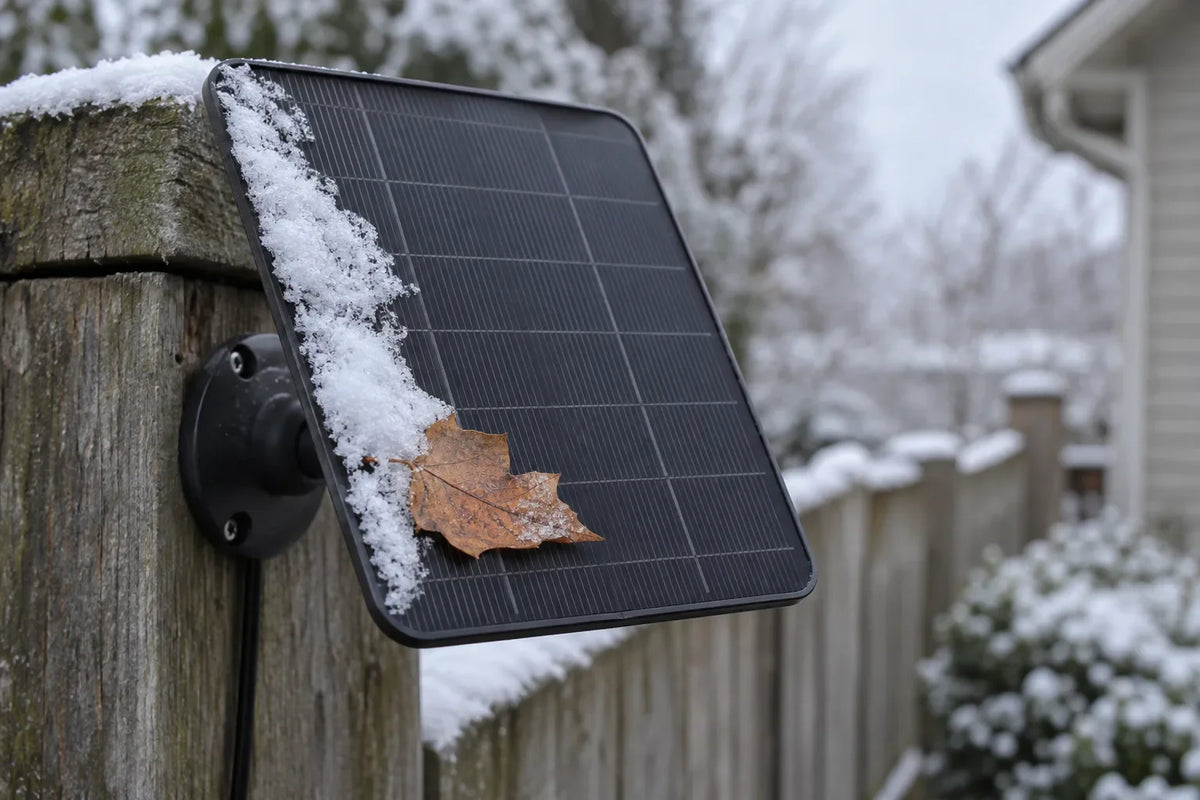
Snow, ice, leaves, and dirt block light from the panel. After a storm, look for coverage over the panel, a shifted mount, or a cable that no longer sits securely. Check from the ground first.
Clean only when the panel is safely reachable and the product instructions allow it. Do not climb an icy ladder or scrape the panel with a hard tool for the sake of a short charging gain. If the panel is high or iced over, wait for safe conditions and watch the battery trend in the meantime.

Snow and leaves can block part of the panel's light-catching surface.
Reduce Power Use Without Losing Useful Coverage
Start with activity the camera does not need to capture. Frequent false triggers, long clips, bright lights, and repeated live-view sessions can use power that the panel is slower to replace in winter. Change one setting at a time and check that important alerts still arrive.
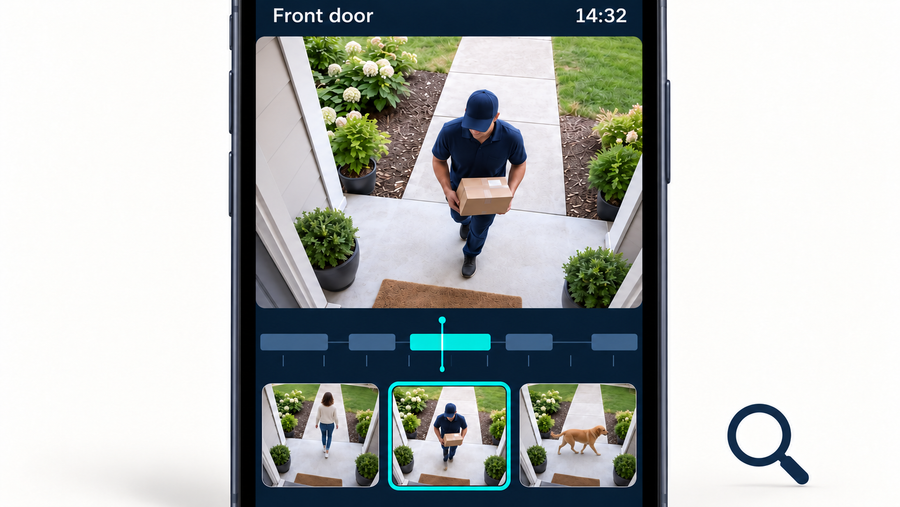
Confirm what each setting changes. A notification filter may reduce phone interruptions without reducing sensor wake-ups or recordings. After changing a zone, sensitivity or clip length, check saved footage as well as alerts so that arrivals, activity and departures remain understandable.
Keep covered
- People approaching the front door, gate, or driveway
- The clip length needed to understand a real event
- Alerts you rely on when away from home
Adjust first
- Activity zones that catch passing traffic or a public sidewalk
- Sensitivity that produces repeated false alerts
- Unnecessarily long clips, lights, or manual live-view sessions
Related links
When a Separate Panel Helps
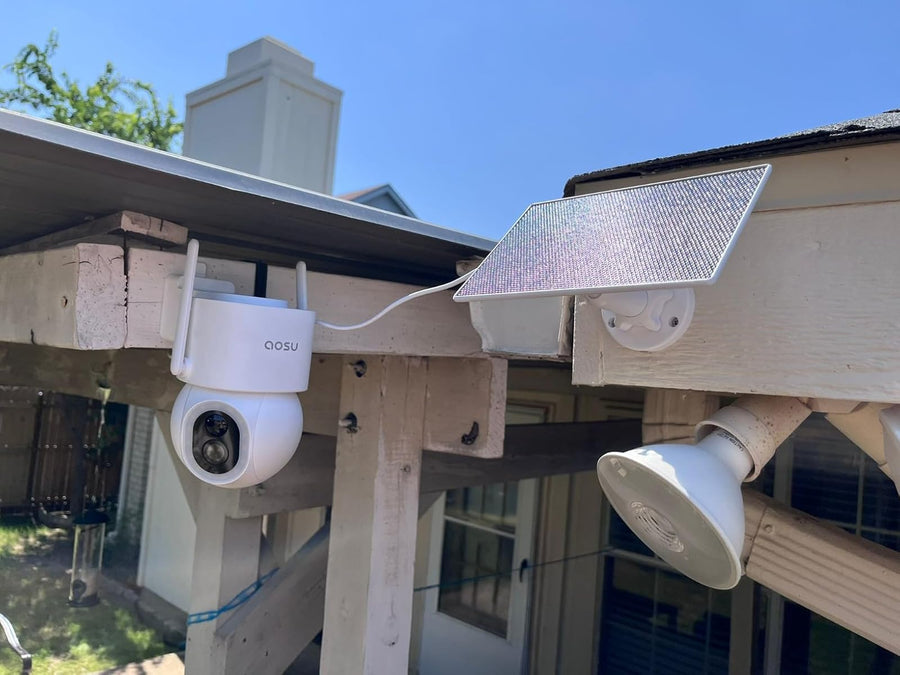
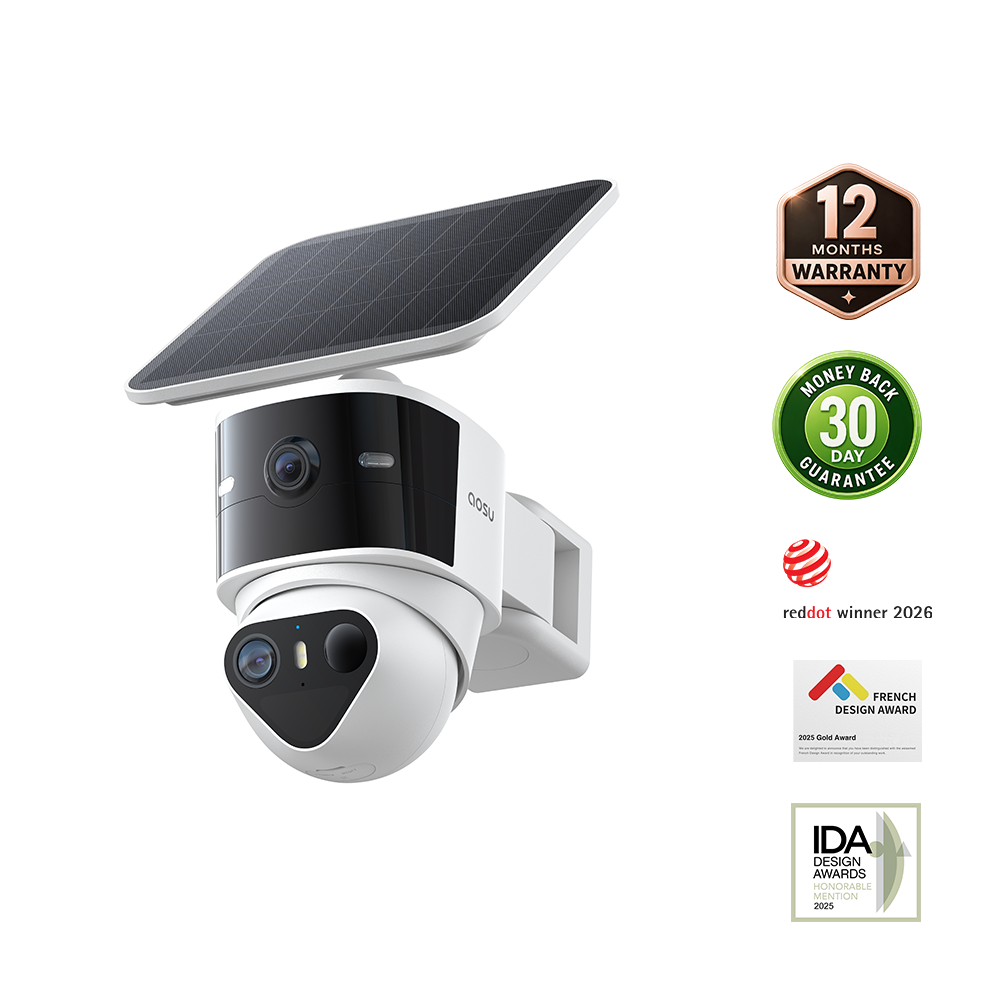
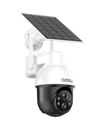
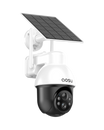
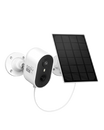
If the camera's best view is shaded but a nearby wall receives better winter sun, a model with a detachable panel can separate the camera angle from the charging position. Confirm that your particular camera supports split mounting and follow its cable and weather-sealing instructions. The SolarCam T2 Pro page lists integrated or split mounting as one example.

A separate panel can face a sunnier spot while the camera stays aimed at the entry.
Related links
To Wrap Up
Winter preparation comes down to energy in and energy out. Check the panel's winter sunlight, establish a battery trend, clear accessible buildup safely, and reduce triggers that do not add useful coverage.
Recheck after storms and changes in shade. If the battery continues to decline through suitable charging conditions, use solar-camera charging troubleshooting.
For damage, unclear charging limits or an unexplained result, contact aosu support with the model, firmware, panel photos and completed log.
FAQs
How can I tell whether my solar panel is keeping up?
Compare battery readings taken at the same time across several days, alongside sunlight, charging conditions and camera activity. Recovery is encouraging, but one clear day does not establish an all-winter result. If readings keep falling through suitable charging periods, investigate shade, panel condition, connections and workload.
What should I do if the battery falls after several cloudy days?
Reduce false triggers and repeated live viewing first, then inspect the panel safely for blockage. Compare the battery trend with the event history. If it keeps falling after clear weather returns, follow the model's charging and support instructions.
When should I check the panel after a winter storm?
Check once the area is safe and the panel can be viewed without climbing in icy conditions. Look for snow, ice, debris, a shifted mount, and new shade; clean or adjust only as the product instructions allow.
Should I change camera settings before a week of cloudy weather?
Review activity zones, sensitivity, clip length, lights, and live-view habits. Cut low-value triggers without turning off coverage at the door, gate, or driveway, then watch the battery trend to see whether the change helped.