


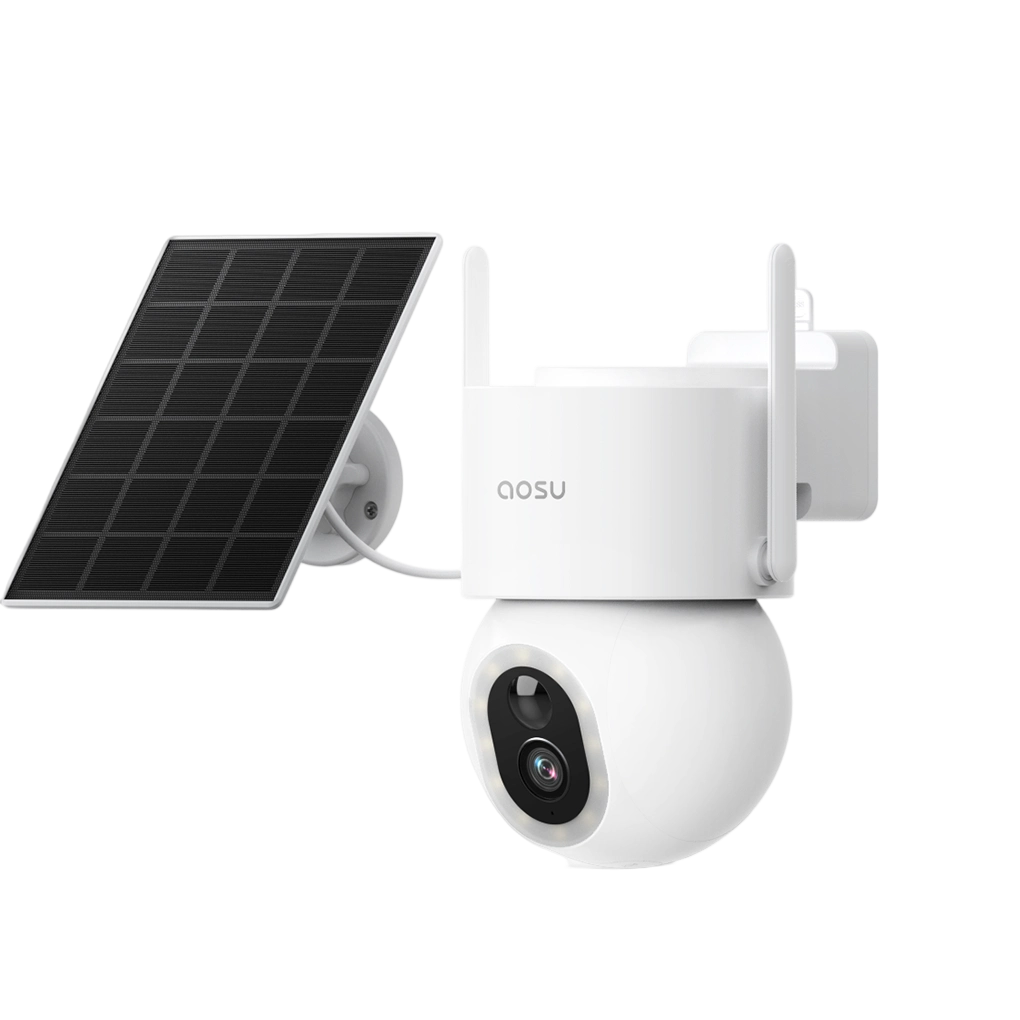
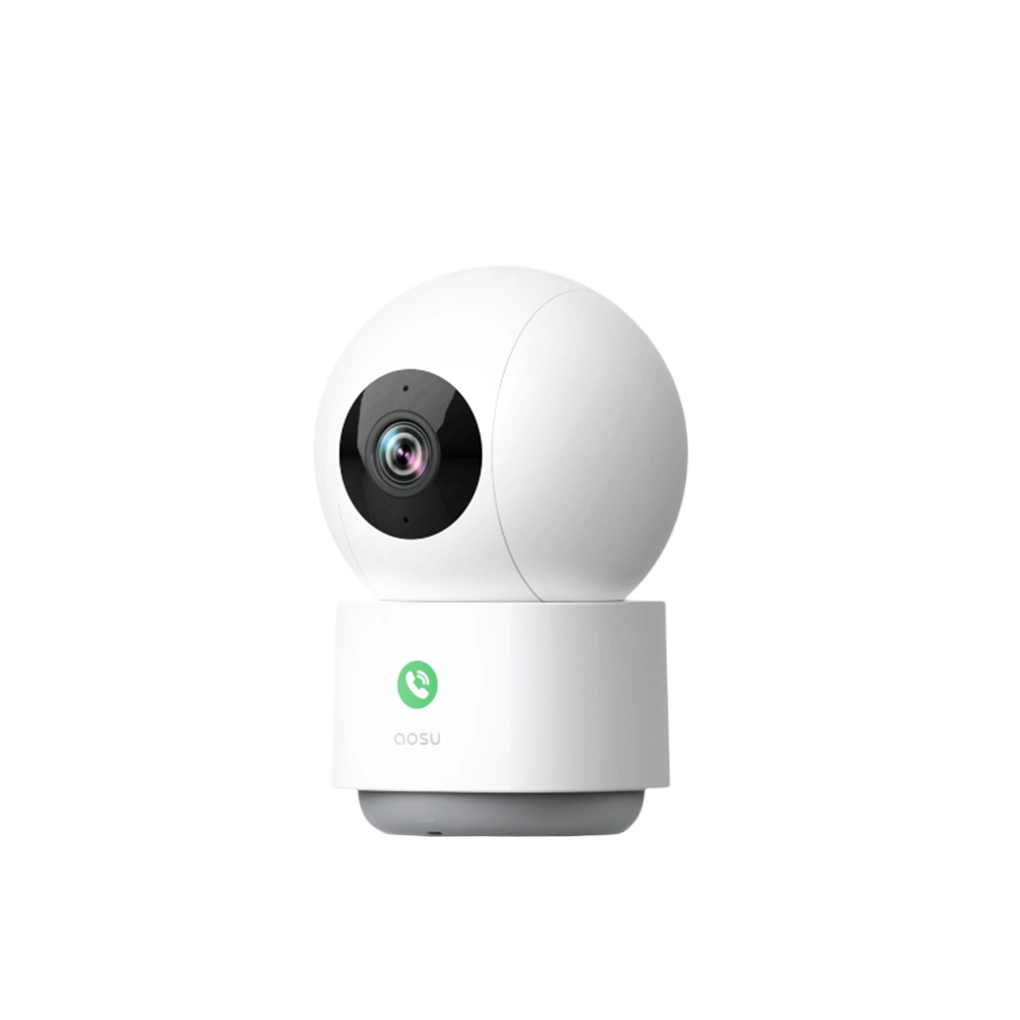
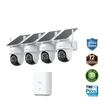
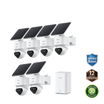
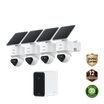
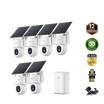
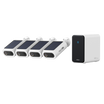

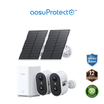
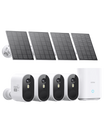
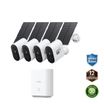
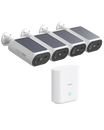
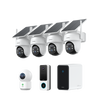
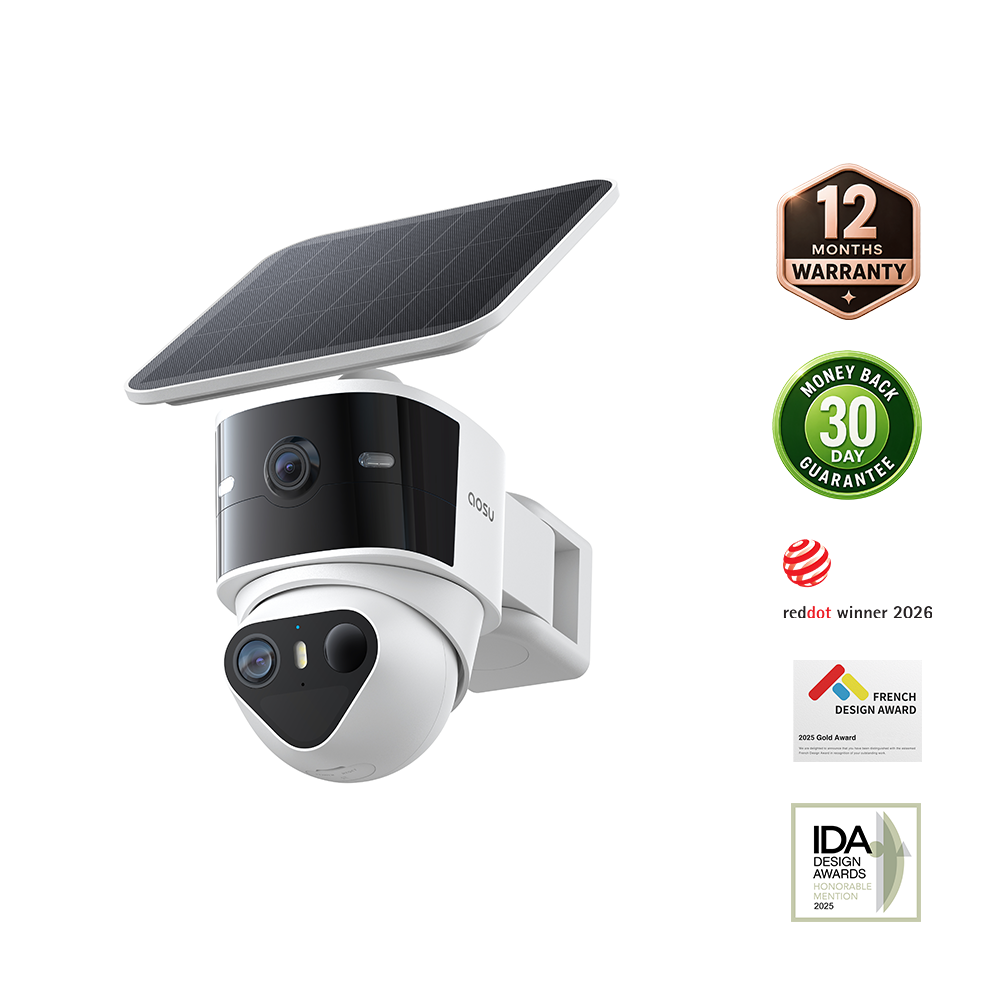
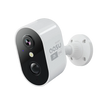

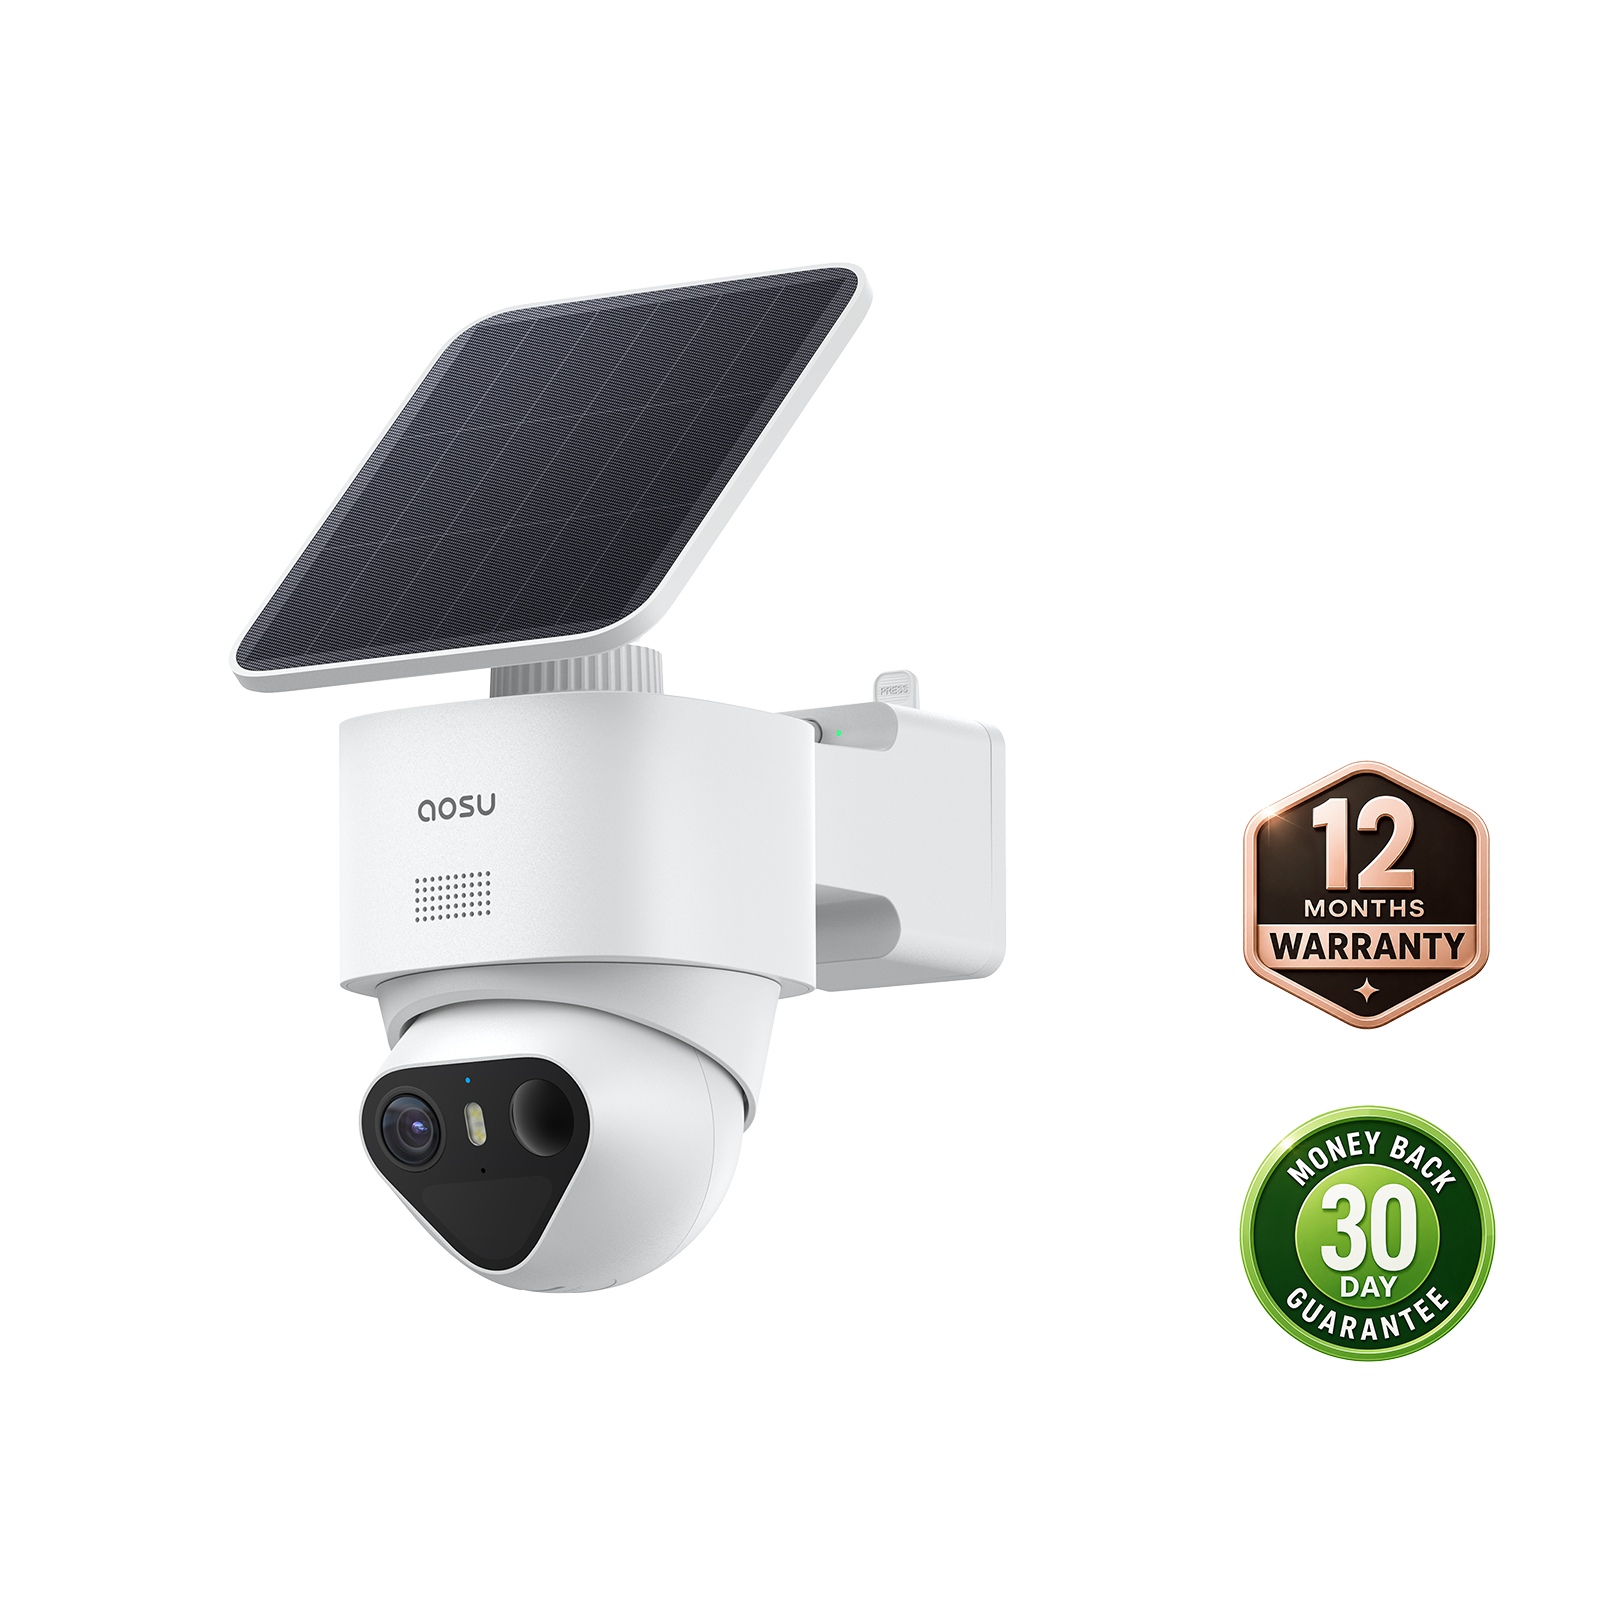
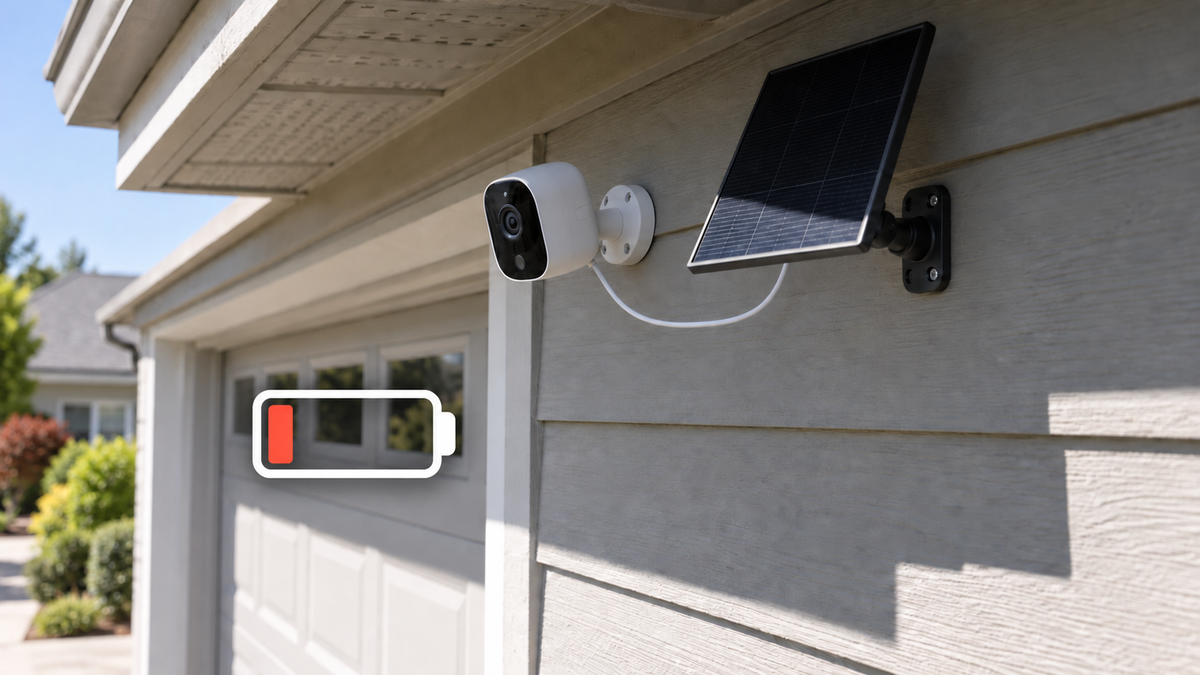
If your solar security camera isn't charging, check the panel's sunlight, its connection to the camera, and the battery's charging temperature first. If the camera shows charging but keeps losing power, frequent recordings or live viewing can be using energy faster than the panel replaces it.
Start with the symptom below, then work through the checks in order. You'll need the camera's model number, its charging instructions, and access to the app. If the battery is already empty, move to the wired charging test after checking for damage and confirming a suitable charging temperature.
What Does “Not Charging” Look Like?
Check the battery level and any charging status shown in the app. Make sure the camera is online before relying on that reading. Note whether the percentage stays steady, falls across the day, or drops after a busy evening.
| What you see | What to check next | What the result tells you |
|---|---|---|
| Battery is full; charging icon is absent | Check again after normal camera use lowers the battery level. | A full battery may not need charging. The missing icon alone does not establish a fault. |
| Battery is low; no charging indication in direct sun | Check the panel, connection, and charging temperature. | If those checks pass, a wired charging test helps separate solar input from camera-side charging. |
| Charging appears, but battery level keeps falling | Compare camera activity with the battery trend. | Solar input may be present while daily energy use exceeds the energy collected. |
| Camera is empty or offline | Use the model's approved wired charging method, then check whether it reconnects. | An offline status alone cannot tell you whether the cause is power or connectivity. |
```
A full battery changes what the indicator means
aosu's charging-indicator guidance explains that the icon can disappear when the battery is full and no charging current is needed. Check your model's indicator guidance before treating an absent symbol as a problem. A battery stuck at a low level needs a different investigation.
Related links:
· aosu support: charging-indicator behavior
1. Check the Sunlight Reaching the Panel
Look at the panel itself during a period when you expect it to charge. A sunny driveway doesn't tell you whether a roof edge is shading the panel above the garage. Look for shadows from an eave, branch, fence, or nearby building.
Check again later in the day if the shadow moves across the panel. Sunlight at a particular spot changes with the hour, season, and local weather, as the U.S. Department of Energy explains. A panel that worked well in summer can receive less useful sun later in the year.
Remove loose leaves and check for dust, bird droppings, or snow covering the panel. Follow the manufacturer's cleaning instructions; don't scrape the surface or pour hot water over ice. If safe access is difficult, arrange help before removing or adjusting the equipment.
For a separate panel, adjust its position toward unobstructed direct sunlight while keeping the camera aimed at the area you need to watch. For an integrated panel, check the camera's view before changing the whole unit's angle. If the panel still cannot receive direct sun, record that limitation before testing other causes.
Related links:
· U.S. Department of Energy: how sunlight varies
2. Inspect the Cable and Charging Port
For a camera with an external panel, follow the cable from the panel to the camera. Look for a loose plug, a cable trapped behind the mount, a sharp bend, or visible damage. An integrated panel may have no external solar cable to check.
Disconnect and inspect the accessible connection according to the manual. Check for debris, moisture, corrosion, or bent contacts. Reconnect a clean, dry, undamaged plug fully, and seat its weather seal as directed. Don't force a connector or probe the port with a metal tool.
If the problem began after you changed the panel, cable, or extension, confirm that each part is approved for the exact camera model. A matching connector shape does not establish compatibility. Use the original supported setup for the test.
Visible damage or corrosion is a reason to stop testing that connection and contact support. Repeatedly reconnecting it won't establish that the camera is safe to charge.
Related links:
· aosu support: cable and charging-port checks
3. Check the Battery's Charging Temperature
A rechargeable battery can stop accepting a charge when it is too cold or too hot. Battery charging circuits can enforce temperature limits; the cutoff and restart points depend on the device. Check the charging range in your camera's manual, which may differ from its outdoor operating range.
If the trouble began during freezing weather, let the camera reach the manual's permitted charging temperature naturally indoors before testing wired charging. Let a hot camera cool naturally. Keep the charging port dry, and don't use a heater or hair dryer to speed up the process.
aosu's cold-weather guidance recommends indoor charging when low temperatures interfere with charging outdoors. If the camera charges indoors but not outside, record both conditions for the next test.
Related links:
· aosu support: low temperatures and charging
4. Check Whether Camera Use Is Outpacing Solar Charging
If the app shows charging but the battery falls across successive days, look at how often the camera is active. A driveway camera recording passing cars all afternoon has a different power demand from one watching an empty side gate.
Review recent events for repeated recordings you don't need. Adjust the camera's aim or detection sensitivity to reduce those triggers while keeping the entrance, gate, or parking space covered. Walk through that area after the change to confirm that useful events still record.
Keep live-view checks brief during the test. If you recently increased recording duration or enabled more frequent camera activity, compare with the previous settings. Change one setting at a time so you can see which change affects the battery trend.
Record the battery level at the same time on successive days, along with sunshine and unusual activity. An improvement after reducing activations points to an energy shortfall. If the battery continues falling with good sun and little activity, move to the wired test.
Related links:
· aosu support: slow solar charging and camera activity
5. Test Wired Charging to Narrow Down the Cause
Use the wired charging method specified for your camera or removable battery. Start with the supplied charging cable and the adapter type and output stated in the manual. Follow its charging-time and indicator instructions.
Test indoors with a dry port and a battery within its permitted charging range. If there is no response, check the outlet and try a known-working cable and adapter that meet the same requirements. Change one item at a time.
If the camera powers on, check for an available firmware update and follow the manufacturer's power requirements for installing it. Save your observations before making further changes.
It charges by cable, but solar charging still fails
This shows that the camera can accept a wired charge under those test conditions. Recheck solar exposure, panel compatibility, and the solar connection. It does not prove that the panel is faulty: the outdoor temperature and available sunlight still matter.
It will not charge with supported, working wired equipment
The fault is no longer isolated to the solar panel. Stop repeating the same test and contact support with the results. The charging port, internal charging circuit, or battery needs further assessment.
It charges, then loses power quickly
Record how quickly the level falls and how much the camera records during that period. If the rapid drop continues with little activity at a suitable temperature, ask support to assess the battery. Reaching 100% establishes a charge reading, not how long the battery will run.

Use the wired test to narrow the next check.
Related links:
· aosu support: wired charging and firmware checks
Confirm the Fix in the Camera's Normal Position
After correcting the suspected cause, return the camera and panel to their normal positions and repeat the battery checks through a sunny period and the following night. Keep a simple note: date and time, battery percentage, charging indication, panel sunlight, temperature, and unusual camera activity.
Look for the battery level to recover during sunlight, then compare it at the same time the next day to see whether the panel is keeping up overall. Compare readings at similar temperatures: cold can temporarily lower the reported battery level.
If the level stays steady during the day, the reading alone cannot distinguish no input from input that is covering the camera's current use. Use the charging status and your wired-test results alongside it.
If the battery is close to empty, use the approved wired charging method while you resolve the cause. You don't need to let it go offline to finish the observation.
What to Send Support If It Still Won't Charge
Contact support after the checks above if charging still fails. Stop using and charging the camera if you find swelling or unusual heat; stop testing a damaged cable or corroded port. Don't open a sealed battery enclosure or attempt to bypass charging protection.
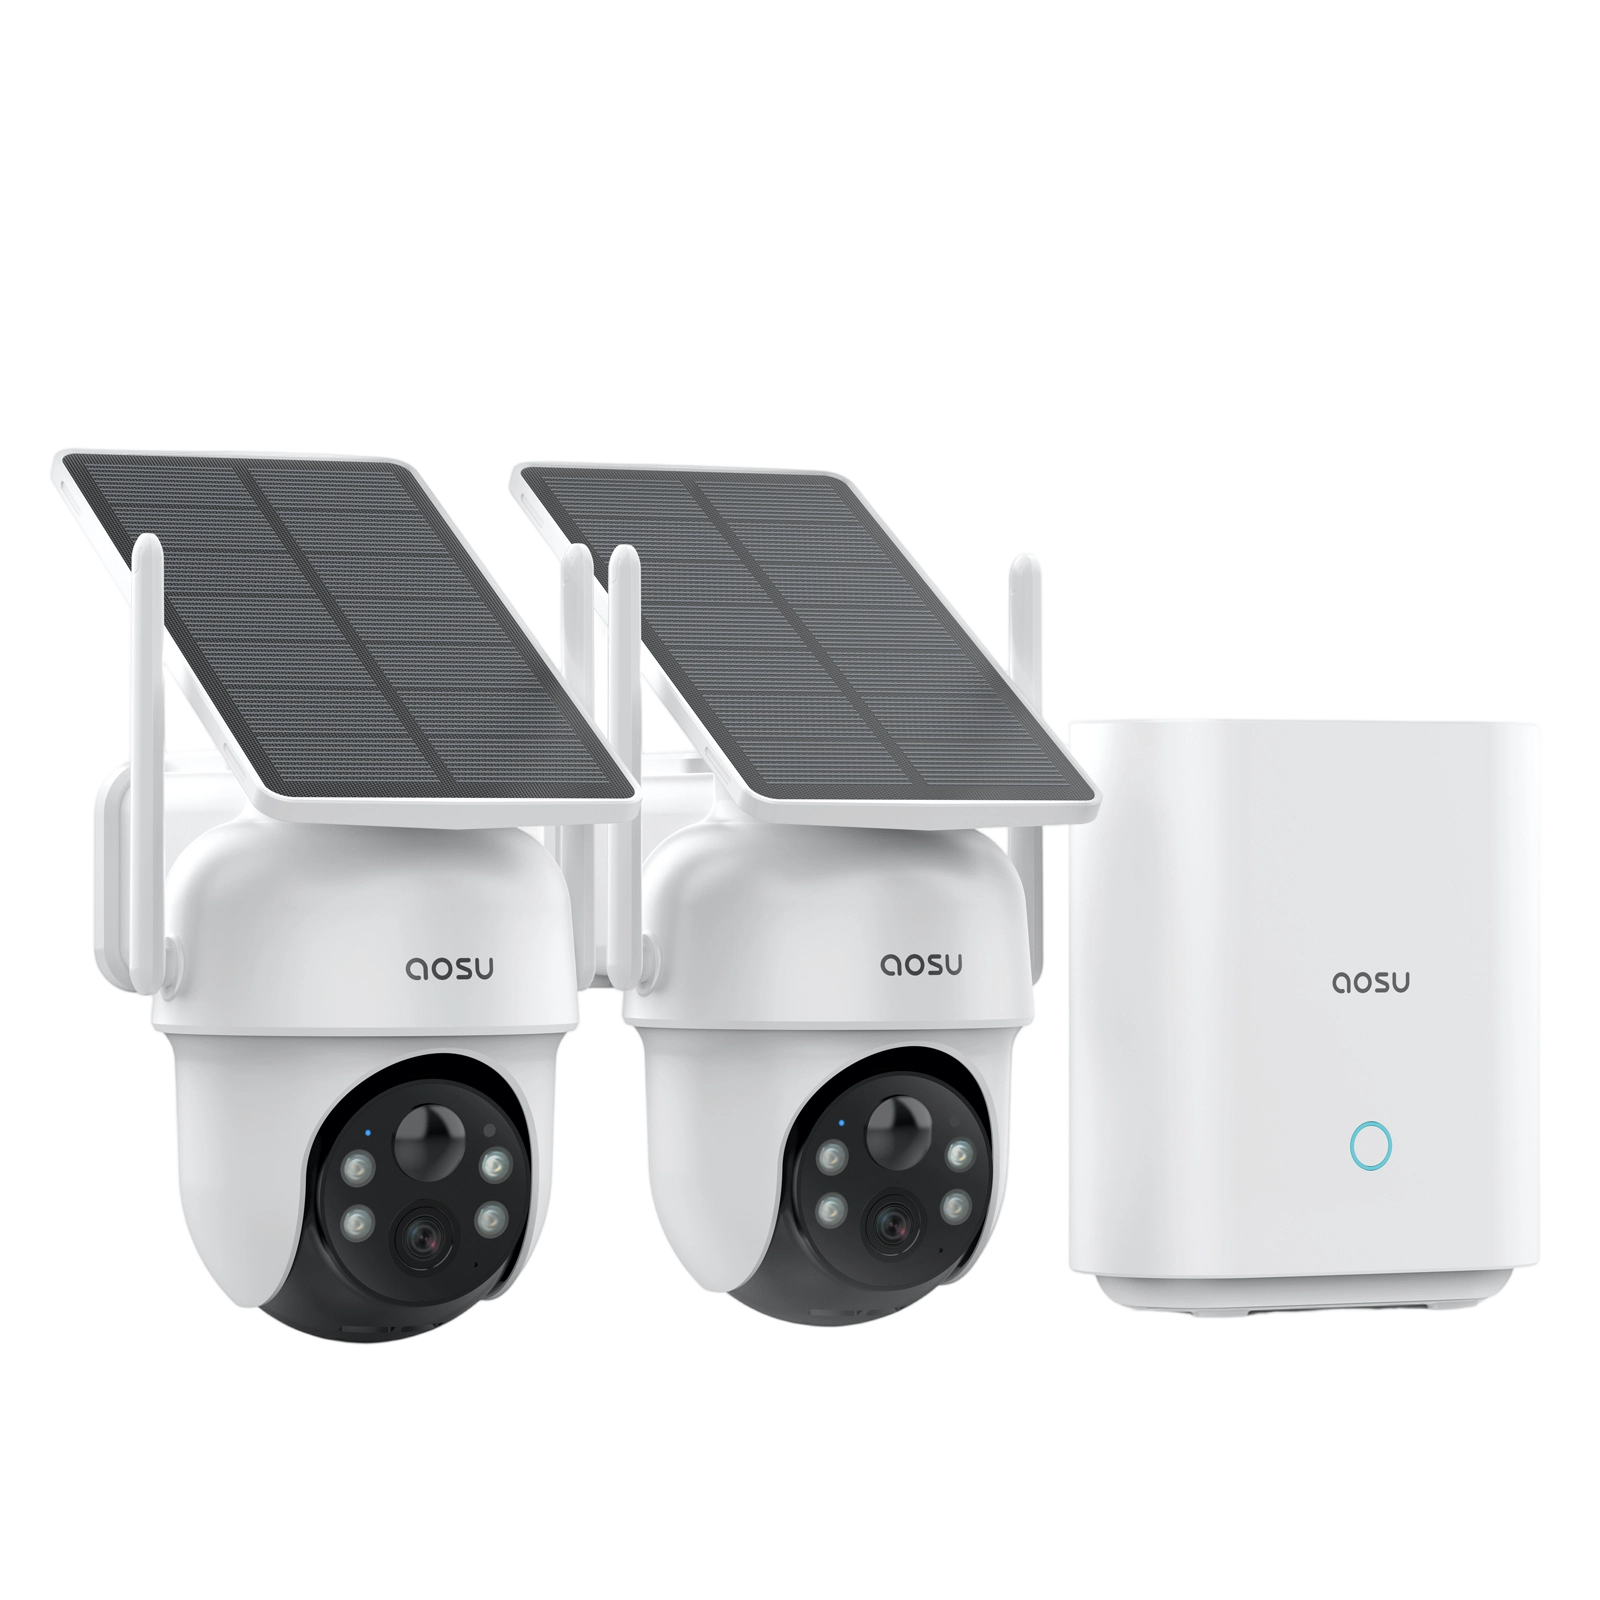
For an aosu camera, use online support in the aosu app. Prepare the camera model and serial number, the panel model, and the cable or adapter details used in the test.
Include a photo of the panel's position, a close-up of the accessible connection, the battery readings, and the wired-test result. A short video showing the charging indication or lack of response gives support something more useful than “it doesn't charge.”
Related links:
How to clean a solar security camera
To Wrap Up
Work from sunlight to connection, temperature, camera activity, and the battery's response to wired charging. The combination of a controlled charging test and a short battery log gives you a clear next step: correct the setup, reduce unnecessary activity, or ask support to assess the hardware.
FAQs
Why does my solar camera show charging while the battery percentage drops?
The camera can use more energy than the panel collects, even while charging is active. Check recent recordings and live-view use, then compare battery levels at the same time on successive days. If the decline continues with good sunlight and little activity, test wired charging.
Can a solar security camera charge on a cloudy day?
A solar panel can collect energy from diffuse daylight, but cloud cover reduces the sunlight available. Whether that input keeps the camera charged depends on the panel, weather, and camera use. Use a period of direct sunlight to investigate a suspected charging failure.
Does no charging icon at 100% mean the panel is broken?
No. Charging can stop when the battery is full, and the icon may disappear. Check your model's indicator guidance and observe it again after normal use lowers the battery level.
Should I factory-reset a solar camera that won't charge?
Start with the panel, connection, temperature, and approved wired charging test. Save your observations before resetting anything. Follow your model's instructions or support's advice if a reset is needed; it can require you to set up the camera again.