



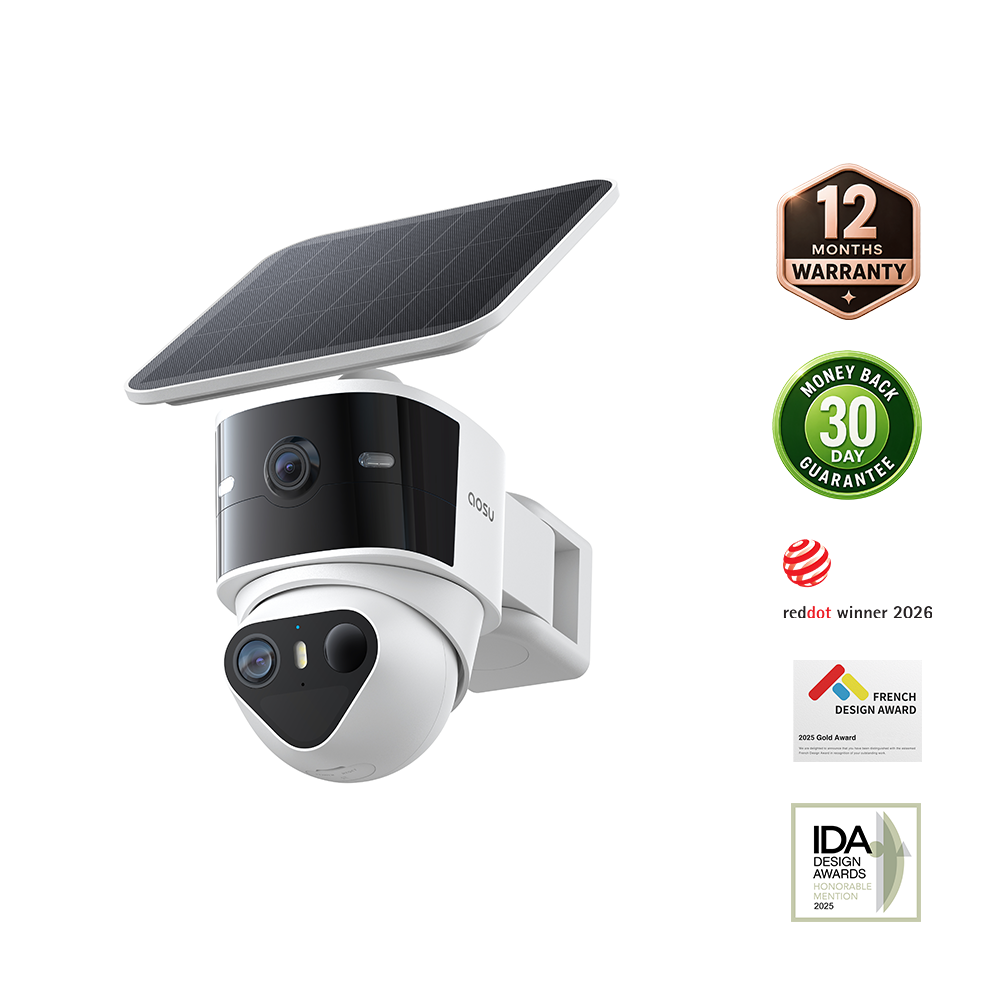
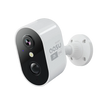
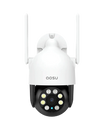
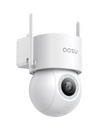
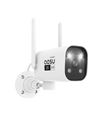


Plan a security camera and alarm installation as one complete response. For each area, decide what starts an event, what the camera must show, what the system should do, where the recording goes and how the household resets it.
Map that event-to-response chain before you mount anything. A one-page system plan will help you choose camera positions, power, Wi-Fi, storage, siren behavior and test steps that work together. In this guide, alarm means intrusion alerts and security sirens, not smoke or carbon monoxide life-safety alarms.
Start With the Event and Response You Need
Walk around the property and list the events you want the system to handle. At the front door, that may be a visitor or package delivery. At a side gate, it may be someone crossing into a restricted yard after dark. At the garage, it may be a vehicle arriving or a person approaching the door.
For each area, finish one sentence: If this happens here, I want the system to do this. That sentence becomes the rule for the camera view, detection zone, alarm action and recording. It also keeps a routine motion notification from becoming an automatic siren unless that response fits the location.
| Area and event | What the camera must verify | First response | What must be tested |
|---|---|---|---|
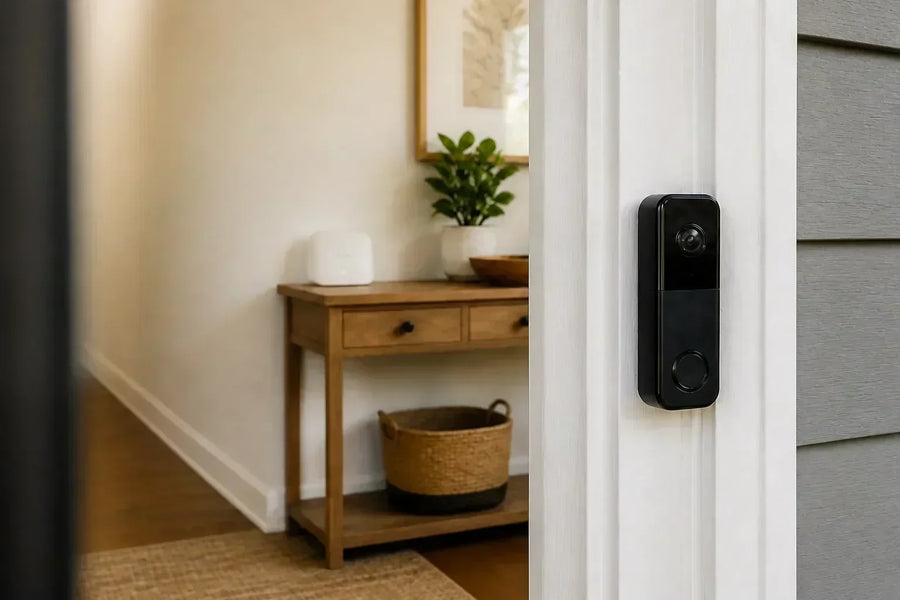
| Front door — visitor or delivery | A visitor's face, the doorstep and the main approach | Record and notify; use two-way audio or a manual siren when needed | Confirm the door, trim and porch light do not block the view |
| Driveway or garage — person or vehicle approaching | People and vehicles moving between the street and the home | Record and notify; schedule stronger deterrence for selected hours | Keep routine road traffic outside the most sensitive zone where possible |
| Side gate or fenced yard — person entering a restricted area | A person crossing the gate or entering the restricted area | Record, notify and use an automatic siren only during appropriate hours | Test family, pet and service access before enabling the siren |
| Indoor entry — exterior door opens while armed | The route from an exterior door into a shared space | Record or notify when the home is armed | Keep private rooms outside the frame and decide who may view recordings |
Map the Full Event-to-Response Chain
This chain is the center of the installation plan. Write the five steps for each protected area so the trigger leads to a useful camera view, a sensible response and a recording you can retrieve. If one step is unclear, revise the location, settings or component choice before mounting.
1. 1. Detect: Choose what starts the event: general motion, a person, a vehicle, a door sensor or another supported trigger. Define the active area and schedule.
2. 2. Verify: The camera view must show what caused the event. A siren is harder to manage when the clip shows only a wall, the top of a person's head or a vehicle after it has already passed.
3. 3. Respond: Decide whether the event sends a notification, turns on a light, plays a warning, sounds a siren or waits for manual action. Write down which responses are automatic.
4. 4. Record: Choose where the video is stored and how long you need it. A card in the camera, an indoor hub and cloud storage behave differently if a device is damaged, removed or offline.
5. 5. Reset and review: Know how to stop the siren, disarm the system, find the clip and share it with another household member. Test these actions before the system is left armed.
 Plan each location as one connected sequence: detect the event, verify it, respond, save the recording and review what happened.
Choose Components That Can Work as One System
Use the completed response chains to build the equipment list. Include every part that has to communicate: cameras, door or motion sensors, hub or base station, sirens, lights, router, storage and the phones used to control the system. Then confirm which functions are handled locally, which need internet access and which depend on a subscription or professional monitoring plan.
A built-in camera siren does not automatically make the camera part of a whole-home alarm. Check whether one device can trigger another, whether arming modes apply to every camera, whether each siren can use its own schedule, and whether shared users can change alarm settings or only view video.
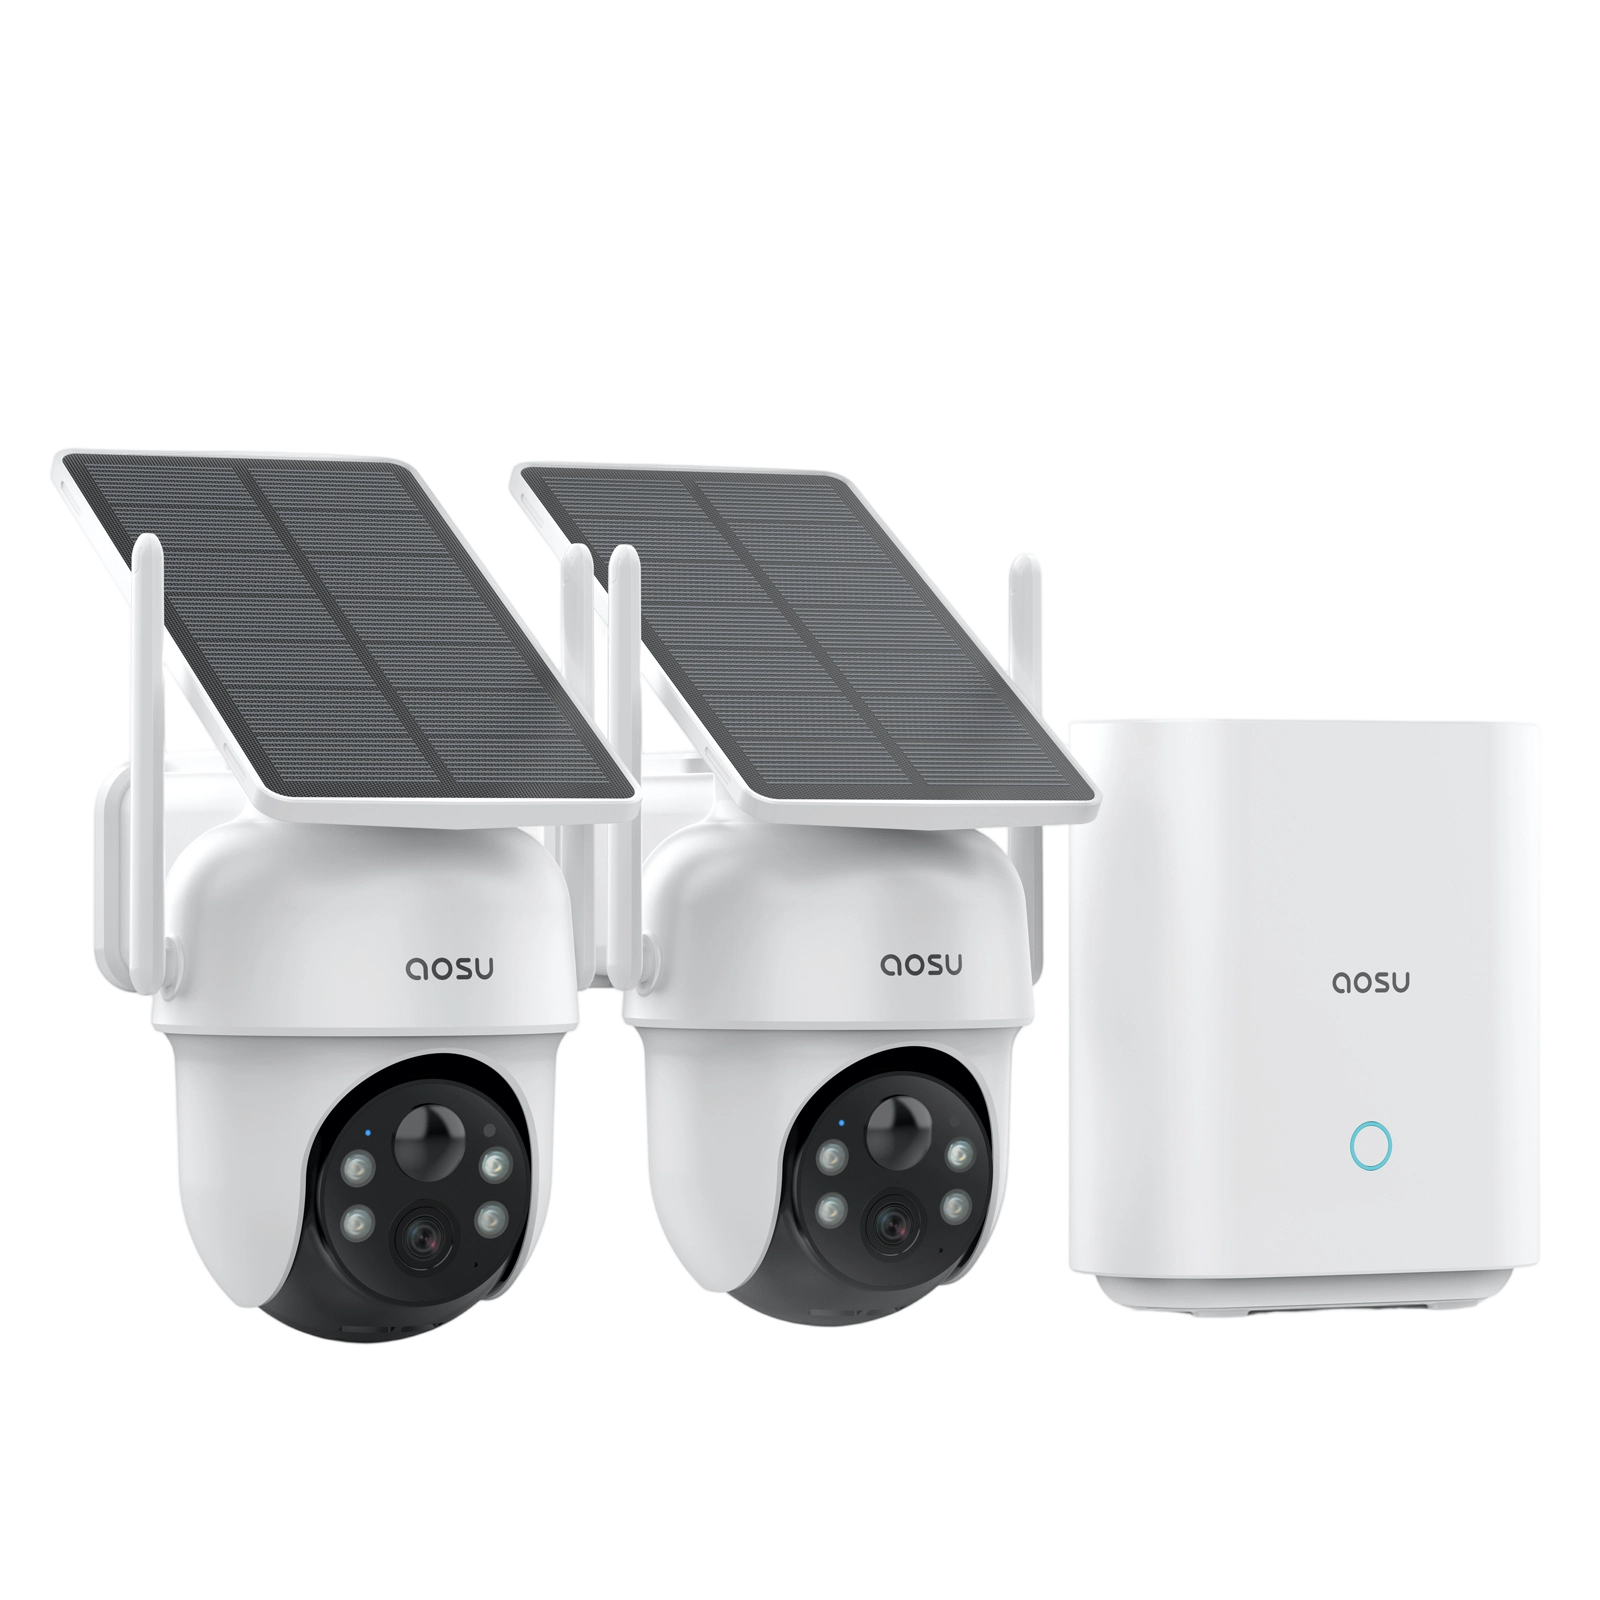
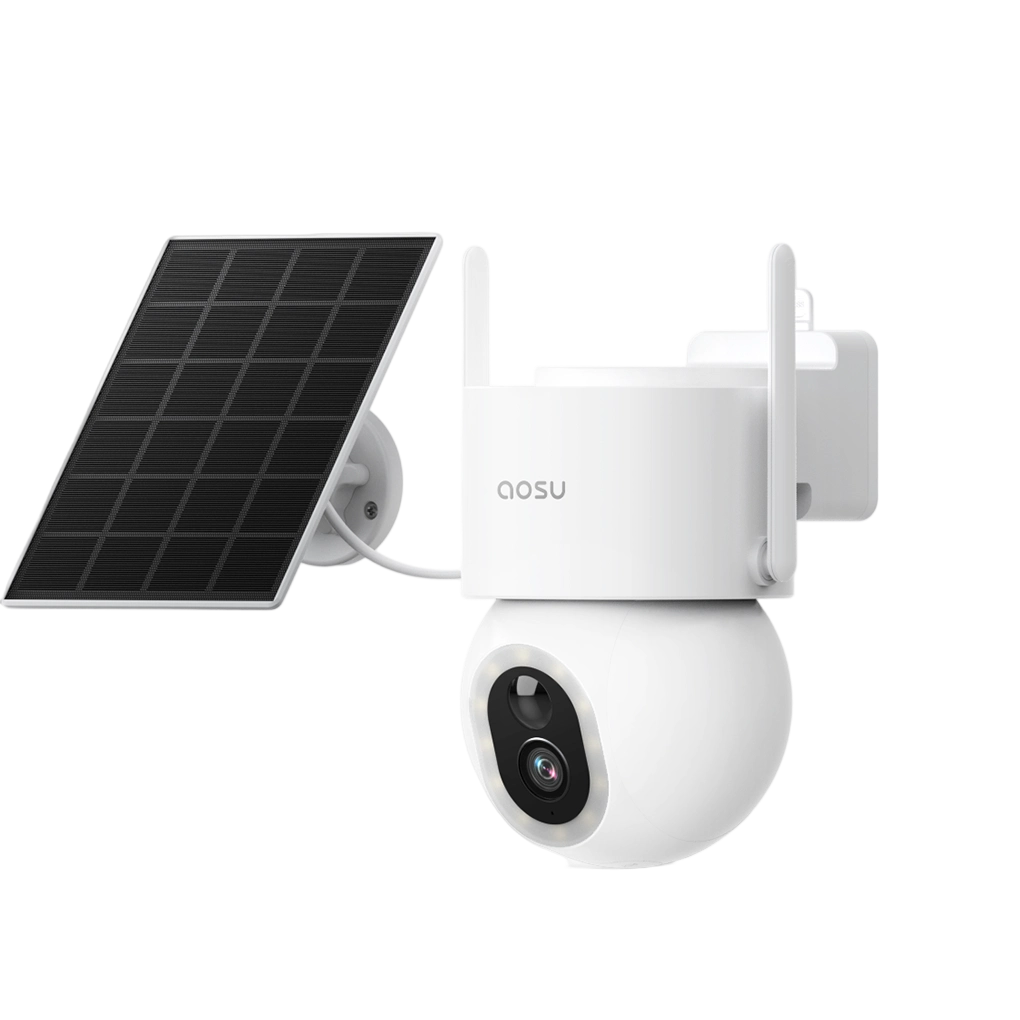
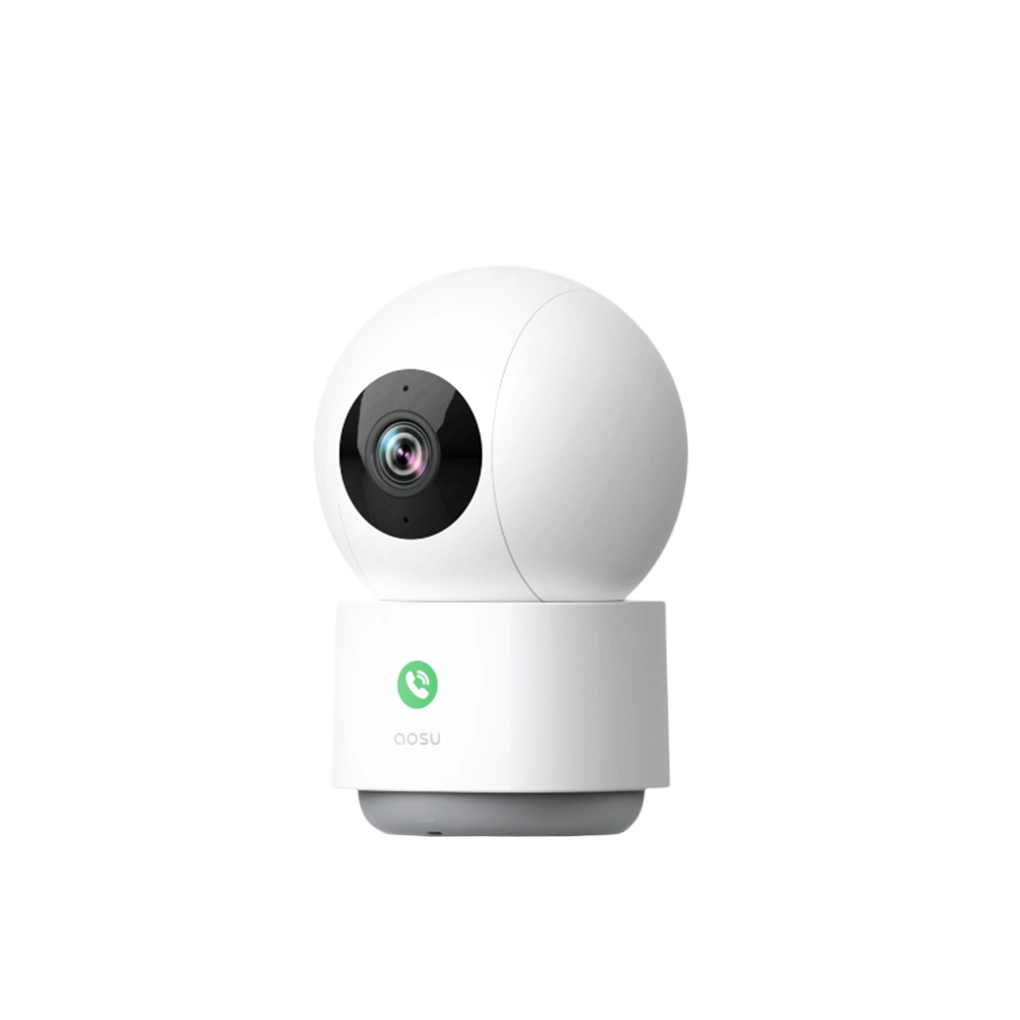
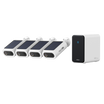
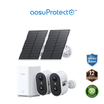
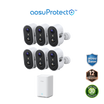
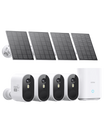
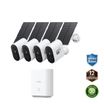
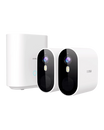
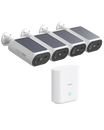
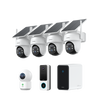
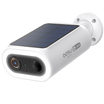
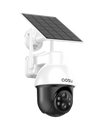
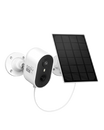
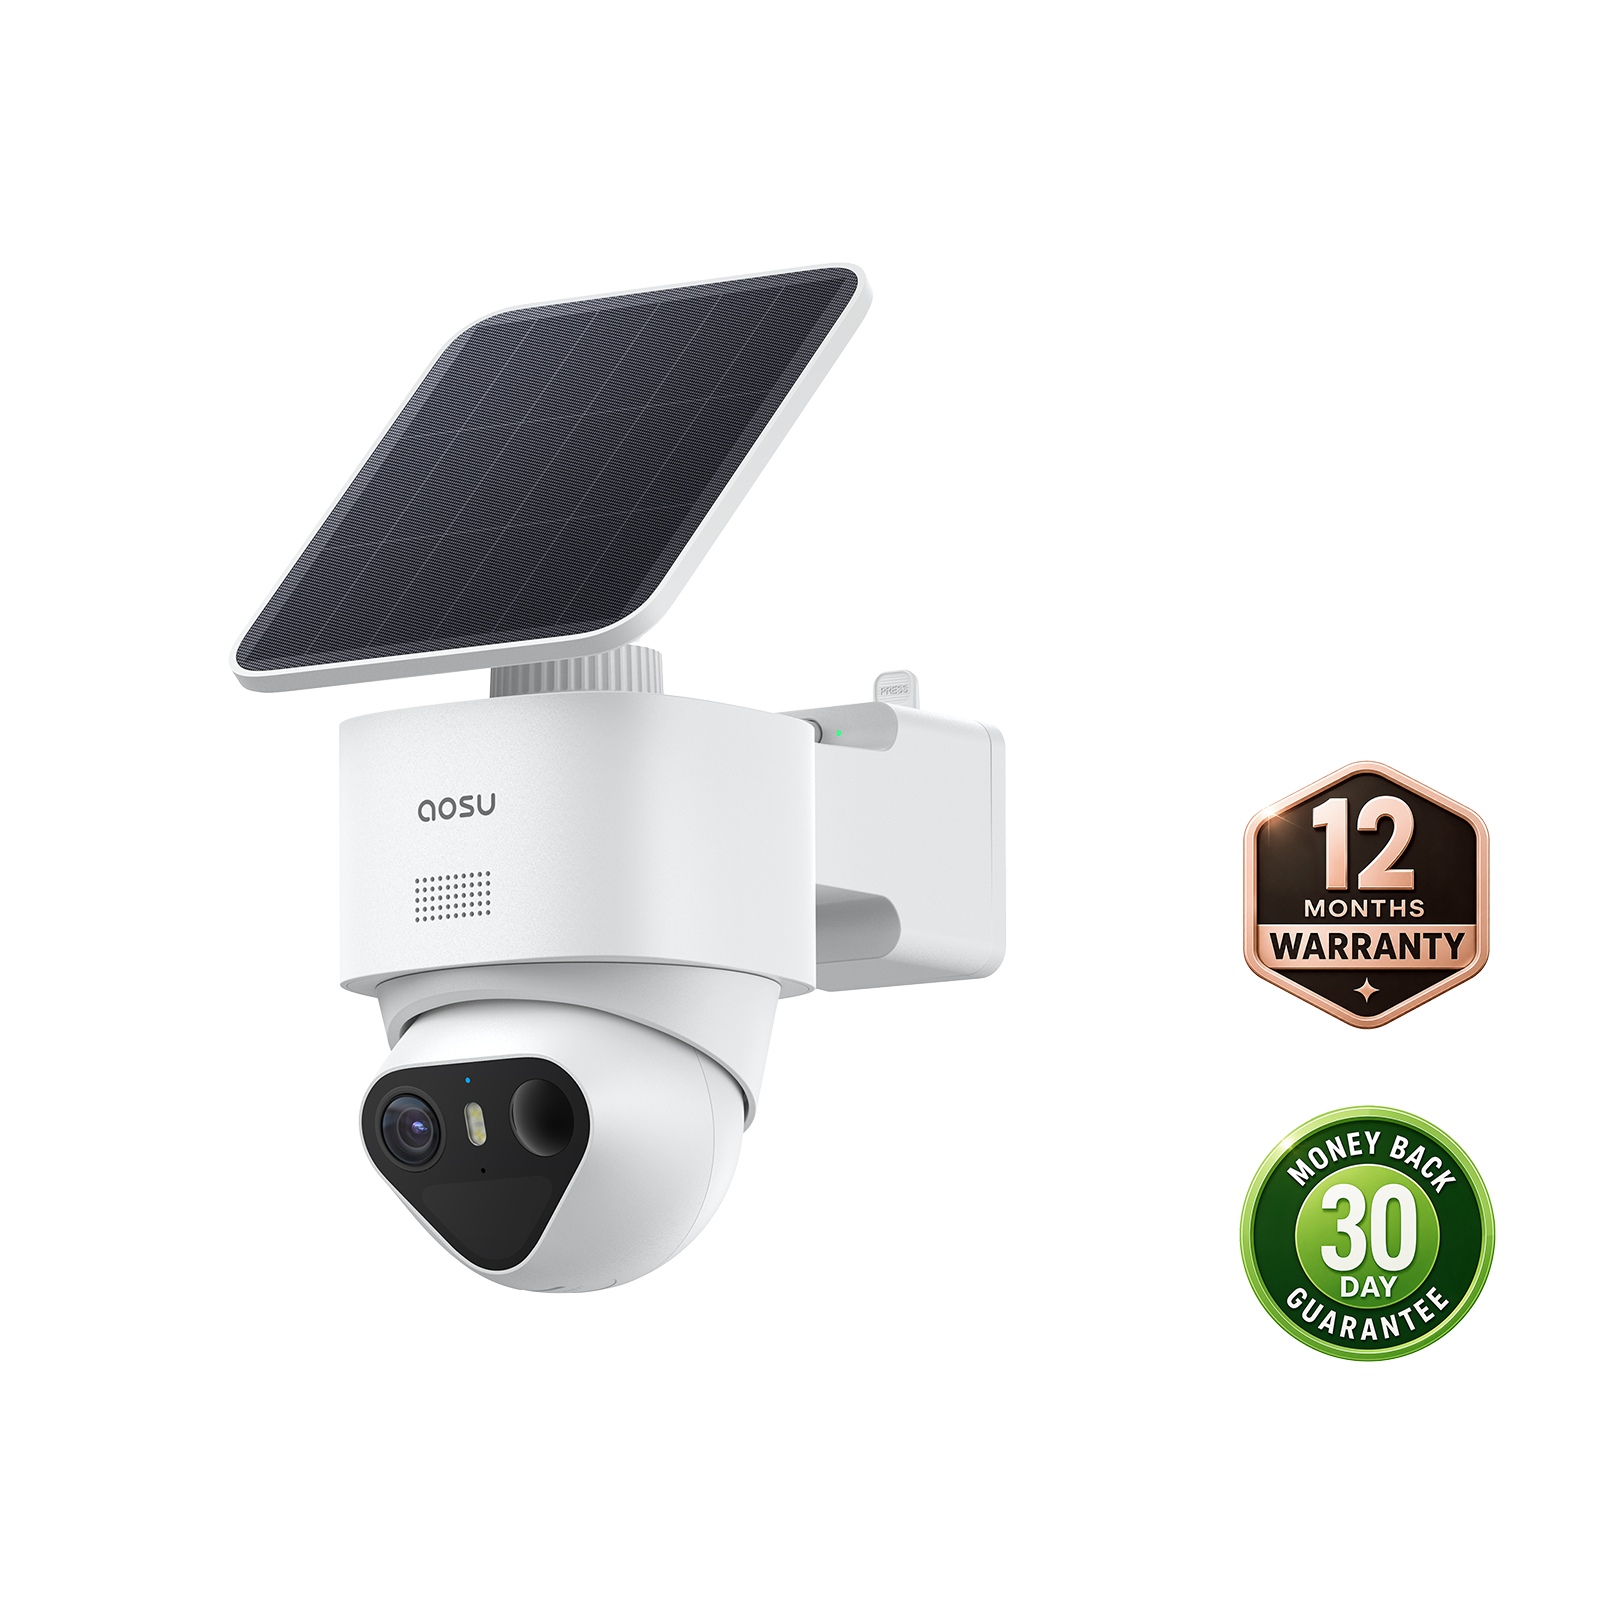
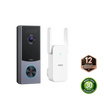
If you are considering an aosu multi-camera bundle, verify the exact bundle rather than applying one model's features to the full range. The current WirelessCam System page, for example, documents motion-triggered siren and spotlight behavior, shared access, base-station storage and recording during a Wi-Fi outage for that system.
Related links:
· Related: Compare outdoor security cameras with a siren
Plan Camera and Siren Placement Together
Draw a simple floor plan or property outline. Mark doors, ground-floor windows, gates, driveways, garages and the paths people actually use. For each area, add the proposed camera view as a cone, mark the zone that starts the event and write the planned response beside it. The camera view and detection zone are related, but they are not the same boundary.
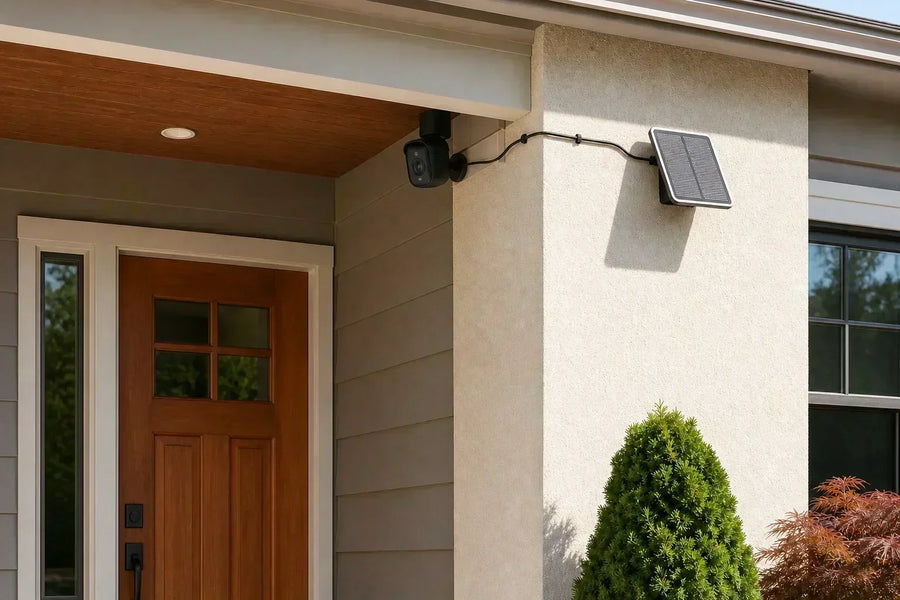
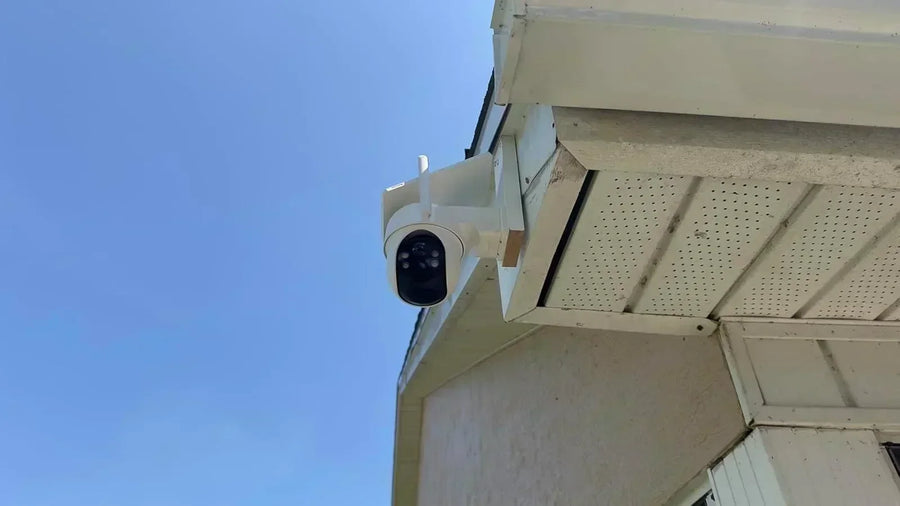
Place each camera where it can show useful detail before, during and after the trigger point. A gate camera should not begin recording only after a person is already beside the lens. A driveway camera needs enough approach distance to show movement toward the home, not just a close view of a parked car.
Plan audible alarms around how the home is used. A siren beside a bedroom window creates a different household impact from one near a detached garage. Check whether the warning can be heard where it matters, whether neighbors will hear routine tests and whether you can reach the control that stops it.
Aim cameras at the property and activity you need to protect. Reduce unnecessary views into neighboring windows, private yards and shared indoor spaces. Also decide whether audio recording is necessary; it can raise separate privacy and legal questions.
Related links:
· Related: Home security camera placement guide
Plan Power, Network and Storage Before Hardware
Mark the power, network, storage and recovery path for every camera and hub. These dependencies determine whether an alert arrives, a clip is saved and the system returns to normal after an outage.
1. Power: Match each location to battery, solar-assisted, plug-in, low-voltage or mains-wired power. Include the hub, router and indoor siren in the plan. Mains wiring, new outdoor receptacles and permanent cable routes belong with a qualified electrician where required.
2. Network: Test the actual mounting area with the doors and windows in their normal positions. Confirm live view, alerts and any hub connection at each temporary location; a strong phone signal beside the router does not prove the camera position will work.
3. Storage: Choose where recordings will live, how long they remain available and what happens during an internet outage. If important footage must survive removal of an outdoor camera, use an indoor or off-site storage option that the selected system supports.
4. Recovery: Write down what the system does after a power or internet outage. Check whether cameras reconnect automatically, whether local recording continues and whether alarm schedules and device clocks return correctly.
Decide Alarm Behavior Before You Turn It On
Use automatic sirens where the rule is easy to defend, such as a closed side yard during hours when nobody should enter. Use notification-first or manual siren control at a busy front path used by family, visitors and delivery drivers.
Turn each event-to-response chain into one plain-language rule: From 11 p.m. to 6 a.m., a person crossing the side-gate zone records video, sends an alert and sounds the camera siren. Then list the exceptions, such as a family member arriving late or a pet using the yard. If the rule creates too many exceptions, the location needs a narrower zone or a less disruptive response.
If professional monitoring or an emergency response is part of the plan, check registration, verification and false-alarm requirements with your local police, fire department or alarm authority before activation. Do not treat a successful phone notification as proof that a monitoring center received the event.
Secure the System and Assign Access
Set up the account before the equipment is hard to reach. Replace default credentials, use a unique password, turn on two-factor authentication when available and update the camera, hub and app. Secure the home router with current WPA2 or WPA3 encryption and install its updates as well.
Give each household member the access they need. Decide who can view live video, download clips, change detection zones, edit alarm schedules and add another user. Do not share one administrator password when the system supports individual accounts or permission levels.
Keep a short system record with device names, serial numbers, mounting locations, power sources, storage locations and account owner. This makes it easier to troubleshoot a camera or remove access later without guessing which device is which.
Use a Test-First Installation Order
Use the plan as the test script. Complete setup at ground level first: charge devices, pair cameras and sensors, update firmware, create device names and confirm that recordings can be opened. Keep sirens disabled during this first pass.
1. 1. Hold or temporarily place each camera: Use live view to check faces, packages, gates and vehicle paths in daylight and after dark. Confirm doors, gutters, plants and exterior lights do not block the view.
2. 2. Run a walk test: Walk toward and across the planned detection area. Check where recording starts, which notification arrives and whether the clip shows enough context to verify the event.
3. 3. Confirm power and connection: Check Wi-Fi or hub communication at the exact location and confirm the final cable, solar panel or charging route. Do not drill for a location that cannot stay powered or connected.
4. 4. Mount with the correct method: Use hardware suited to the surface and the device. Keep ladders on stable ground and away from overhead wires. Use a qualified electrician for permanent mains wiring or other work outside safe homeowner scope.
5. 5. Test the full response: Trigger one planned event at a time and run the full chain: detect, verify, respond, record, then stop and reset. Repeat the test for every household mode and shared user who needs to respond.
Related links:
· Next: Camera mounting guide for wood, brick, concrete, siding and no-drill locations
Common Planning Mistakes to Avoid
1. Mounting before pairing: A ladder is the wrong place to discover that the camera needs a reset, QR code scan or firmware update.
2. Using one alarm rule everywhere: A quiet side gate and a busy front door need different schedules, zones and responses.
3. Planning the siren without the evidence: An alarm action needs a useful camera view, a saved recording and someone who knows how to verify, silence and reset it.
4. Planning only for normal internet service: Know which functions continue locally and what you will lose during an outage.
5. Skipping the household handoff: Everyone who may hear or receive an alarm should know how to verify, silence and reset it.
To Wrap Up
Good security camera and alarm installation starts with a response map. Write the event-to-response chain for every important area: detect, verify, respond, record and reset.
Then pair and test the system before mounting. Once each temporary location delivers a useful view, reliable connection, retrievable recording and sensible alarm behavior, you can install the hardware with far less rework.
FAQs
Should I install security cameras or alarm sensors first?
Pair and test both before permanent installation. On the property, confirm the camera view and detection behavior first, then place any separate sensor where its trigger can be verified by the camera.
Can a security camera trigger a home alarm?
Some systems can use camera detection to trigger a siren, light or wider automation, but compatibility varies. Confirm the exact trigger, schedule and device relationships supported by your camera, hub and alarm system.
Where should a security camera with a siren be installed?
Choose a location that shows the approach and trigger area clearly, has reliable power and connectivity, and places the siren where it can warn without disrupting routine visitors or household activity.
Do I need a permit for a home security alarm?
Requirements vary by location and system type. If the alarm is professionally monitored or can lead to an emergency response, ask your local police, fire department or alarm authority about registration, verification and false-alarm rules before activation.