


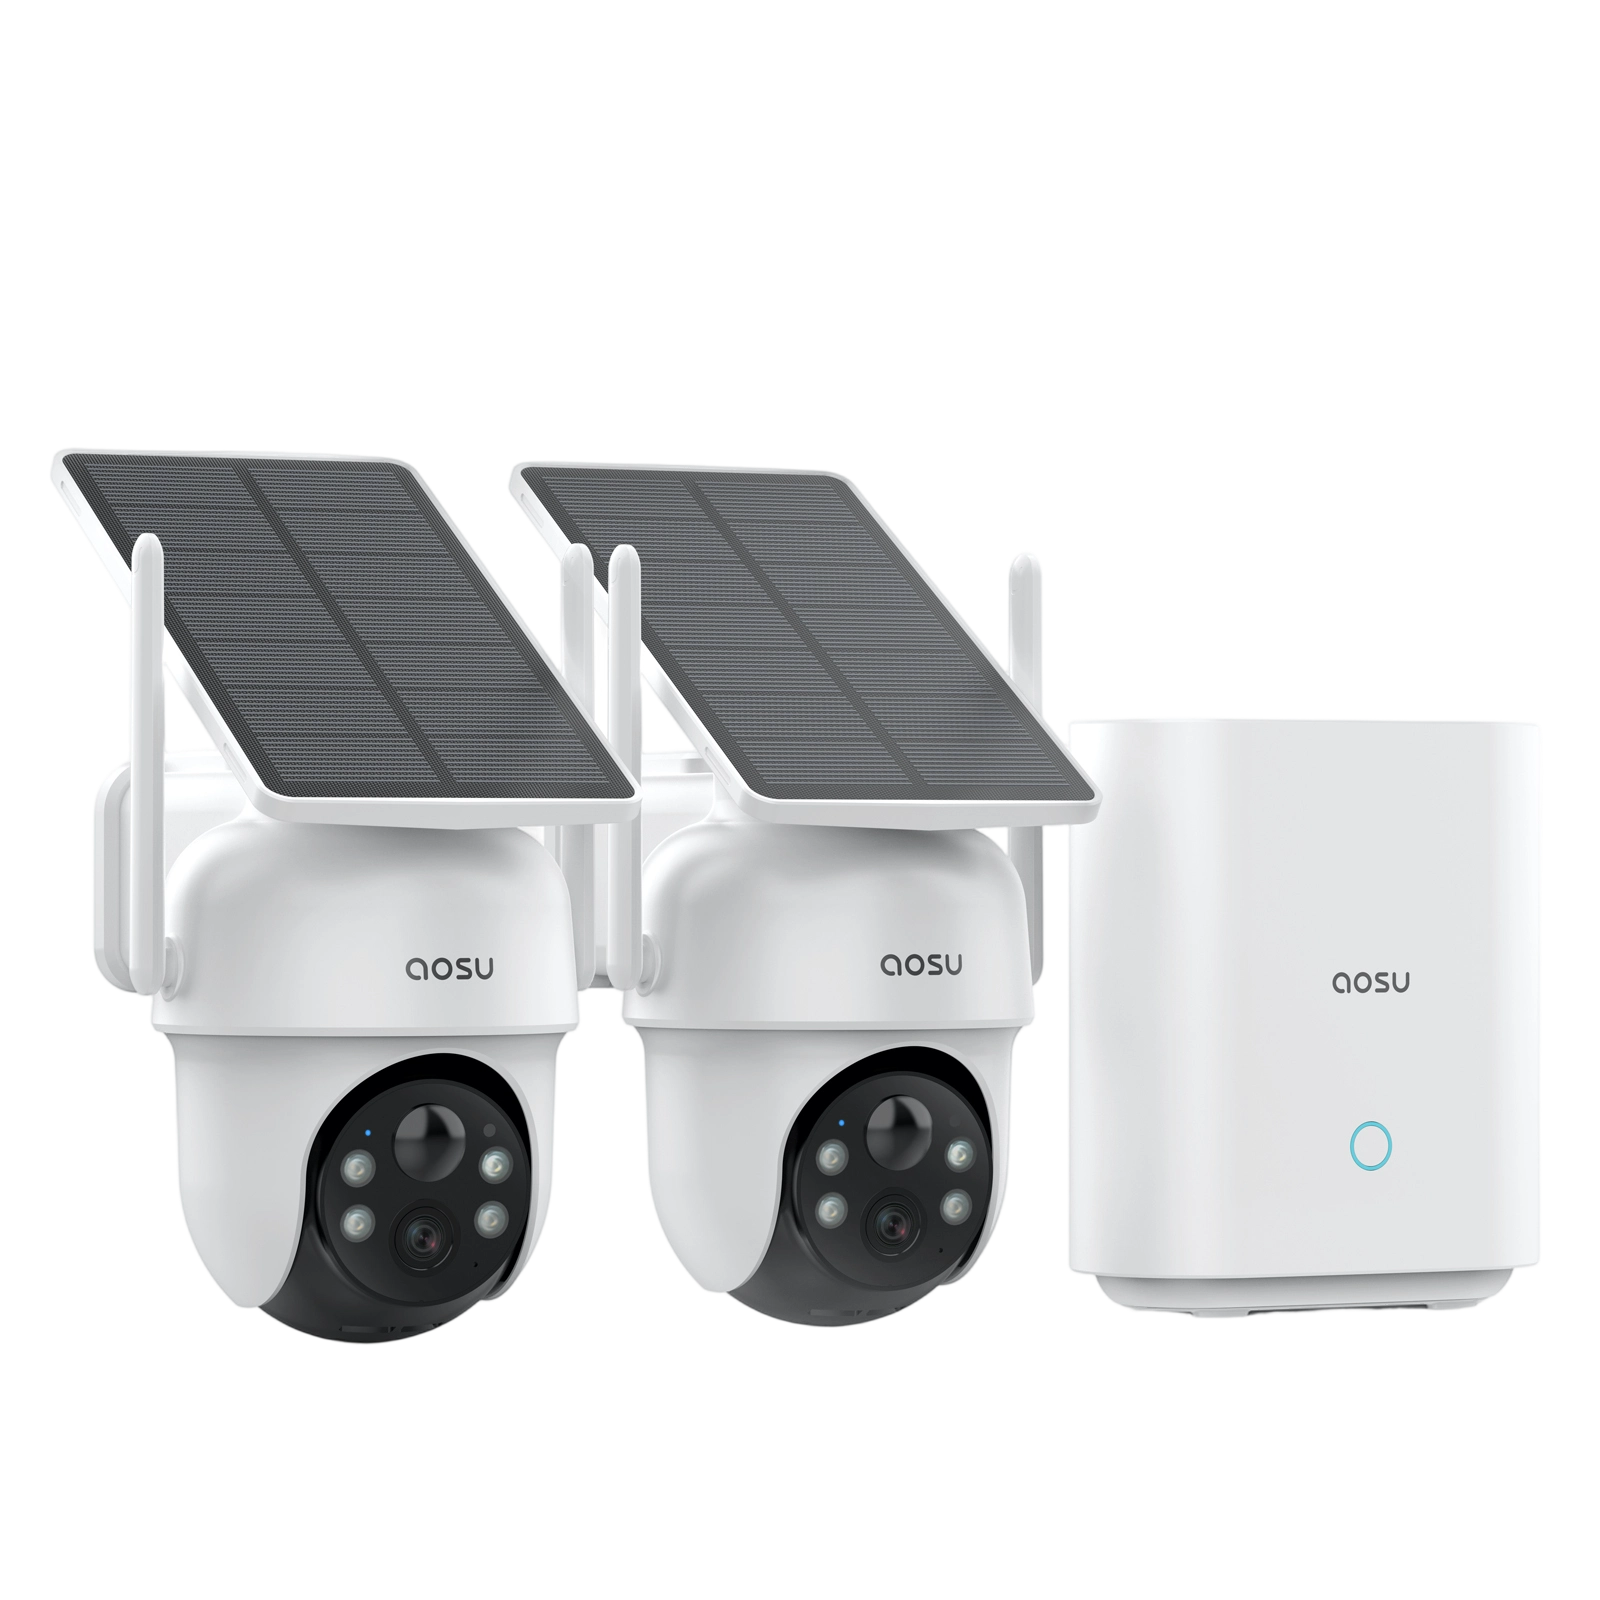
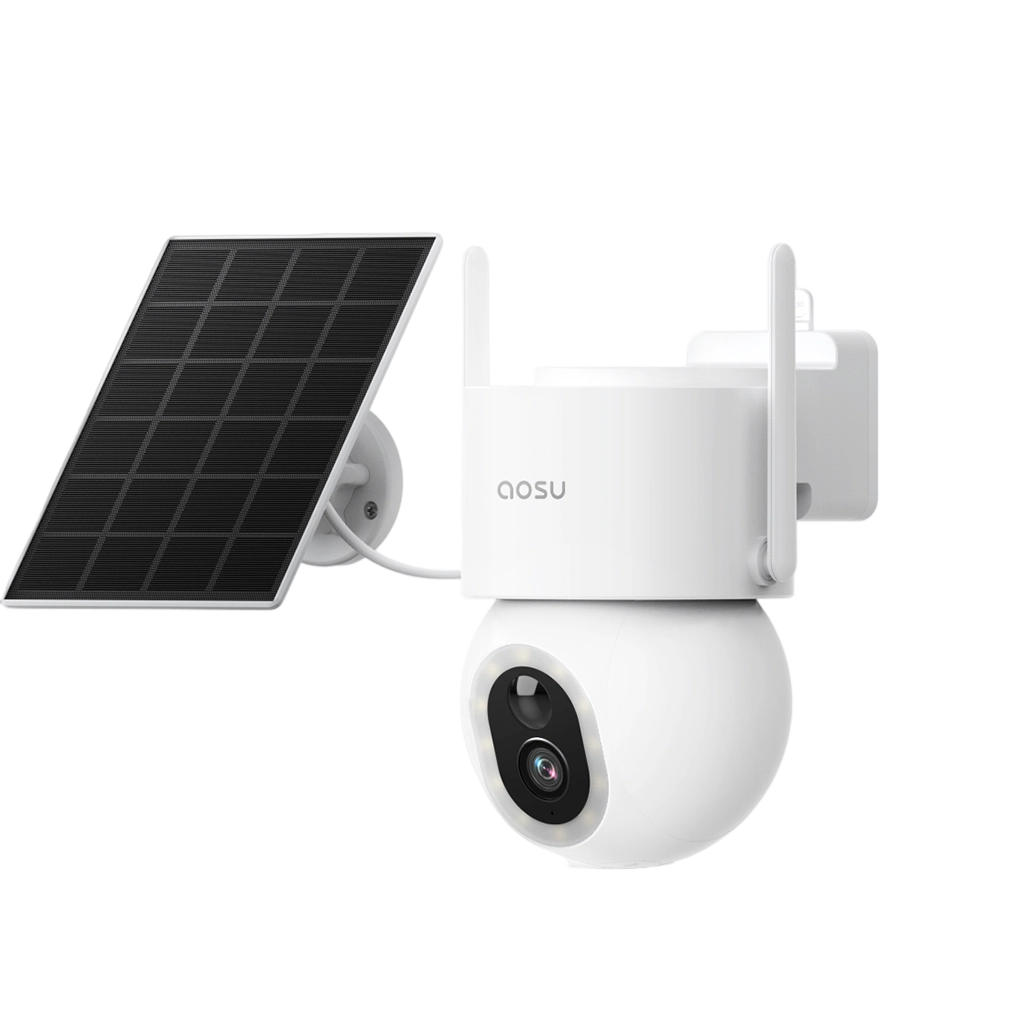

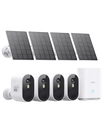
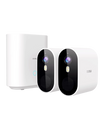
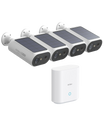
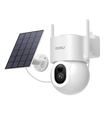
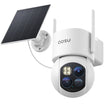
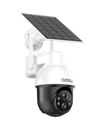
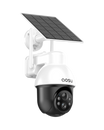
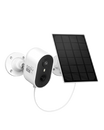
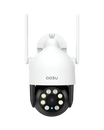




Vinyl siding isn’t structural, it’s a protective outer layer that can crack, warp, or loosen if you use the wrong mounting method.
This guide walks through the safest ways to install a security camera on vinyl siding — including when to drill, when not to, and how to avoid long-term damage.
Before You Start: Check What Will Support the Camera
Vinyl siding expands and contracts as temperatures change. For a permanent installation, fasten the camera assembly to suitable backing using a mounting detail that lets the siding move.
Choose a Mounting Method
Option 1: Use a Compatible No-Drill Siding Clip

A siding clip hooks onto the seam between panels. Before using one, confirm that your siding manufacturer permits this type of attachment and that the clip maker lists your siding profile and camera or bracket as compatible. Check the clip’s published load limit against the total installed weight, including the security cameras, bracket, avoid drilling entirely and any accessories supported by the clip.
If the panel is loose or damaged, the clip rocks after installation, or you cannot confirm compatibility or the load limit, choose another mounting location or use a mount secured to suitable backing. If you rent, ask the property owner before attaching equipment to the exterior.
Option 2 — Drill Through the Siding into the Structure Behind
Vinyl siding covers sturdy structural parts of homes, which can be used for mounting.
For a heavier duty, more permanent installation, you can drill through the siding and into the solid surface behind it, such as studs, framing, and wood sheathing. Here’s how:
1. Gather the tools
Here are the basics tools needed for mounting a camera through vinyl into the structure behind.
- Long screws (extra length needed to reach through vinyl into material behind)
- Drill bit 3x diameter of screws (for drilling through vinyl)
- Power drill
- Driver bit
- Safety glasses
- Level
- Marker
- Exterior-grade sealant

Additional:
- A masonry drill bit for concrete or brick
- Screw anchors for concrete or brick
- A mounting block may be advisable for large, heavy security cameras
2. Choose location
Pick a spot that:
- has good camera coverage
- has sturdy structure behind the vinyl that can be drilled into
- avoids seams or edges where siding is weaker
Note: Additional tools such as a stud finder or siding remover may be needed if you do not know what is behind your vinyl siding.
3. Mark holes
Hold the mount in place and mark the screw locations with a marker.
4. Drill carefully
- use a drill bit 3x wider than your screws for the vinyl siding
- drill slowly through the vinyl siding
- avoid applying too much pressure (vinyl can crack)
Note: If the structure behind the vinyl is brick or concrete, additional steps of pre-drilling with a masonry bit and adding anchors are needed.
5. Seal the holes
Use exterior-grade sealant in the screw holes you just drilled into the vinyl.
Vinyl siding is made to move, expand, and contract while protecting your home from water damage. Properly sealing holes prevents water intrusion and long-term damage behind the siding.
6. Insert screws
Place the mount and screw the screws through the sealant and into the structure behind. Tighten until mount is secure, avoid overtightening.
Note: For additional weatherproofing, apply sealant around mounting bracket edges.


Common Mistakes to Avoid
Drilling into siding only
Vinyl siding is not made to support weight on its own.
This leads to loose mounts, cracking, and long-term failure. It also exposes your home to additional water damage risk.
Skipping sealant
Even small holes can allow water behind the siding, which can cause mold, wood rot, and insulation damage.
Overtightening screws
Vinyl is made for slight movement.
If you overtighten or don’t leave additional space for flexible sealant in the vinyl entry points, siding can warp and panels can buckle over time.
Mounting in unsupported areas
Make sure you are drilling into something solid like studs or sheathing, not just insulation or empty space behind siding.
When to Choose Another Location
If the siding is brittle, the backing is unknown, or the wall system’s weatherproofing detail is unclear, pause before drilling. Look for a nearby mounting surface with verified support, or ask a siding installer to inspect the proposed location.
FAQs About Mounting a Security Camera on Vinyl Siding
Can I mount a security camera without drilling into vinyl siding?
A clip can work when the siding manufacturer permits it and the clip is compatible with your panel profile, camera bracket, and total installed weight. Check those requirements before buying the mount.
What should a permanent camera mount fasten to?
Follow the camera and mounting block instructions to fasten the assembly into suitable backing. The finished detail should allow the vinyl to move and preserve the wall system’s drainage path.
When should I hire an installer?
Hire a siding installer if you cannot identify the backing or confirm how to flash and seal the penetration. If the camera requires a new mains electrical connection, have a qualified electrician handle that work.