


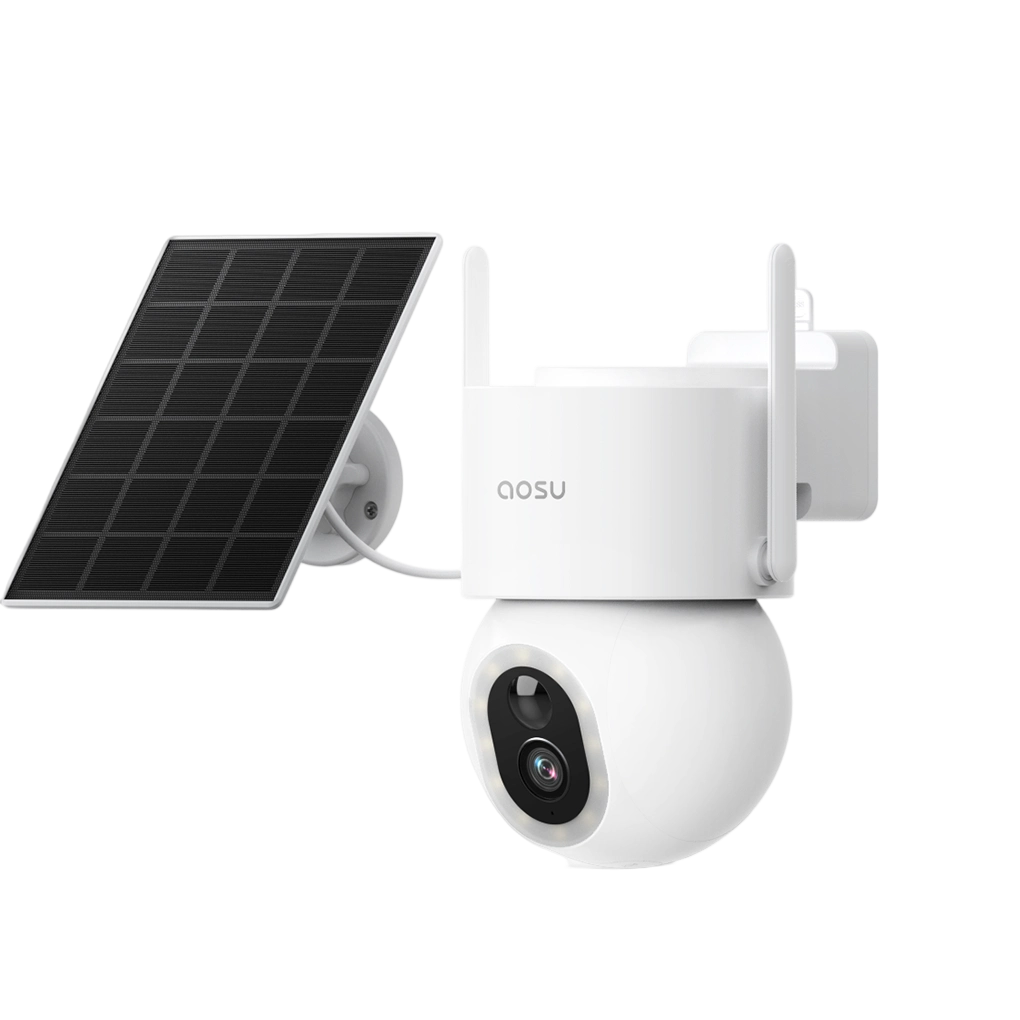
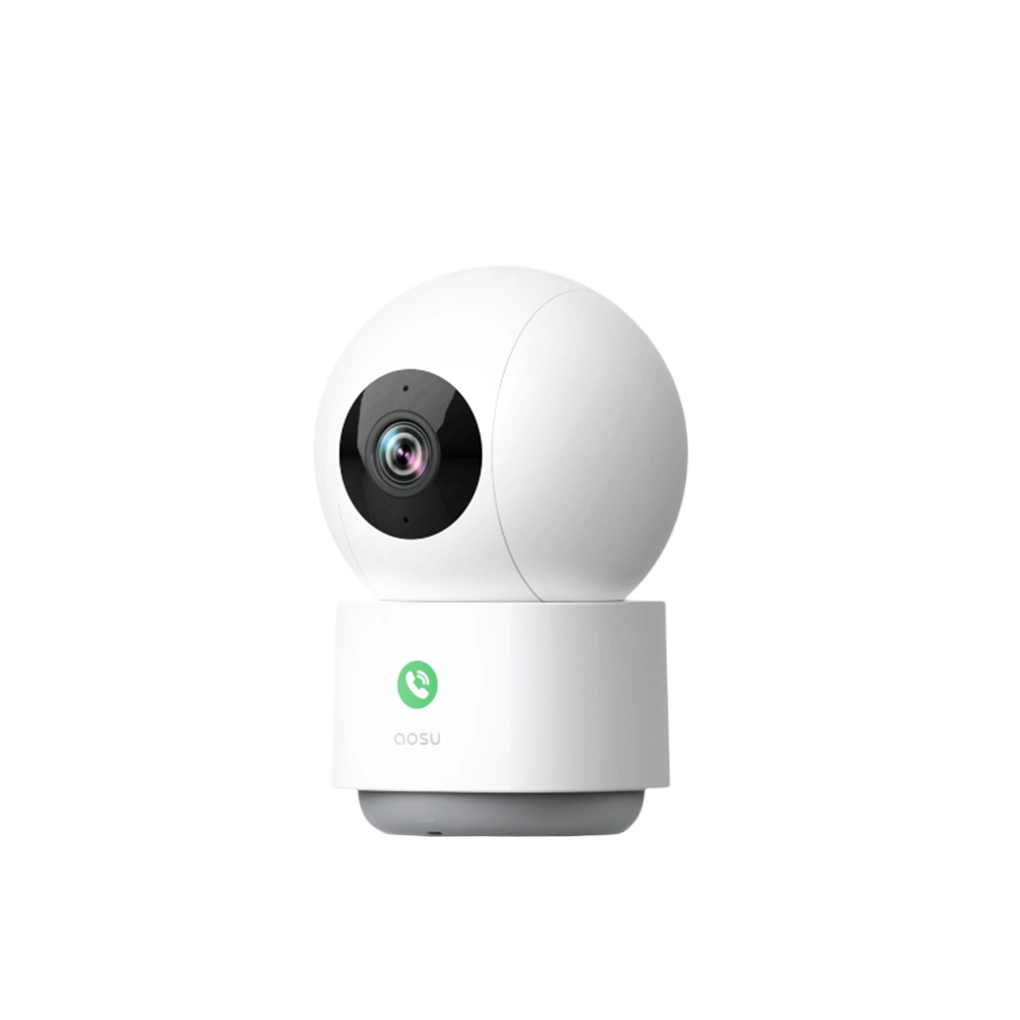
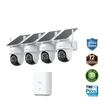
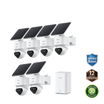
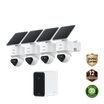
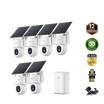
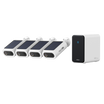

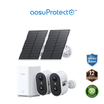
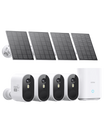
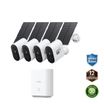
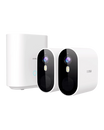
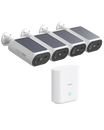
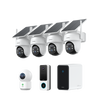
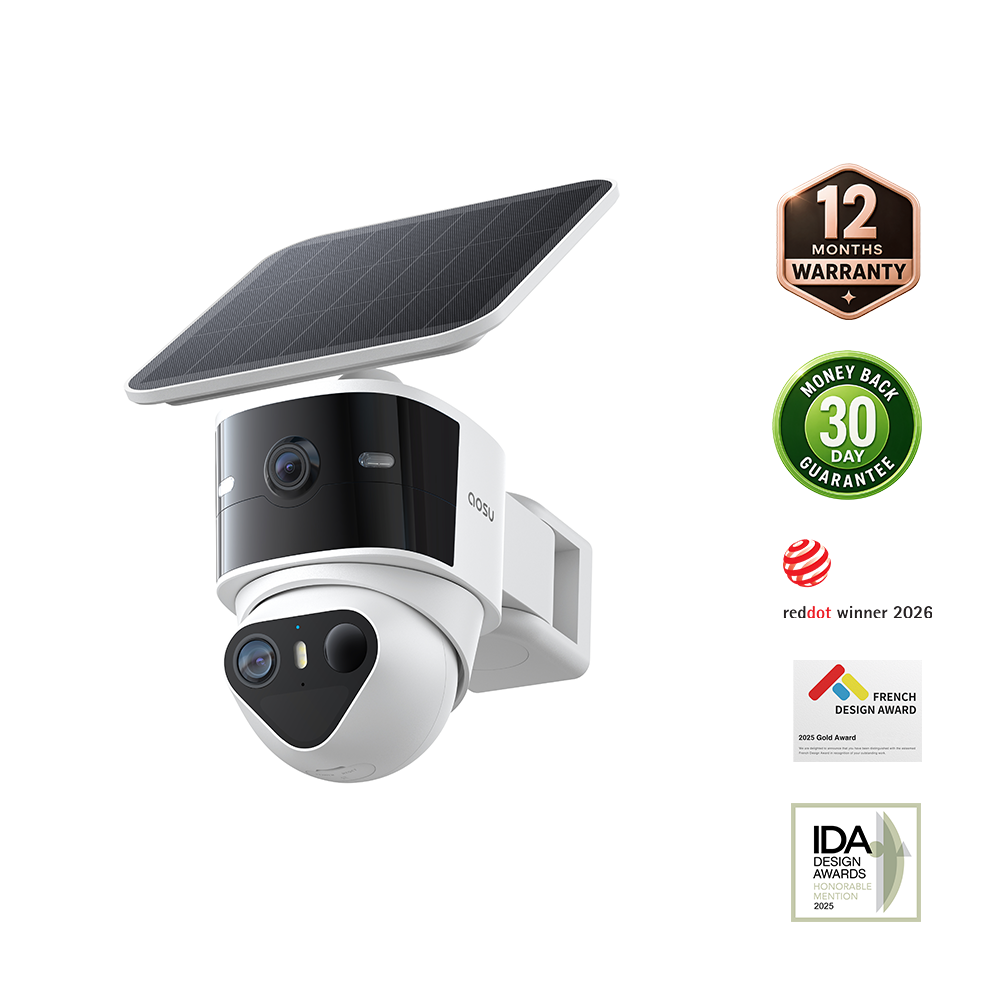
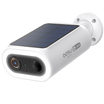
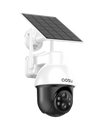
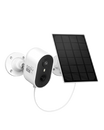
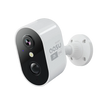
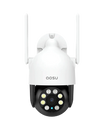
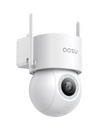
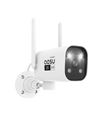

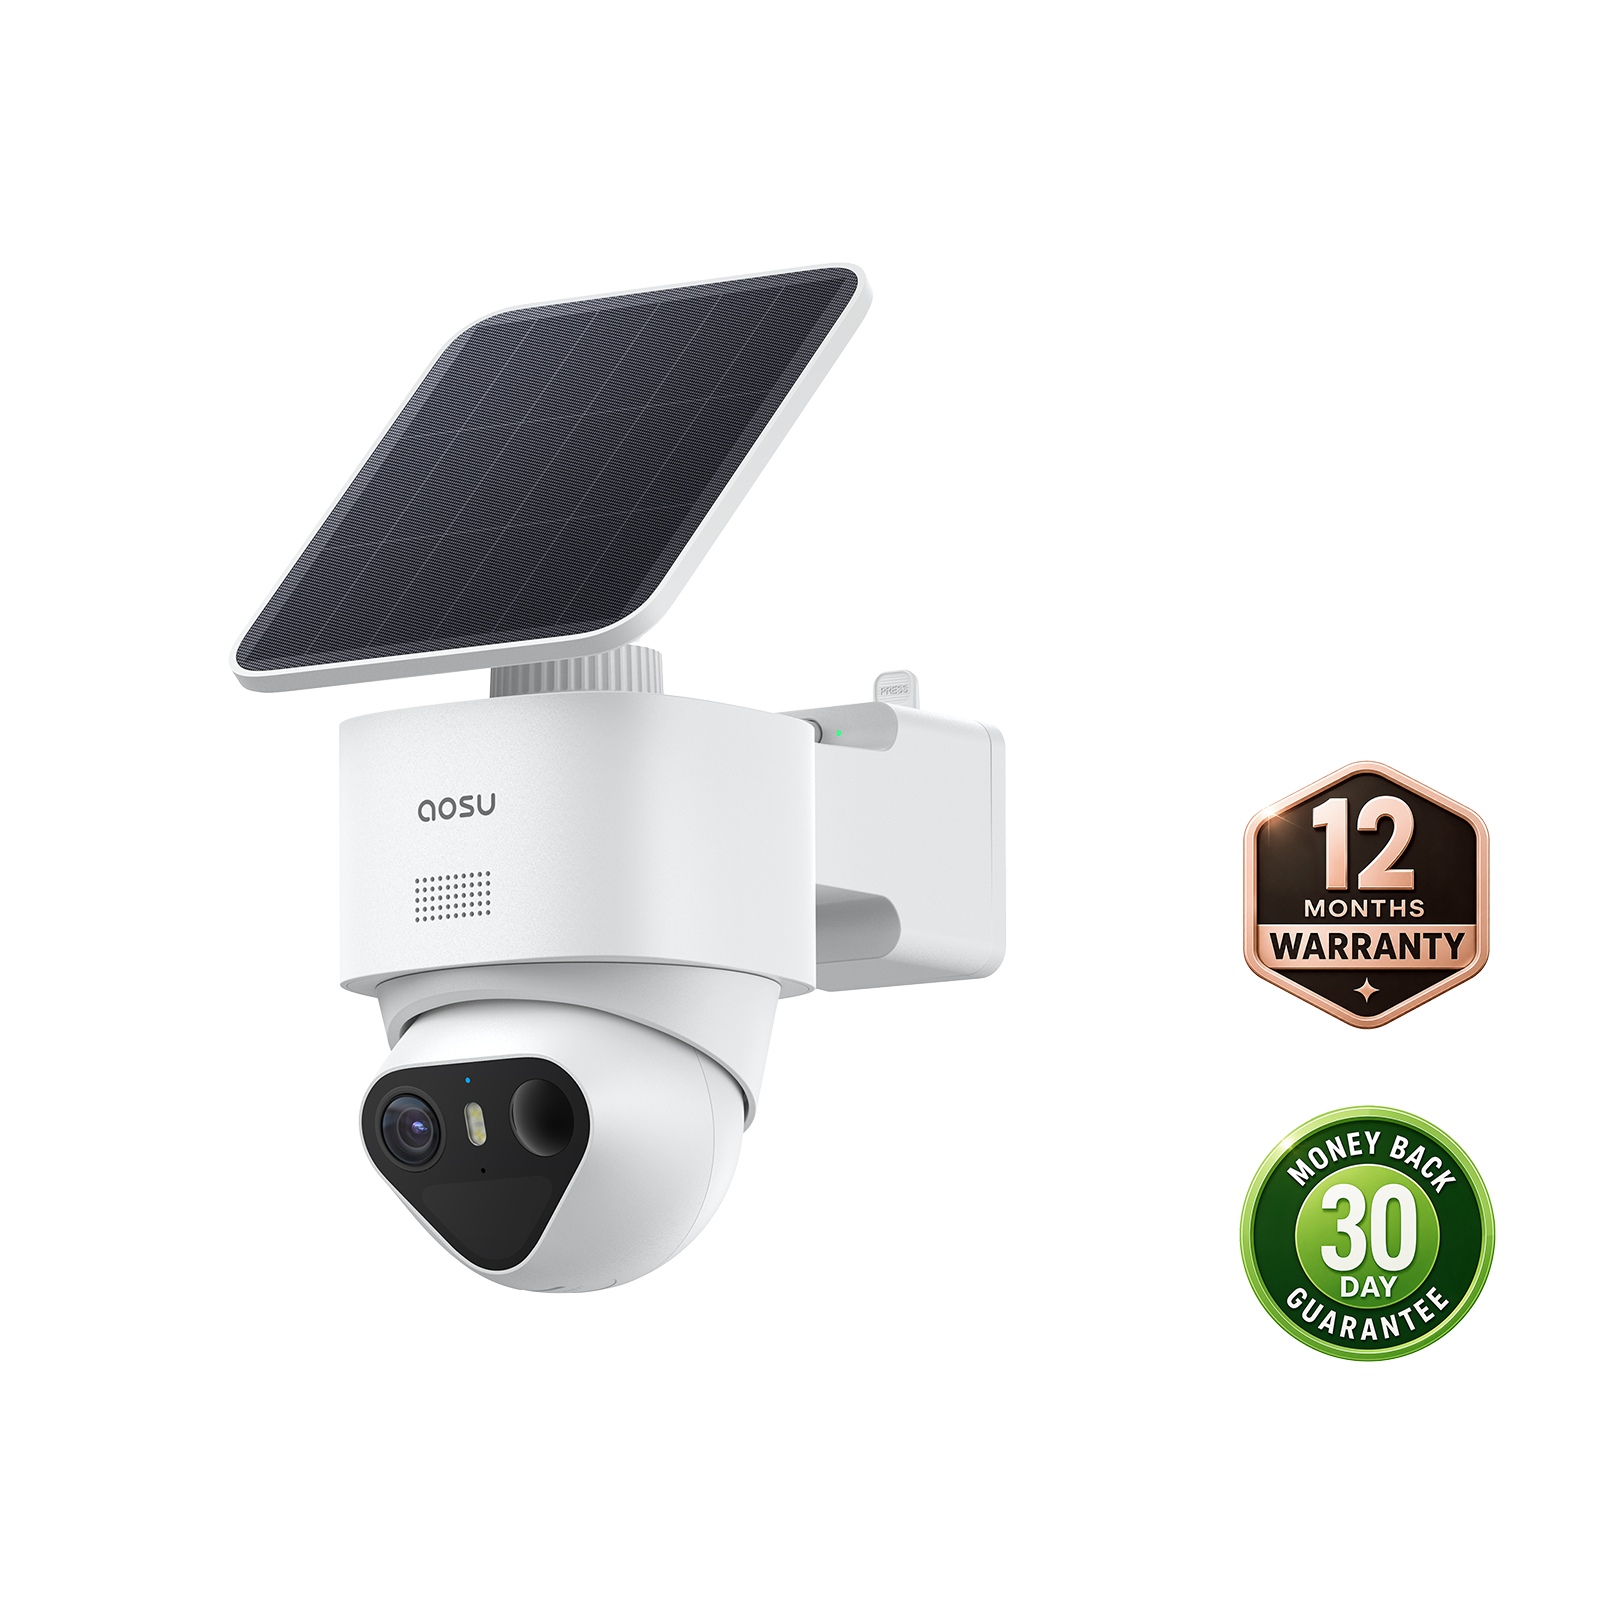
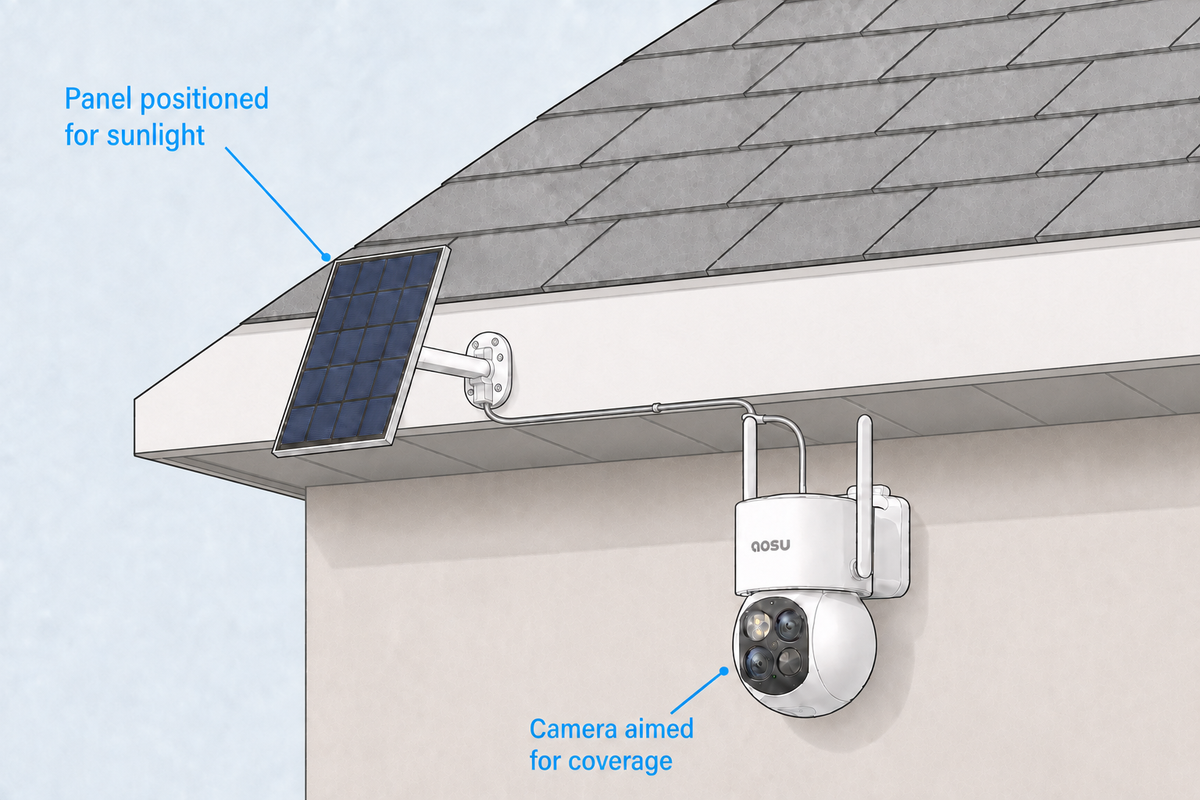
Place your solar security camera where it can record the people and places you want to see, with direct sunlight reaching its panel. A built-in or attached panel needs the camera view and sunlight to work at the same location. A separate panel can go in a different spot, connected by a compatible cable.
The best place to install a solar security camera and panel gives you useful footage, enough sunlight, a reliable camera connection and a secure mounting surface. Start with the entrance, driveway or yard you want to monitor, then test how your panel configuration fits that location before drilling.
Start With What You Need the Camera to See
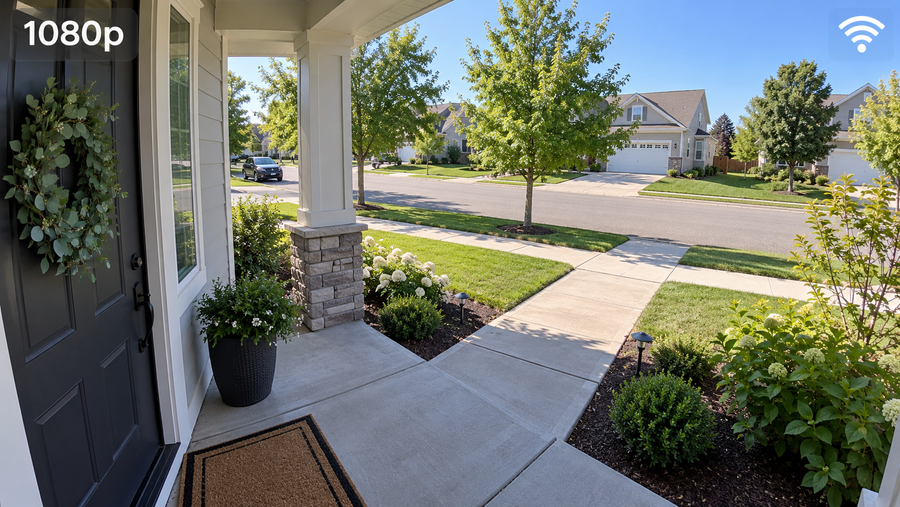
Choose one main purpose for the camera: seeing a visitor at the front door, someone beside your car, or a person opening the side gate. Stand at each candidate mounting spot and identify what would block that view. A parked SUV, an open gate or a porch column can hide the person you want to record.
Use the installation height and camera angle specified for your model as the starting point. Then look at the actual image. A high mount can show more of the yard while giving you a steep view of someone standing directly below it. Adjust the position until the important part of the scene is visible at a useful size.
Keep the lens clear of nearby walls, hanging plants and the edge of the eave. For a rotating camera, leave room for its full movement and test the views it will use. Aim toward your own entrance, driveway or yard, and keep unnecessary views into neighboring windows out of the frame.

Integrated solar panels have different placement considerations than detached solar panels.
With a Built-In Panel, Test the View and Sunlight at One Spot
Look for a mounting point where the camera can see the door, gate or driveway and its panel is outside the roof’s shadow. For a covered porch, an exposed wall beside the porch can be a useful candidate if the camera can still see visitors at the entrance.
Set the camera to the angle you need for clear footage, then check how sunlight reaches the panel. If the attached panel has its own angle adjustment, use it within the model’s instructions. If the panel is fixed to the housing, tilting the housing also changes the panel angle.
Test a nearby wall section or another suitable mounting point if the current position leaves the panel shaded. Keep the important entrance or walkway in view as you move. Settle on a spot only after both the saved clips and sunlight check work; pointing the panel toward the sun is not useful if the camera loses the view you need.
Related links:
· Integrated vs. separate solar panels for security cameras
Good Starting Positions for Doors, Driveways and Gates
Use these examples to shortlist locations for your panel configuration. Test the camera with doors open and closed, cars parked in their usual spaces and nearby plants in place.
| Area | Camera view to keep | Built-in or attached panel | Separate panel |
|---|---|---|---|
| Front door or porch | A visitor and the doorstep, with no porch column or open door blocking them. | Try an exposed wall beside the porch where the panel clears the roof shadow and the camera still sees the entrance. | Keep the camera beside the entrance; place the panel on an exposed wall section beyond the porch roof’s shadow. |
| Driveway | People entering and standing beside parked cars. | Try a sunny garage wall or corner; confirm your parked vehicle does not hide someone walking toward the house. | Choose the camera view first, then find a sunny nearby wall within compatible cable reach. |
| Side gate | Someone opening the gate and walking along the path inside it. | Choose a wall or stable post where the camera sees the gate and the panel receives sun above or beyond fence shadows. | Aim the camera at the gate; use a sunnier wall section for the panel, with the cable clear of the gate’s swing. |
| Backyard or shed | The back door, shed entrance or area you want to monitor. | Try an exposed wall or post where leaves do not shade the panel or obstruct the camera. | Mount the camera for the needed view and the panel on a nearby sunny surface you can reach for cleaning. |
Check Direct Sunlight at the Panel’s Installed Position
Look for direct sunlight on the panel’s proposed mounting spot. An open view of the sky does not mean the panel is in direct sun. Check the exact spot for shadows from the roof, nearby buildings, trees and fences.
In the Northern Hemisphere, an unshaded south-facing position is a useful starting point; in the Southern Hemisphere, start with north-facing. Check where direct sun actually reaches the panel once the camera is aimed and the mount is adjusted.
Follow your model’s instructions for panel tilt and mounting angle. With a separate panel, adjust its bracket toward the available sun. With a built-in or attached panel, use the adjustment the design allows and recheck the camera view after changing the mount.
Keep the panel outside the eave’s shadow and somewhere you can safely reach to clean it. For the detailed sunlight-hours and seasonal-shade check, use the year-round sunlight guide.
Related links:
· How much direct sun does a solar security camera need throughout the year?
With a Separate Panel, Measure the Cable Path Between Both Mounts
Measure the route the cable will actually follow along the wall, including corners and the drop to the camera’s connector. Leave enough slack for the connection and any camera movement. The straight-line distance between the mounts is only part of the measurement.
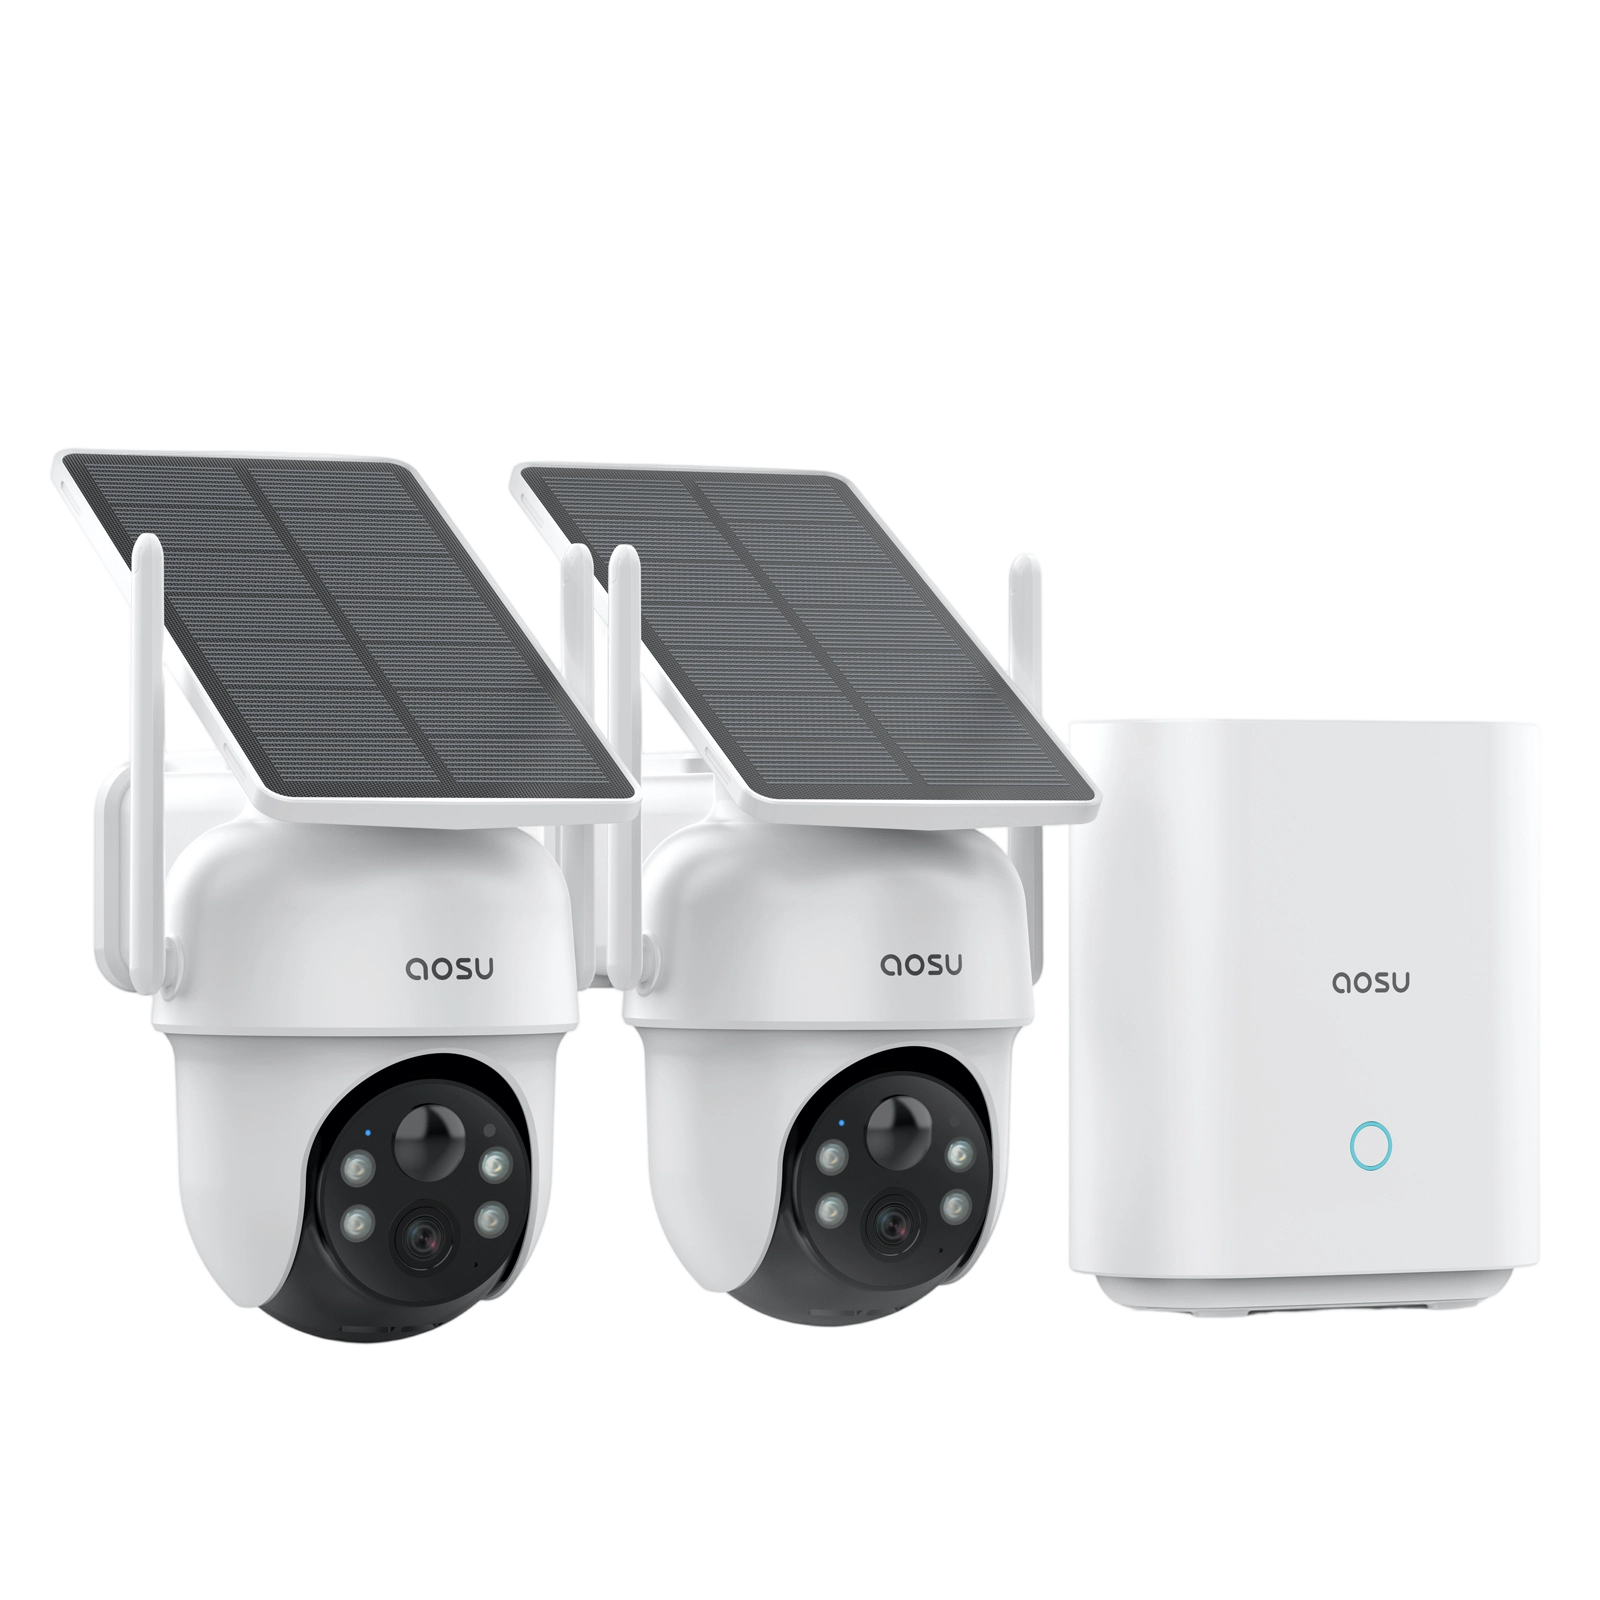
For example, aosu SolarCam T2 has a separate solar panel and a 3 m cable, approximately 9.8 ft, according to its current specifications. That gives you a defined length to work within; a wall corner and a tidy cable route use some of it. Other models have different cable lengths and connection requirements.
Route the cable clear of opening doors, gates, sharp edges and places where it could be stepped on or snagged. Secure it with suitable outdoor cable clips without crushing the cable. Seat and seal the connector exactly as the model’s instructions show, and keep tension off the plug.
Use only an extension that the manufacturer confirms is compatible with your camera and panel. If the approved cable cannot reach a sunny location, choose another camera-and-panel mounting pair.
Related links:
· SolarCam T2: separate panel and cable specifications
Test Your Solar Camera Setup Before Drilling
Use a secure temporary support at the intended height and angle. Have someone walk through the entrance or driveway in daylight and after dark, then review the saved clips and confirm the camera stays connected.
Check direct sun at the panel’s intended position; for a built-in panel, keep the camera at its chosen angle. With a separate panel, confirm the cable reaches along its final route. For the full walk-test, night-view and connection checks, use the test-first installation guide below.
Related links:
· Test-first camera installation: walk tests, night views and connection checks
Mount the Setup, Then Recheck the Result
Use hardware suited to the wall or post and follow your model’s installation instructions. Check for hidden services before drilling, and use safe ladder access. Choose an accessible wall location when it provides the view and sunlight you need; a separate panel also needs a suitable cable route.
After tightening the mount and securing any panel cable, repeat the walk test. Confirm the camera angle has not shifted, the panel remains in the chosen sun position and the app reports charging when conditions allow.
Watch the battery level over the next several days during normal use. A charging symbol shows that charging is occurring at that moment; the battery trend helps you see whether charging is keeping up with use. If the level keeps falling, check the panel’s exposure and any cable connection. For a built-in panel, reassess sunlight at the camera’s mounting point; for a separate panel, check whether a sunnier panel position is available within compatible cable reach.
Related links:
· aosu solar panel installation guidance
To Wrap Up
With a built-in or attached panel, choose one location that provides the camera view and sunlight you need. With a separate panel, choose both positions and confirm the compatible cable reaches between them. A daytime walk test, a nighttime clip and a sunlight check give you a much better basis for drilling than an empty live view alone.
FAQs
Can I place a solar security camera under an eave?
A camera with a built-in or attached panel can go under an eave only if the panel still receives the direct sunlight it needs and the lens has a clear view. With a separate panel, the camera can be sheltered while the panel goes on a nearby exposed surface within compatible cable reach. Follow your model’s mounting instructions.
Which direction should a security camera solar panel face?
An unshaded south-facing position is a useful starting point in the Northern Hemisphere; use north-facing in the Southern Hemisphere. Follow the panel’s tilt instructions and check the actual shadows at the mounting spot.
How far can the solar panel be from the camera?
The supplied cable or a manufacturer-approved extension sets the usable reach. Measure the full cable path, including corners and slack at the connector. SolarCam T2’s separate panel cable is 3 m, approximately 9.8 ft; do not apply that length to other models.
Does the solar panel need to be on the roof?
No. A camera with a built-in panel can use a suitable wall or post that provides a clear view and direct sunlight. A separate panel can use an exposed surface within compatible cable reach. Keep the setup accessible for cleaning and adjustment.