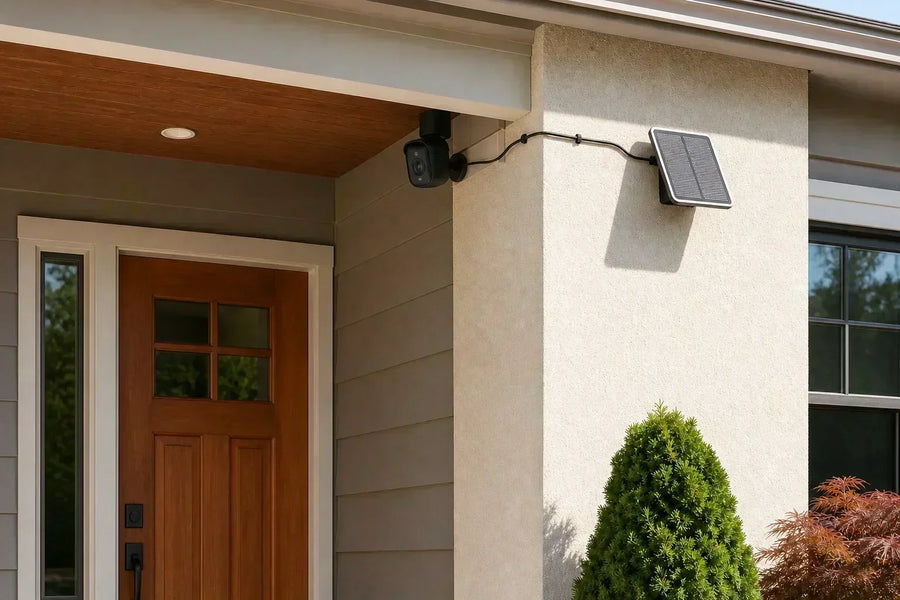



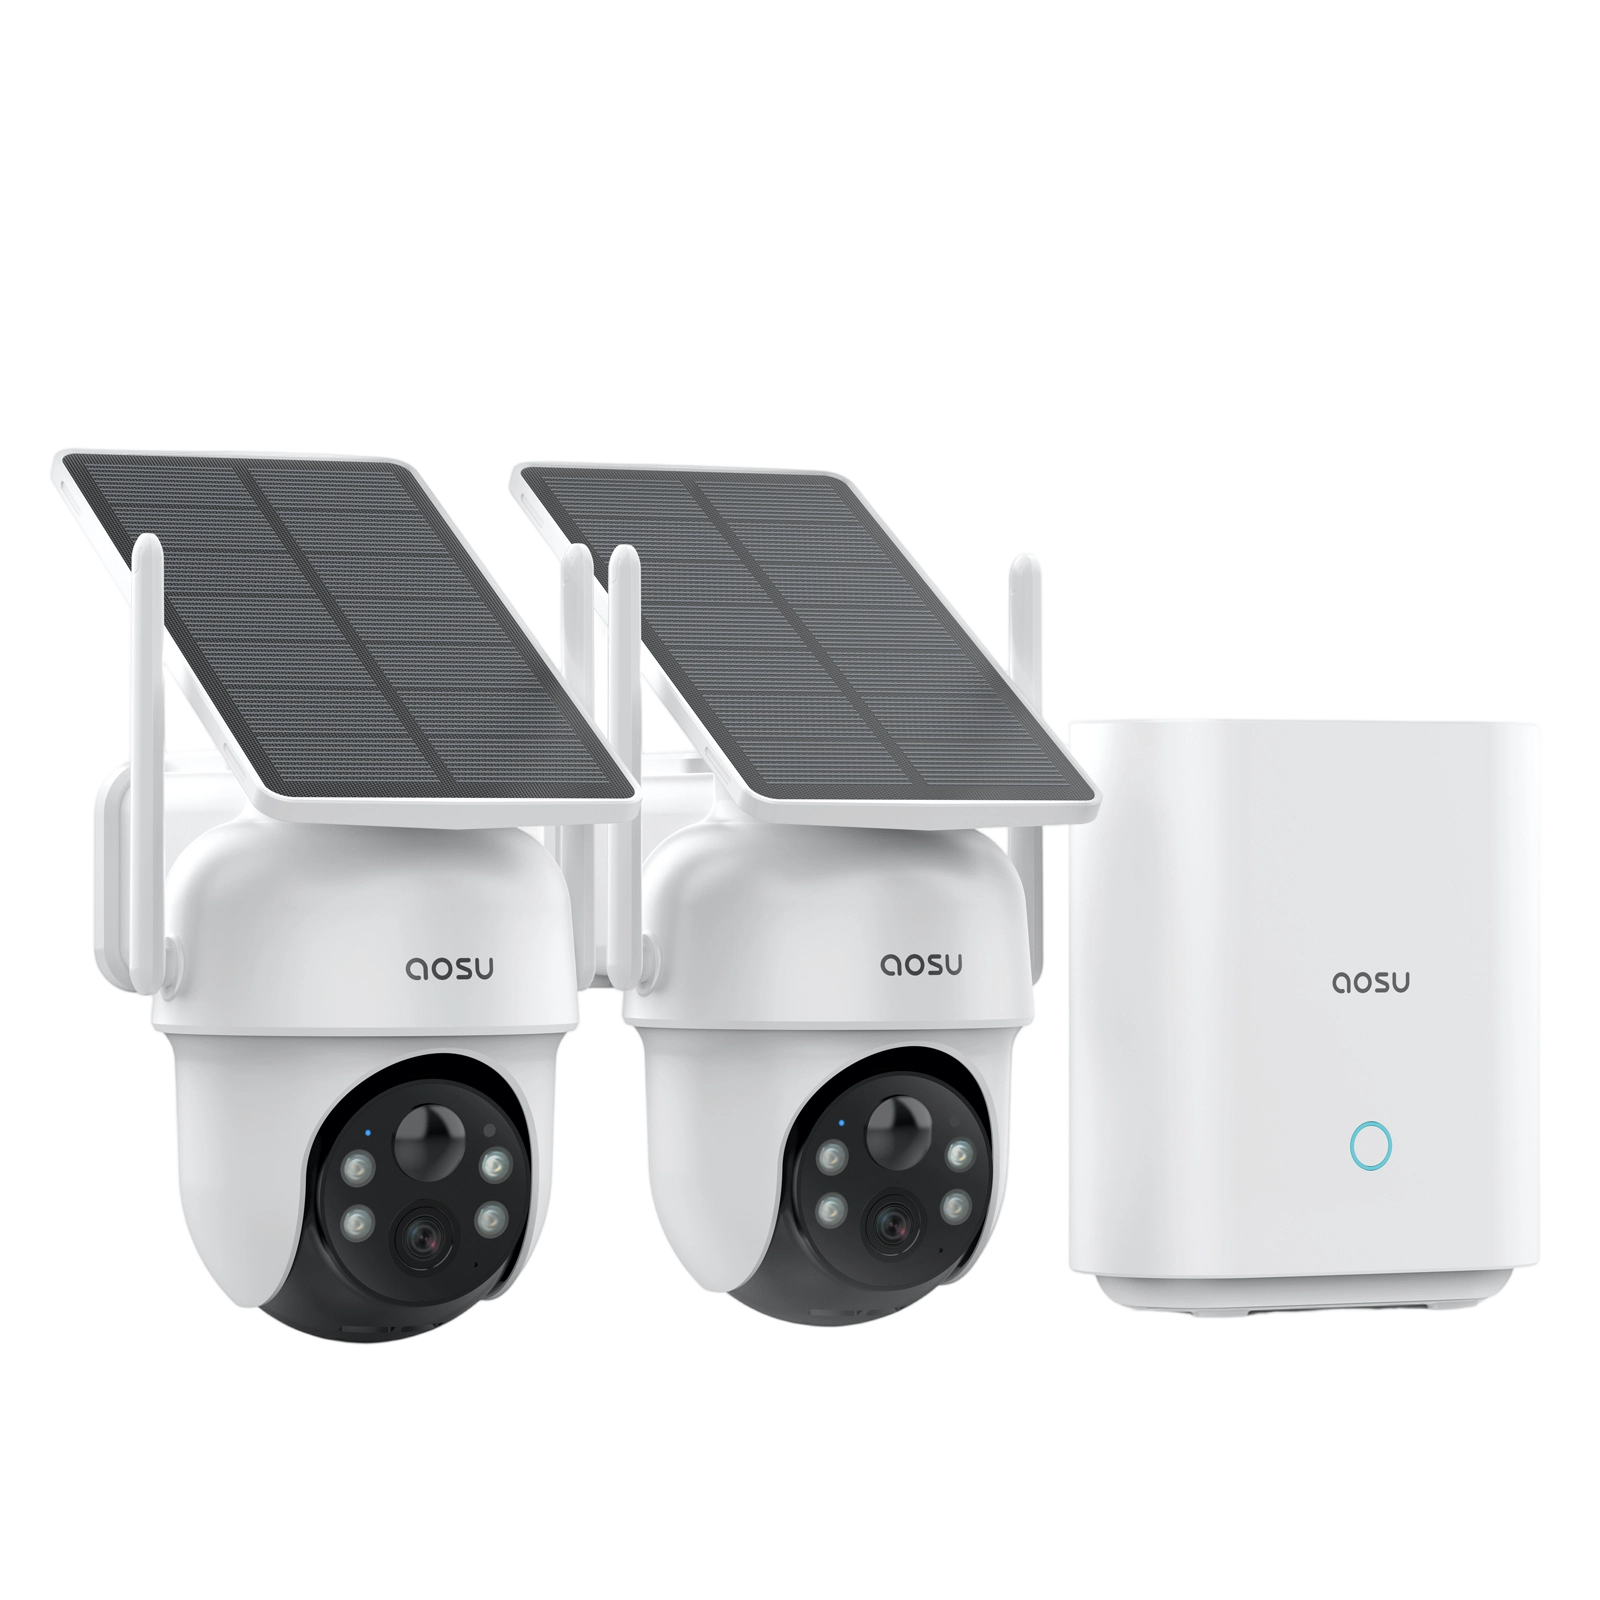
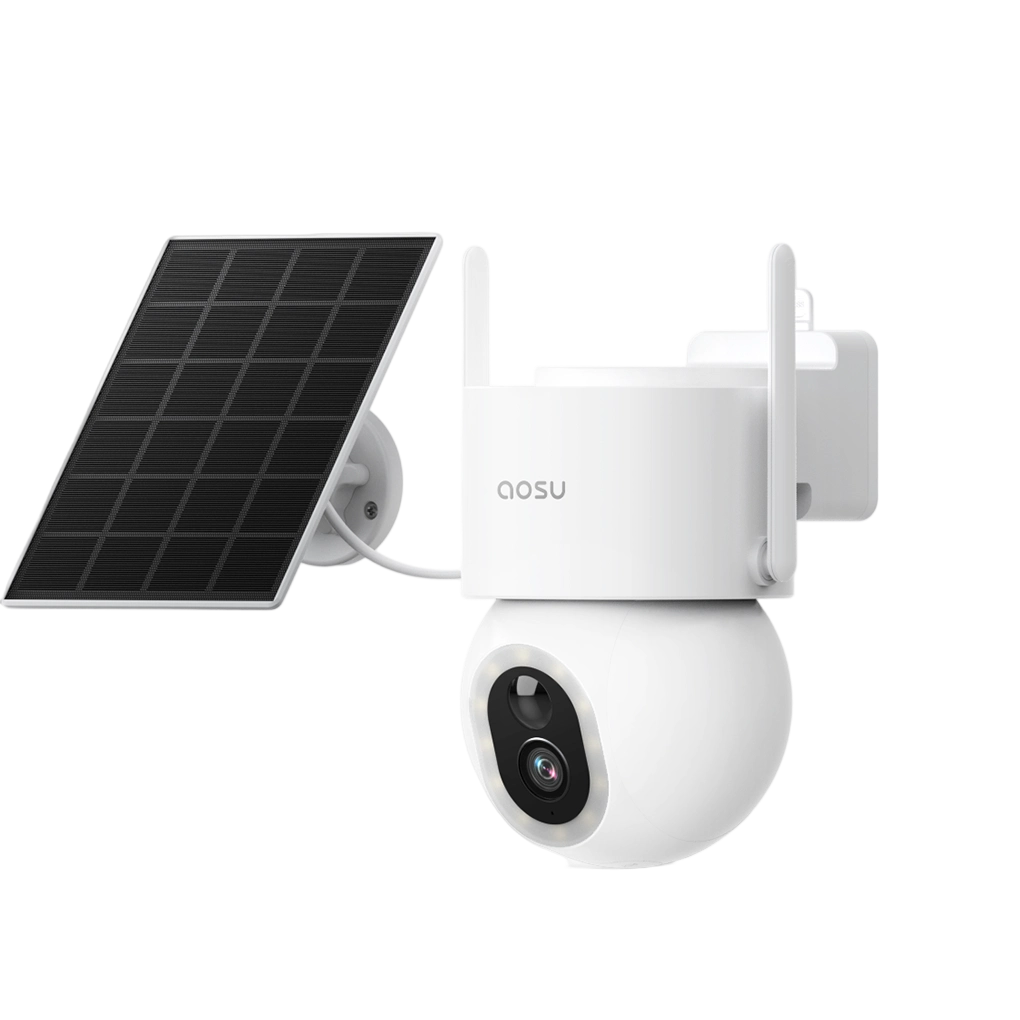
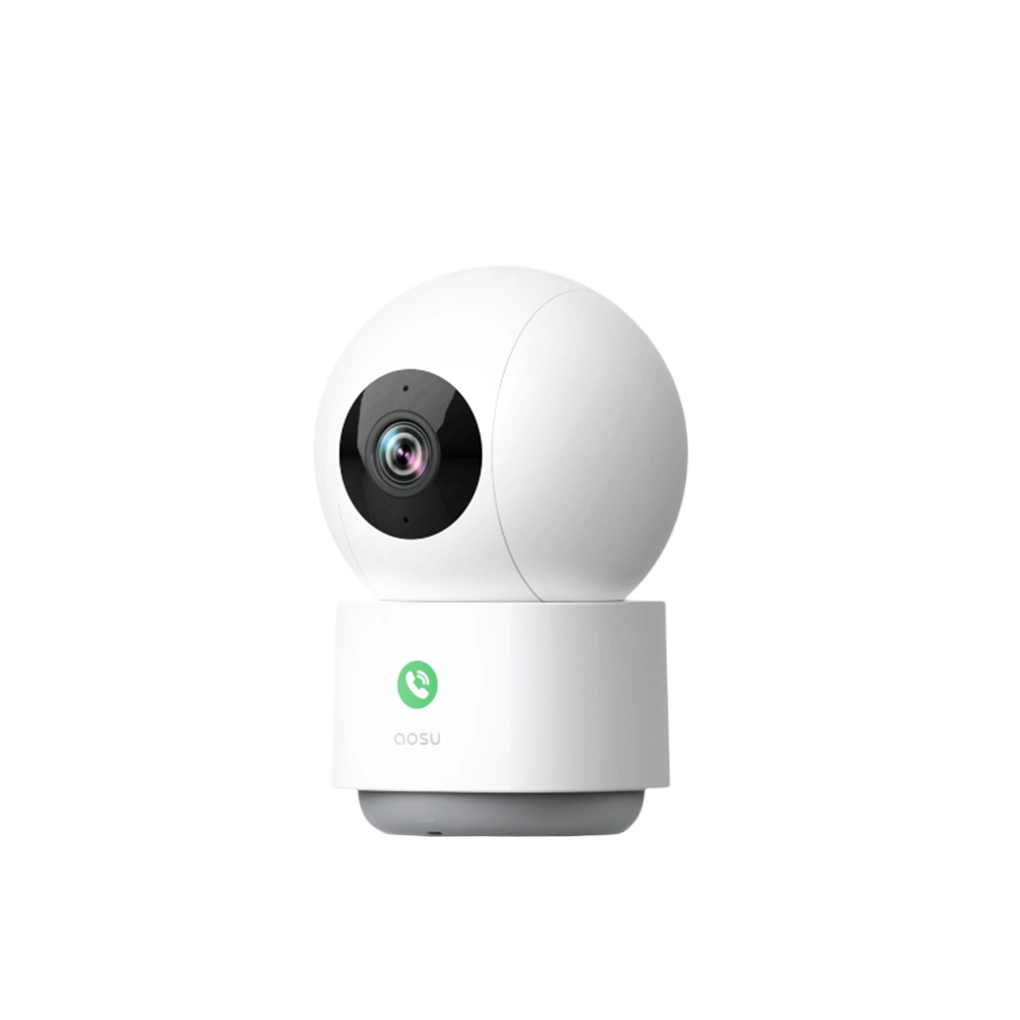
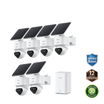
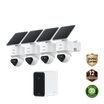
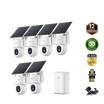

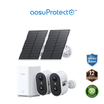
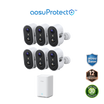
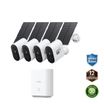
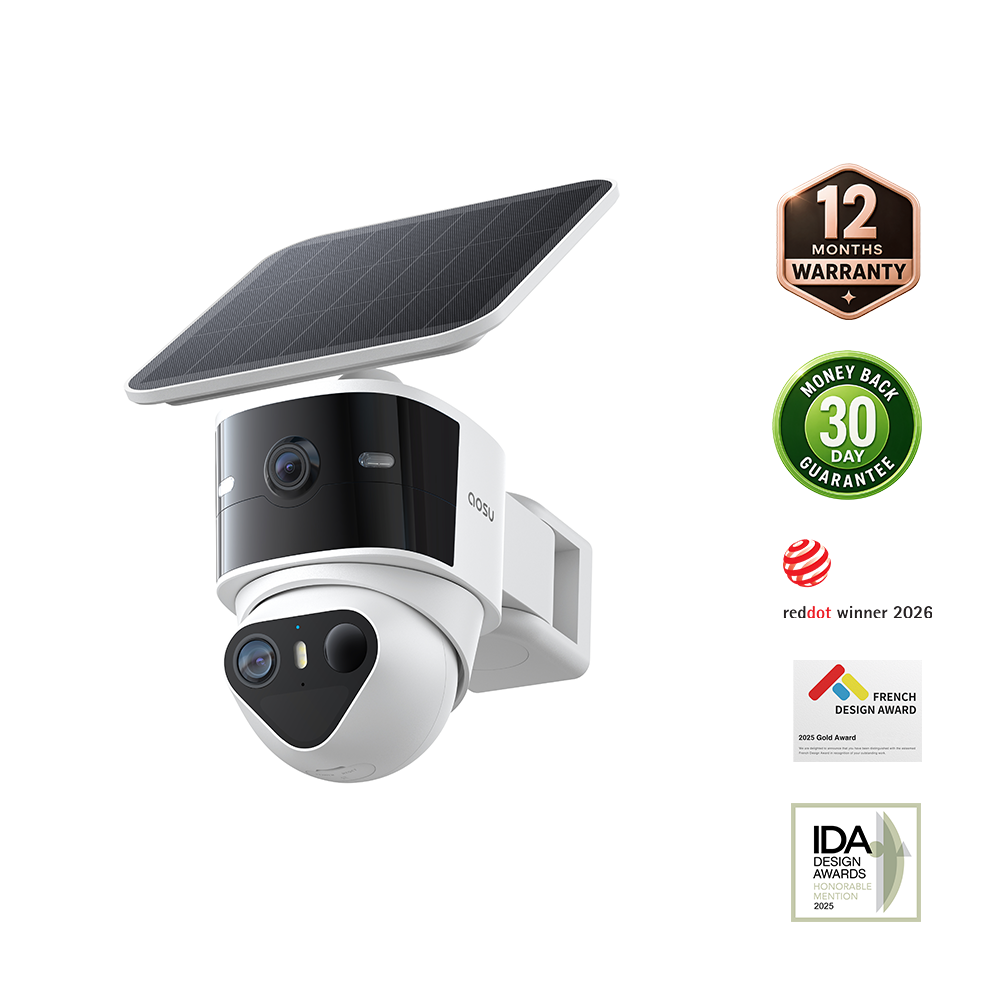
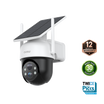
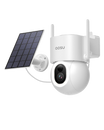
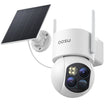
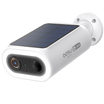
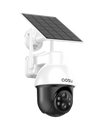
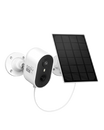

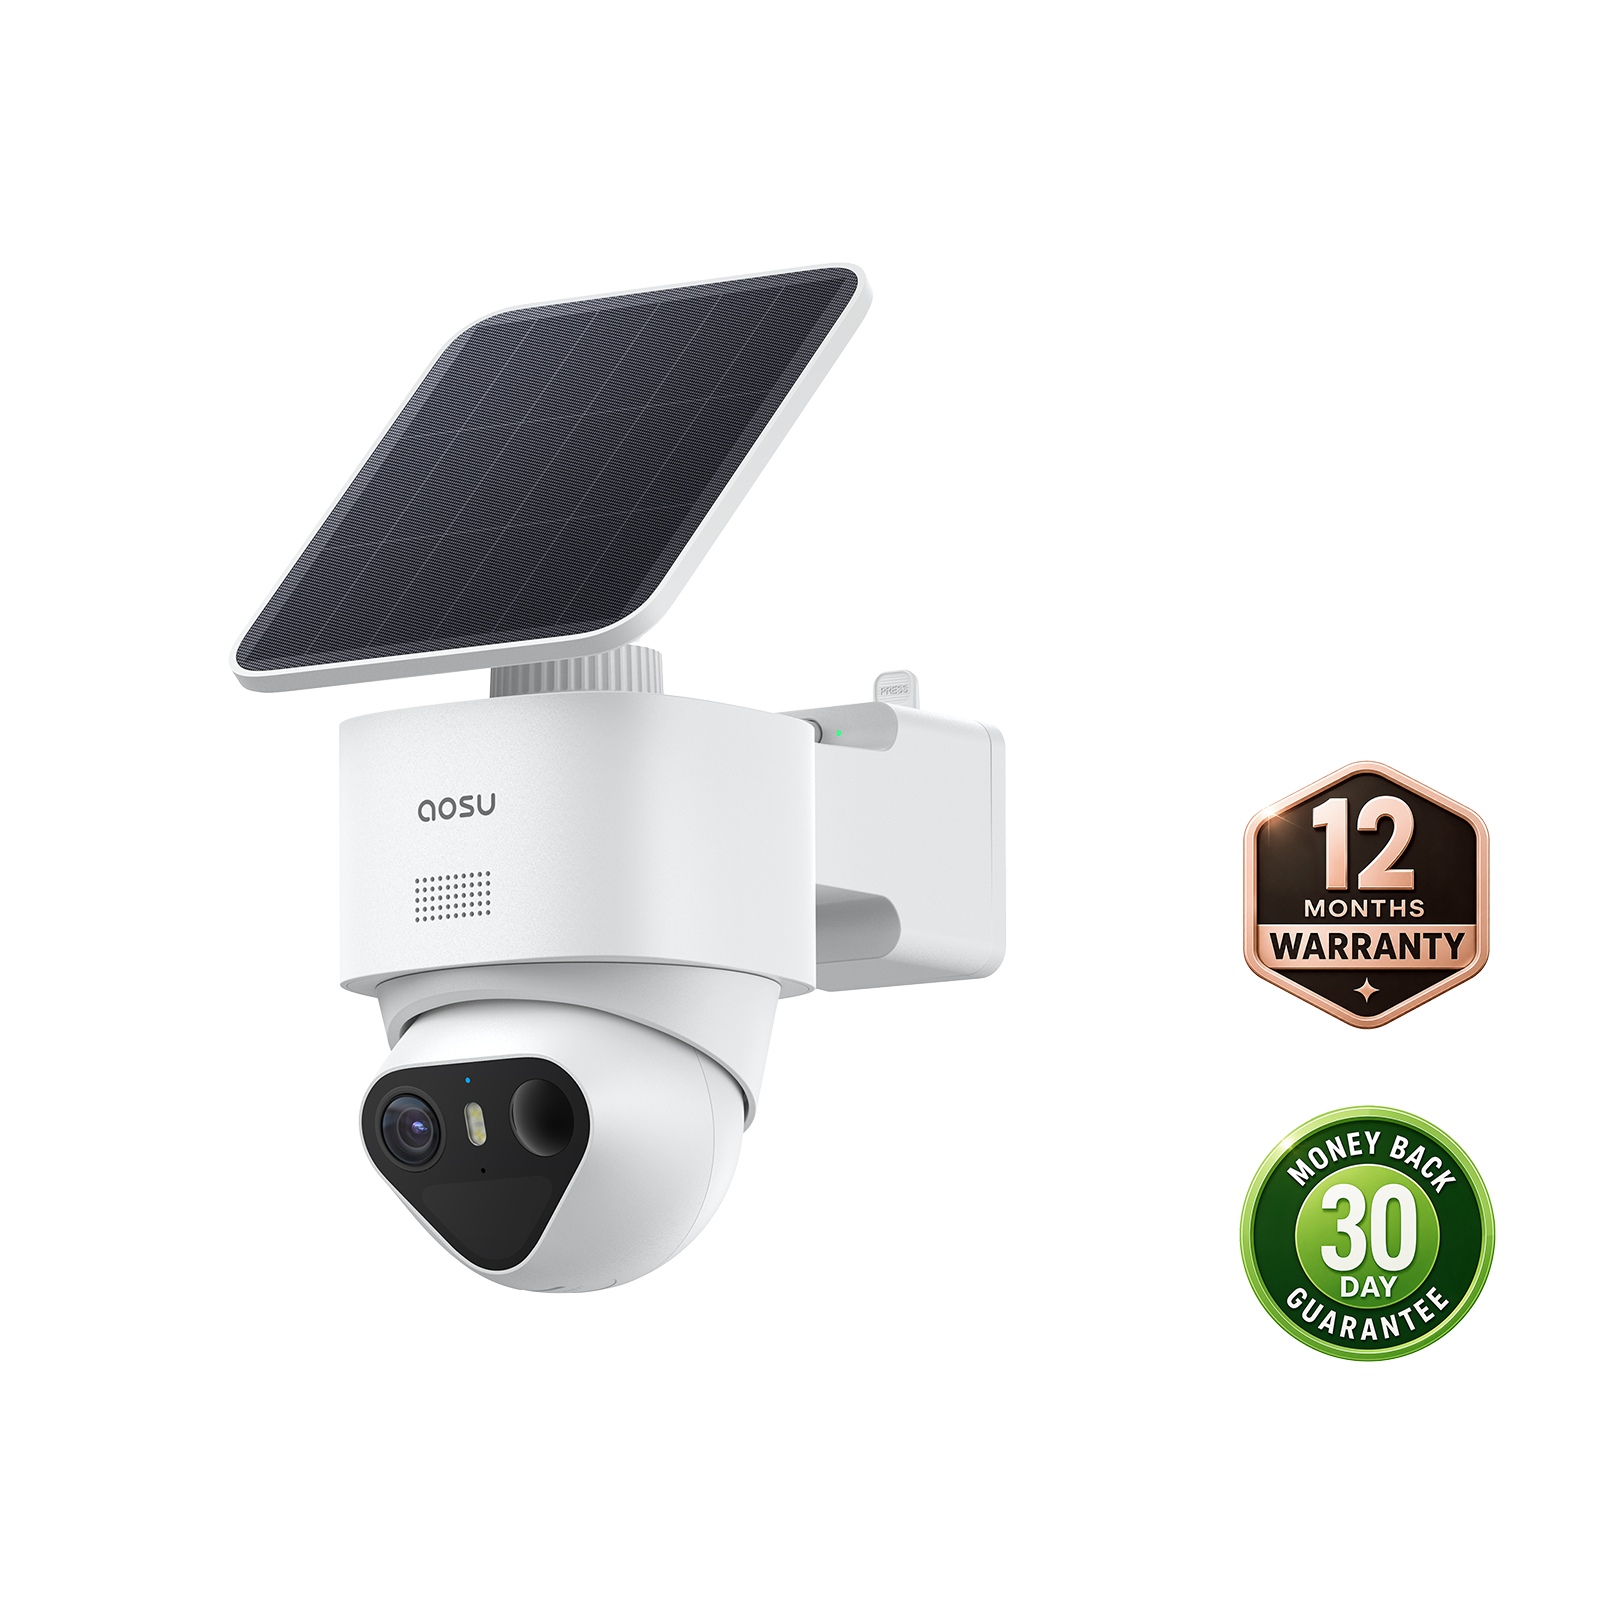
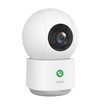
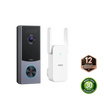

A solar security camera does not need uninterrupted sunshine from morning to evening. For example, the aosu SolarCam D1 Classic is designed to maintain power with approximately two hours of direct sunlight per day.
That does not mean two hours will be enough for every camera or installation. Weather, seasonal shade, temperature, panel placement, and daily camera activity all affect the result.
The most reliable approach is simple: start with the sunlight requirement for your specific model, then confirm that the panel is replacing the energy the camera uses by monitoring its battery level.
How Many Hours of Direct Sun Does a Solar Security Camera Typically Need?
There is no single requirement that applies to every solar security camera. If your camera specifies approximately two hours of direct sunlight per day, choose a location that provides at least that much unobstructed exposure - and preferably some additional margin for winter and cloudy weather.
Direct sunlight means sunlight reaching the panel itself without being blocked by a roof edge, tree canopy, fence, or nearby building. A wall may look bright while the small area occupied by the panel remains partially shaded.
The camera's workload matters as well. A camera watching a quiet side gate may consume much less energy than one overlooking a busy driveway. Frequent motion events, long recordings, live viewing, two-way audio, spotlights, and an unreliable Wi-Fi connection can all increase power use.
Before choosing a location, check that:
- The entire panel receives a steady block of direct sunlight rather than brief flashes through branches.
- You are checking the panel's intended mounting height, not the ground or wall below it.
- Leaves, dust, snow, or other debris will not regularly cover the panel.
- The location has a dependable Wi-Fi connection.
- The expected daily activity is representative of how the camera will normally be used.
After installation, check the battery at approximately the same time each day for several days. This provides the most accurate information about power performance.
| Battery pattern | What it may indicate | What to do |
|---|---|---|
| Stable or increasing on clear days | Solar input is keeping pace with normal use | Keep the placement and check again after a seasonal change |
| Slowly declining despite clear weather | The panel is not replacing all the energy being used | Check for shade, dirt, connection problems, or unusually high camera activity |
| Declining during cloudy weather and recovering afterward | The system is charging, but with limited reserve | Continue monitoring and consider a sunnier position for better winter margin |
| Suddenly declining after previously remaining stable | Something around the installation may have changed | Check for new foliage, debris, snow, altered settings, weak Wi-Fi, or increased motion events |
A stable battery during several sunny days is encouraging, but it does not guarantee the same result during winter or an extended cloudy period.
Why Does Winter Sun Differ From Summer?
The amount of solar energy reaching your property changes throughout the year. As the National Park Service explains, the sun follows a lower path during winter, daylight hours become shorter, and sunlight reaches surfaces at a different angle.
This creates longer shadows from rooflines, fences, trees, and neighboring buildings. A panel that remains clear of an eave in summer may sit beneath its shadow for several hours in winter.
Seasonal vegetation creates the opposite problem. A position selected while a tree is bare may become heavily shaded when its leaves return.
For year-round reliability, plan around the least favorable season rather than the best summer day. If you are installing the camera in summer, consider where the lower winter sun will appear and which objects may block it. A sun-path application can help estimate the change, but the actual trees, buildings, and rooflines around your home still need to be checked.

Summer and winter at 10:00 a.m.: the same mounting position can be sunlit in one season and shaded in another.
Cold weather introduces a separate limitation. Charging-temperature ranges vary by model; for example, aosu lists solar charging above -10 C (14 F) for the SolarCam D1 Classic. Consult the specifications for your exact camera rather than applying one temperature threshold universally. For more detail, see How Temperature Affects Security Camera Battery Performance.
Solar cameras are still battery-powered cameras: sometimes the panel may reduce rather than eliminate manual charging. During the shortest, cloudiest part of winter, an occasional top-up may be a reasonable tradeoff for hands-off charging throughout the rest of the year. If charging becomes frequent even in sunny conditions, check the panel placement, camera activity, and settings.
How Rooflines, Trees, and Fences Create Seasonal Shade
Solar-camera shade changes in two ways: across the day as the sun moves, and across the year as its path and the surrounding vegetation change.
Inspect the exact footprint where the panel will be mounted. A larger wall may appear sunny even though a narrow shadow from a gutter or roof edge crosses the panel for much of the day.
Common sources of seasonal shade include:
- Deep rooflines and porch eaves
- Trees with dense summer foliage
- Low winter sunlight passing behind branches
- Tall privacy fences
- Sheds, garages, pergolas, and carports
- Neighboring buildings
- Gutters, posts, awnings, trellises, and hanging plants
Small changes in position can make a meaningful difference. Moving the panel a short distance along a wall or onto a nearby post may create a longer, uninterrupted charging window without materially changing the camera's coverage.
Do not select the location based on one midday inspection. Morning and afternoon shadows can reveal obstructions that are invisible when the sun is at its highest.
Which Direction Should a Solar Camera Panel Face?
In the Northern Hemisphere, true south is generally a useful starting direction. In the Southern Hemisphere, true north is the equivalent starting point. This follows the same basic orientation principle used for larger solar photovoltaic systems.
However, compass direction is only one part of the decision. A clear east- or west-facing location can outperform a theoretically ideal direction that is shaded by an eave, tree, or nearby building.
Prioritize the position with the longest dependable window of direct sunlight. Then angle the panel toward the clearest portion of the sky, within the adjustment range and installation requirements of your specific model.
There is no universal best tilt angle for every solar-camera panel. Location, season, mounting hardware, and surrounding obstructions all affect the most practical angle.
Can the Camera and Solar Panel Be Mounted in Different Positions?
Some solar cameras have a detachable panel, allowing the camera and panel to be positioned separately.
This can solve a common placement conflict: the camera may need to sit under an eave for the correct viewing angle, while the panel needs to be mounted on a nearby sunny wall or post. If you are still comparing installation options and features before choosing a system, see this complete guide to solar security cameras for homeowners for broader guidance.
Only separate the components if the specific system supports it. Use the supplied cable and manufacturer-approved accessories, keep the connector properly weather-sealed, and avoid unapproved extension cables. The camera location must also retain a strong Wi-Fi signal.
How to Test Solar Camera Shade Before Drilling
A short site test can help you compare possible locations and avoid unnecessary mounting holes.
- Mark the complete panel footprint. Use painter's tape or a piece of cardboard to represent the panel at its intended height and angle. Checking the whole wall is not precise enough.
- Inspect it during the morning. Note when direct sunlight first reaches the marked area and whether trees, rooflines, or nearby buildings interrupt it.
- Check again around the middle of the day. Record whether the whole panel area is illuminated or whether a narrow shadow crosses part of it.
- Repeat the check in the late afternoon. Shadows lengthen when the sun is lower, so an apparently suitable location may become shaded earlier than expected.
- Take photographs from the same position. Photos make it easier to compare two mounting locations and estimate the length of each clear-sun window.
- Account for the opposite season. Consider summer foliage, the lower winter sun, and shadows from structures that may not affect the location today.
- Test the battery trend if a temporary setup is practical. Fully charge the camera first, connect the panel, and record the battery level at approximately the same time each day during normal use.
A one-day observation only shows what happens under that day's conditions. It cannot prove that the location will receive sufficient sunlight throughout the year.
How to Balance Camera Coverage and Solar Charging Year-Round
A successful installation must satisfy three requirements:
- The camera has a useful view of the area being monitored.
- The panel receives a dependable window of direct sunlight.
- The camera maintains a reliable network connection.
If the battery level begins falling, do not immediately assume that the camera needs to be relocated. First clean the panel, check its connection, and look for new shade. Then review whether motion frequency, live viewing, spotlights, recording duration, or weak Wi-Fi may be increasing energy use. The guide to why security-camera batteries drain quickly covers these factors in more detail.
Recheck the installation after major seasonal changes, particularly when trees gain or lose their leaves. A panel position that works well for most of the year may need a small adjustment if the battery consistently declines during one season.
To Wrap Up: Keep Your Solar Camera Powered Through Every Season
Some solar security cameras can maintain their batteries with approximately two hours of direct sunlight per day, but that figure should be treated as a model-specific starting point - not a universal guarantee.
Choose a location with an uninterrupted sun window, account for seasonal shadows, and monitor the battery after installation. The battery trend ultimately tells you whether the panel is collecting enough energy for your camera's actual workload.
Common Questions About Solar Security Cameras
Q1. Can a Solar Security Camera Charge in Indirect Sunlight?
Some panels can collect limited energy from diffuse light or partial shade, but charging will generally be slower and more model-dependent. Treat indirect-light charging as supplemental rather than planning to install the panel in permanent shade.
Q2. Which Direction Should a Security Camera Solar Panel Face?
Start with south in the Northern Hemisphere and north in the Southern Hemisphere. However, an unshaded east- or west-facing location may perform better than the ideal compass direction if that direction is blocked.
Q3. Does Shade Affect the Camera Immediately or Over Several Days?
Shade reduces the energy collected while it covers the panel. Because the camera continues running from its battery, the effect may appear as a gradual decline over several days rather than an immediate shutdown.
Q4. How Can I Test a Solar Camera Location Before Drilling?
Mark the full panel footprint and inspect it in the morning, around the middle of the day, and in the late afternoon. Record the direct-sun window, photograph the shadows, account for seasonal changes, and monitor the battery afterward if a temporary test is possible.