


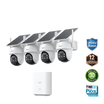
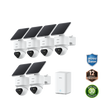
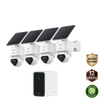
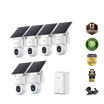
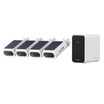

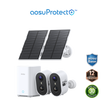
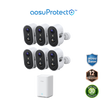
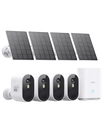
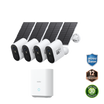
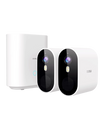
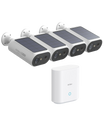
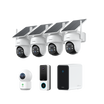
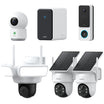
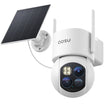
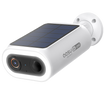
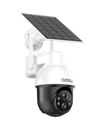
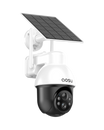


Place garden security cameras where they can record someone entering the gate, walking toward the shed or using the main path. Before fixing a mount, test the view, power supply, connection and saved night video at that position.
Trees, tall planting and detached sheds make garden coverage more demanding than an open wall beside the house. Leave room for plants to grow, give a solar panel direct sunlight, and keep the camera within reach for cleaning and charging.
Security or Wildlife Watching?
For security, cover the gate latch, shed door and paths someone would use to reach your belongings. For wildlife watching, aim toward feeding areas, water or animal trails. If you want both, decide whether animal movement should send an alert or simply appear in saved footage.
Give the gate and shed door a clear view. A wide shot across the lawn can show someone entering the garden while leaving their face small or hiding the shed behind a tree. Add another camera when you need to see a separate entrance or the other side of a building.
Keep the shed lock, hinges and storage secure as well. Position the camera so it records someone approaching the door before they stand close enough to block the view.
Map the Gate, Shed and Paths
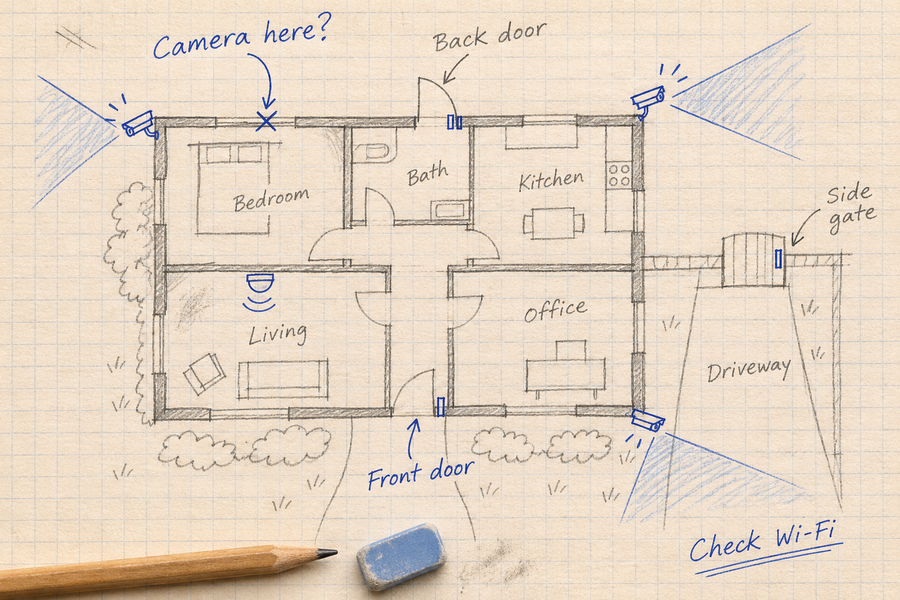
Mark the gate, shed, main path and proposed cameras on a simple garden plan. Add the nearest power source, router or hub, and sunny positions for solar panels. Include trees, trellises, tall shrubs and furniture that could block a person walking through the garden.
At the gate, include someone entering and reaching for the latch. At the shed, show the door and the last few steps toward it. Along a narrow path, angle the camera so a person stays visible as they walk between the gate and house.
Test with the gate and shed door open as well as closed. An open door can block a camera mounted behind it, and a branch that looks harmless on a still day can move across the lens in wind.
| Position | What to record | Obstructions | Power and connection | Night check | Equipment and cost trade-off |
|---|---|---|---|---|---|
| Gate | Record entry, travel direction and the person using the latch | Climbing plants, open gate leaf, bins | Test the actual post or wall; keep panel and cable out of reach | Show a face without a lamp or streetlight shining into the lens | A fixed view suits one entrance; a second detail view adds equipment cost |
| Shed door | Record the approach and door opening | Roof edge, tree, stored tools, seasonal foliage | Check shed Wi-Fi and a sunny panel position | Show the person before they stand beside the wall | Local storage can avoid a subscription; base or card requirements vary |
| Narrow path or side passage | Record movement between gate and house | Hedge, fence reflections, moving branches | Confirm signal at the far end | Avoid infrared reflection from close walls or glossy surfaces | One fixed camera can cover a clear path; add another for a bend or hidden section |
| Open lawn or planting area | Add context or watch a second route | Trees, pergola posts, rapid plant growth | Test the network at the camera and sunlight at the panel | Compare ambient light, infrared and camera light in saved video | Add this view after covering the gate and shed; budget for another camera if needed |

Example garden layout with gate and shed coverage, a roof-mounted solar panel and optional critter monitoring.
Keep neighboring spaces out of the frame
Aim at your own gate, shed and paths. Keep neighboring windows and private areas outside the frame, and follow the recording rules where you live.
Related links:
· Plan camera placement across the whole property
Find Power and a Reliable Connection
After two shed break-ins, a homeowner in r/homesecurity wrote: “There is no electricity in this garden so it has to be wireless, as well as being cheap.”
Related links:
· Original post in r/homesecurity
For a shed without electricity, a battery camera is a practical option if you can reach it for charging. Add solar when the panel has a sunny position. Test the Wi-Fi or compatible hub connection at the shed before buying; a detached plot beyond your home network may need a cellular camera and data plan.
Compare the full cost of each option, including installation, storage and any ongoing service:
· Mains or PoE: useful where you can run protected cables. Include cable routing and installation in the budget.
· Battery Wi-Fi: flexible mounting without a permanent power cable. Keep the camera accessible for recharging.
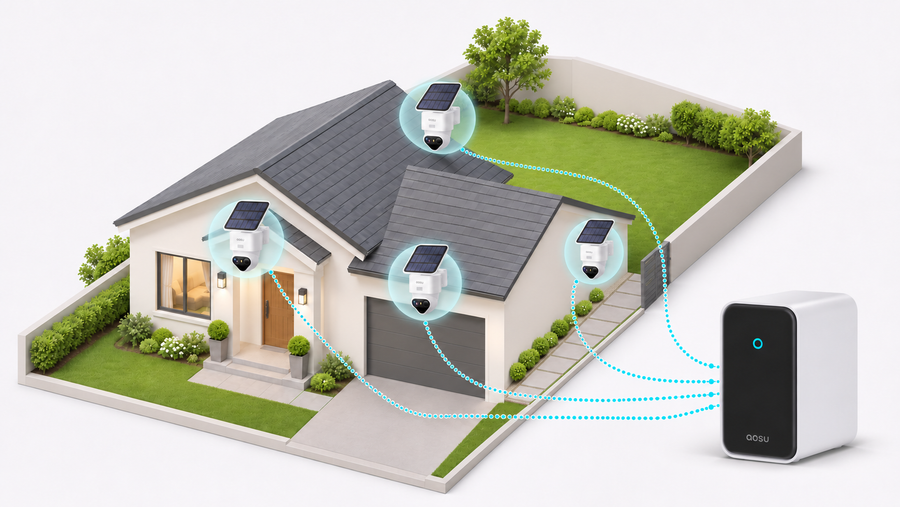
· Solar Wi-Fi: reduces manual charging when the panel receives direct sunlight. The camera still needs a reliable network connection.
· Cellular: useful for a remote garden without home Wi-Fi. Check coverage at the plot, camera compatibility and ongoing data fees.
Test the shed connection and panel position
Before mounting, securely position the powered camera where you intend to install it. Open live view, trigger an event and play the saved clip with the shed door closed. Test remote viewing with your phone on mobile data. If the connection repeatedly fails, improve coverage or choose another position before drilling.
A separate solar panel lets you keep the camera aimed at a shaded gate while placing the panel in direct sun within cable reach. Check morning and afternoon shade, roof runoff and access for cleaning.
Related links:
· Use the solar panel placement and charging checks
Check Night Video and Alerts
Have someone enter the gate, walk toward the shed and open its door after dark. Replay the saved clip. Check that recording begins before they reach the door and that their face or clothing remains clear while they move. A sharp view of an empty path gives you little information about moving subjects.
If leaves or a nearby wall appear bright while the person looks dark, adjust the angle to move those surfaces out of the camera’s infrared light. Remove webs near the lens and clean the lens area. Repeat the walk with your usual garden lights on, then compare the available infrared, ambient-light and full-color modes.
Set detection zones around the gate and paths, leaving out moving hedge tops and public areas you don’t need recorded. Test the person-detection setting from both directions and at the far edge of the view. Confirm that a person triggers the intended recording and phone alert, then review unwanted alerts from pets or moving branches.

T2 Ultra footage in TrueColor Covert mode shows a person beside a garden wall, approximately 20 feet from the camera.
Related links:
· Compare detection types and false-alert controls
Test the Layout Through the Seasons
Keep a reference image of the camera view once the gate, shed and path are clearly visible. Compare it after planting, pruning or moving outdoor furniture. Check again when trees are in full leaf: new growth can hide the shed door and shade a solar panel.
During garden maintenance, remove webs and debris, trim growth entering the frame and check that the bracket hasn’t shifted. Play recent recordings to confirm the camera is still saving usable clips.
After changing the view or detection settings, repeat these checks in daylight and after dark:
· Gate: enter from both directions and operate the latch. The clip should show you before you turn away.
· Shed: approach carrying an object and open the door. You and the doorway should stay visible.
· Path: walk to the far edge of the view. Plants and furniture should leave a clear view of your movement.
· Power and connection: check charging or battery status, then open the saved test clip remotely.
· Night: check the moving person for blur, glare and bright reflections, and confirm the intended phone receives an alert.
Choose a Setup for Your Garden
One fixed camera can suit a small garden with a single entrance and a clear view of the shed. Use two positions when a building or dense planting hides one entrance from the other. Choose the power and connection option that works at each mount.
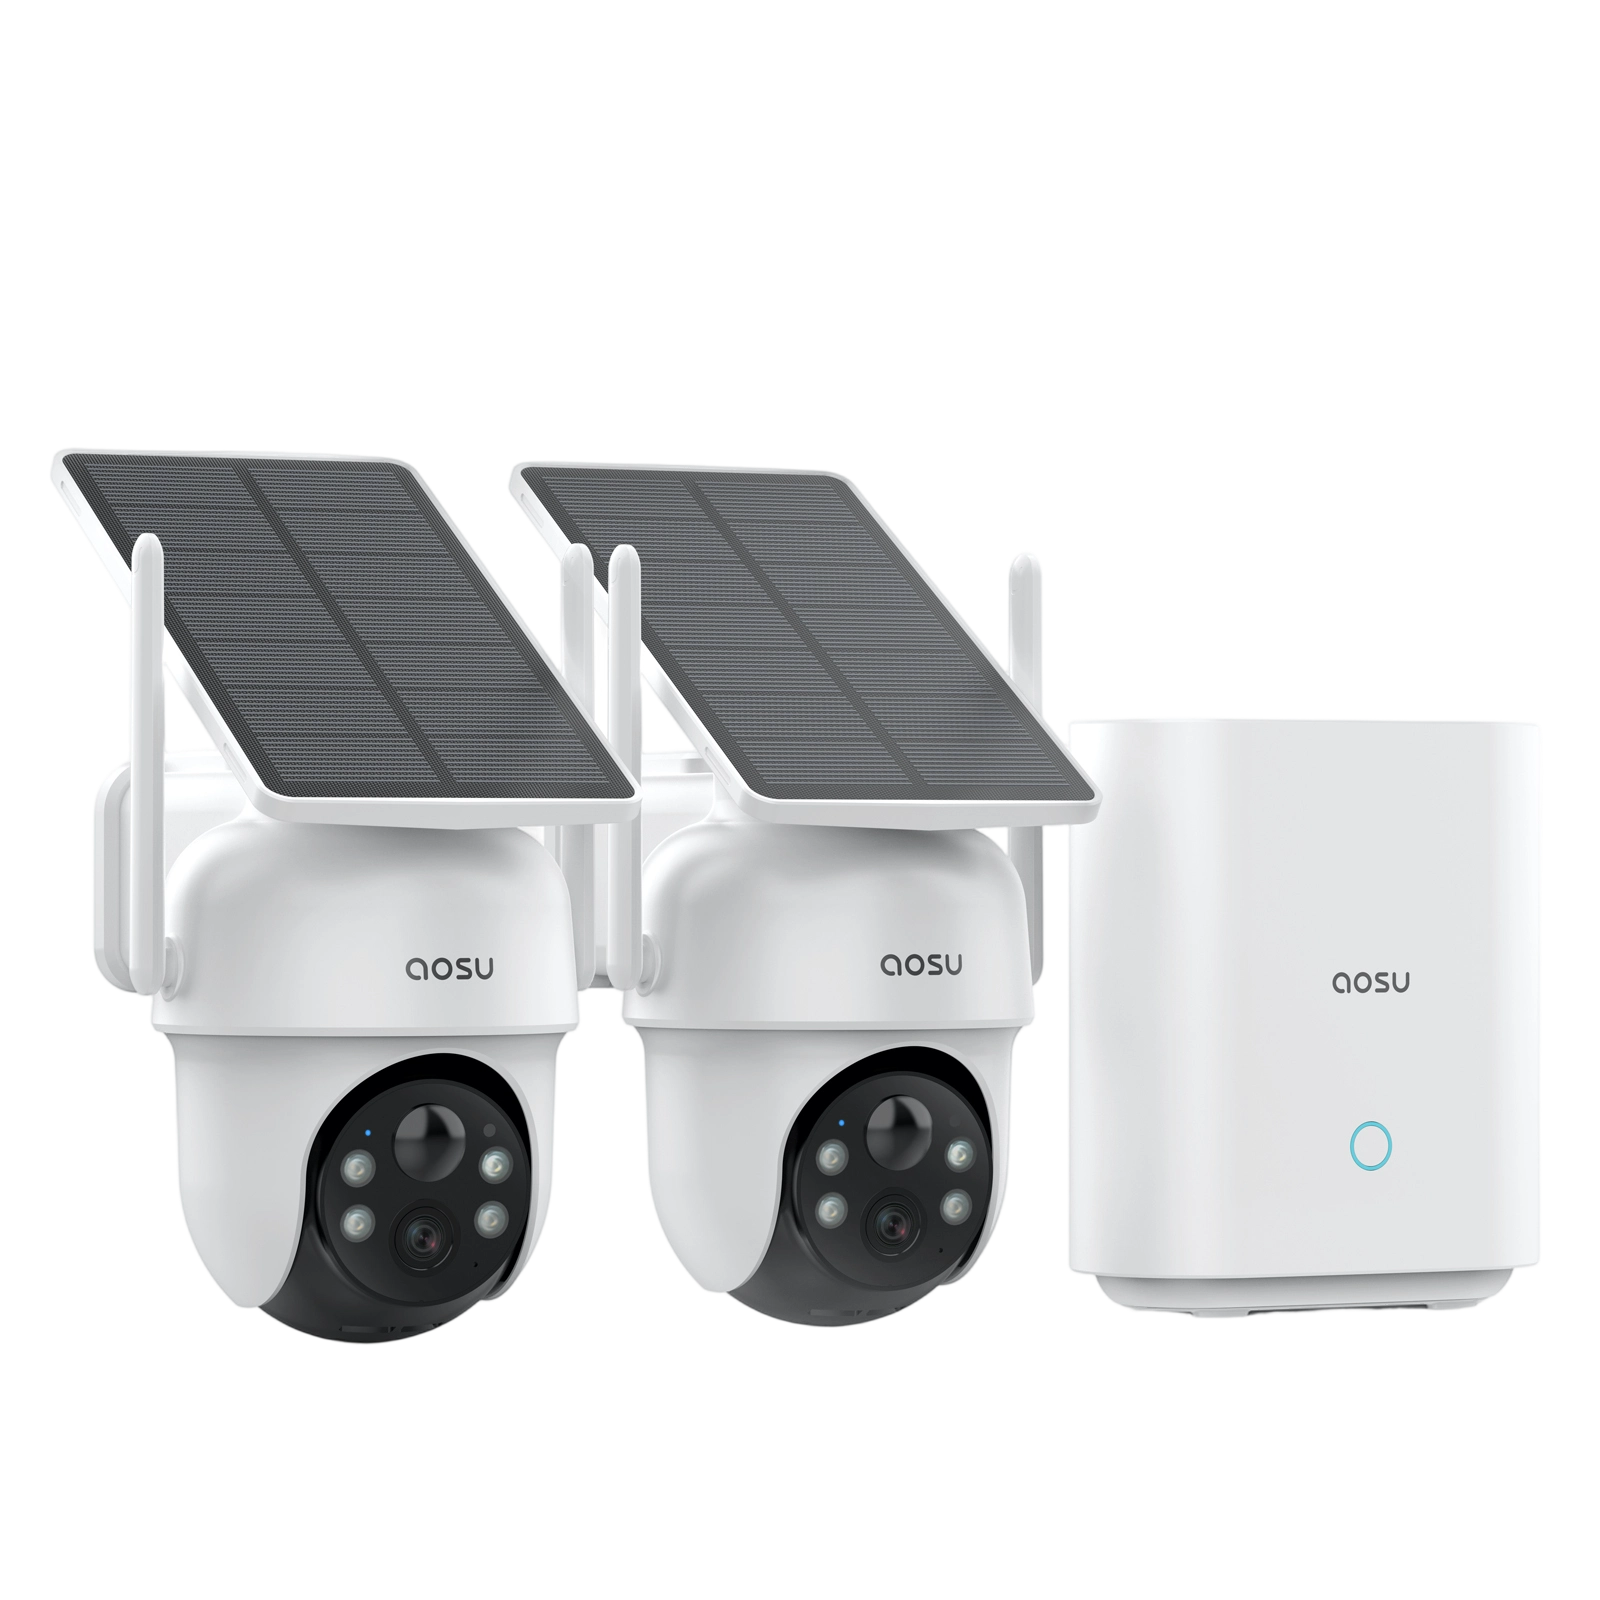
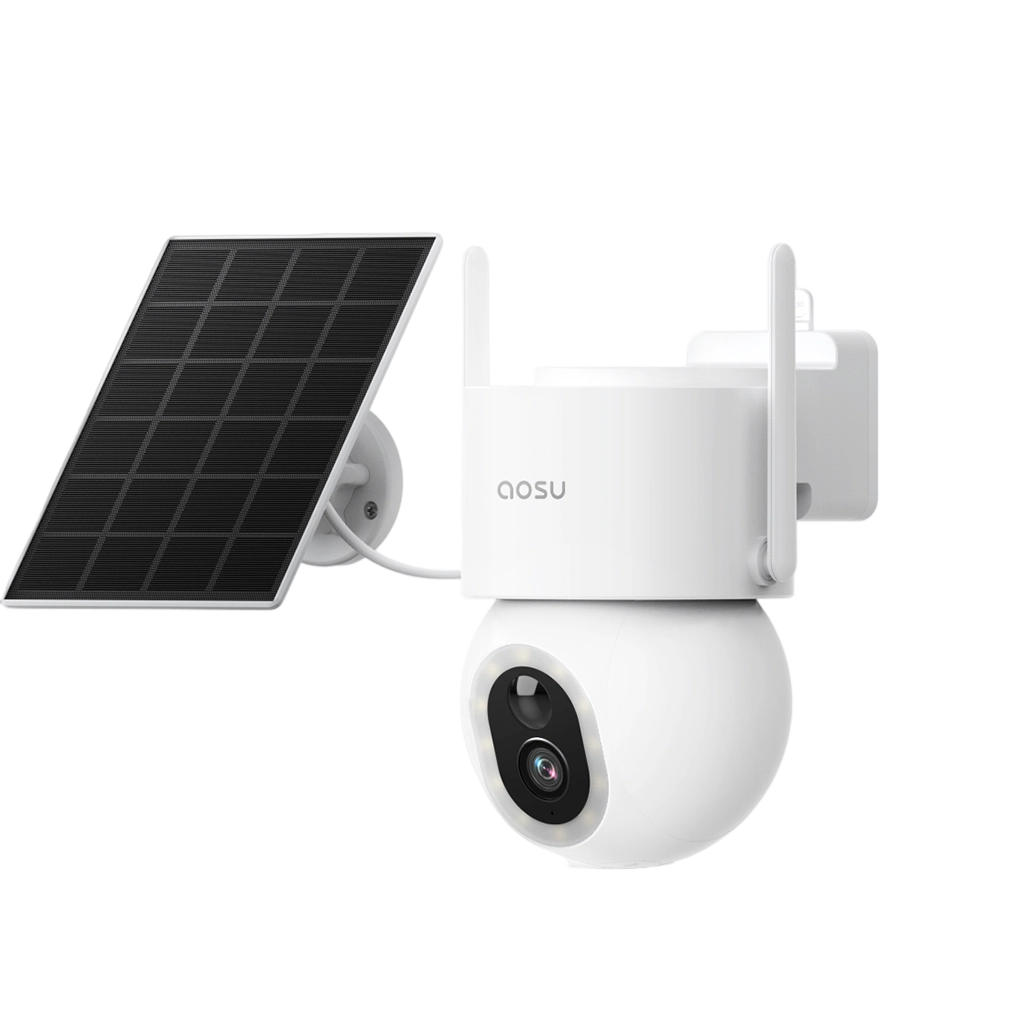
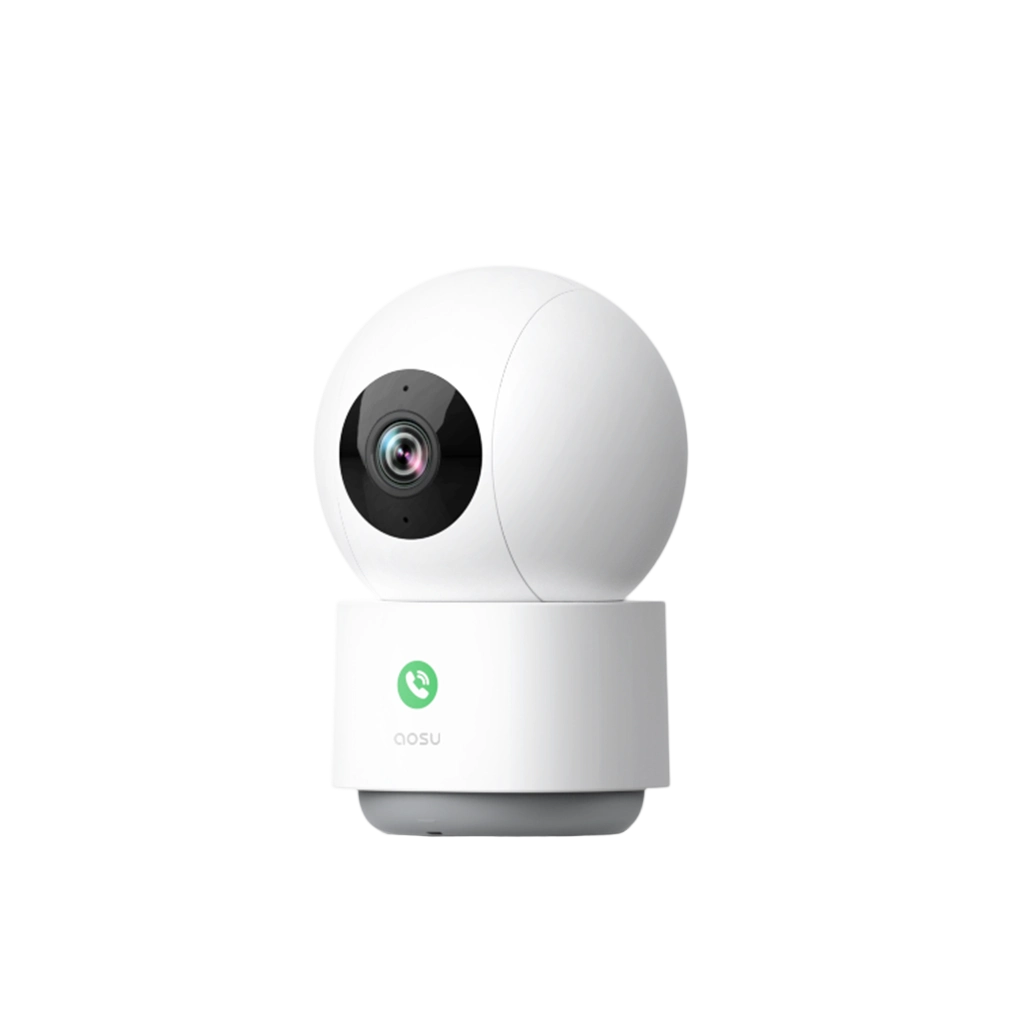
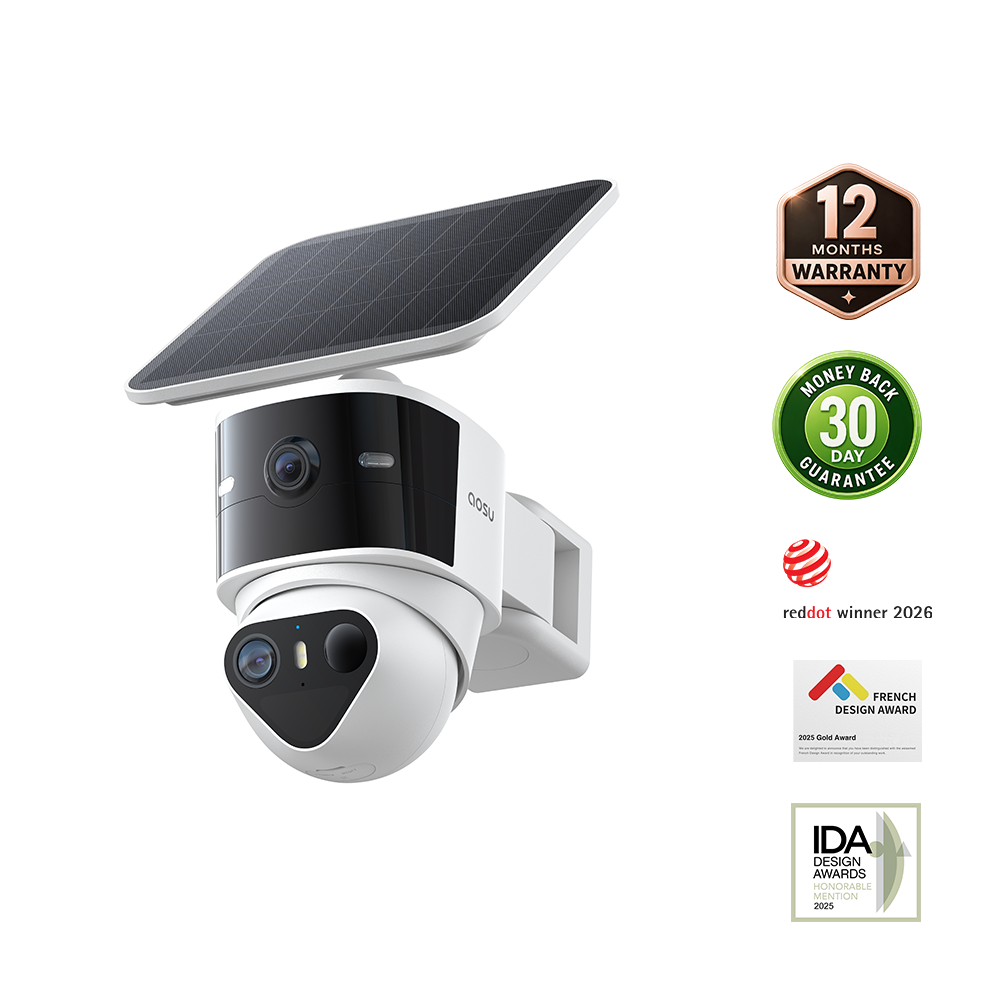
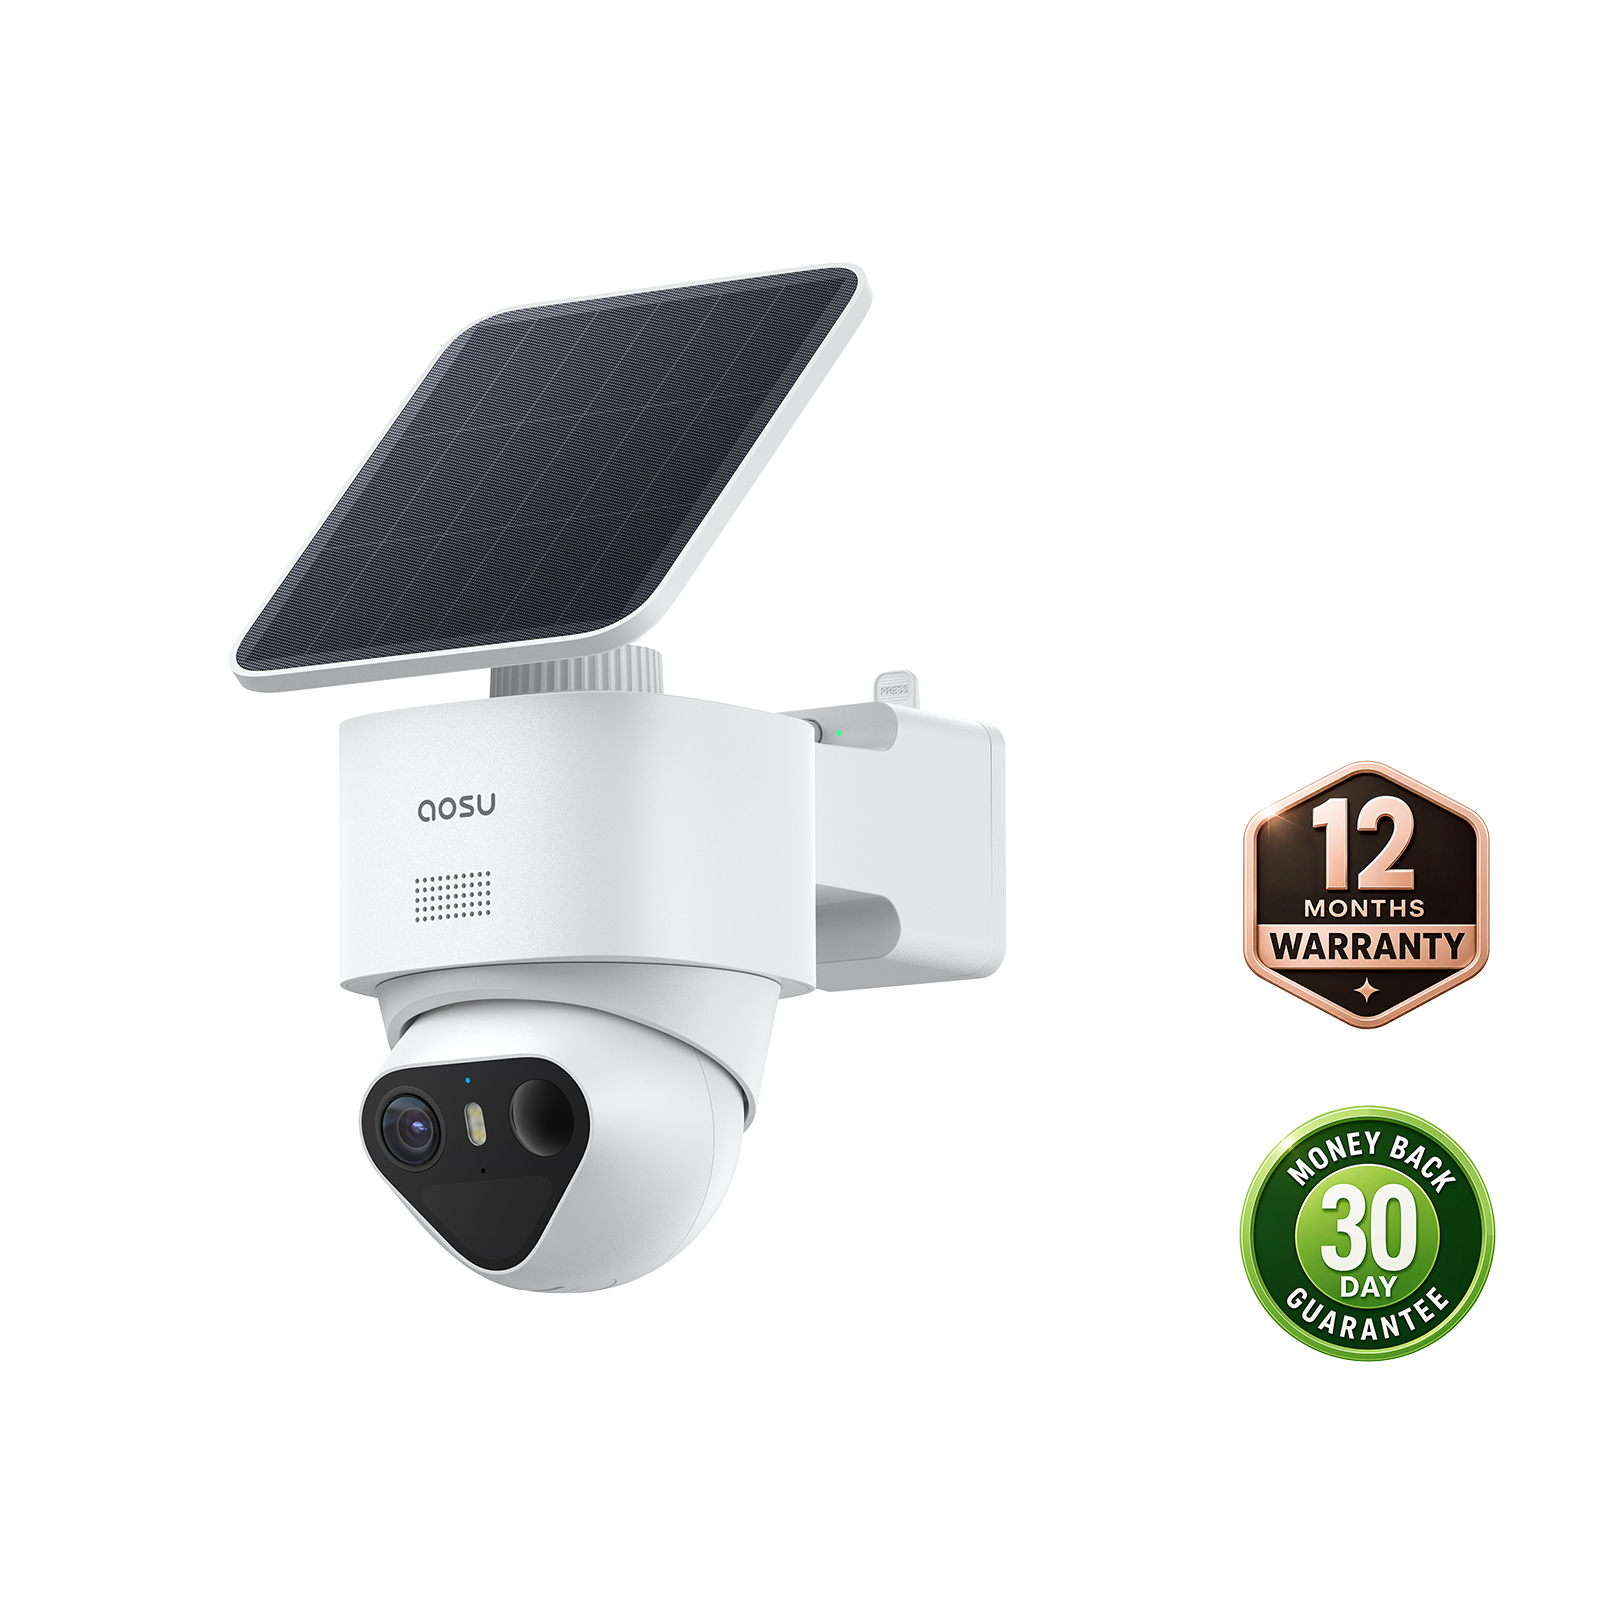
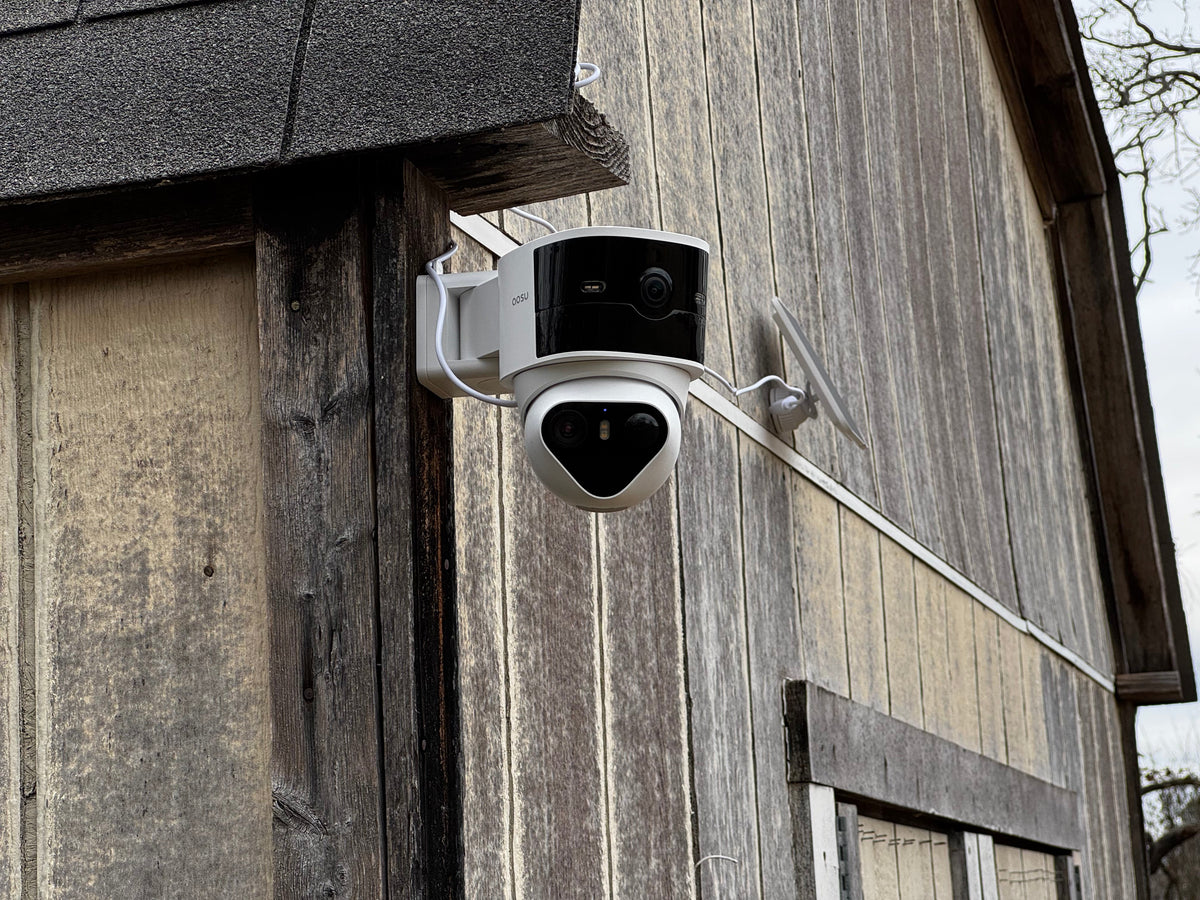
For a garden within reliable Wi-Fi range, the aosu T2 Pro combines a fixed 170° 3K overview camera with a 3K pan-and-tilt camera that rotates through 360°. The fixed view can show the gate and path while the moving camera follows activity elsewhere in the scene.
Its detachable solar panel can sit with the camera or separately in a sunnier position. The camera is rated IP65 and offers full-color night vision plus on-device person and vehicle detection. Aim the fixed view at the entrance you need to keep visible while the other camera turns.
Compare the single-camera and kit options for your storage setup, including whether an aosuBase is included. For a detached plot without a usable network connection, choose a camera and service that can connect from that location.

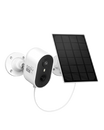
T2 Pro camera, separate solar panel and installation accessories.
Related links:
· View the current T2 Pro specifications and package options
· Explore solar-powered security cameras
Keep the Gate and Shed in View
Give each camera a clear view of someone entering the gate, using the path or reaching the shed. Test the connection and a saved night clip before mounting, then repeat the walk when plants or furniture change the view.
FAQs
Where should a security camera be placed in a garden?
Place it where it records someone entering the gate, walking along the main path or approaching the shed door. Test with gates and doors open and closed, and leave space for plants to grow without hiding the person.
Can a solar security camera work in a shaded garden?
Yes, if a separate panel can reach direct sunlight within the supplied cable length. Keep the camera aimed at the shaded area and place the panel in the sun. Check shade through the day and when nearby trees are in full leaf.
How can I improve security camera visibility at night?
Replay a saved clip of someone walking from the gate to the shed. Remove webs near the lens, move close leaves and reflective surfaces out of view, and compare the available night modes with your usual garden lighting. Check that the moving person remains clear.