


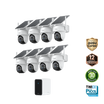
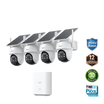
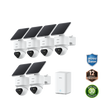
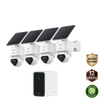

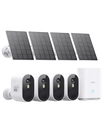
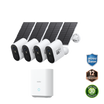
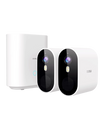
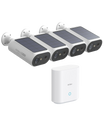
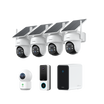
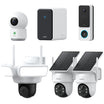
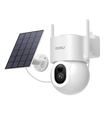
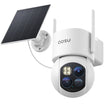
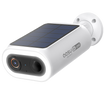
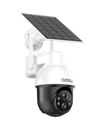
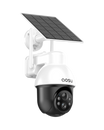
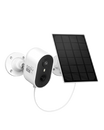
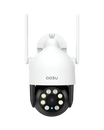


The best outdoor wireless security camera system gives you reliable recordings from the front door, driveway, side gate and backyard. Each camera needs a stable link to its hub or router, enough power for its recording mode, and storage you can access.
Test the cameras in their planned positions before fixing the mounts. Then check that events from different parts of the property save and play while the system is in use.
Map the Outdoor Coverage Points
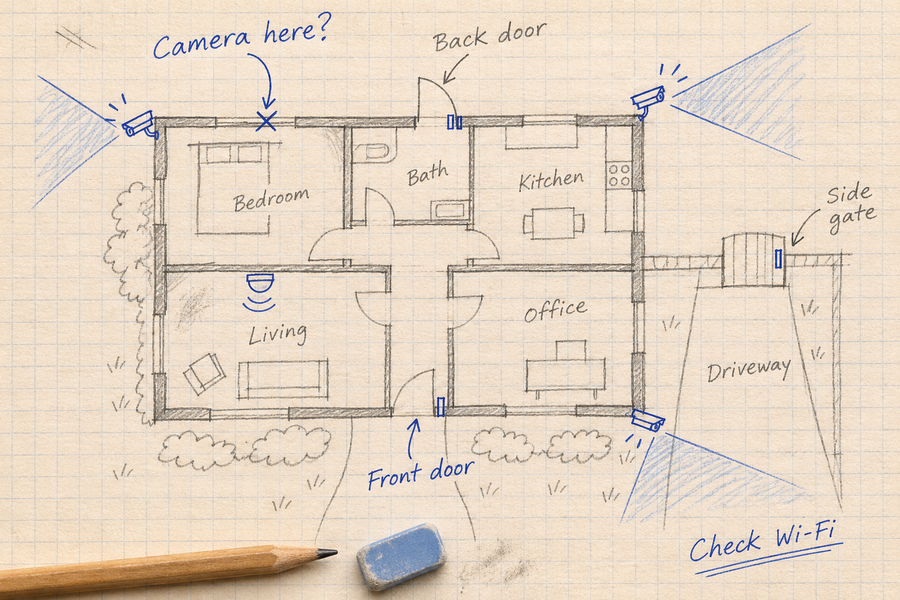
Mark the house, driveway, gates, rear door, detached buildings and hub or router on a simple sketch. Name the cameras by location so a notification marked Side Gate tells you where to look.
Give each camera a clear purpose. At the front door, that could mean seeing a visitor’s face and a package on the step. At the driveway, it could mean recording a car entering and someone walking toward the garage. Walk through each scene to confirm the person or vehicle stays visible for the part you need.
The camera-count, blind-spot and placement guides below can help you choose those views. Once the positions are chosen, add the connection path and power source for each camera to your sketch.
Include walls and buildings between the camera and its hub or router. Mark where a solar panel could receive direct sunlight, too. A shaded camera position can still work with solar if its separate panel reaches a sunny spot within the supported cable length.

Walk the planned positions and identify what each camera should show before mounting.
Related links:
· Calculate how many distinct camera views you need
· Plan camera views with fewer blind spots
· Choose practical camera locations around the property
Test Every Link to the Hub or Router
A camera at the road and another behind the house can have very different connections. One homeowner planning coverage in r/homesecurity described it this way:
“Would like to have one at the road and some around the home. We have a couple buildings in between and a shed in the back of the house.”
Related links:
· u/jpress00 in r/homesecurity — original comment
For that layout, test the road and shed positions individually. Brick, concrete, metal and distance can weaken the signal, so the camera beside the house tells you little about the one beyond another building. The homeowner also needed continuous recording more than 400 feet from the house—a requirement to resolve alongside the connection and power supply.
Pair the cameras near the hub or router, following the setup instructions. Move a camera to the farthest or most obstructed position and hold it at the planned height and angle. Open live view, walk through the scene, wait for the notification and play the saved clip.
Repeat with doors and gates closed and vehicles parked where you normally leave them. If playback stalls or the camera disconnects, move the hub to a more open position and retest every affected camera. For cameras that connect directly to home Wi-Fi, an additional access point is another option; it must support the camera’s connection requirements.
A road or shed camera that still cannot maintain a link needs a different connection plan, such as a wired network or a purpose-built wireless link. Confirm compatibility with the camera and recorder before adding network equipment.
Match Power to Each Location
Choose power for each camera’s location and recording mode. Battery cameras avoid a power cable at the mount, but you’ll need access for charging. A solar panel reduces manual charging when it receives enough direct sunlight; a shaded side passage may need a panel elsewhere or a regular charging plan.
Plug-in or wired power suits locations with an accessible supply and can support power-hungry recording modes when the camera is designed for them. If you need continuous recording, choose a camera and power supply that explicitly support it.
Use the table to compare the connections, power and recordings at each point. Include the cost of panels, mounts, outlets, cabling and any extra network equipment in the system budget.
| Location | Main obstacle | Connection test | Power and added cost | Camera capability | Storage check | Ready to mount when… |
|---|---|---|---|---|---|---|
| Front door | Backlighting, low packages and frequent visitors | Test live view and a saved event with the door closed | Battery with charging access, or solar with a sunny panel position | Clear visitor and package view; useful night detail | Allow for frequent visitor events | A visitor and package remain visible; alerts and playback work |
| Driveway or garage | Metal door, parked cars and distance | Test with the garage door open and closed, while another camera records | Battery or solar for supported event recording; budget for an outlet or wiring if needed | Person and vehicle detection; clear movement at the required distance | Both cameras’ events save with correct names and times | A person and car are recorded while a second camera is active |
| Side gate | Brick, shade and someone crossing quickly | Walk through in both directions; review the beginning of each clip | Accessible charging or a panel in sun; include any cable or mount | Detection and wake-up fast enough to catch someone entering | Gate events are easy to find in the shared event list | The clip shows the person entering and passing through |
| Backyard or rear door | Trees, pets and signal through the house | Walk from the far end of the planned view toward the door | A separate panel can reach sun; include panel, mount and supported cable | Detection zones and useful detail after dark | Check how pet and patio activity affect saved footage | A person approaching the door records by day and night |
| Detached building or property edge | Distance, intervening buildings and limited power | Test over several days at the intended camera position | Budget separately for local power, wiring or a network link | Compatible connection and the required recording mode | Verify how recordings reach storage, including during a link failure | Remote viewing and saved playback stay reliable in normal use |
Plan Storage and Failure Cases
Choose storage for the combined activity from all cameras. A busy driveway and front door can produce many more events than a rear gate. At your selected recording settings, check how much footage the system retains before older clips are replaced, and download a sample clip so you know how to keep one.
The kit may save footage in the cameras, a hub, the cloud or a combination. Find out which recordings remain accessible if a camera is damaged or the hub loses power. For a comparison of storage, compatibility and expansion, use the wireless-system guide below.
Test two cameras recording at once: have someone approach the front door while another person walks through the side gate. Confirm both events save with the right camera names and times. Then turn off Wi-Fi on your phone and open live view and saved playback using cellular data.
Check internet loss while leaving the cameras and hub powered. Briefly disconnect the router’s internet connection, trigger an event, then restore service and look for the recording. Note which alerts and viewing functions stopped during the outage. For a power-loss test, follow the exact model’s shutdown instructions before interrupting power to storage equipment.
Place the hub and router where they have reliable power, ventilation and a clear signal path to the cameras. If you add a battery backup, include the equipment needed for recording and remote access. Test how long that equipment runs on the backup.
Related links:
· Compare wireless systems by storage, compatibility and expansion
Build and Test an Outdoor Kit
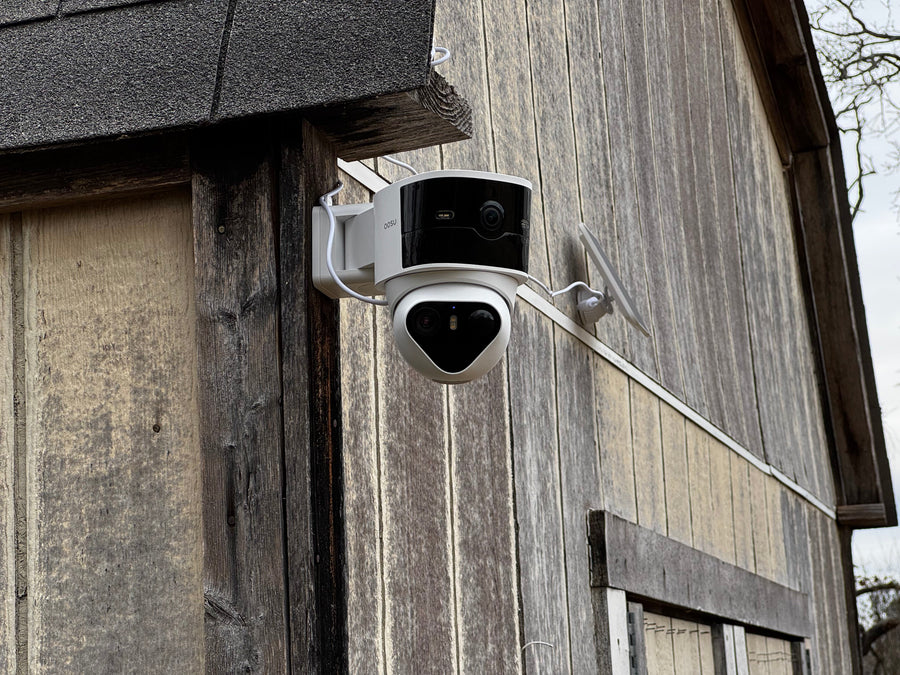
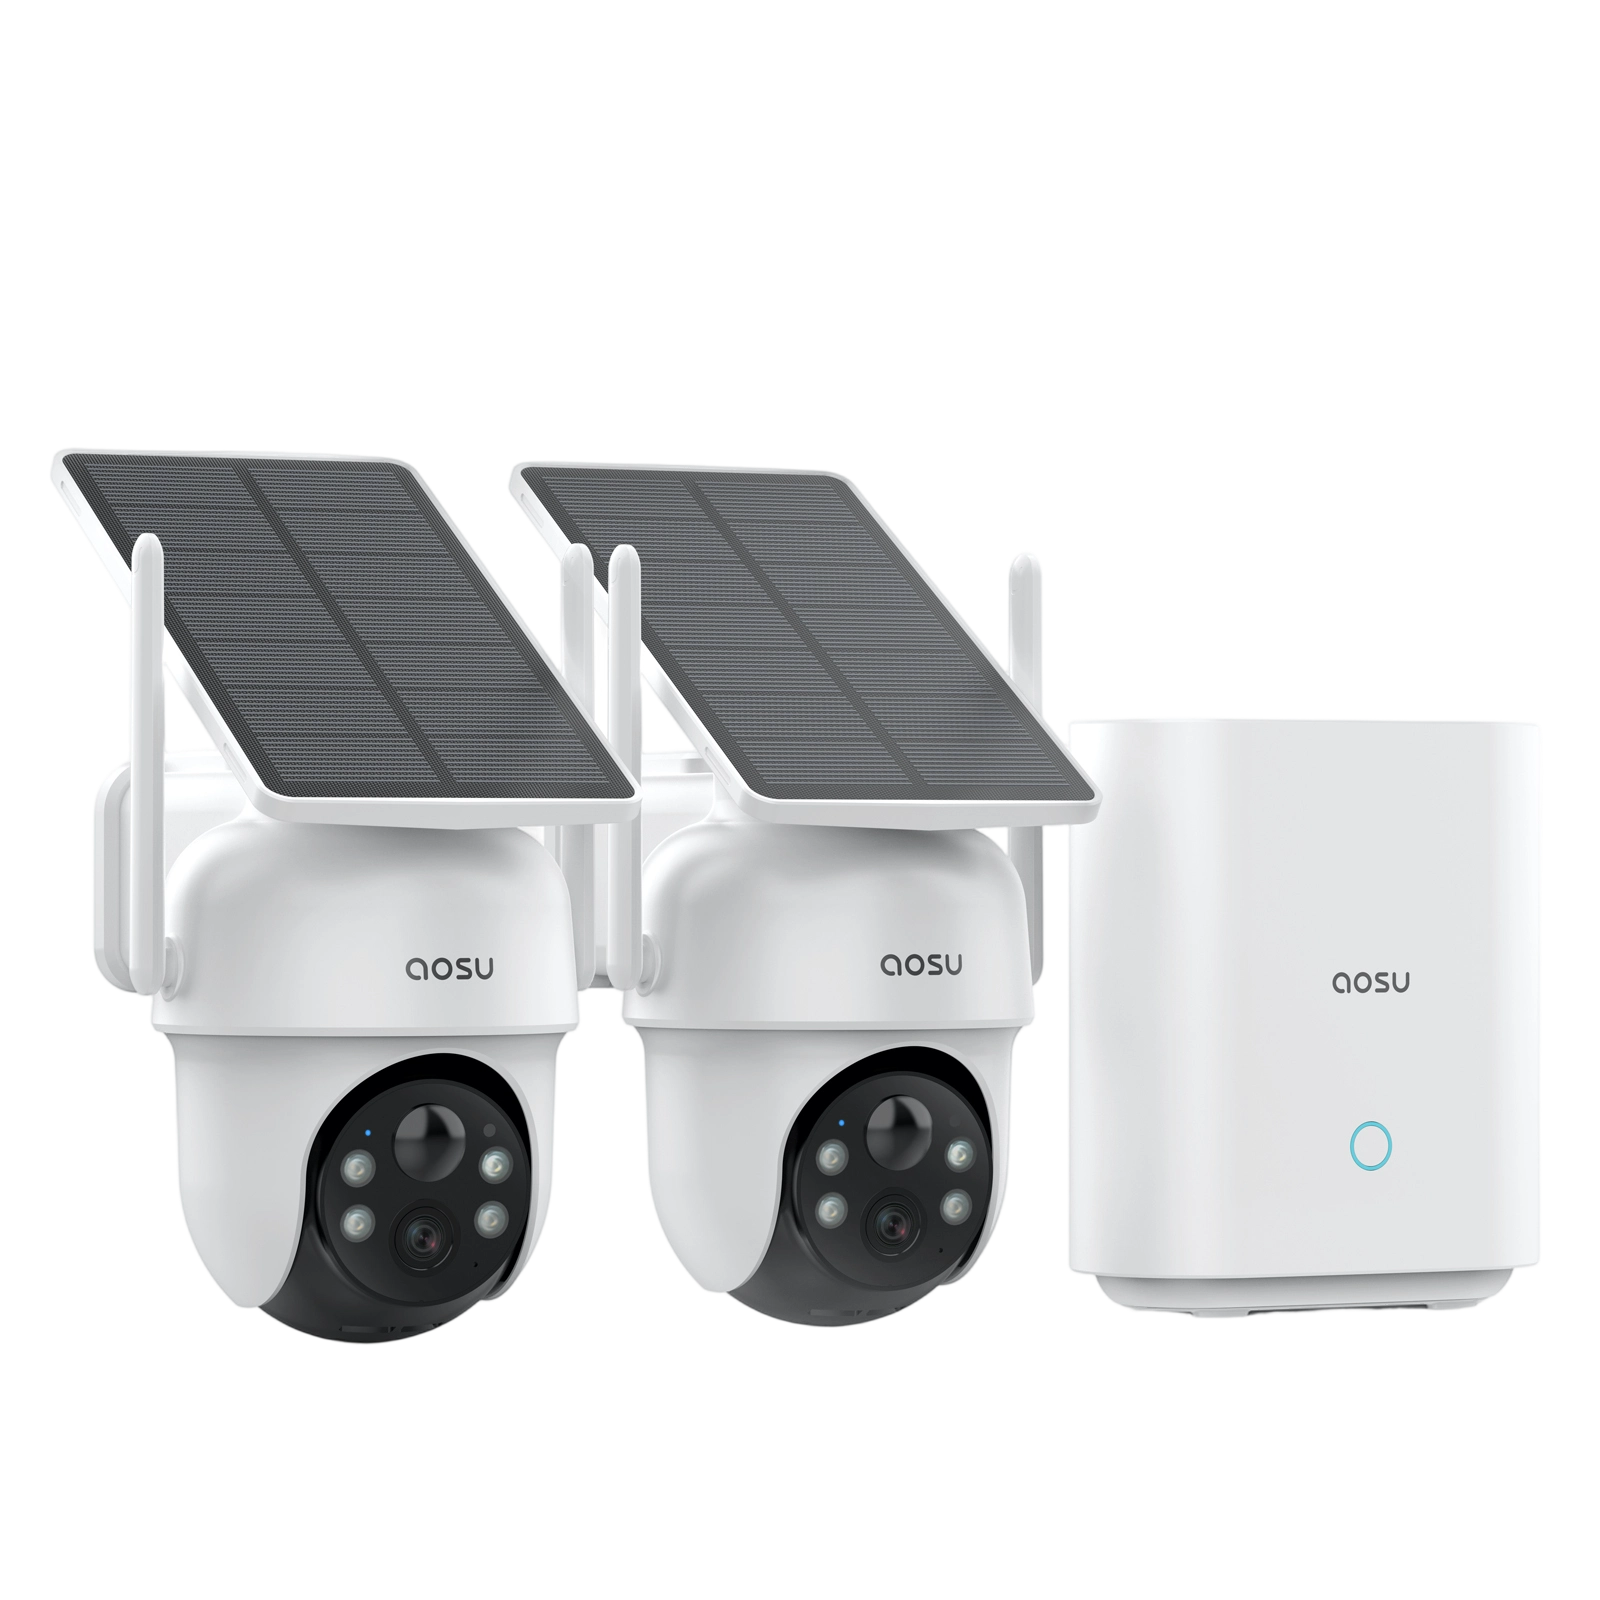
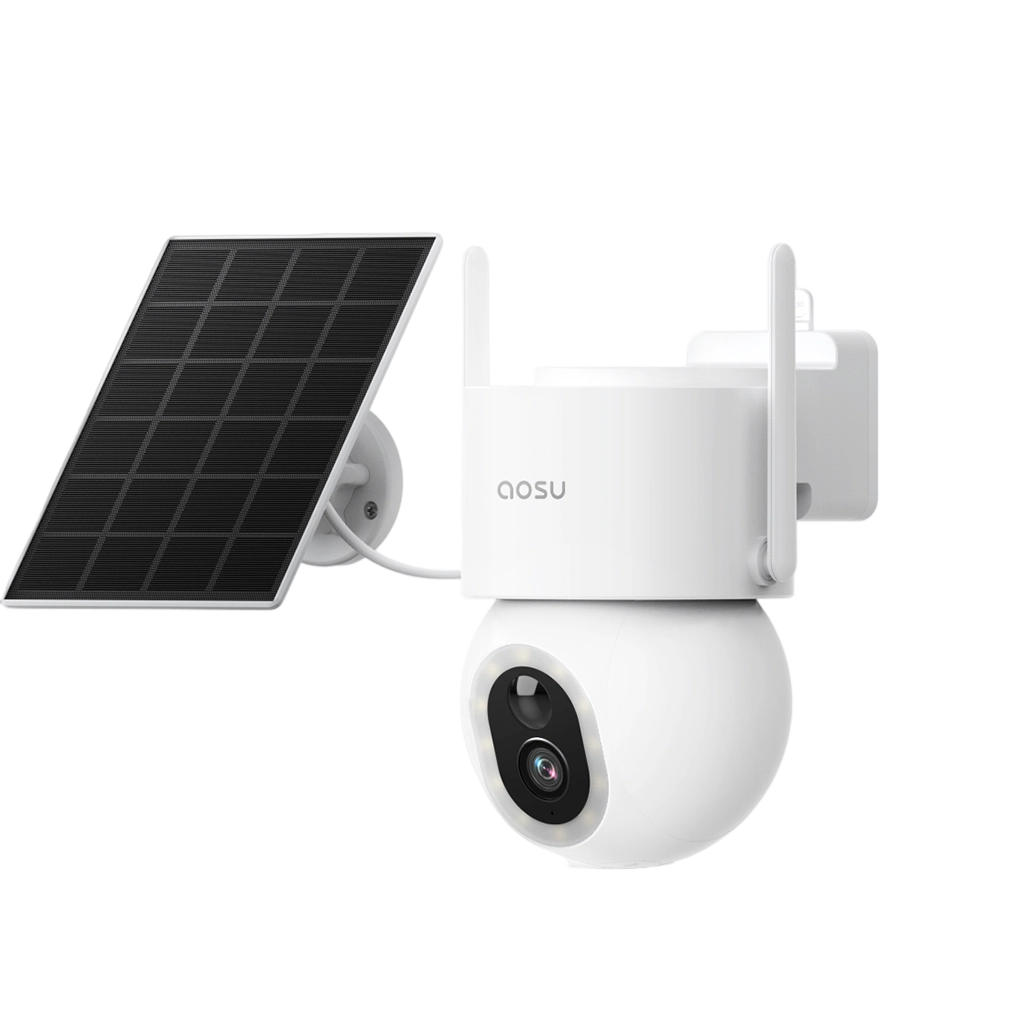
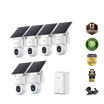
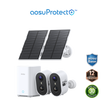
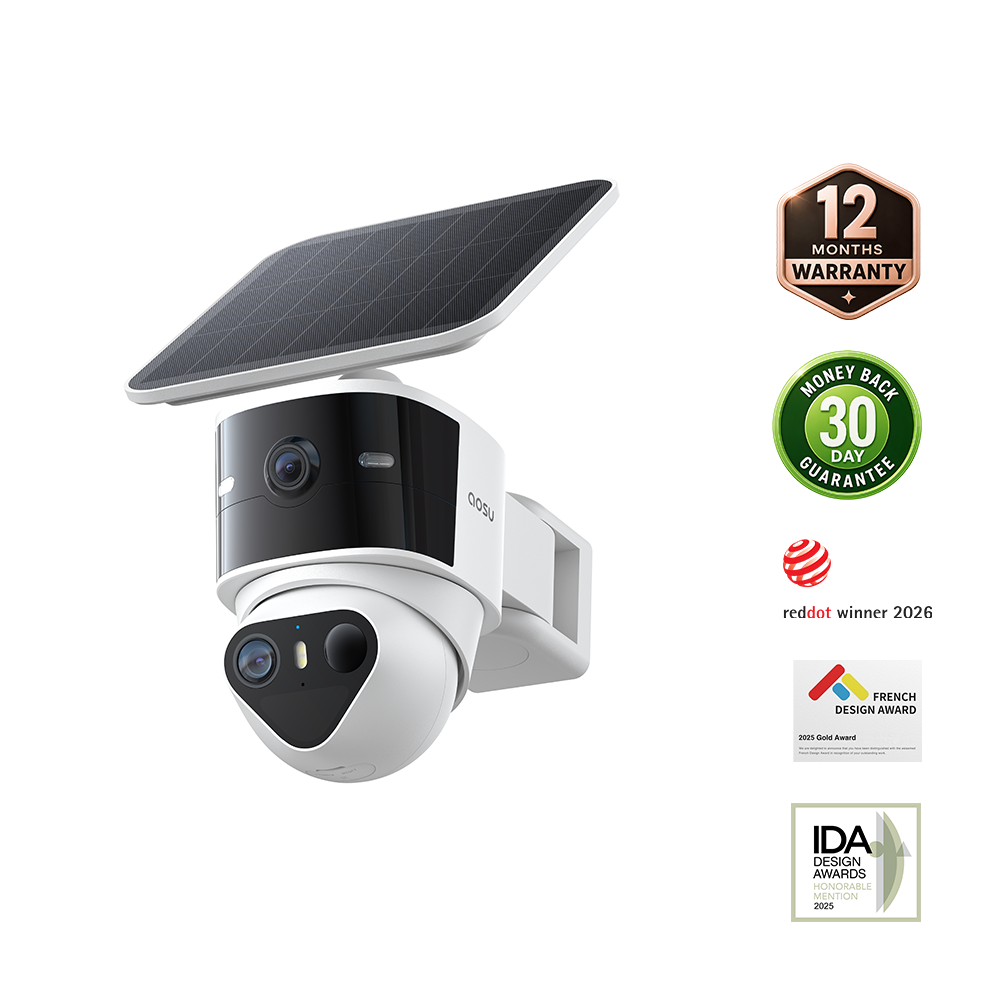
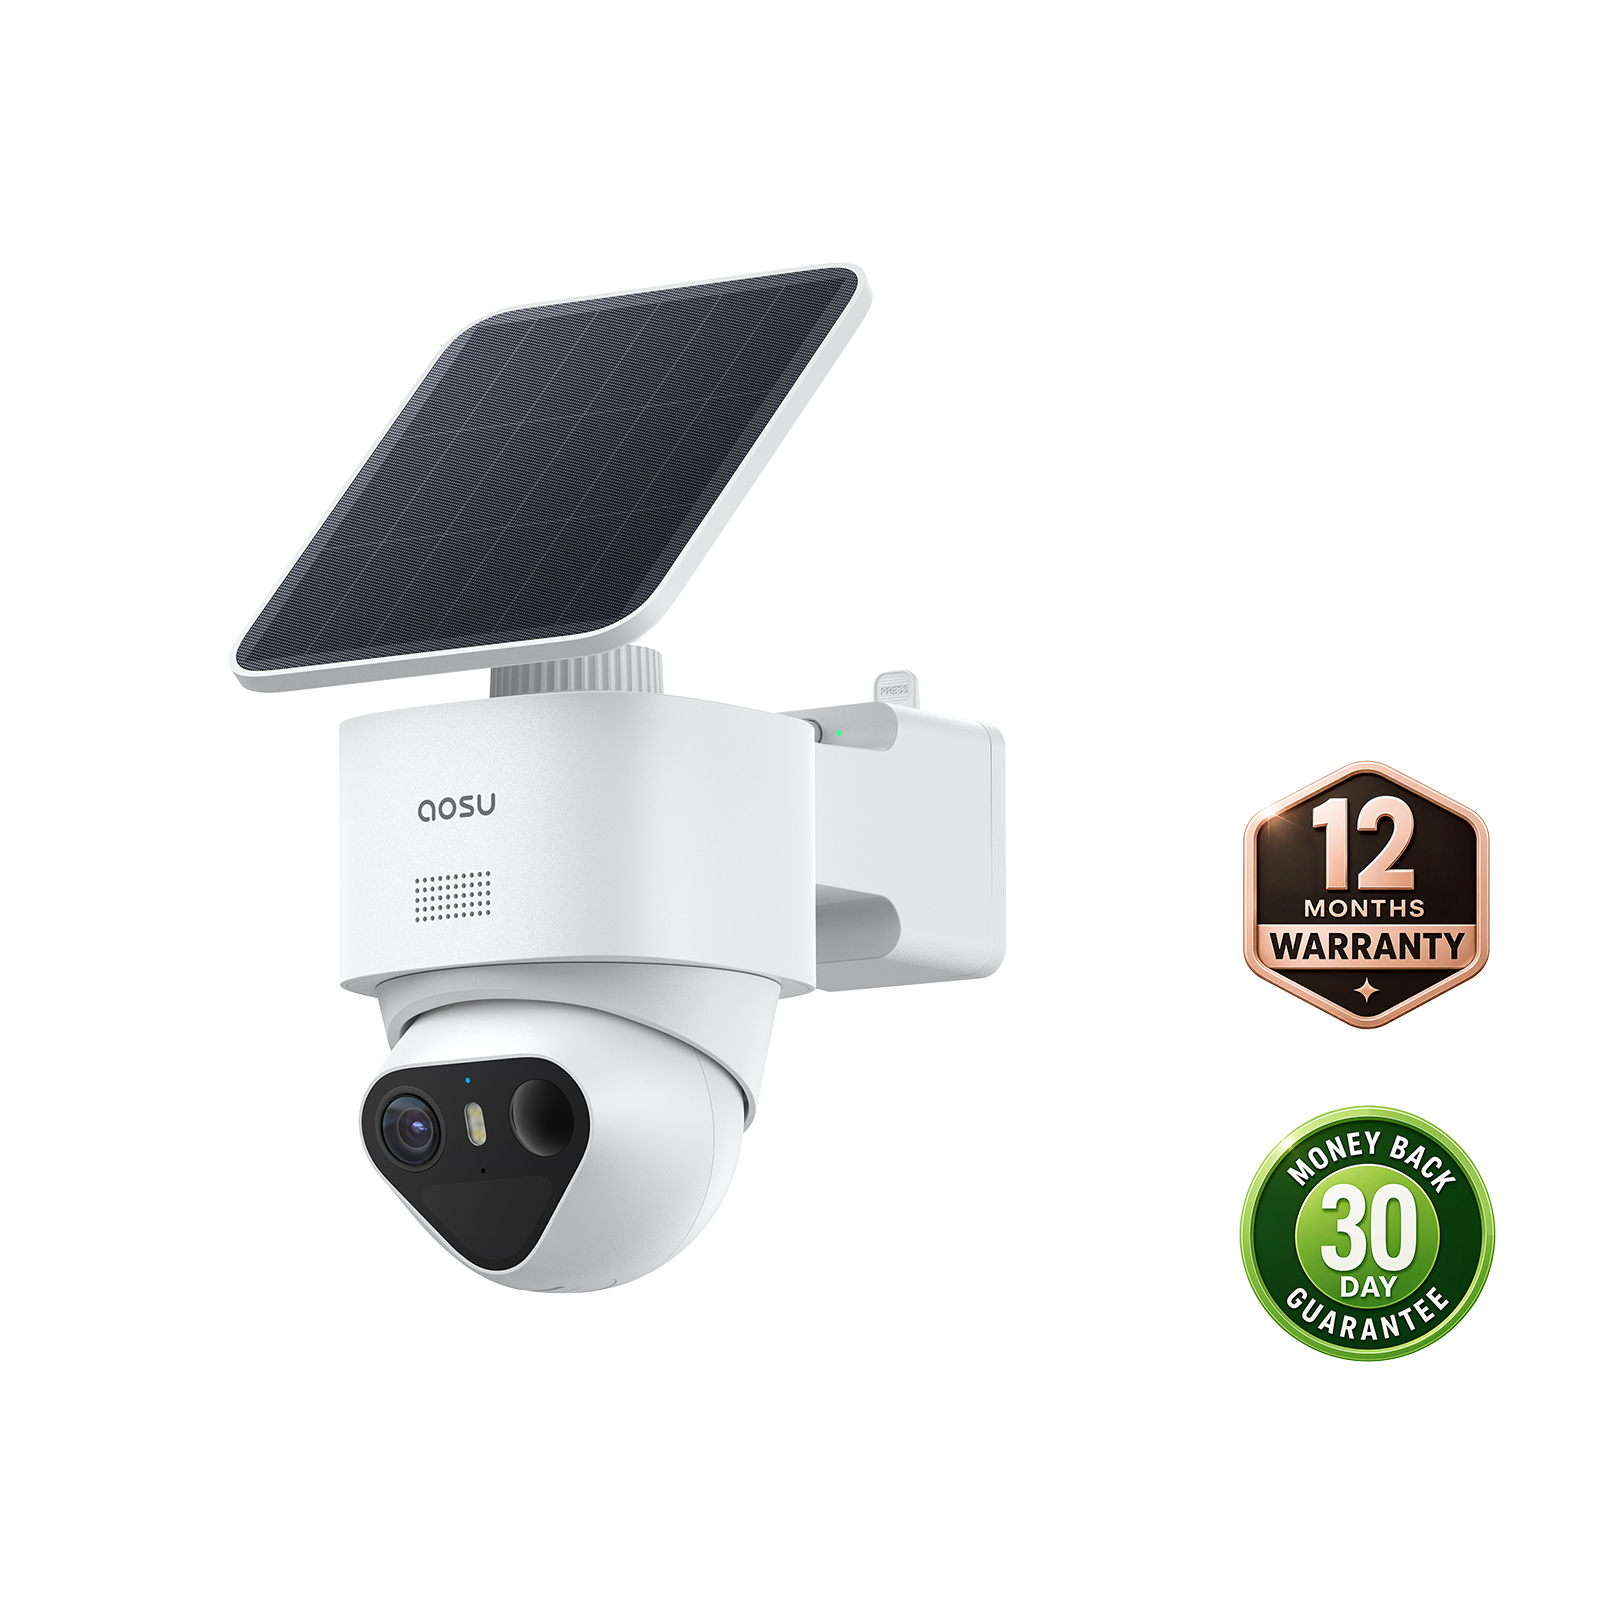
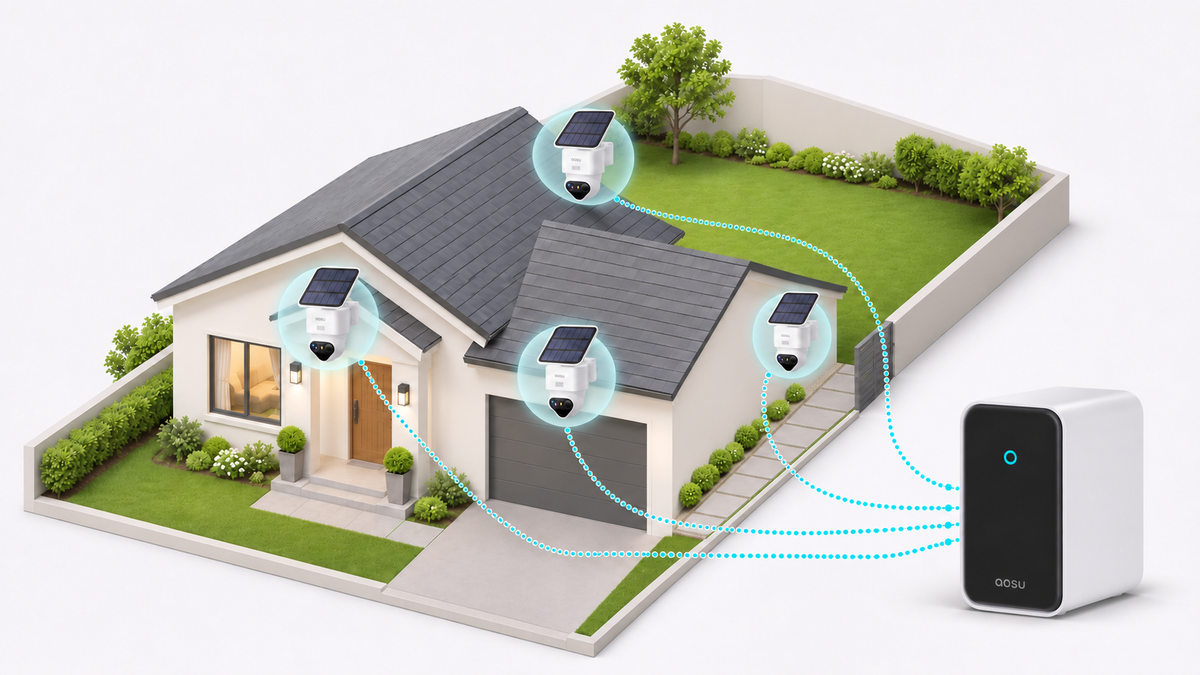
For cameras around a house, the SolarCam T2 Ultra combines 4K video, an F/1.0 aperture and a 1/1.8-inch image sensor with pan-and-tilt coverage. Each camera has a 9,200mAh battery and a detachable 3W solar panel, so you can aim the camera at the entrance and position the panel for sunlight.
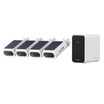
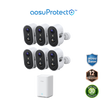
Multi-camera kits connect to a central aosu hub and let you view several cameras together in the aosu app. Choose the hub configuration for your total camera count and storage needs: aosuBase 2.0 and aosuCortex have different device, storage and local-AI capabilities.
Use the location names from your sketch during setup. Test each camera before fixing its mount, including someone walking through the view after dark. Color detail depends on available light and the selected night mode; moving people reveal whether the installed view captures the detail you need.
After adding all cameras, run the final checks together:
· Open the multi-camera view and confirm every required camera connects.
· Trigger events at two locations at once and play both recordings.
· Check alerts, live view and saved playback on your phone using cellular data.
· Review a night clip from each camera, including a person moving through the scene.
· After the system has run for the period you need to retain, check that footage from the beginning of that period is still available.

Check each camera’s live view from its planned location.
Related links:
· View current SolarCam T2 Ultra system configurations
To Wrap Up
A wireless outdoor security camera system is ready when each location has reliable power and a stable connection, and recordings from different cameras save and play together. Complete those checks with doors closed, cars parked and the yard arranged as you normally use it.
Keep the camera names, power sources and test results with your property sketch. If you move the hub, add a camera or change a mounting position, you’ll know which connections and views to test again.
FAQs
How many cameras do I need for outdoor multi-camera coverage?
Choose enough cameras to capture the views you need at the front door, driveway or garage, side access and rear entrance. One camera can cover two areas if it records the required detail and catches people entering both. Use a camera-count plan to choose the views, then test each connection at its intended position.
How can I test wireless camera range before mounting?
Pair the camera, hold it at the planned height and angle, then test live view, notification delivery and saved playback. Close doors and gates and park vehicles in their usual positions. Test the farthest or most obstructed location first, then repeat with other cameras recording.
Can a wireless outdoor camera system cover a detached building or long driveway?
It can if the camera has suitable power and a reliable connection at that location. Test the intended position before mounting. If the link fails, a detached building or long driveway may need a compatible access point, a wired network or a purpose-built wireless link.