


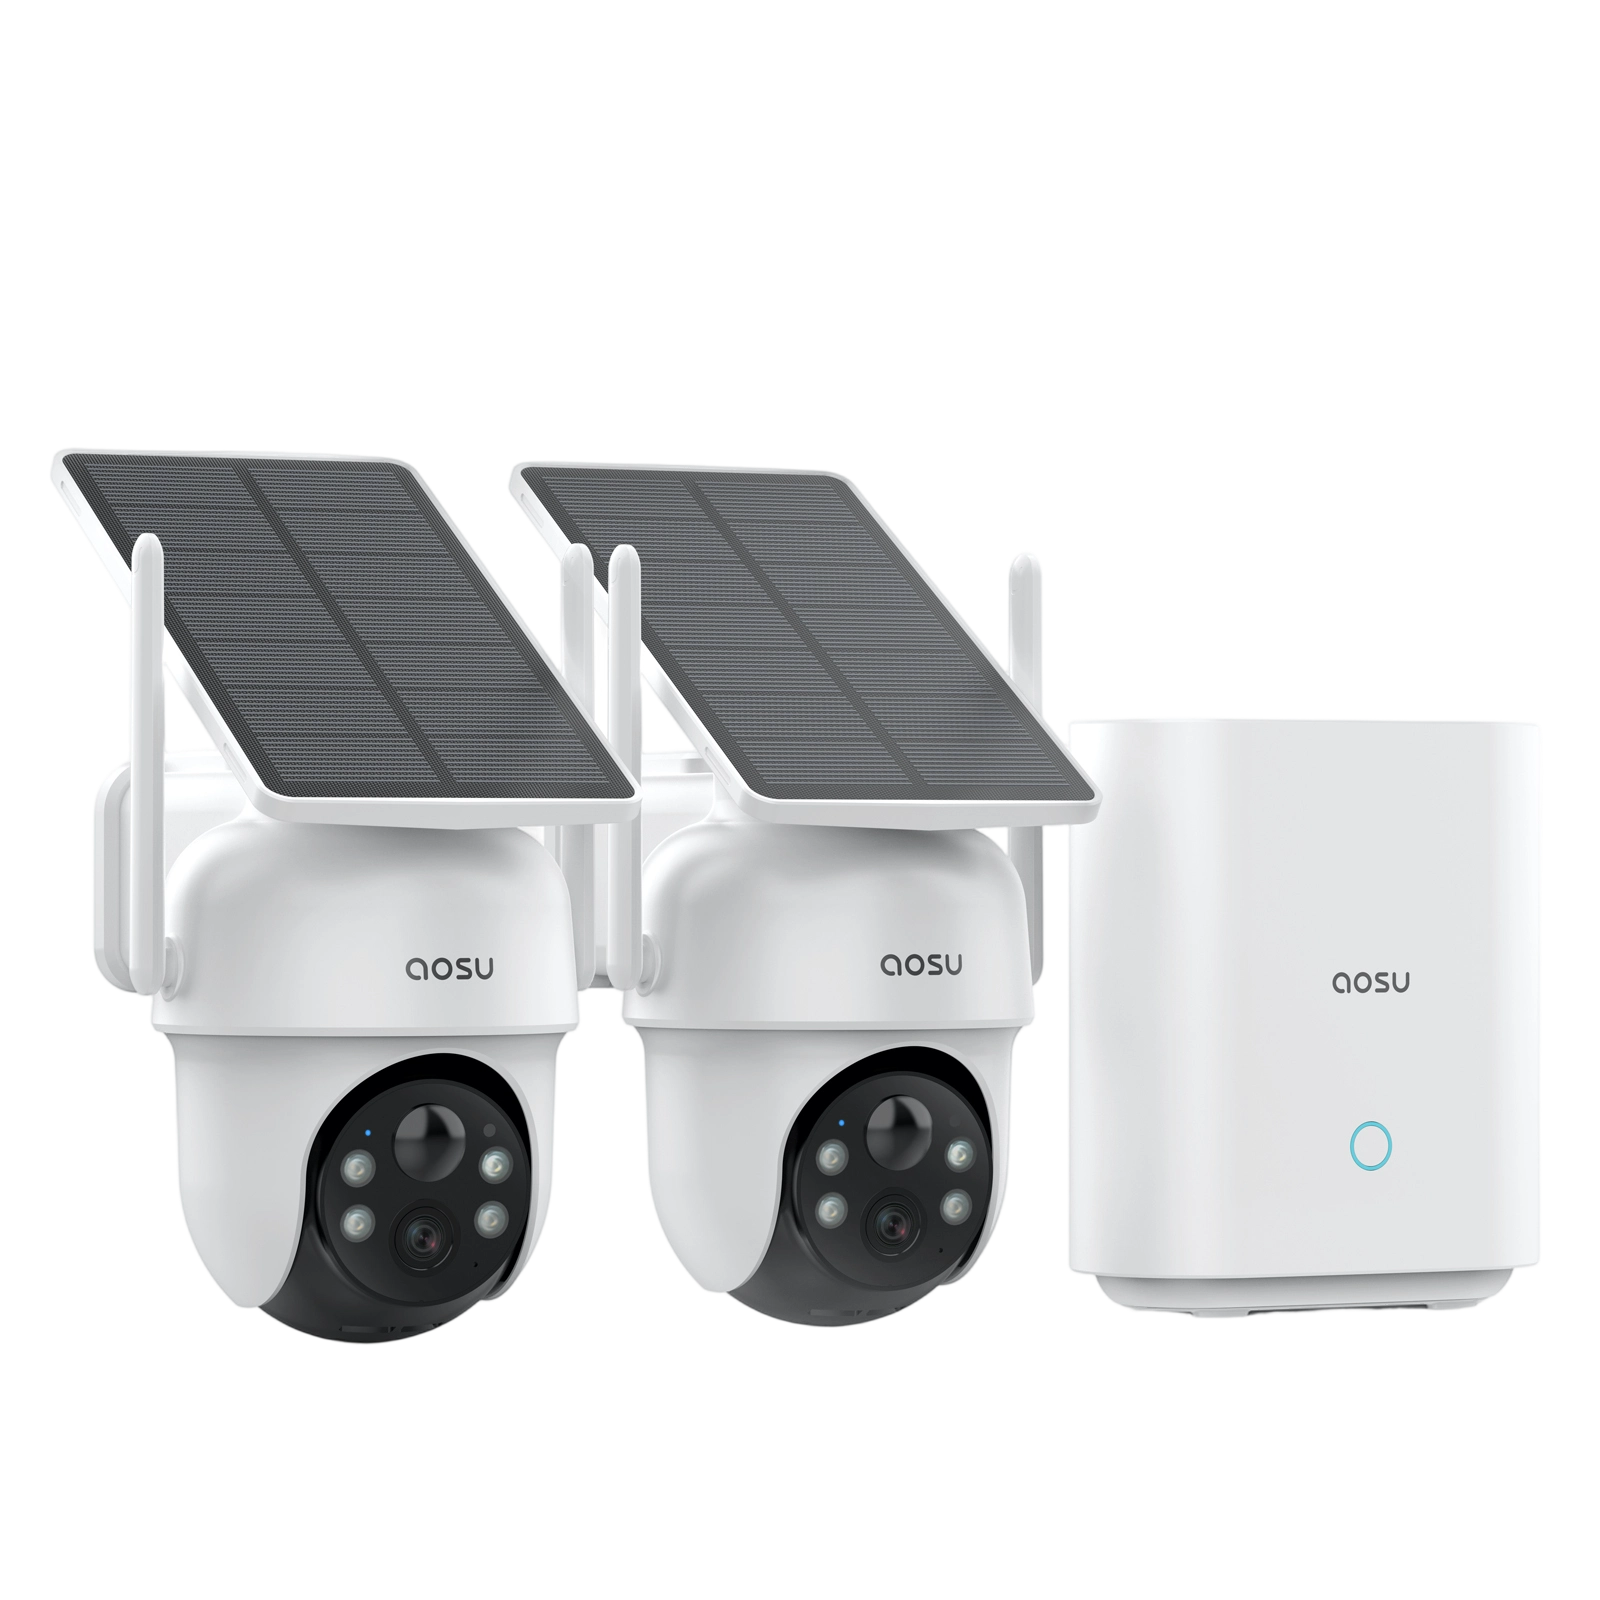
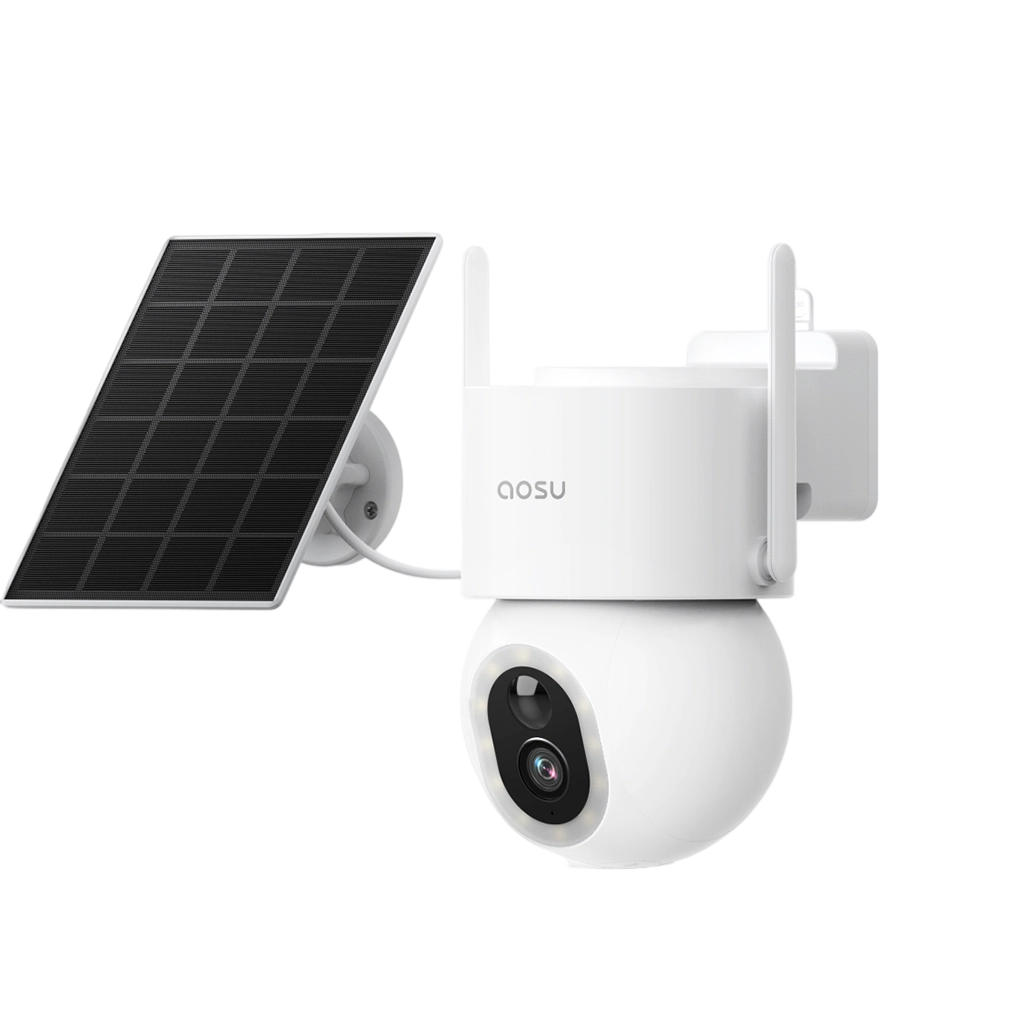
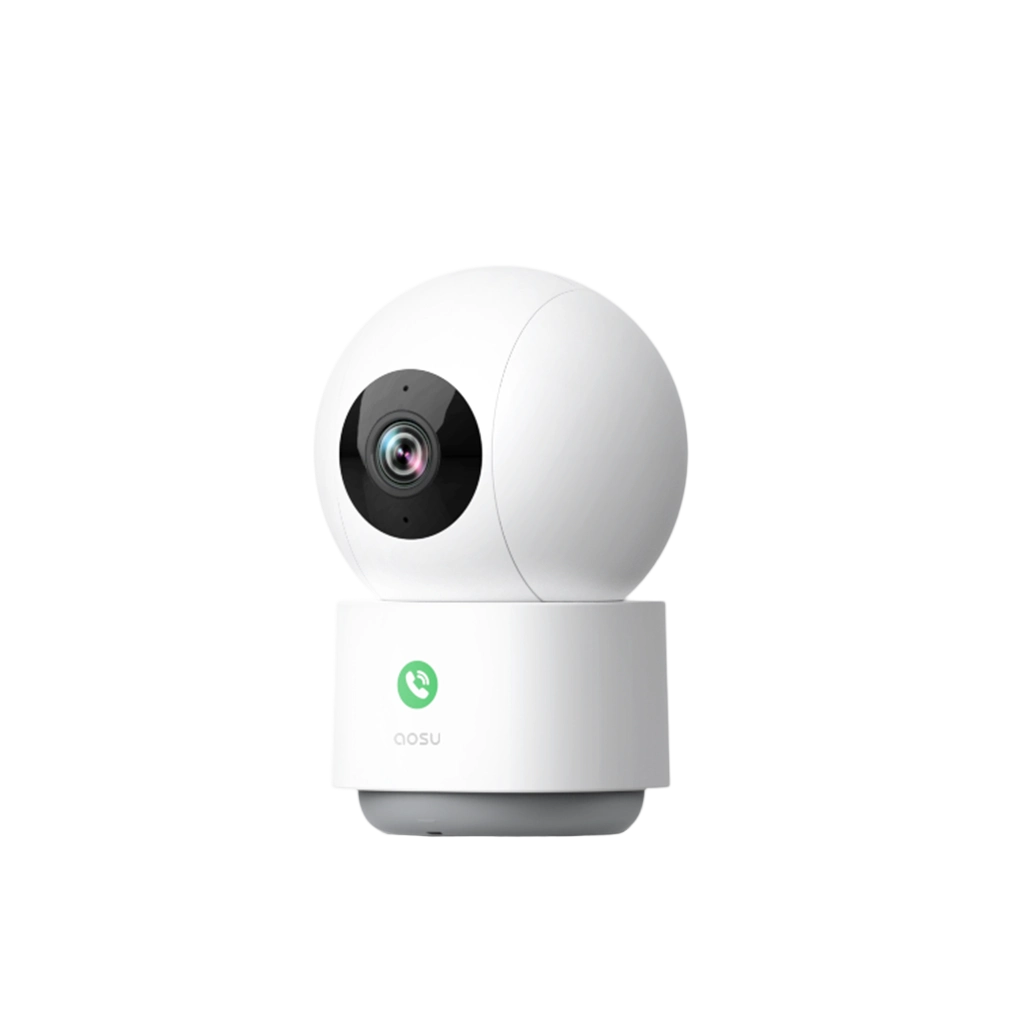

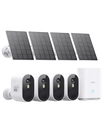
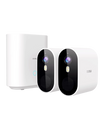
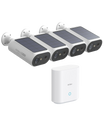
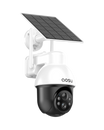
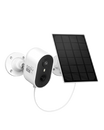
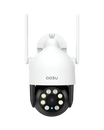


Simply having security cameras is not enough; their usefulness depends largely on where you put them. Strategic placement keeps important entrances and walking routes in view and gives each camera a clear area to monitor.
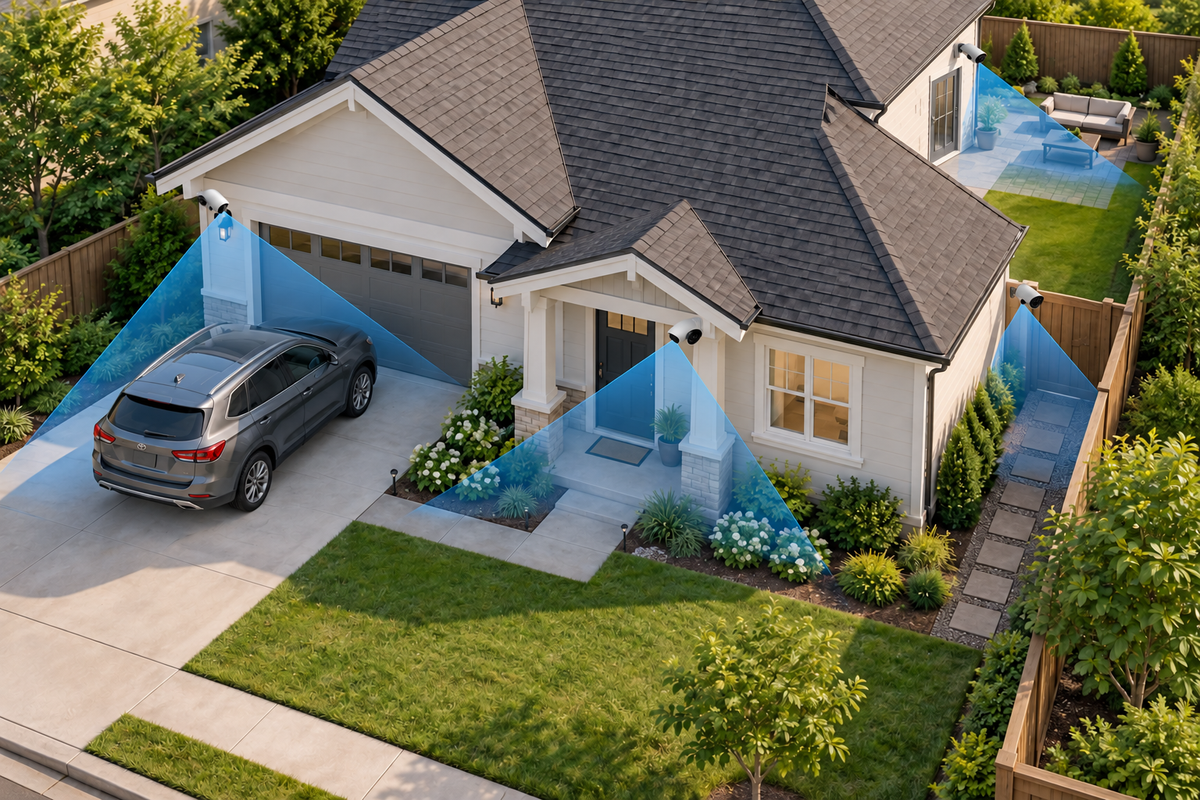
For many homes, the main outdoor positions are the front door, driveway or garage, side gate or path, and backyard or rear entrance. This guide explains which locations deserve a view and what each view needs to show.
Why Camera Location Matters
A useful position shows the person, vehicle, package or entrance connected to the event, not just a wide section of the property. A visible camera can signal that an area is monitored, but it cannot guarantee prevention or useful evidence.
A front-door camera that misses the doorstep or a driveway camera blocked by a parked vehicle will not provide the view you expected. Start with the areas people use to approach or enter the home. Broader planning for alarms, storage, network coverage and the complete system belongs in the guide to planning a security camera and alarm installation. Use the dedicated planner below for camera count and the blind-spot checklist for gaps in an existing view.
Where to Install Security Cameras
The best places to put outdoor security cameras are usually the front entrance, driveway or garage, backyard, and side of the house. Use these as starting points, then adjust for the layout of your property and the routes people actually take.
Map the Required Views First
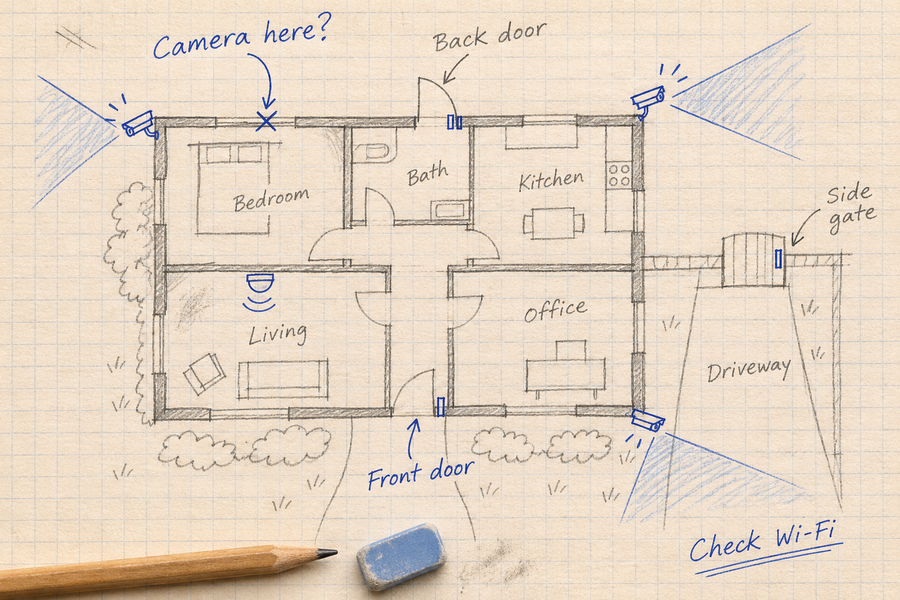
Sketch the house, driveway, gates, rear entrance and any detached building. Mark the routes people use and the objects that block them, including parked vehicles, walls and open doors.
Assign each important entrance or activity a required view. Combine nearby areas only when the saved image provides useful detail in both. Keep separate viewpoints where a corner blocks the route or two important events must remain visible at the same time.

The front-door view should include the visitor standing position, package area and approach. The driveway view should account for parked vehicles and the pedestrian route. At the side gate, include the gate's swing and any blocked passage. At the rear, prioritize the back door, shed or important route. Mark the house, fences, vehicles and unnecessary neighboring views as constraints, not areas a camera can see through.
Front Door and Other Entry Points
Installing cameras at entry points helps you monitor who enters and exits the property. At the front door, place the camera where it can show the approach, the place a visitor naturally stands and the usual package location.
Porch columns, railings, plants and outward-swinging doors can block part of the view. Include the open door and packages on either side of the entrance in the walk test below. For a video doorbell, follow the mounting height and angle for that model; use a compatible wedge when the flat wall points the camera away from the standing position or doorstep.
The focused guide to video doorbell field of view goes deeper into visitor, package and wedge-angle coverage.
Garage and Driveway
Cameras in the garage and driveway help monitor vehicles and people approaching the home. A garage corner or side wall often provides a useful view along the driveway while keeping the walking route toward the house visible.
Park vehicles where they normally sit before choosing the angle. An SUV, trailer, open garage door or hedge can hide a person even when the empty driveway looks clear. If people appear too small at the far end, move the camera closer to the important area or add another view instead of relying on a wider frame.
For this location, include a vehicle arriving and a person walking beside the normally parked vehicles in the day-and-night test below. Headlights and strong backlighting are particular concerns.
Backyard and Rear Entrance
Positioning a camera in the backyard helps monitor areas that may not be visible from inside the home. Start with the rear door, patio entrance, shed door or another point connected to a real concern.
A wide view can show movement across a compact yard, but a person near a distant fence may appear too small for the detail you need. Keep the priority entrance or route near the center of the frame. Account for walls, eaves, branches or windows that may reflect patio lights, a spotlight or infrared illumination back toward the lens.
If the rear door and a detached shed both need to remain visible, use separate views rather than expecting one moving camera to face both places at once.
Side of the House and Gates
Cameras on the side of the house cover pathways and gates that are often overlooked. Place the camera where it can show the gate opening and the route a person takes after entering.
Avoid mounting so close to a wall, downspout or fence that the nearby surface fills much of the frame. Include passage through the gate in both directions in the walk test. The important event includes the gate opening, not only the person after they have passed below the camera.
The side of a home can also have weaker Wi-Fi or limited power access. For a solar model, use the separate solar camera and panel placement guide for sunlight and cable checks.

A corner mount can cover a side route; check that branches and the nearby wall do not block the recorded view.
What to Consider When Placing Cameras
The wall or eave is only part of the decision. The camera still needs a useful field of view, a suitable outdoor installation, reliable power or connectivity, and motion detection suited to the real route.
1. Field of View and Recorded Detail
A wide field of view shows more of the scene, but it can make people and packages look smaller. Decide what detail the important subject needs to retain at the actual distance; use the saved-footage test below rather than judging only the empty live view.
2. Outdoor Rating and Mounting Instructions
Outdoor cameras, cables and power accessories have model-specific weather, temperature, orientation and sealing requirements. Follow the instructions for the exact camera and accessories instead of applying one product's limits to another.
3. Wired or Wireless Connection
The choice between wired and wireless cameras affects where the camera can be installed. Check cable reach, outlet access, battery charging or solar-panel placement. Include connection and power checks at the proposed mounting point in the test below.
4. Motion Detection
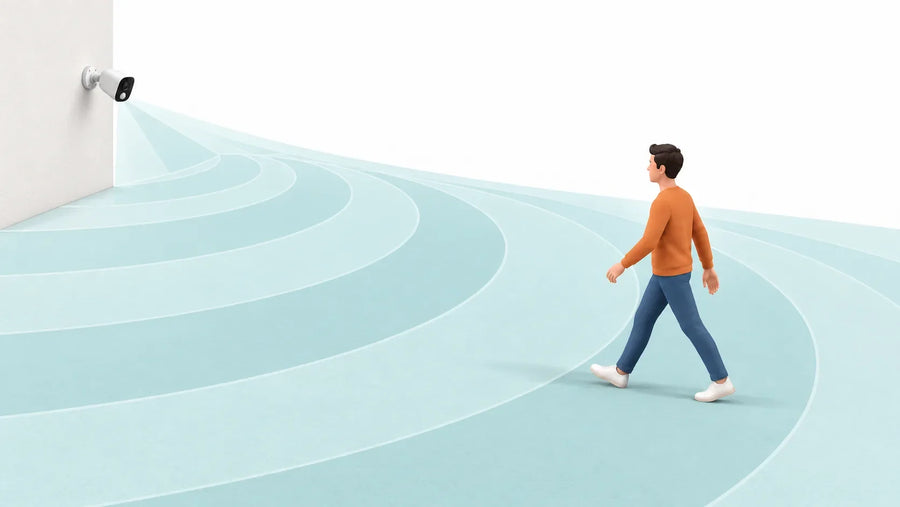
Detection method, range, zones and settings affect when event recording begins. The important action may start before someone reaches the door or passes through the gate. A view that shows the route does not by itself establish that the saved event includes its beginning.
5. Keep the View Focused
Aim each camera at the area needed for its purpose and avoid making neighboring windows, yards or other private spaces a major part of the frame. Use available privacy settings to exclude unnecessary views, and verify their behavior for the exact model. This layout is not a determination of permission to record.
Decide Which Views Need Separate Cameras
Use one camera for nearby areas only when both remain visible with useful recorded detail. Add another viewpoint when a wall, vehicle or distance prevents that, or when separate activity must remain visible simultaneously.
Use the home camera coverage planner to work out camera count. If an installed camera has a view but misses important evidence, use the security camera blind-spot checklist.
This page identifies outdoor locations and what each should show. The planner addresses independent views and camera count; the blind-spot checklist diagnoses missed events or detail in existing footage. Doorbell, solar and model-specific tutorials cover the selected device's angle, power and installation limits.
Test the Position Before You Mount the Camera
A temporary test can reveal a blocked face, missed package, weak connection or poor night image before you drill. Use a secure temporary support or have another person hold the camera safely; do not leave it unsecured or use a ladder beyond your ability.
- Set the intended height and angle: Start with the model's mounting instructions. Include the wedge, bracket or other accessory that changes the final angle.
- Put normal obstructions in place: Park vehicles, open doors and gates, and restore bins, furniture, plants and railings that will remain after installation.
- Recreate the event: Have someone approach the door, stand beside a car, pass through the side gate or walk toward the rear entrance at a normal pace.
- Test during the day and after dark: Repeat the event under the lighting conditions the camera will face, including porch lights, patio lights or vehicle headlights.
- Review the saved recording: Check that recording begins soon enough, the important subject is clear enough and the connection and power setup work at that location.
Compare the Saved Footage Before and After a Change
Repeat the same approach route from the same subject distance after changing the position, angle or lighting. Keep other settings unchanged where practical, and note anything that differs between recordings.
Save the original clips. Record the camera model, firmware, mounting height, lighting mode and the change made. Compare event start, moving detail and obstructions—not only how bright the empty scene looks.
For a nighttime comparison, include a moving person, normally parked vehicles and everyday lighting. Keep unsuccessful clips as well as useful ones. The table below is a blank test record, not completed installation results; no original before-and-after clips or measured improvements are presented here.
| Location | Problem in original clip | One change made | Daytime result | Nighttime result | Original clip references |
|---|---|---|---|---|---|
| Front door | |||||
| Driveway | |||||
| Side gate | |||||
| Rear entrance |
Recheck When the Scene Changes
Repeat the relevant part of the recorded walk test after changes to lighting, landscaping, parked vehicles, doors or outdoor furniture. Clean the camera as its manufacturer directs. Check framing and privacy settings again after moving or re-aiming it.
To Wrap Up
Start with the front door, driveway or garage, side gate and rear entrance. Give each camera a specific view of the person, vehicle, package or route that matters. Use the map to identify candidate positions and the single test workflow above to evaluate them before drilling.
FAQs
What are the best places to put outdoor security cameras?
Start with the front door, driveway or garage approach, side gate or path, and rear entrance or backyard route. Prioritize the places where people enter or move toward the home, then add a separate view only when an important area is hidden, too far away or needs to remain visible at the same time.
How high should an outdoor security camera be mounted?
Use the mounting range and orientation specified for your exact model. The camera should be hard to reach without making faces, packages or nearby activity appear only from a steep overhead angle. There is no single height recommendation for every model and location.
Should a security camera point toward the street or toward the house?
Point it toward the event you need to record. A driveway camera may include the driveway entrance and part of the street for arrival context, while a front-door camera should keep the visitor's standing position and package area central. Avoid recording more public or neighboring space than the purpose requires.
Can one security camera cover the front door and driveway?
It can when both areas fit in one clear view and people remain large enough in the recorded image. Use separate cameras when the areas are around a corner, need different angles or detail, or must remain visible at the same time.
Should you test a security camera before mounting it?
Yes. Use the five-step test and before-and-after record above to evaluate the candidate position before drilling. An illustrative layout or a bright empty live view is not a substitute for the saved event.