


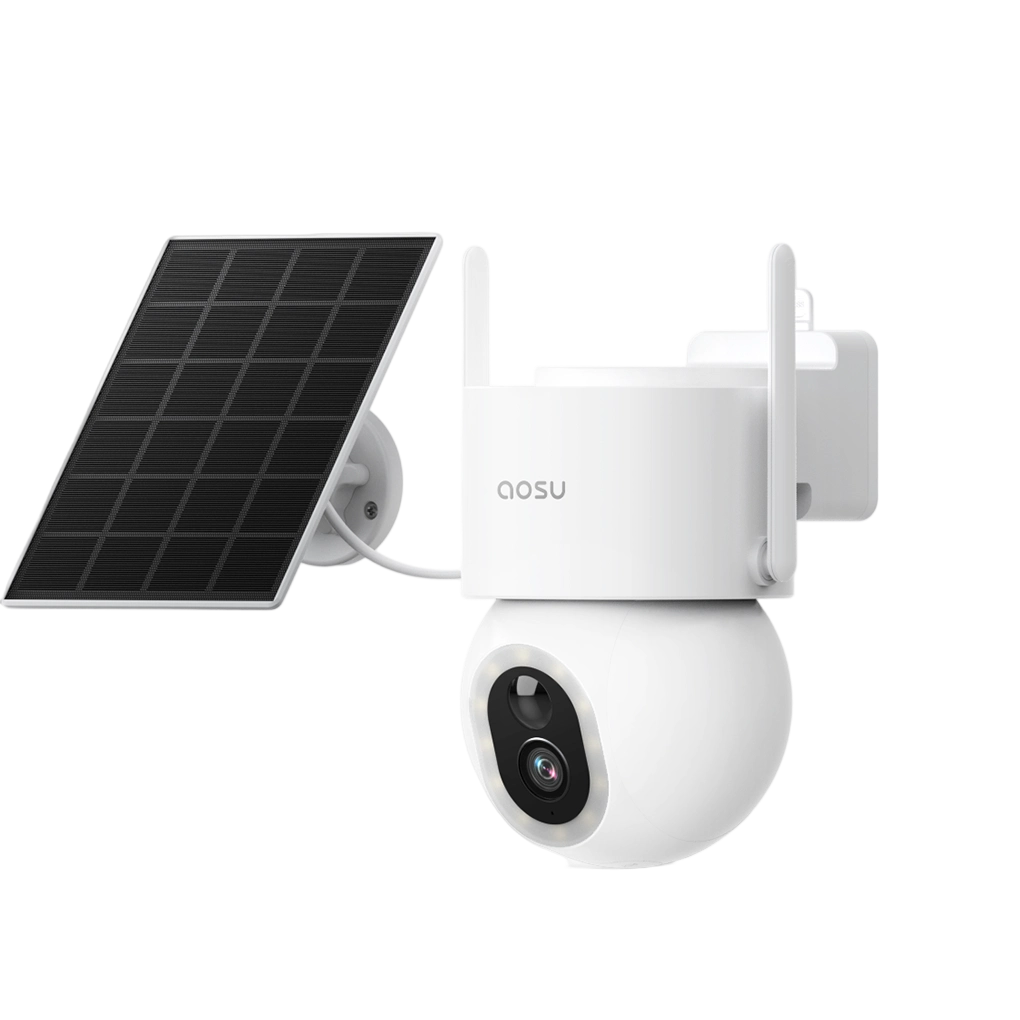
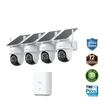
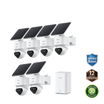
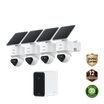
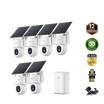


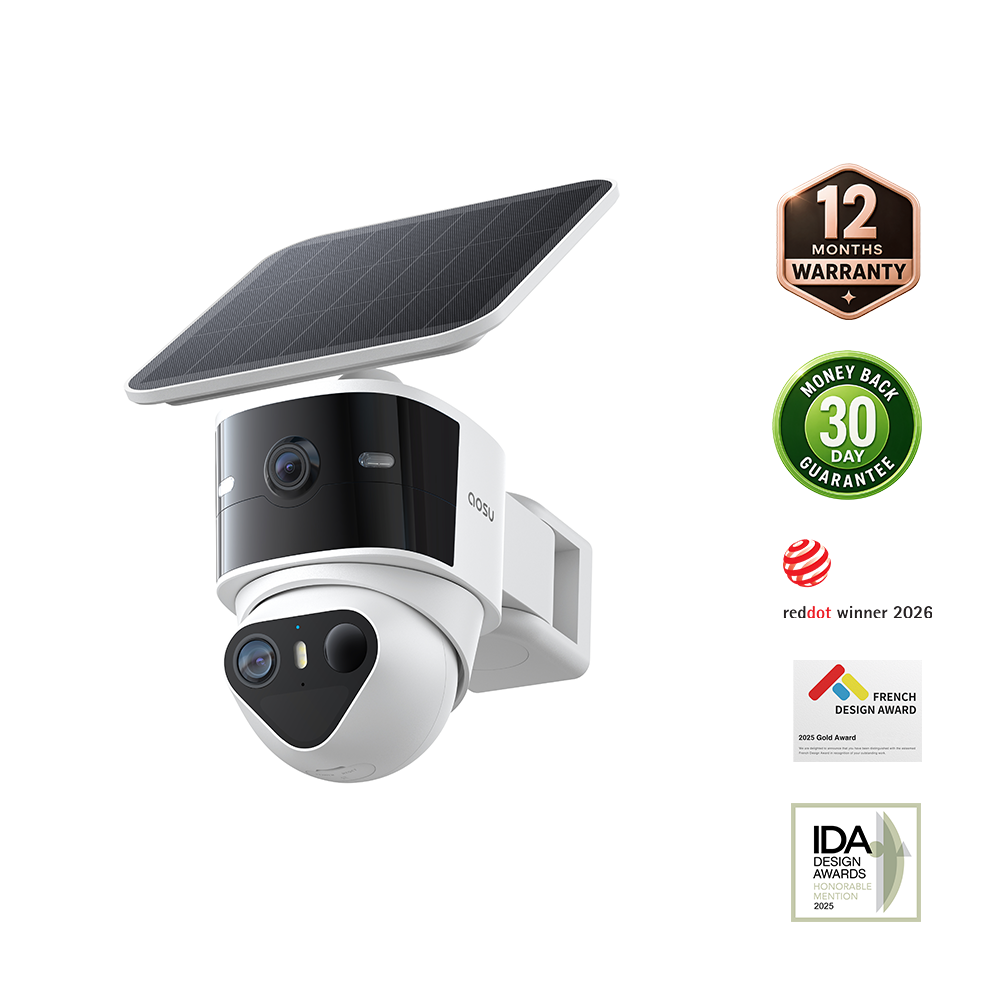
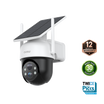
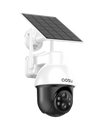

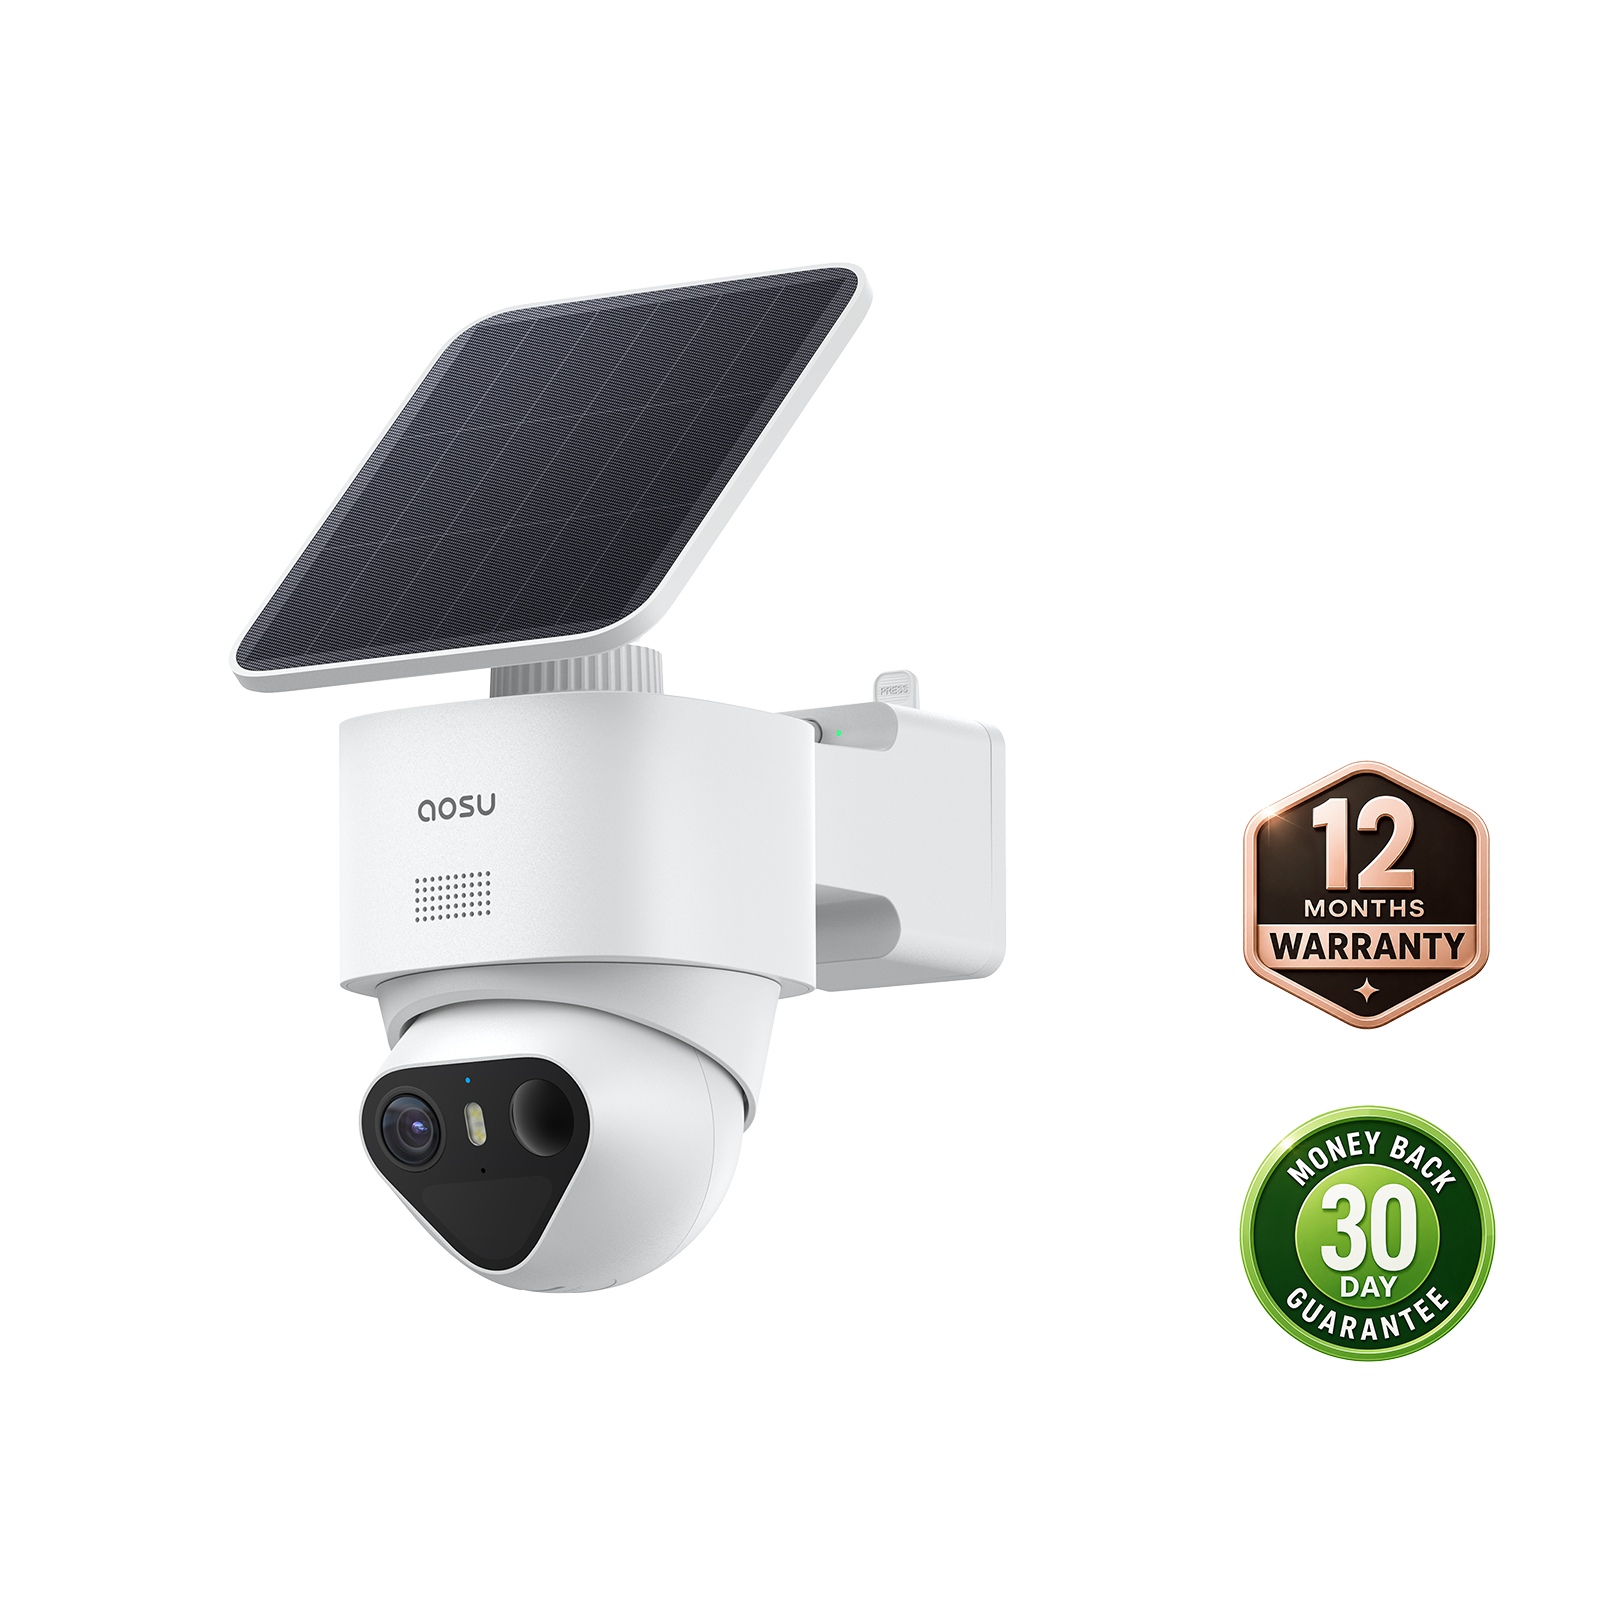


If you’re deciding where to install SolarCam T2, consider a clear view along your driveway, across your front yard or toward a gate. Choose a position where the wide lens shows people entering and moving through the area, while the telephoto lens gives you a closer view of the place you most want to watch.
The best position lets both views show something useful, has a reliable Wi-Fi connection and leaves a sunny place within reach of the separate solar panel.
Decide What You Want Each View to Show
SolarCam T2 shows two separate 3K feeds together in the aosu app. The wide view covers more of the scene. The telephoto view shows a narrower area more closely, helping you examine someone standing farther down the driveway or beside a garden gate.
Before choosing a wall, name two things: the area you want to follow and the place where closer detail matters. For example, the wide view could show the driveway entrance, the car and the path to your door. The telephoto view could show someone entering the driveway more closely.
Aim the telephoto view at the place where closer detail matters, such as a distant gate. Check that a person standing there fits inside the picture. The wide view shows more of the area around that spot, including where the person walks as they move outside the telephoto frame.
Related links:
· See how SolarCam T2’s wide and telephoto views work
Where to Install SolarCam T2 Around Your Home
Install SolarCam T2 anywhere that benefits from a simultaneous telephoto and wide view. Below is a short list of common install spots that are likely to be a good fit.
| Location | What the wide view should include | Where the telephoto view adds value |
|---|---|---|
| Garage wall facing the driveway | The driveway entrance, both sides of the parked car and the path toward the house. | A closer view of someone entering the driveway before the car hides them. |
| House wall facing a distant gate or long front path | The front yard and the walk from the gate toward the door. | A person entering through the farther gate or starting up the path. |
| Rear wall facing an open yard | The patio, lawn and path to the shed or garden gate. | Someone beside the shed door or at the far gate. |
| Wall beside a long side passage | The entrance and the length of the passage that remains visible. | A farther gate or doorway, if walls and bins leave a clear view. |
A driveway: see people before and after they pass behind a car
A parked car can briefly hide someone as they walk through your driveway. The telephoto view gives you a closer look when they first enter, showing details such as their clothing and what they’re carrying before they disappear behind the car.
When they reappear on the other side, they can be outside the narrower telephoto frame. The wide view includes more of the space around the car, so you can see them emerge and continue toward the house. Together, the views give you closer detail on arrival and a broader picture of where the person goes next.
Position T2 so the telephoto view includes the driveway entrance and the wide view includes the space on both sides of the parked car. Have someone walk in and pass behind the car to check that you can see them before and after it blocks the view.
A distant gate or long walk to the door
A front yard with a distant gate or long path to the door is a useful setting for both views. The telephoto view shows someone more closely as they enter through the gate or start up the path. The wide view shows the front yard and their walk toward the house.
Aim T2 so the farther gate or start of the path sits inside the telephoto frame, with room to see the person entering. Keep the walk toward the door in the wide view. As the visitor comes closer and fills more of the telephoto picture, the wide view keeps more of the person and nearby yard visible.
A backyard or side passage: look for a clear line to the far end
A rear wall can give you a broad view of an open lawn and a closer look at the shed door. Check the view with patio furniture, a grill and clothes drying in their usual places. These everyday objects can block someone at the far end even when the empty yard looks clear.
In a side passage, a wall that looks straight toward the far gate is worth testing. A bend in the passage needs another viewing position. T2’s pan and tilt can change where it looks, but cannot see through the house or around a hidden corner.
 The telephoto view shows a person more closely as they enter the driveway. The wide view includes the space where they reappear after walking behind the car. Illustration; viewing areas are not to scale.
Use the Mounting Height to Get a Useful Angle
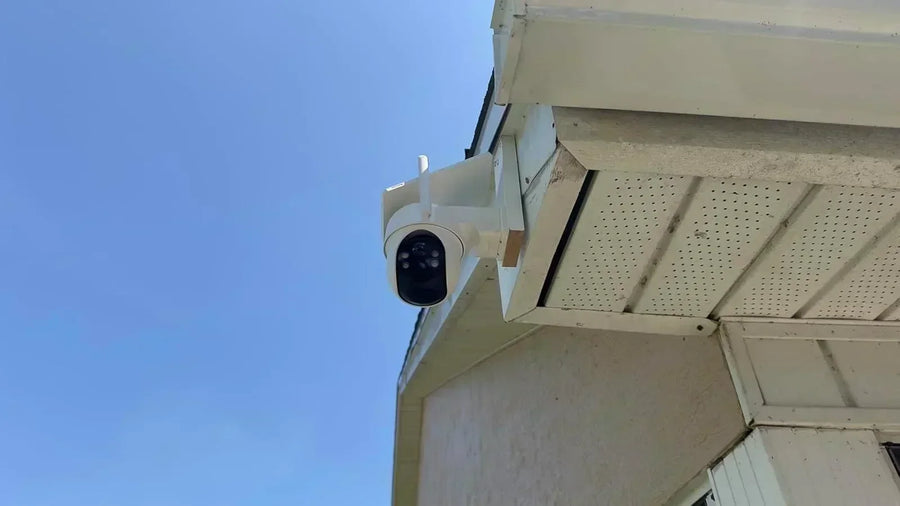
SolarCam T2’s recommended installation height is 2–3 m above the ground, roughly 7–10 ft. Within that range, choose the height and tilt that keep the person or place you care about visible in both feeds.
Check the angle with someone standing at the driveway entrance or farther gate. Make sure the frame includes their head and upper body, along with the area where they will walk. Adjust the tilt to frame that spot while keeping the nearby path in the wide view.
Distance changes how much fits in the closer view. Someone standing near the camera fills more of the telephoto frame and can move outside it quickly. The wide view keeps more of that nearby person and the surrounding area visible. If your main concern is a small doorstep directly below the camera, prioritize a clear view of that doorstep.
Leave clearance around the moving camera head. Check that the eave, wall, gutter and panel cable stay out of its path and out of the views you plan to use.
Related links:
· aosu SolarCam T2 quick-start guide (reproduced manual)
Check Wi-Fi, Panel Reach and the View After Dark
Test the camera connection at the wall
SolarCam T2 uses 2.4 GHz Wi-Fi. Before fixing the mount, connect the camera and test it at the proposed position. Open live view and play back a short recording with the garage door and other doors closed as they normally would be.
If the connection drops or playback repeatedly stalls, adjust the camera position or improve Wi-Fi coverage before committing to that wall. A camera connected beside the router has not yet passed the test at the far end of the garage.
Put the separate panel where it gets direct sun
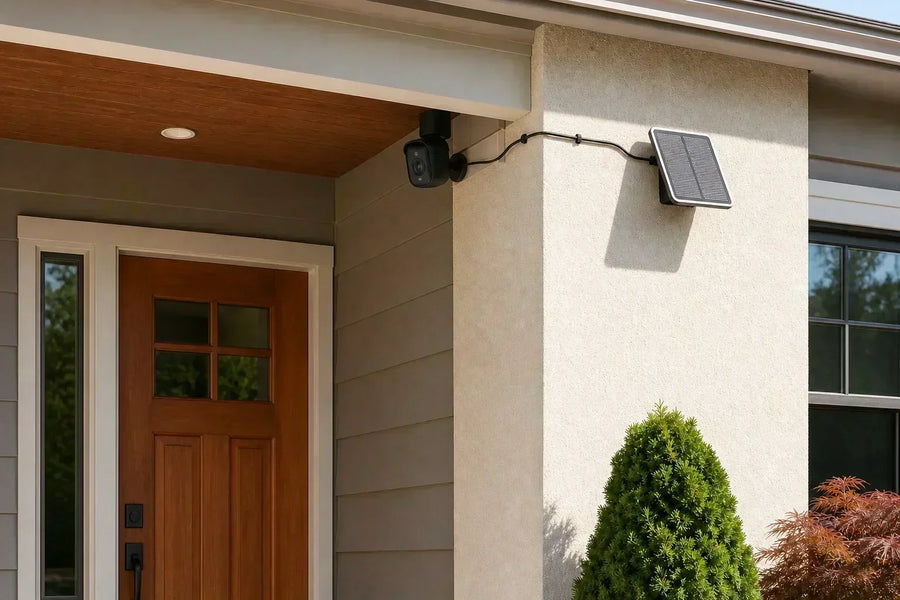
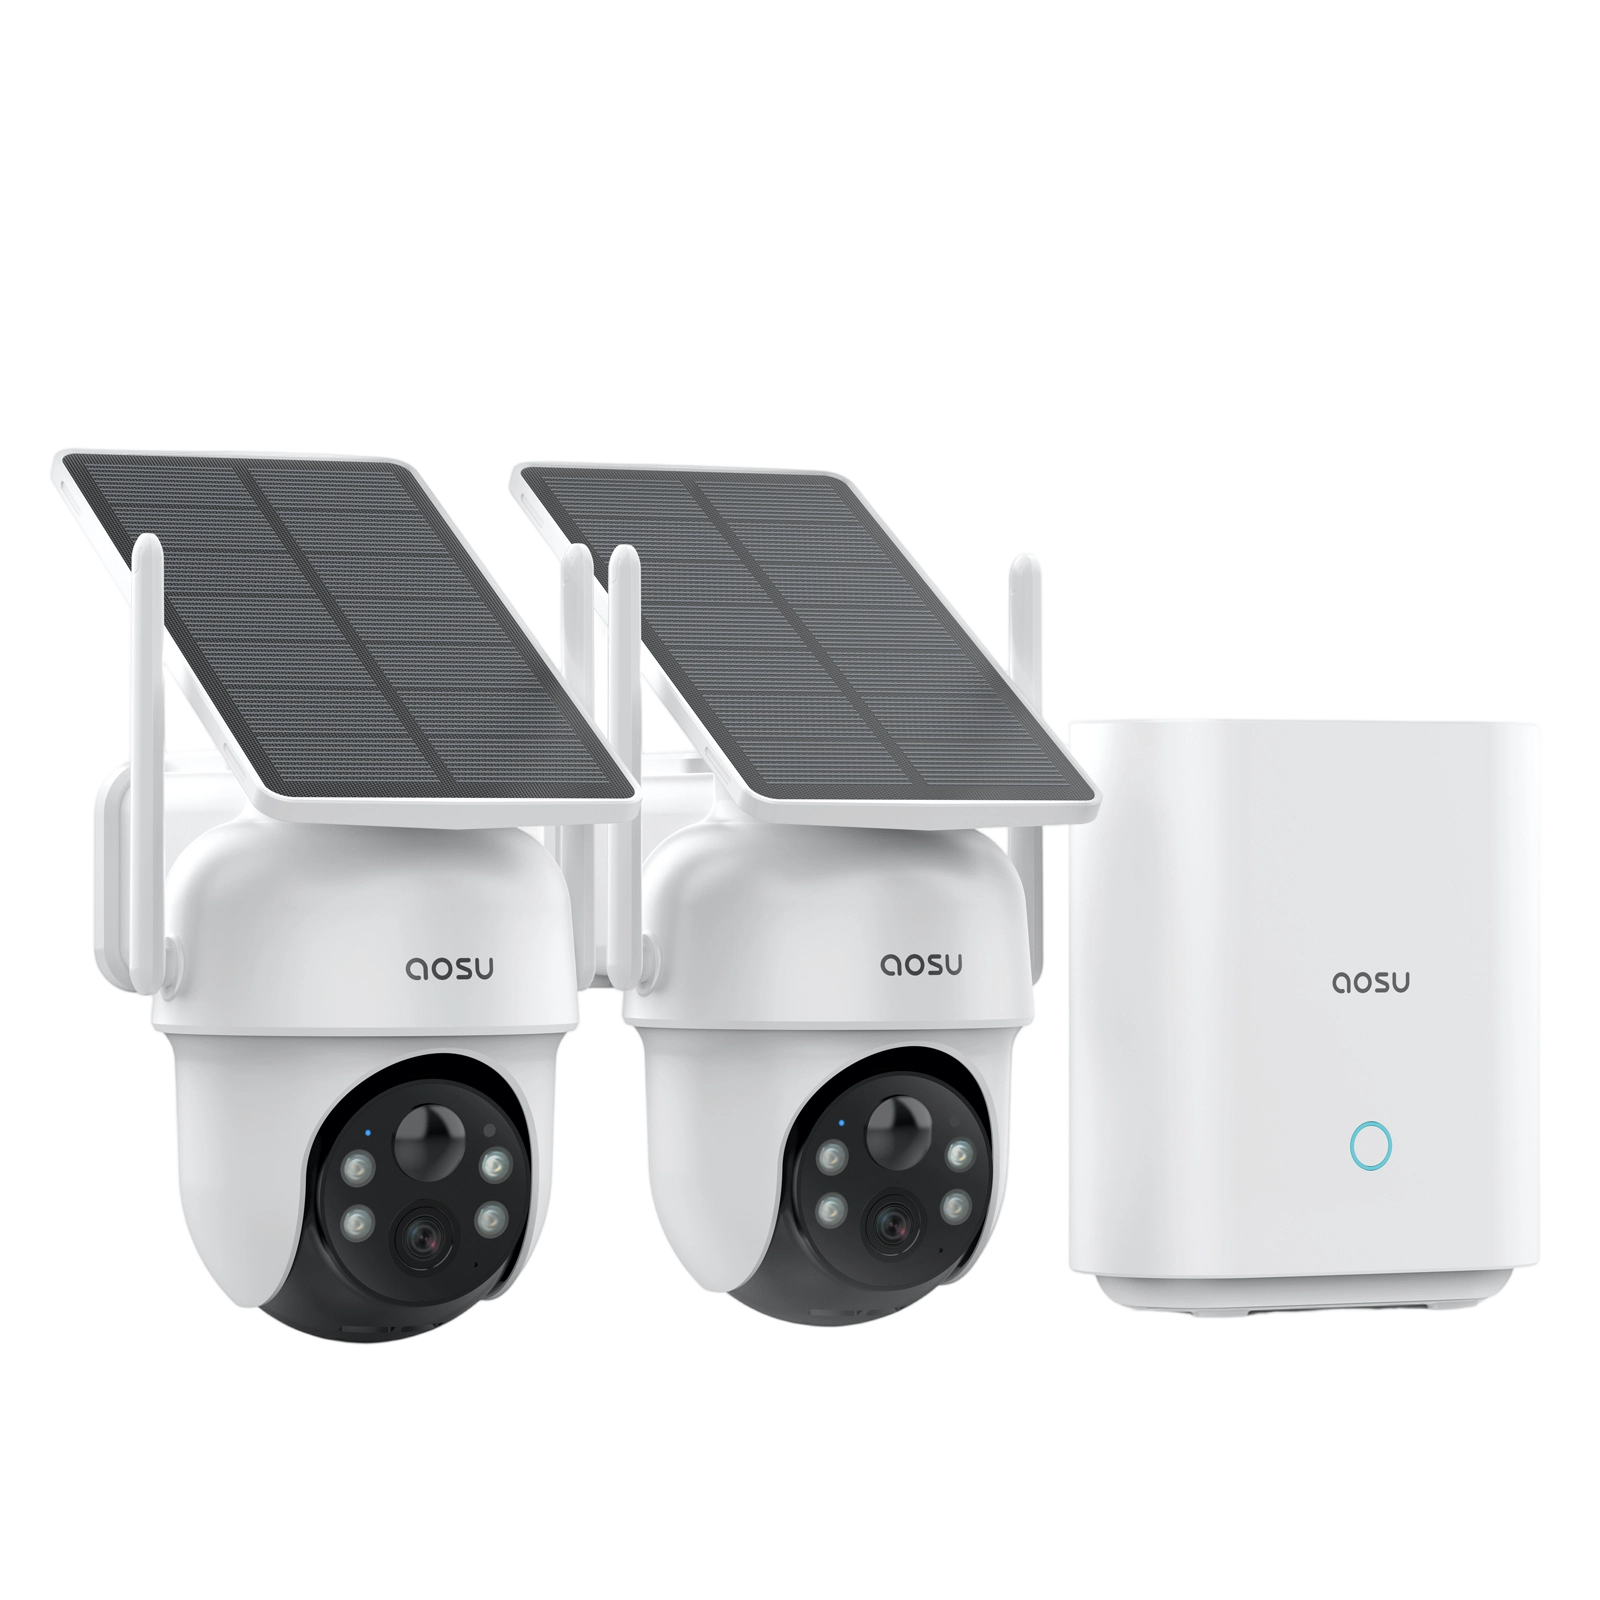
T2’s separate solar panel lets you choose the camera’s viewing angle and the panel’s sun exposure separately. Its 3 m panel cable needs to cover the actual path along the wall, including bends and enough slack for the camera to move.
A camera beneath an eave can face the driveway while the panel sits beyond the roof’s shadow. Make sure trees, the roofline and other objects do not block sunlight at the panel. Choose another camera position if the cable cannot reach a suitable sunny spot.
Choose a night-vision option for the location
Consider the light available where you plan to install T2 and whether you want the camera to add its own. Black and White Night Vision uses infrared illumination without a white spotlight. Color Night Vision turns on white light and shows color when activity is detected, then returns to black and white when no activity is detected. Natural Lights uses the light already in the scene, without supporting illumination from the camera.
For a dark driveway where clothing or car color matters, try Color Night Vision. Near a bedroom window, Black and White Night Vision gives you infrared viewing without adding white light. If porch or garage lighting already gives you a clear view, try Natural Lights, especially if extra camera light washes out nearby detail.
Check a recording of someone walking through the area with the lights that will normally be on overnight. Look at both the wide and telephoto views to see whether the person and the details you care about are clear.
Related links:
· Compare SolarCam T2’s night-vision options
A Short Check Before You Fix the Mount
Try the proposed view from a safe temporary position before drilling. Then check the actual mounted view before finishing the installation. Have another person walk through the places you want to watch.
1. Follow someone from the entrance: Check that the wide view shows them entering through the gate or walking up the driveway, including the stretch beside a parked car.
2. Stop at the place where detail matters: Have them stand at the gate, car door or shed. Check that the telephoto view includes the person and the action you need to see, with room for normal movement.
3. Walk closer to the camera: Check what remains visible as the person leaves the narrower frame. Make sure the wide view still shows the nearby area you care about.
4. Check the real obstructions: Open the gate, park the car and move the bins to their usual places. Check where a person becomes hidden and whether the wide view shows them as they reappear.
5. Review a recording in daylight and after dark: Check the saved event as well as live view. Confirm that it captures the walk you tested and that the connection remains reliable at that location.
When a Simpler Camera Is Enough
A fixed camera can be enough for a small porch or short walkway when its normal view already shows the person and the detail you need. T2’s second view becomes more useful when there is a farther place you want to inspect alongside the wider scene.
If you need the front entrance and a hidden side gate visible at the same time, plan separate camera positions. T2 can rotate through 360 degrees, but it does not show every direction at once. Choose it for the combination of wide context and closer detail in a useful viewing direction.
Get the Most from Both SolarCam T2 Views
Start with the gate, car or shed you want to see clearly, then choose a wall that also gives the wide lens a useful view of people coming and going. Check both feeds with the camera at the intended height, the car parked and the gate open. Once the view, Wi-Fi and panel position work together, you have a practical place to install SolarCam T2.
FAQs
How high should I mount SolarCam T2?
The recommended installation height is 2–3 m, roughly 7–10 ft. Within that range, check the view of a person at your gate or beside your car. Choose a height and tilt that show the person and the area around them clearly.
How far away should the telephoto target be?
Choose the distance by checking the place you want to watch in the actual telephoto view. The person and the action you care about should fit in the frame with room to move. If the view is too tight or the detail too small, try another mounting position and compare a recording.
Can I mount SolarCam T2 under an eave?
Yes, if the position leaves room for the camera to move and gives both lenses a clear view. Place the separate solar panel where it receives direct sunlight, within cable reach. Check the Wi-Fi connection and the view after dark before finishing the installation.